
Whether you’re new to jewelry making and find yourself without a torch, your design ideas include a stone that might be sensitive to heat or you want your piece to be moveable, riveting is a great skill to add to your repertoire. Knowing how to do this will help you creatively solve problems with design ideas, think outside the box and even just add a little extra design flair to your pieces.
I’ve found that in design, there’s always a lot of value in knowing how to do things the old fashioned way. Maybe your brand new fancy tool stopped working just before a deadline or you just need to figure out how to make your piece work, but knowing how to do it with just a small set of tools might save your project, your sanity or increase your design potential.
Keep reading to learn how to rivet jewelry for design and structure:
What you’ll need:
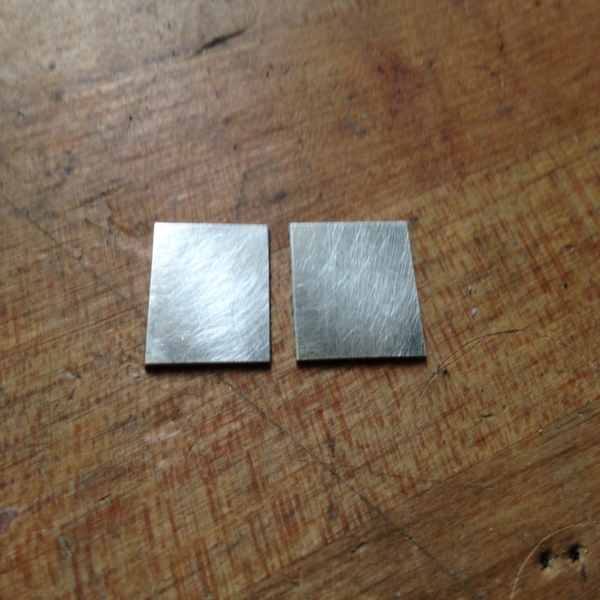
- Two pieces of sheet metal. I’m using two pieces of silver, 26 gauge
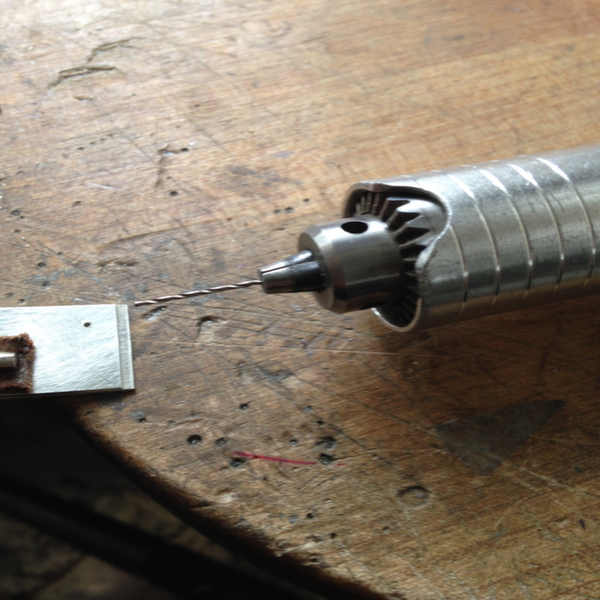
- A drill bit. Mine is 1 mm
- A cross peen or riveting hammer
- Wire that will fit very snugly into the hole you’ll be drilling (The same size as your drill bit, in this case 1 mm.)
- Steel bench block
- A burr just slightly larger than your drill bit
Step one:
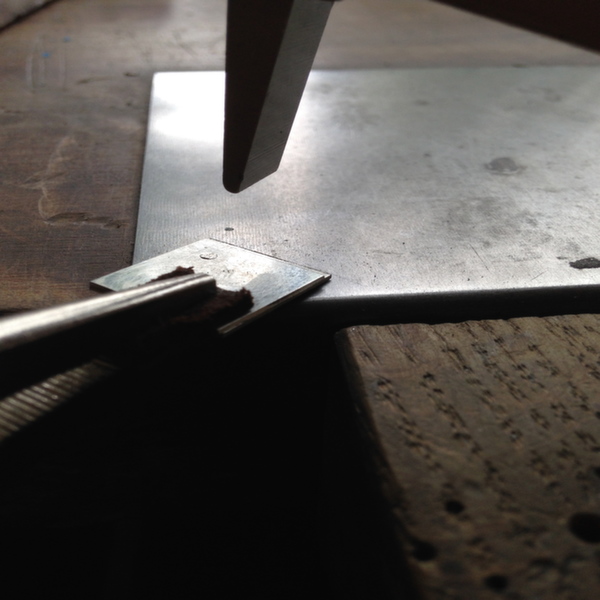
Chose the pieces of metal that you want to attach. I’m using 26gauge sterling silver. Clamp the pieces together so they won’t move during your drilling process. Vice grips with jaws coated in thick leather work great to avoid marring the metal.
Step two:
Drill a hole through both pieces of metal. You might want to make a slight divot in your metal before beginning so your bit won’t jump around.
Step three:
Using a burr that’s just a tiny bit larger than the hole you just drilled, gently dome out a bit of the metal. Don’t push the burr all the way through or you’ll end up with a bigger hole. You just want a slightly larger space so that when you hammer your metal, it will fill in that cavity nicely. Not only will your rivet look a lot cleaner, it’ll hold better too!
Step four:
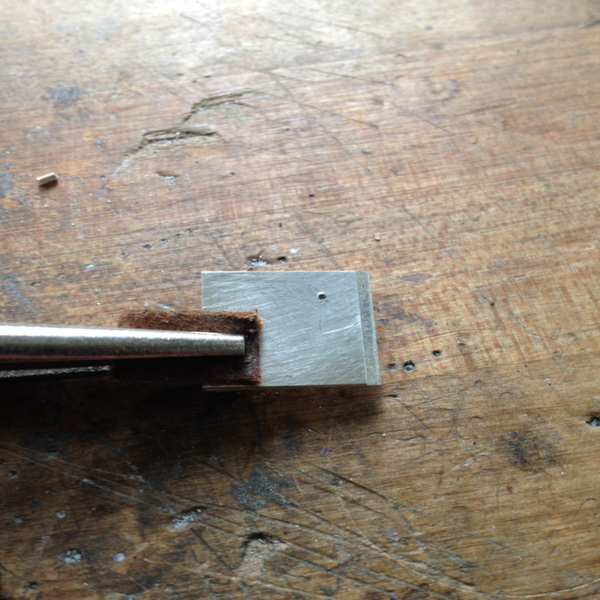
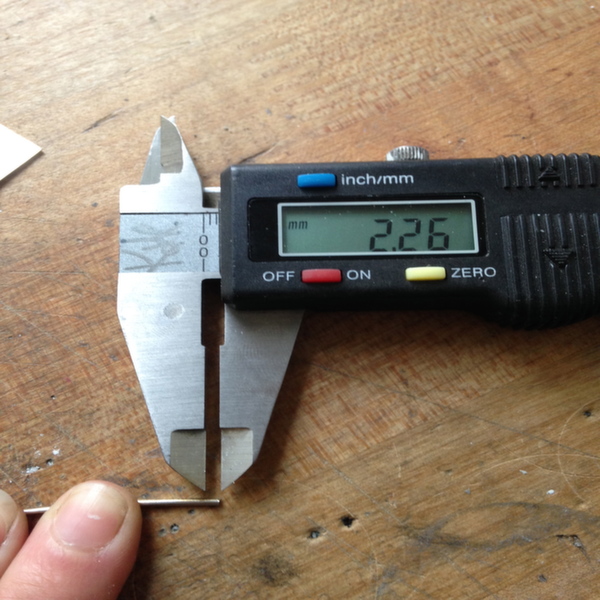
Measure the overall thickness of both of your pieces of metal and make note. You’ll want your plug to be 1 mm longer than that number.

Step five:
Align the sheet metal and insert your pin so about 0.5 mm sticks out on either side.
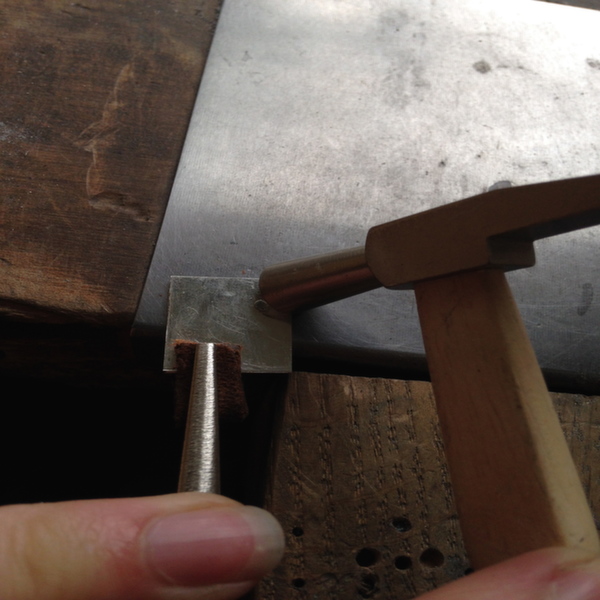
Step six:
Holding your pieces above a steel bench plate, use the blade like end of your cross peen hammer to gently start to flare the metal on top. Be careful not to make excess hammer marks on your sheet metal, you’re just aiming for the top of the pin.
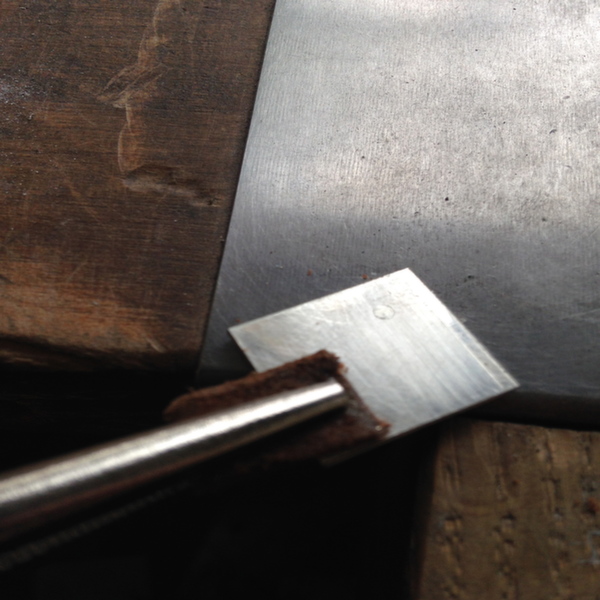
Step seven:
Flip the piece over and work from the backside using the flat head of your hammer.
Step eight:
Working both the front and the back of the piece, turn it so that your hammer blows begin to strike perpendicularly across the marks that you made in the previous step. This should help you spread the metal more evenly.
Step nine:
At this point you can continue to hammer to flatten the piece more, or gently file the excess so the transition appears seamless. In either case, be careful of the surrounding metal. Scratches will create a lot more work for you when trying to finish the piece.
Now, leave a comment below and share what’s you’ve made!
Share tips, start a discussion or ask one of our experts or other students a question.
No Responses to “Cold Connections: How to Rivet Jewelry for Design and Structure”