
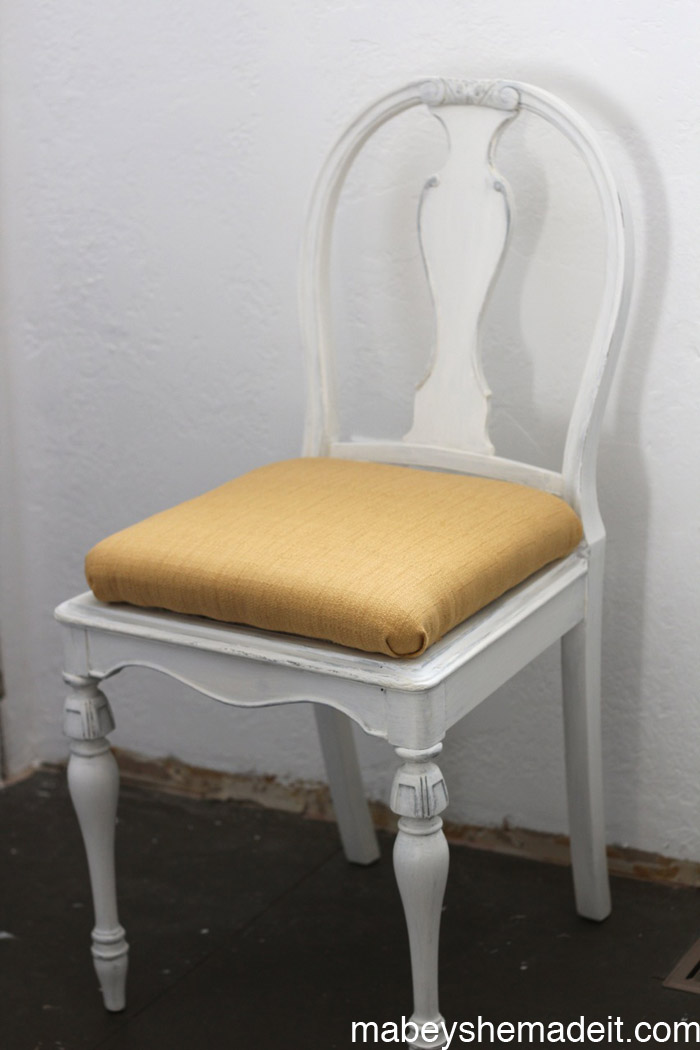
I can’t begin to tell you how satisfying it is to reupholster a chair that’s old and worn out and turn it into something amazing and updated. And although it sounds rather intimidating, it really isn’t — at least for a simple dining room chair.
Read on to learn how to reupholster a chair seat cover so you can tackle your first upholstering project with confidence and ease.
How to re-cover dining room chairs
You’ll need:
- A chair you want to reupholster
- A screwdriver, pliers and/or staple remover
- Home decor fabric
- Upholstery foam (optional if you decide you want to change out the foam, often you can use the same piece reducing cost and time)
- Heavy-duty stapler
- Marker
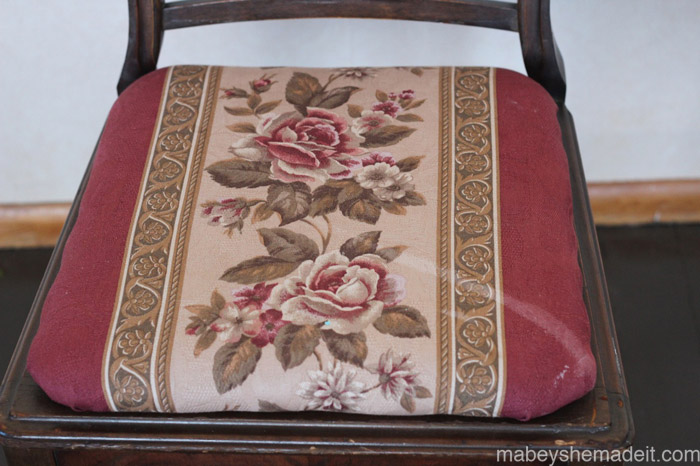
Step 1: Remove the seat
Turn your chair upside down and locate any screws holding the seat to chair frame. Unscrew all screws, and place them in a safe place — we’ll need them at the end of the project.
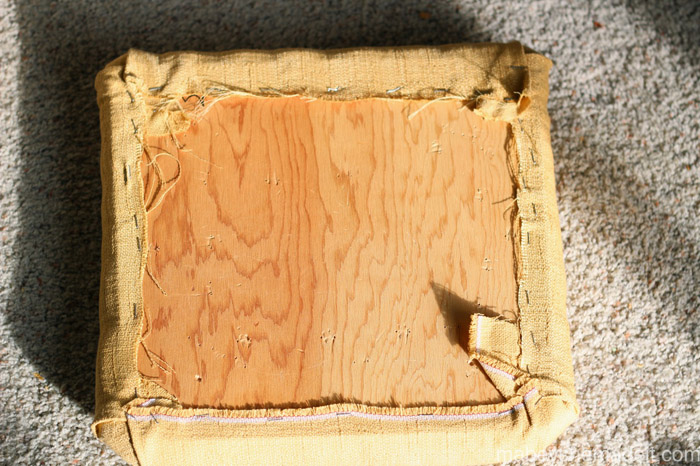
Step 2: Remove staples
Once you have the seat removed, place it on your work surface with the bottom side facing up, and grab your flathead screwdriver or staple remover. You’re going to pry each of the existing staples out. It’s not difficult, but it takes a while because there are typically a lot of staples. Don’t worry — this is the hardest part of the whole project!
With all the staples removed, separate the seat base, the foam and the existing fabric. You can throw away the fabric and at this point decide whether you want to replace your foam or keep the existing (or add some if there isn’t any).
Step 3: Cut foam (optional)
If you do want to add or replace the seat’s cushion, place the seat base on top of your foam, and trace around the seat leaving about 1″ on each side with a marker. Then cut the foam on the lines you drew.
Tip: An electric knife is a great way to cut foam easily.
Step 4: Cut your fabric
Place your new fabric right side down on your work surface. Then place your foam down next, followed by the seat base.
If you have a pattern or directional fabric, now is the time to make sure the seat base is aligned how you want the pattern to end up.
Use your marker to trace around the foam and seat base laving an additional 3″ around all the sides. Cut out the fabric.
Step 5: Secure the fabric and foam
Grab your stapler and heavy-duty staples, and begin stapling the fabric around the seat base. If your seat base is square or rectangular, you’ll start by pulling and stapling the fabric snugly on the top and bottom sides first, then the right and left sides.
Continue stapling along the sides, keeping the fabric snug and making sure you don’t leave gaps. Use lots of staples evenly spaced and make sure you’re pulling the fabric evenly so you don’t get puckers or bubbles. Staple the corners last, folding and manipulating the fabric to cover how you like.
 Step 6: Attach seat to chair
Now all that’s left is reattaching the seat to the chair frame.
Learning to recover your dining room chairs gives you the ability to update your look easily and the satisfaction of knowing you did it yourself for a lot cheaper than you could have it done elsewhere.
I’m making a bench cushion using 3” high density foam and a vinyl faux leather fabric. Would the foam still be cut an extra 1” around perimeter of the plywood (19.5” x 77”) and how much extra fabric allowance on each side since the foam is 3” thick? When stapling for a long length, would you start in the center and work outwards, top side, then bottom, then right & left sides? Thanks for your advice!