
Would you like to get more quilting done in less time? Are you always on the lookout for quilting shortcuts? Do you ever wonder how other people seem to get so much done?
Here are simple tricks for getting a more done in a little less time.
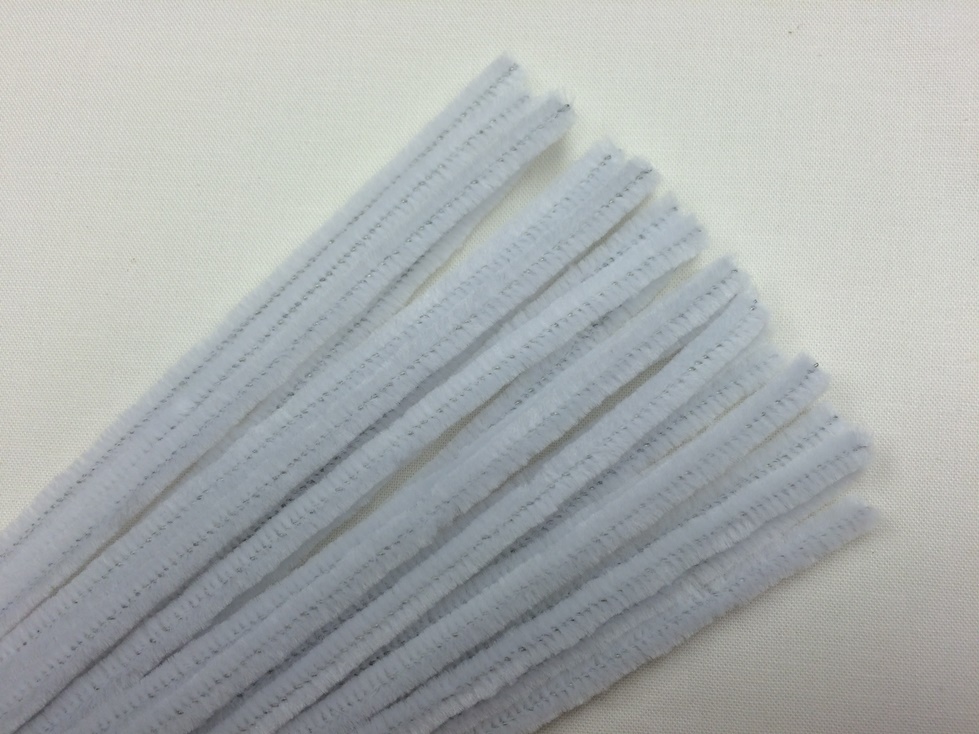
1. Use chenille stems for cleaning your machine.
They are very inexpensive and easy to find at craft stores. They can be bent or looped to fit into tiny, out of the way spaces. They collect the dust and lint and can be wiped off and reused. Also, if you trim them or keep folding them, you can use them multiple times.
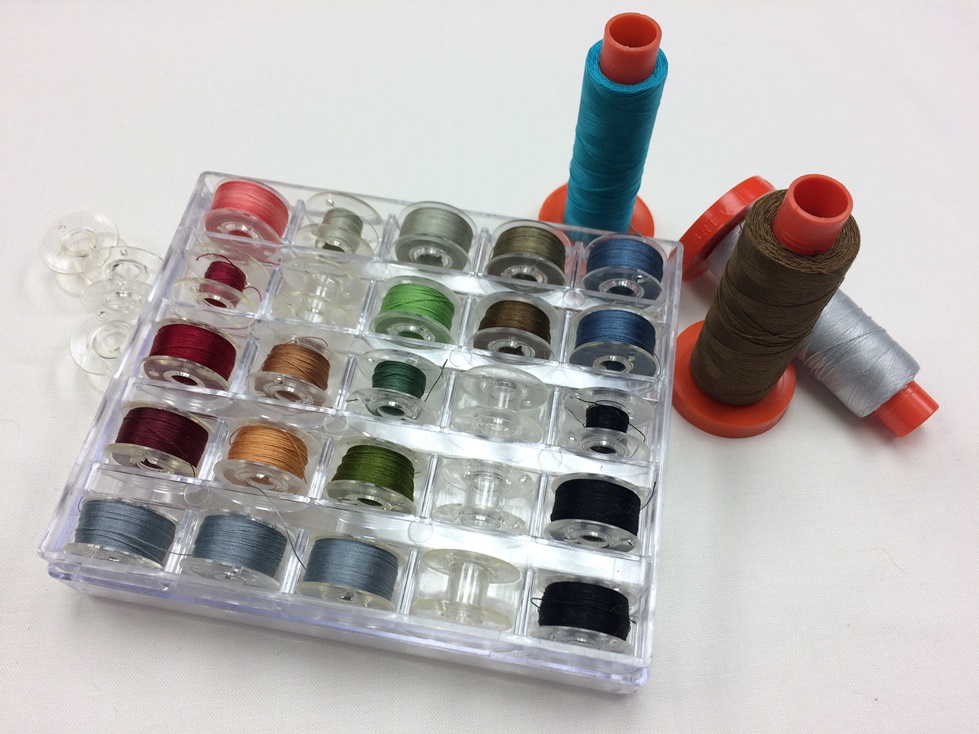
2. Wind bobbins with almost empty spools of thread.
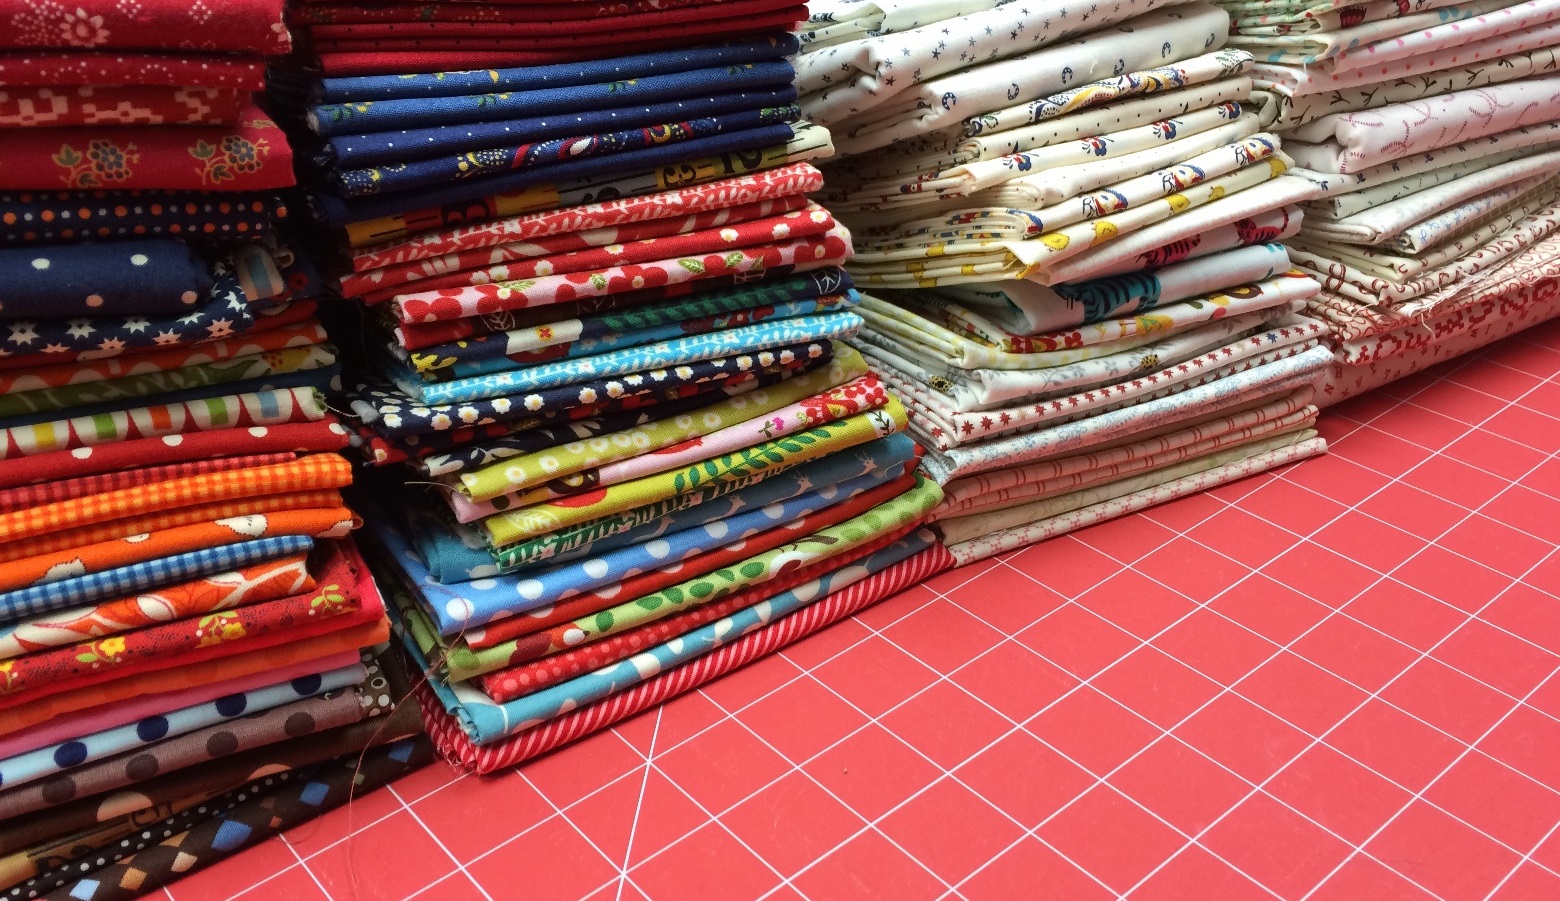
When piecing scrap quilts, use up these different colors of thread. A very scrappy quilt can have red, purple, orange and white thread and it will be your secret. No one will ever be able to tell as long as you don’t use very dark thread with very light fabrics, then it may shadow through.
3. Keep lots of very sharp pencils for marking fabrics.
Sharpen a handful of pencils at a time. They are most accurate when the tip is very tiny.
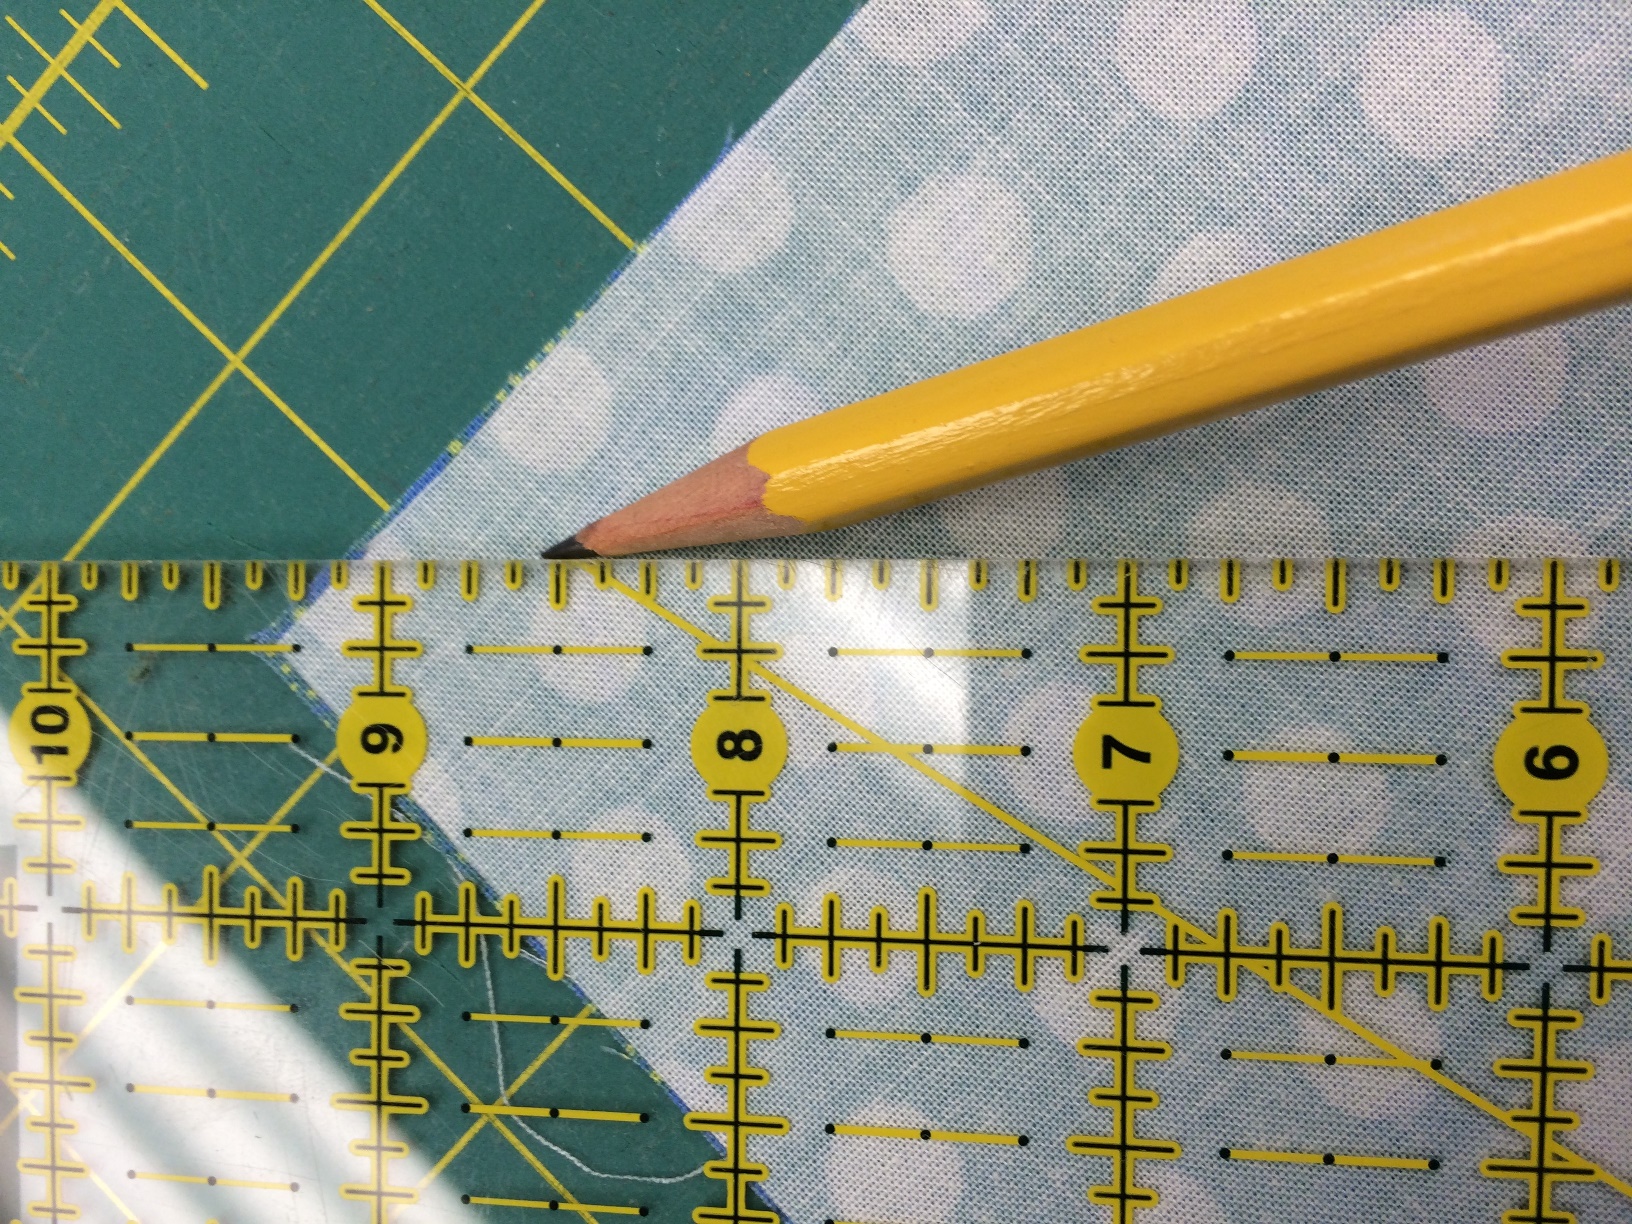
4. Drag the pencil lightly on the fabric at a low angle.
This will prevent skipping and stretching. The marking will show with almost no pressure at all. This also works for white marking pencils on dark fabrics.
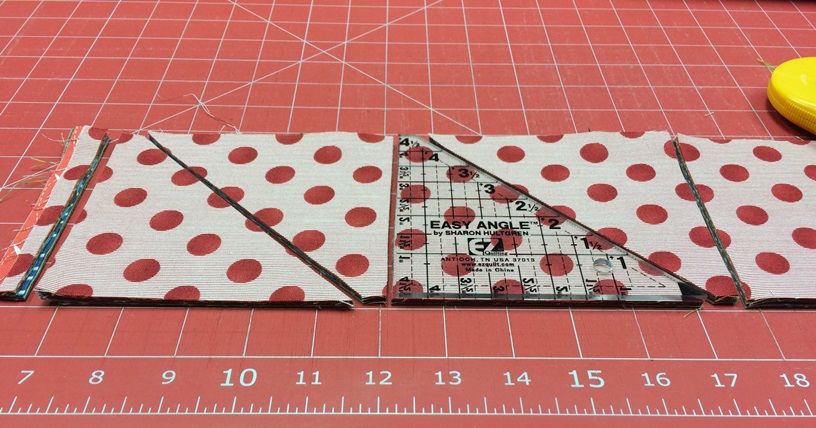
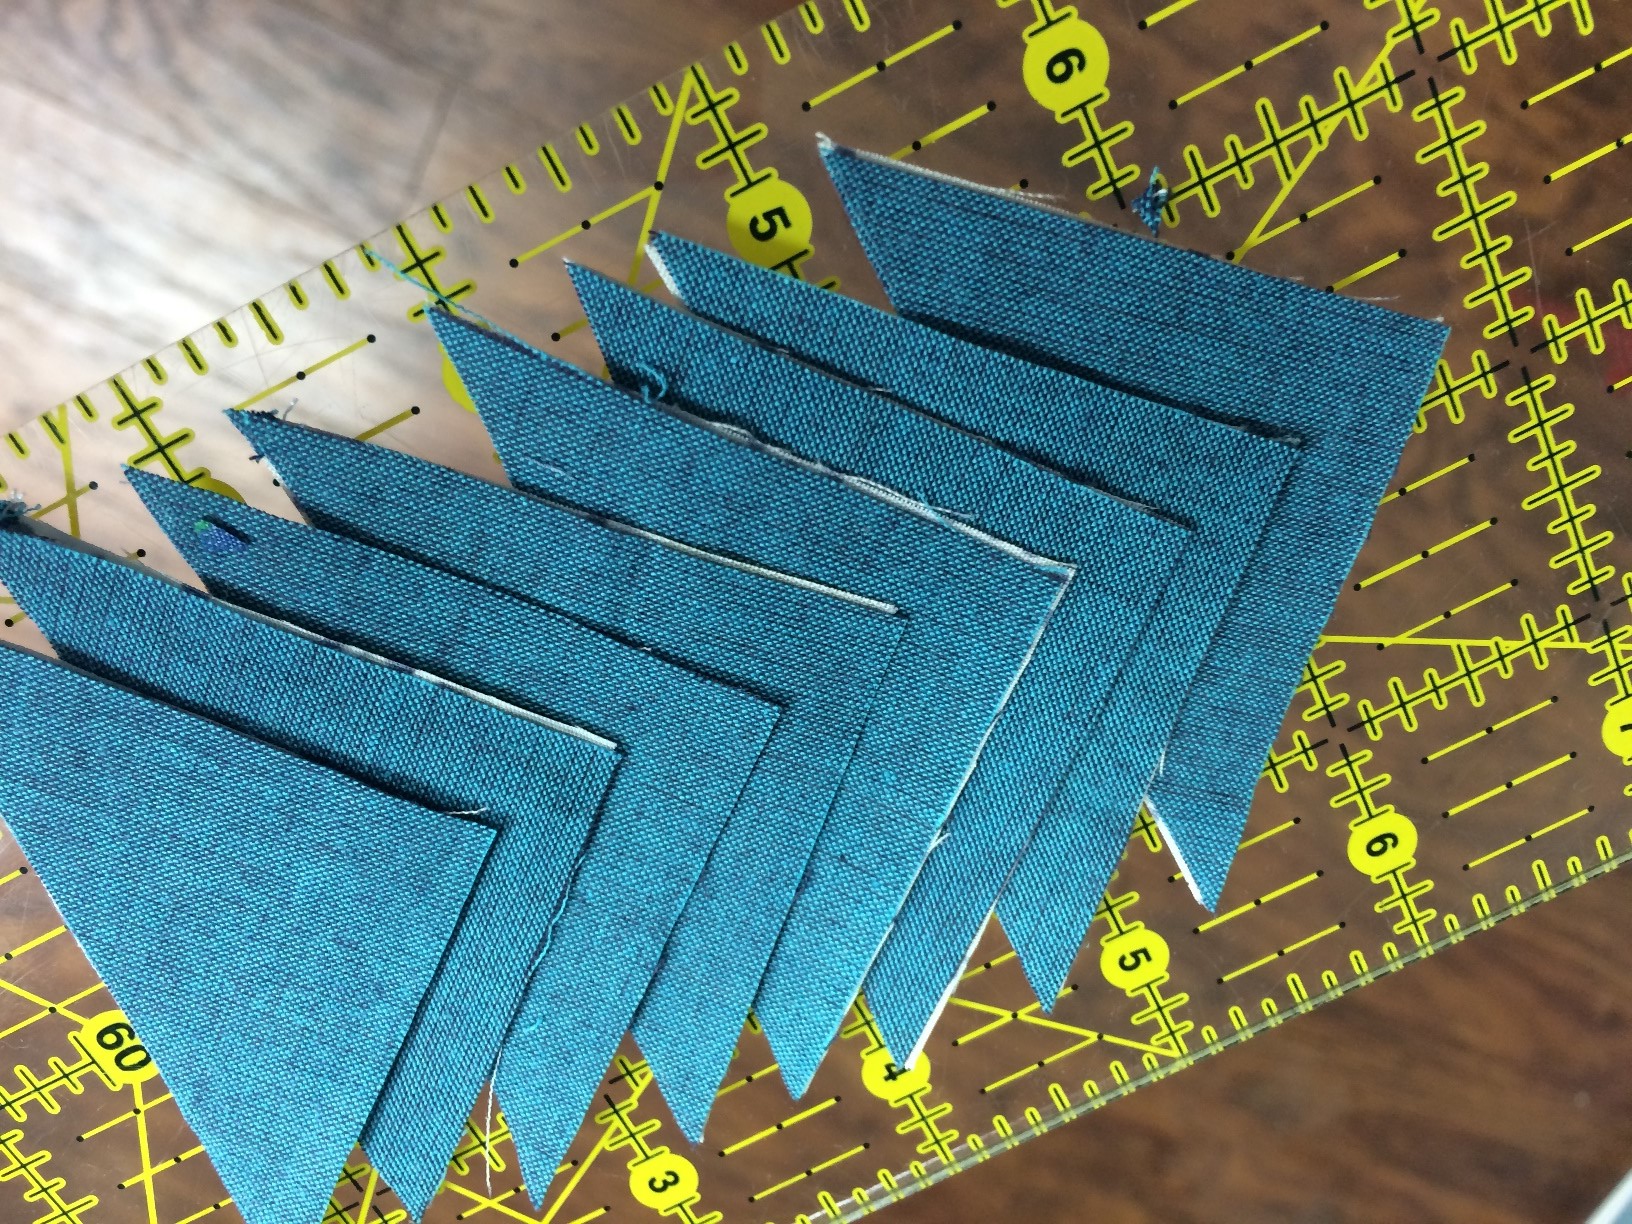
5. Layer fabrics right sides together when cutting.
They can be sewn together without taking them apart and there is no need to pin.
6. Rulers and cutting mats have multiple uses.
When moving lots of small cut pieces from the cutting board to the machine, use a ruler or small cutting mat to keep them in order.
7. Create your own small mats.
For very old and worn cutting mats, simply use a power saw or hand saw to cut them into pieces that fit your space. A quick sanding of the edges will remove any dust or rough spots.
These smaller mats are great for little cutting surfaces near your machine or for traveling to workshops and retreats. They also make great bottoms for handmade totes and purses. They can be cut to fit any size, and they are already marked with straight lines!
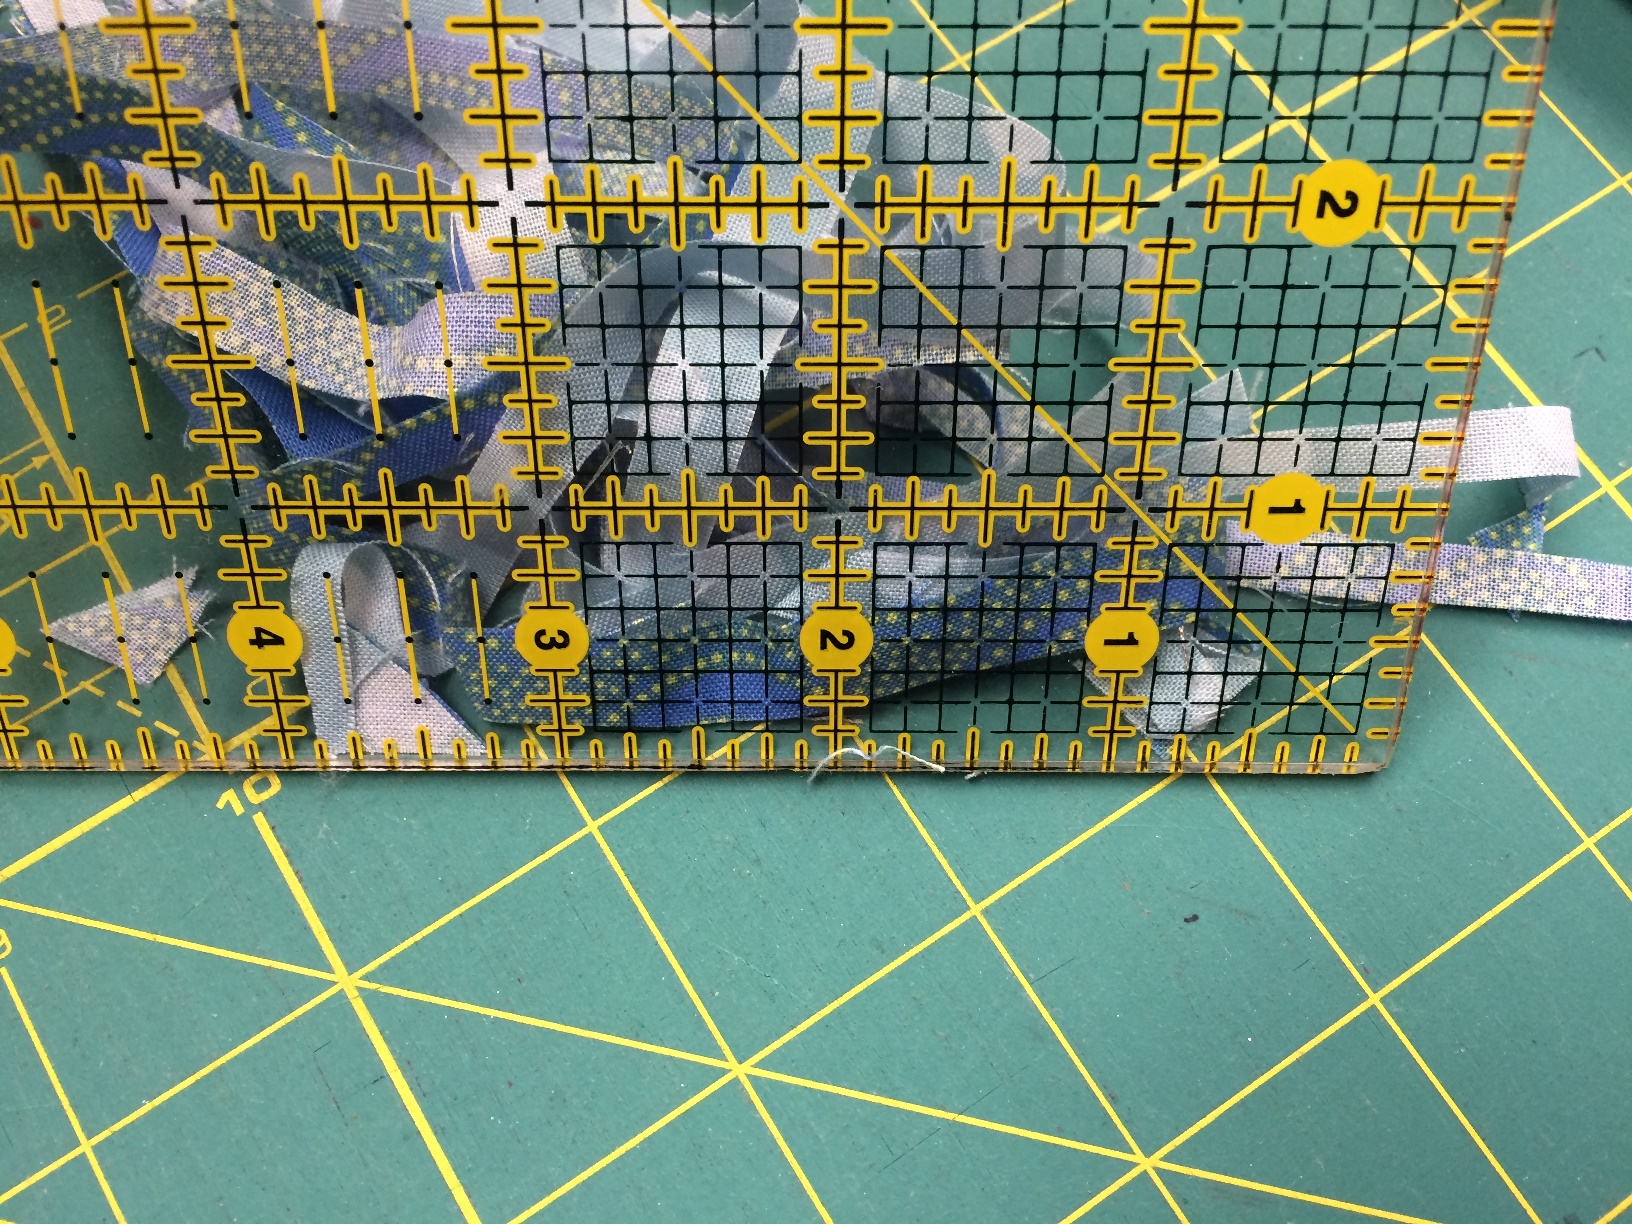
8. Use the edge of the ruler to scrape up trimmings from patchwork pieces.
The edge will collect even the tiniest threads and they can be pushed into a bin. Keeping things tidy while you work will make clean up easier later.
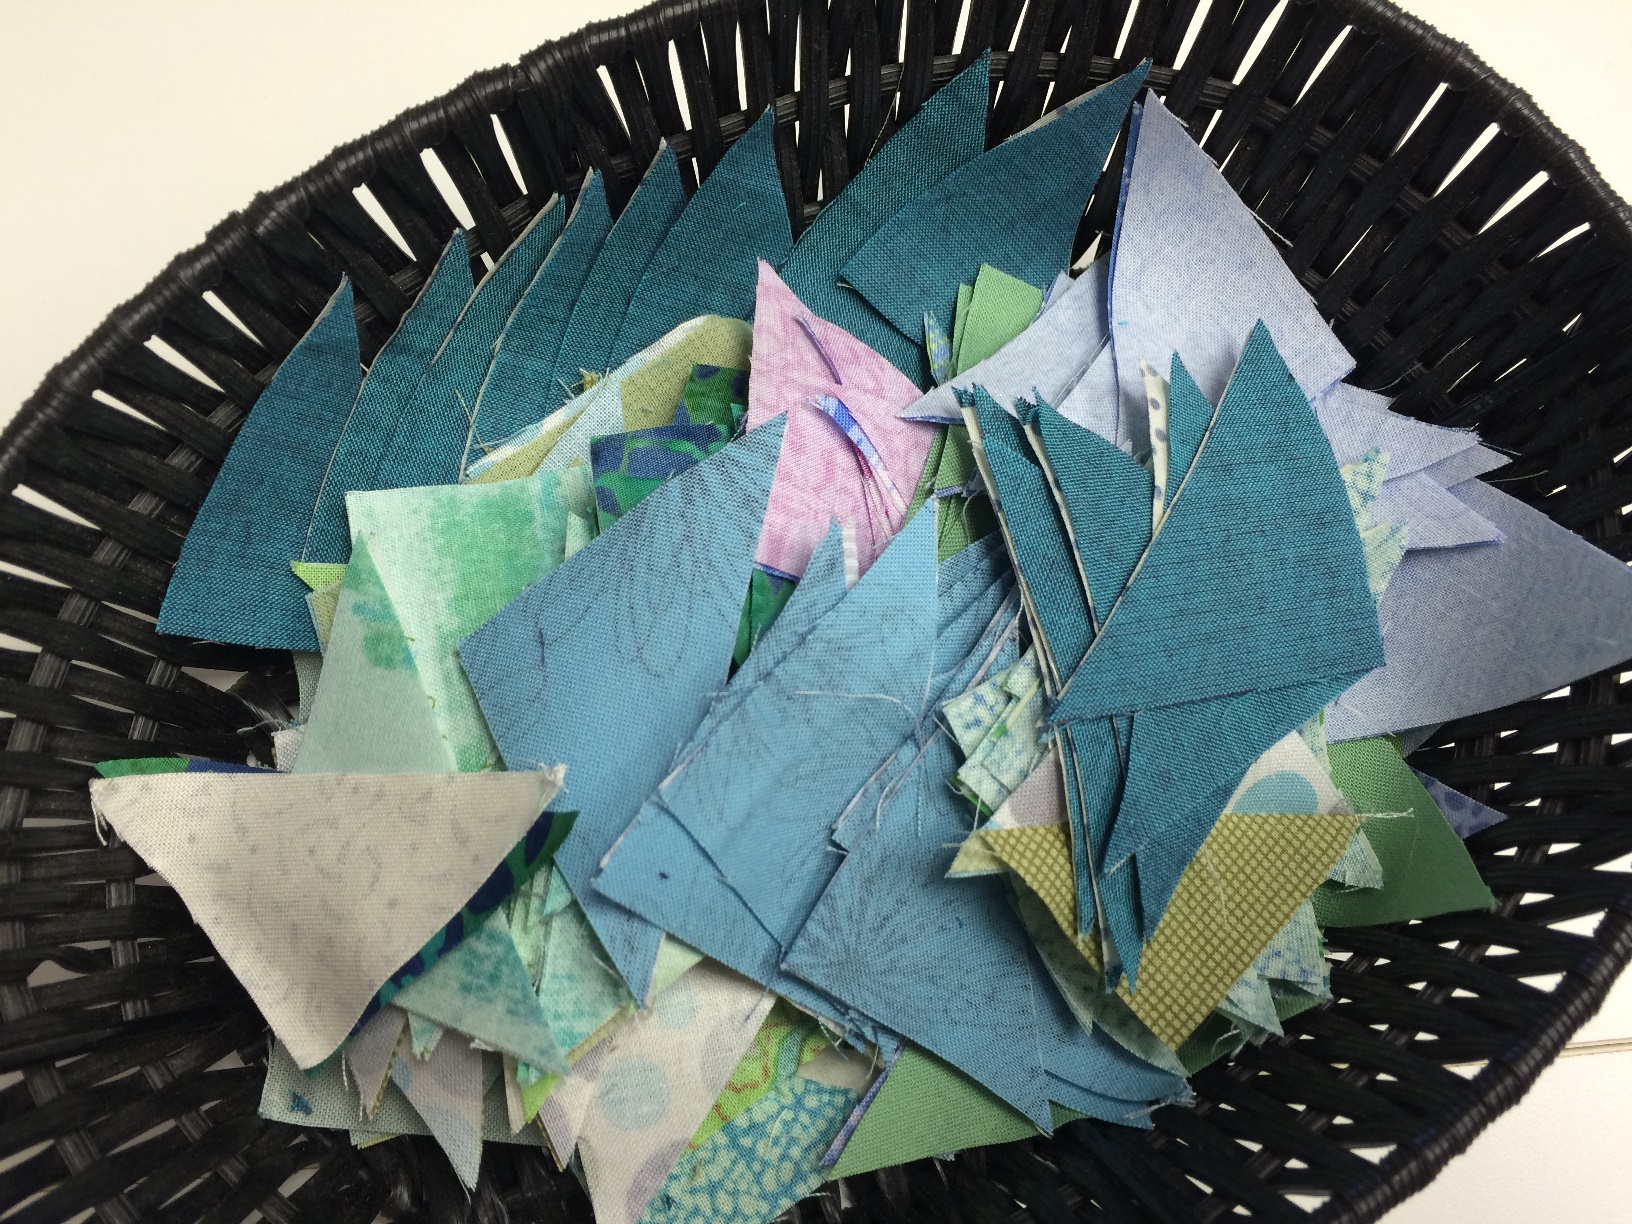
9. Keep a small basket nearby.
This is great way to collect trimmed off corners or scraps large enough to use again. These can be saved for another step, or another project all together. If you aren’t going to use them soon, put them in a clear baggie with a note that says how many there are and what size they are.
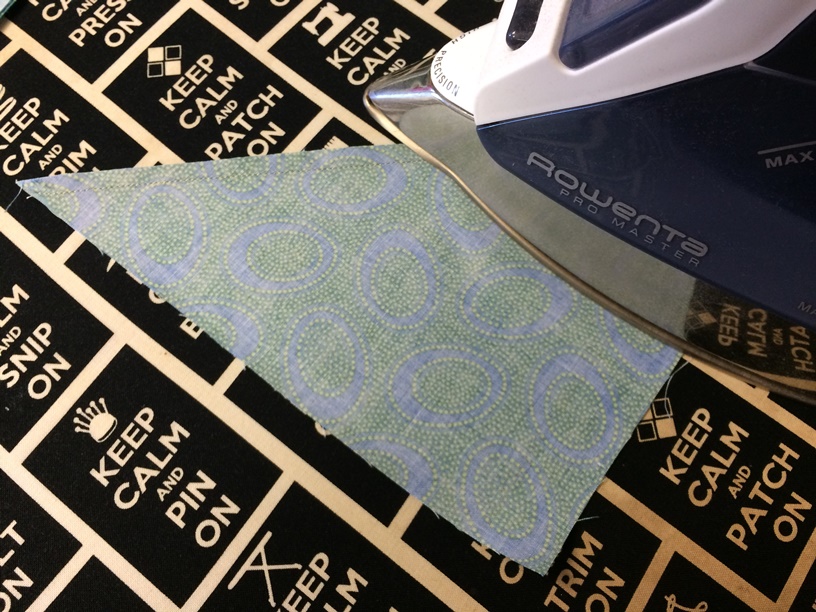
10. Press seams.
Press seams closed to set the threads in place, then press from the back of the patchwork, and finally flip it over and press from the front side. Remember not to move the iron back and forth with pressure as that will distort and stretch fabric.
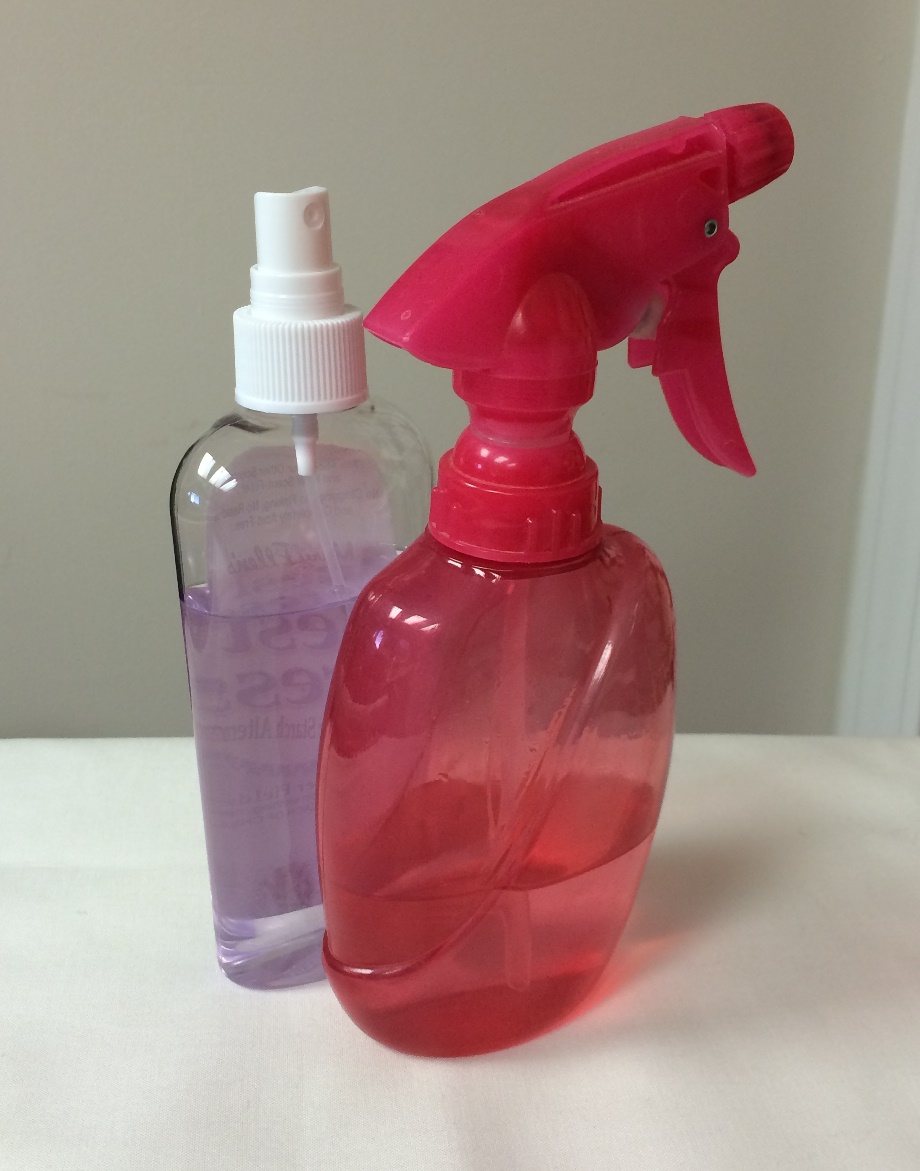
11. Never put water in your iron!
The iron will last much longer and there will never be any unfortunate leaks or spitting. Use a small spray bottle of water or pressing product instead. A quick spritz with a spray bottle is super effective and easily refilled.

12. Buy old printer’s trays from flea markets or antique shops.
They are perfect for storing threads, are easy to hang with a couple of screws and they are pretty. Arrange thread in rainbow order, or in a way that is practical for your use.
13. Use return address labels.
They are great for identifying rulers, mats, rotary cutters and other small tools you take with you on retreats and workshops. If they are left behind, the finders will know how to contact you!
14. When you finish a big project, reward your machine with a nice cleaning.
Also, refold and store unused or leftover fabrics. File the patterns and tools that were needed. Refill bobbins, replace rotary blades if needed and restock any supplies that were used up. A quick tidy of your sewing space will leave it ready for a new project!
15. Did you know that every Craftsy class is filled with wonderful hints and tips, just like these?
When you take a class, you not only will learn a skill or technique, but you will also learn lots of little things along the way that help make quilting quick and easy!
Share tips, start a discussion or ask one of our experts or other students a question.
No Responses to “15 Tips and Tricks for Quick and Easy Quilting”