
Never heard of prisming? It’s a classic photography technique, and you can see it applied in everything from fashion photography to fine art photography. In fact, in the past year or so it has popped up in wedding and portrait photography, thanks to Washington DC based wedding photographer Sam Hurd. However, prisming isn’t complicated; any photographer can apply this technique with great results.
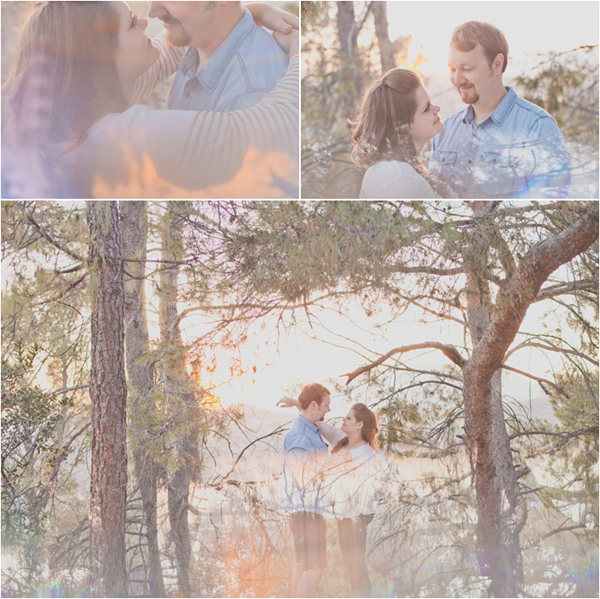
Photos via Hazelwood Photo
Let’s learn more about the photography technique of prisming!
So, what is prisming?
Prisming is an in-camera effect where a photographer places a prism in front of their lens while capturing an image. The beauty of this technique is you can use pretty much any lens, and you don’t need to spend an arm and a leg on a fancy camera or Photoshop filters.
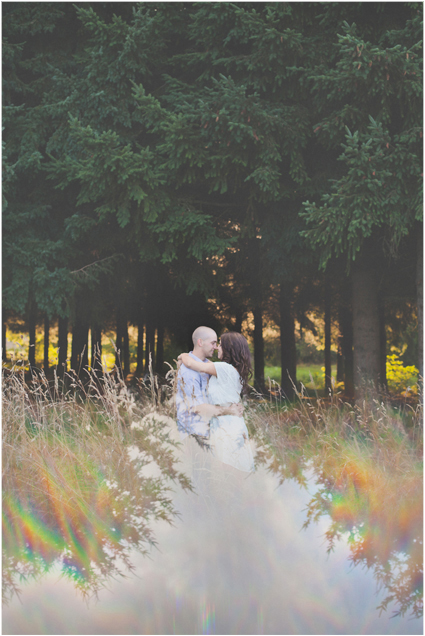
The effects of prisming range greatly. Depending on the light source and how the photographer angles the prism, it can create a rainbow effect or a mirrored image effect among other things. The possibilities are endless!
How do prisms work?
Well if you think back to 6th grade science class, you may remember a paragraph or two about the science of prisms. Here’s the paraphrased answer to how prisms work….
As light moves from one medium to another, say for example from air into the glass of a prism, it changes speed. When the speed changes it causes the light to be refracted and enter the new medium at a different angle. The refractive index of many materials (such as glass) varies with the wavelength or color of the light used, a phenomenon known as dispersion. This causes light of different colors to be refracted differently and to leave the prism at different angles, creating an effect similar to a rainbow. Simple, right?
Where do I find a prism?
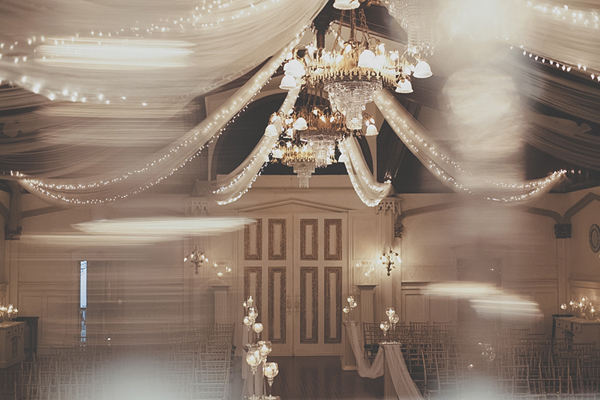
There are many types of prisms to choose from, simply find a prism you would like to experiment with. They come in all different shapes and sizes. The prism I have found works best for me is a 6″ equilateral prism. I like working with this prism because it is long enough, so I don’t have to worry about my fingers being in the shot. Once you have your prism of choice, experiment with different settings and subject matter. The above photo is an example of prisming with artificial light for a blurred faux motion effect.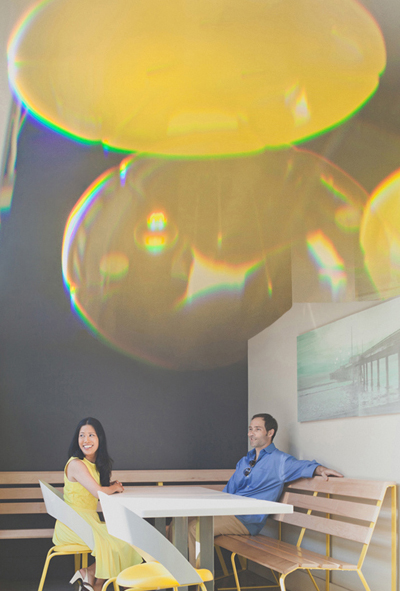
Prisming tips
This is what’s so great about prisming, there are no rules or guidelines! The more you play with this technique, the more you will know what works for you and your prisming style will emerge! Let your environment and creativity inspire you!
In the above featured shot I took advantage of this interesting yellow light fixture and used my prism to magnify and distort the light source.
do we have a class on this?