
With the progression of technology, an amazing new world of printing onto fabric has emerged. It is used in many ways that you don’t even realize until you look closer. I’ve seen it used to package beautiful gifts or create stunning framed embroidered works of art. The uses are endless and it can be confusing to find a way to start.
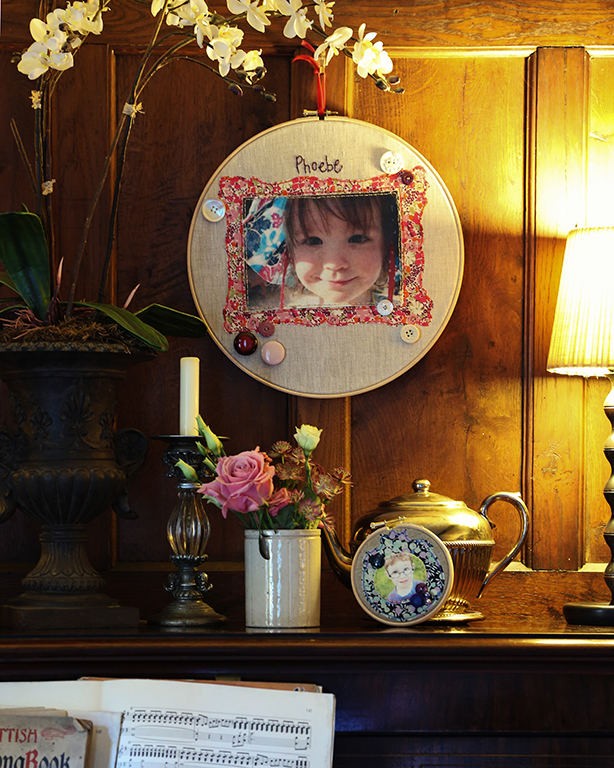
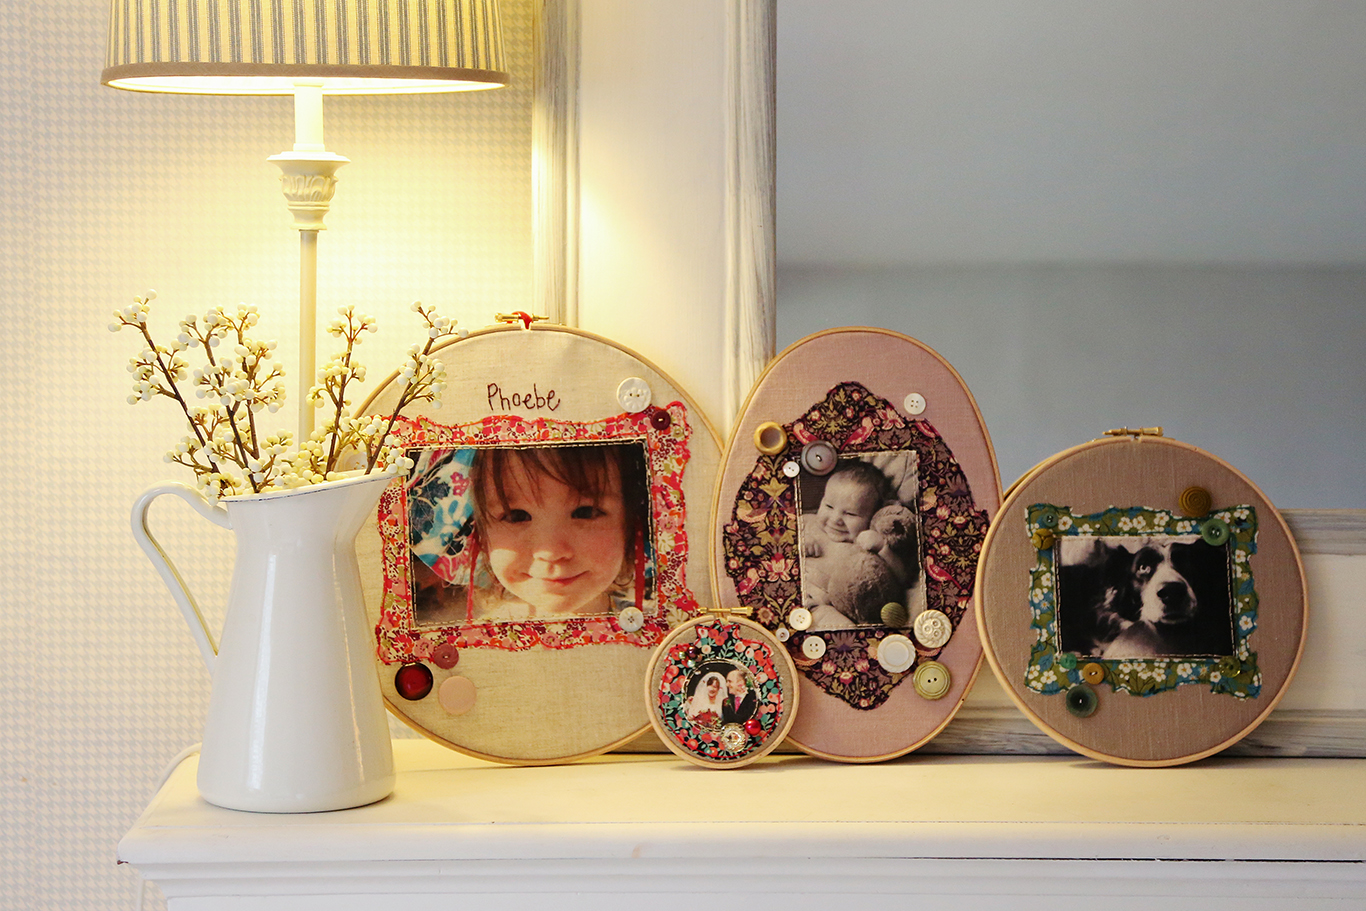
Fabric photo frame with a fabric photo by Marna Lunt Photo by Lyndsey James
Explore beautiful examples of fabric-printed pieces by artists and then discover a simple but lovely way to do your own fabric printing. Quite often only basic embroidery skills are needed, but you can embellish these as much as you want.
Examples of using printed fabric in embroidery
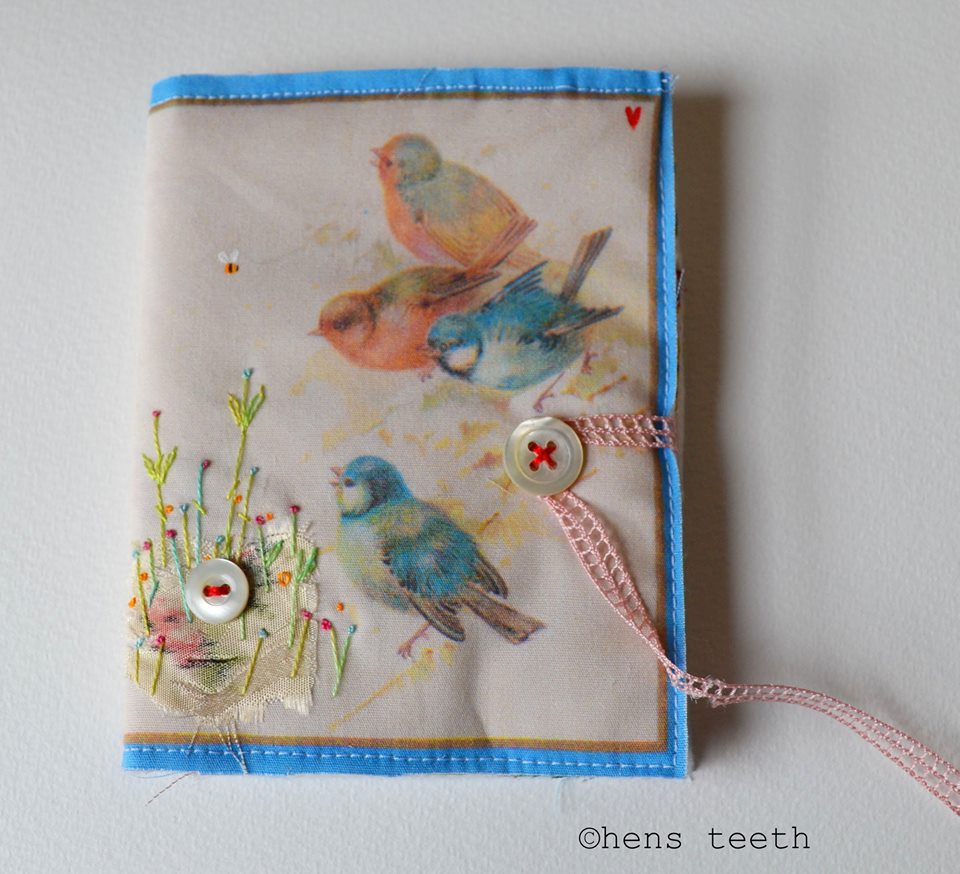
Photos via Hens Teeth
Textile artist Hens Teeth has cleverly printed fabric with a scan of a vintage thread packaging made this into brooches as well as wonderful needle cases. It’s so clever and the layers of stitchwork over the top are very beautiful.
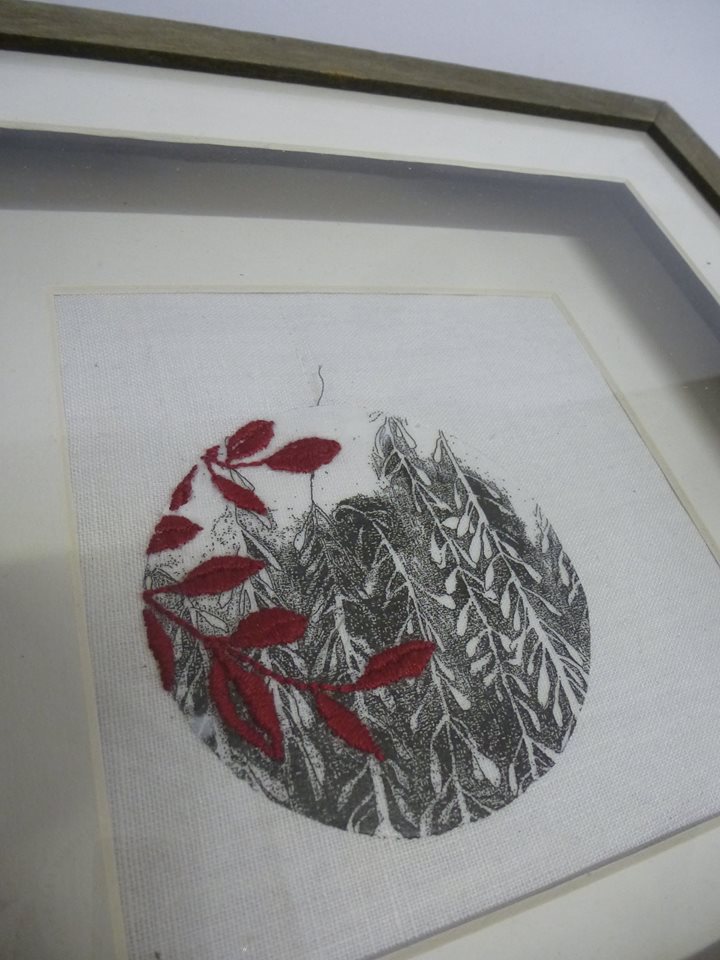
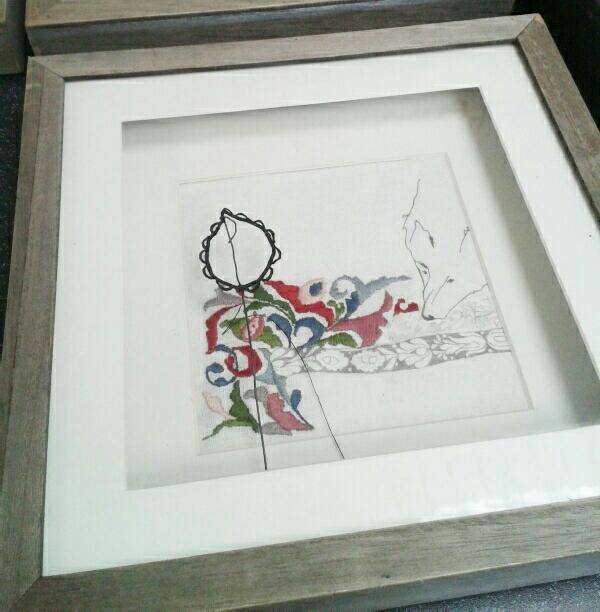
Photo via Julia Jowett
Julia Jowett is another very talented embroiderer who very subtly uses printed fabric within her layered artwork. I really love this use of drawing, printing and then anding embroidery and stitchwork to create a unified and original work.
Printing on fabric
Theres are two main products I would use to create these sort of additions to your work — T-shirt transfer paper is the first one and the one that I will be using in the project to follow. This is a paper that you print onto and the pin onto your fabric and it creates a layer on the fabric that can look plastic -like depending on the brand. The project I show you could use either method or product but I will be using the transfer paper because I like the glossy photo-like effect it creates for this very particular method.
The second product is a thin fabric that has been mounted onto a thicker card-like base that comes in sheets that you feed directly into the printer and the inkjet will print straight onto the fabric. You can then use this is your work. It’s a great way to print patterns on your work too that you can then stitch over. You chose the method of printing depending on the project and final effect you want.
How to make a hooped photo frame
Materials:
- 9″ hoop
- Plain linen background
- Patterned fabric to use for the frame
- Bondaweb
- T-shirt transfer paper
- Photo of choice
- Needle and thread
- Pritt Stick
- Paint (optional)
Instructions:
1. Choose your piece of plan linen fabric and iron it. Choose your patterned fabric for the frame and iron that too.
2. Draw out the template onto a piece of Bondaweb, iron this onto your chosen frame fabric. Round the edge and place it in the center of the plain fabric leaving plenty of space around the edge to be able to mount it in your chosen frame. Iron the patterned frame fabric in place.
3. Place the fabric into the hoop, ready for stitching it into place. At this point, leave space in the middle for the photo to be placed and add your embellishments around the edge. This could be by adding buttons and materials, or by stitching further details, maybe a bouquet of flowers, a message about the photo, a date or a poem.
4. Once all this detail work has been done, iron the back of the work so it is ready for the fabric photo to be added.
5. Now for the fabric printing. Chose the photo you want to use and size it to fit into the fabric frame you have created. Also remember that when you print the image to the transfer paper, it will be ironed on in the mirror image, so if you need it to be exact, you will want to edit the image and print it in reverse.
6. Once you have printed the image, place it on some white linen or cotton (or if you want an aged vintage feel, you could chose some nice off-white fabric), it needs to be light colored so you see your photo properly. Iron the transfer paper onto the fabric.
The reason I like to do it this way rather than simply print onto the fabric, which would be far easier, is because the transfer paper has a leathery feel and sometimes is quite glossy. This is far more like an actual photo and it is simply my personal choice. I suggest you explore the different methods an use whichever you prefer.
7. Cut out the fabric photo, place in the middle of your embellished fabric frame surround and fix it in place with some Pritt Stick.
8. Place your piece of work back into your hoop and stitch the photo onto the piece using any stitch you want, I have used backstitch, but a blanket stitch, couching, coral stitch or whip stitch would also be great. You can really go to town with embellishments here. I have kept it relatively simple so the photo and patterned fabric really shines, but instead of a photo, you could use a quote, saying or poem in the middle and really go to town with the texture and use of fabulous stitchwork.
Share tips, start a discussion or ask one of our experts or other students a question.
No Responses to “How to Use Printing on Fabric in Your Embroidered Artwork”