
Once upon a time, photography was all about the print. We took photos of special places and special moments so that prints would take their special place in family photo albums and on the walls of our home.
Today, a photo is more likely to end up on your digital wall than your living room wall. In the here today, gone tomorrow world of blogs, Instagram, and Facebook, do prints still have a place in our lives? I think they do. And I think if you are able to print them almost as instantly as you can post them on Facebook, you will be more likely to hang them in your home and share them with the people closest to you, in person.
Here are tips to print your own photos:
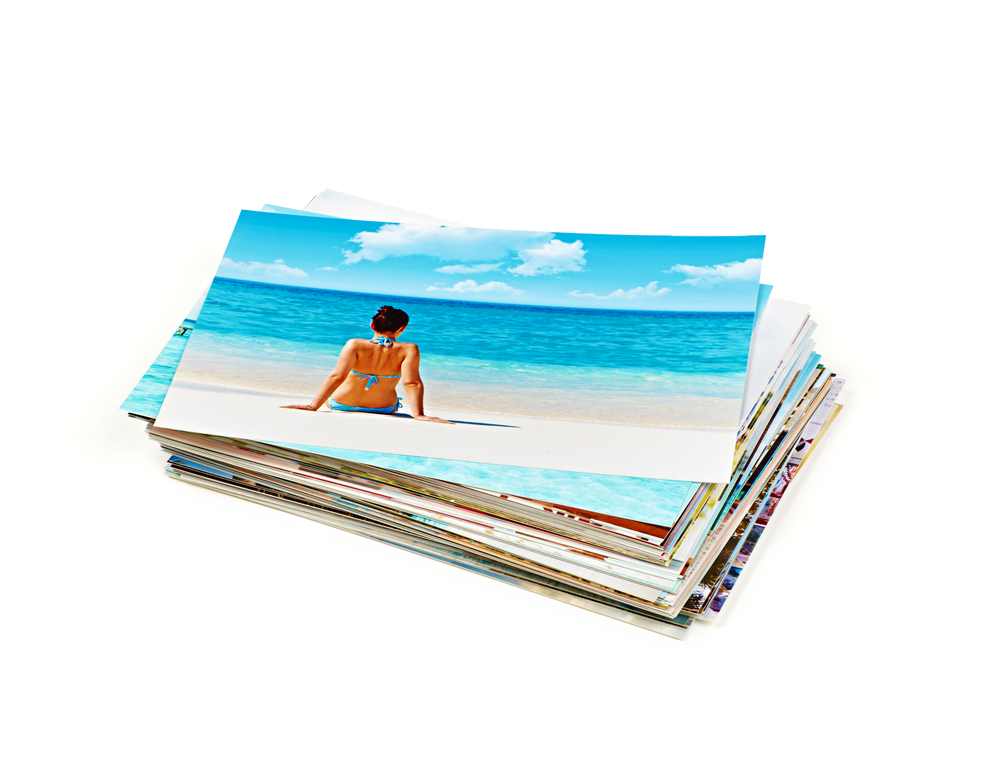
Photo via Shutterstock/Vadim Georgiev
Photo printers come in a variety of sizes, capabilities, and costs. Printing at home is typically more expensive than sending it out to a lab, mostly because of the volume a lab can handle. However, the convenience of printing at home can’t be beat.
Print Size
The first question you need to ask yourself is: how big to I want to print? As big as possible, right? Not so fast. It gets very expensive, very fast as you increase the size capabilities. So let’s be realistic. Are you putting large format fine-art prints on your living room walls? Or are you putting snapshots on your refrigerator door? Maybe somewhere in between?
The smallest printers will do wallet-sized prints and 4x6s. The largest printers use rolls of paper that allow you to print as wide as the roll is and as wide as the amount of paper on each roll. If you do a lot of printing, it is possible that the bigger printer will be more cost effective than a smaller one, because you can gang up the prints together to save paper and the larger ink cartridges used with the larger printers will be less expensive by volume. Consider your printing needs and run the numbers to find out which is most cost effective.
Inkjet vs. dye-sublimation
The most common types of printers either use an ink-jet technology or dye-sublimation technology. Inkjets lay down a dot pattern of cyan, magenta, yellow and black colors to create the image. Sometimes there are additional colors involved, like different kinds of black or lighter versions of the color inks. The inkjet has hundreds or thousands of nozzles that lay ink down in just the right amount to create smooth gradations of color. Dye-sub printers use a layers of dye, melted off a ribbon of plastic to put down color in the right spots. They don’t use dots like an inkjet printer so even under magnification, they can look smooth.
Inkjets are better at creating sharp edges and replicating the detail of high resolution photographs. The method of printing can be slow, depending on the resolution of the printer and the number of colors that are used. Inkjets can accept a variety of paper textures and weights and generally have a larger range of color that can be reproduced.
Dye-Subs are not quite as sharp, but are quite a bit faster to print. The maintenance is easier on a dye-sub and more like prints we are used to seeing from a professional printer, but the paper choices are more limited. They typically only do well with glossy photos, although they are more durable and waterproof than glossies from an inkjet. Fading can be an issue for either one, although you can use archival quality paper with the inkjet to make your prints last longer.
Paper types – matte, glossy, surface texture, sizes, weights, brightness
If the paper type matters to you, look into the available options before purchasing a printer. You can get matte or glossy (or somewhere in between) papers with all sorts of textures. You can also get a variety of sizes and thicknesses, as well as a variety of brightnesses — which can change the look of your print.
Price
Of course, cost is the biggest factor for most of us. So look at your budget and what is realistic. Maybe you can start small—good 4×6 dye-subs are less than $100—and increase your capabilities as your needs grow.
Understand Exposure for Better Photos Fast

Learn to manipulate depth of field & shutter speed for your best photos.Get the FREE Guide »
Share tips, start a discussion or ask one of our experts or other students a question.
No Responses to “Print Your Own Photos With These Quick Tips”