This quick holiday placemats tutorial is just the project you need to add some holiday color to your table this season. Grab some Christmas fabric and let’s get sewing!

How to sew holiday placemats
What you need:
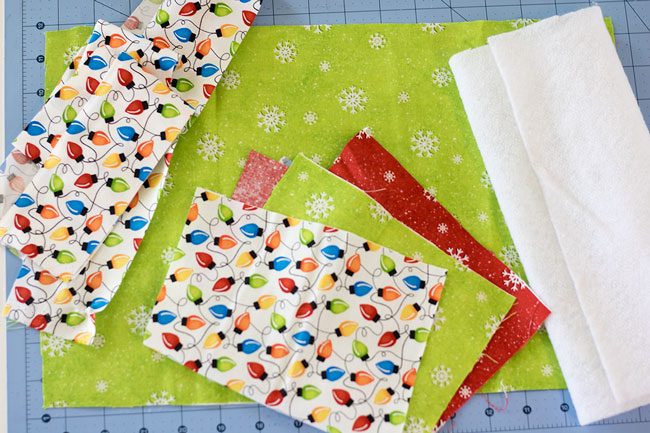
- Three or more coordinating Christmas fabric
- Fusible or fleece interfacing
- Regular sewing supplies
Cutting instructions:
You can easily vary the size of your placemats. I made my 10″ x 16″, and that’s what these cutting instructions are for. However, you can easily adapt as you like!
- Cut 1 piece of backing fabric 10″ x 16″ (the full size of your placemat)
- Cut the fusible interfacing to 10″ x 16″
- Cut each of the three fabrics for front to 11″ x 7″ (this is bigger than you need, for a bit of wiggle room}.
- Cut at least 55″ of 2½” wide fabric strips (for the binding)
Step 1:
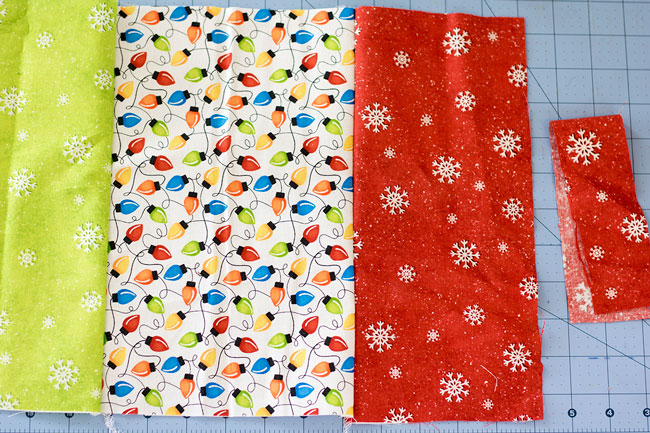
Sew the three front pieces together.
Step 2:
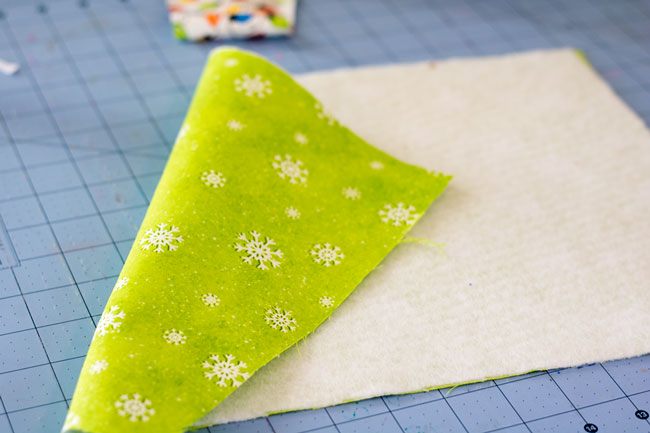
Iron the fusible interfacing to the wrong side of the back piece of fabric.
Step 3:
Center the front piece over the backing (with the facing on it). If you’re using fusible facing, iron the whole thing to adhere the fusible facing. If not, pin all over to hold the three layers together. Stitch on the two seam lines to secure together.
Step 4:
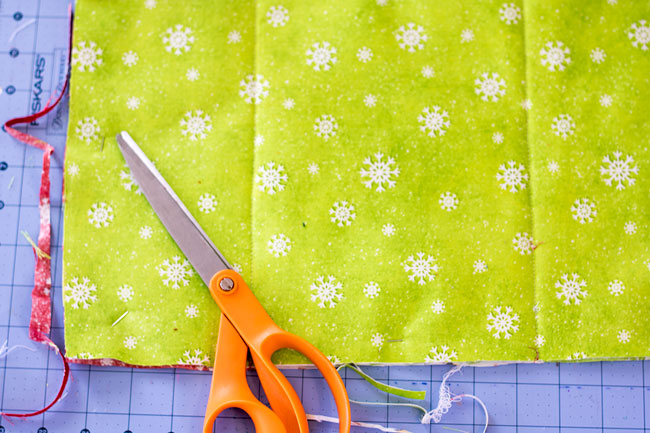
Flip over and trim the front so it matches the back in size.
Step 5:
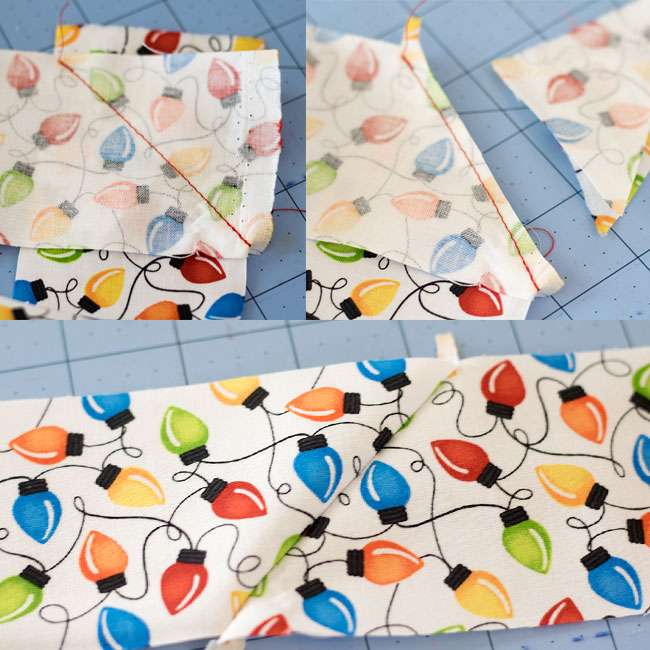
Prepare the binding strips begin sewing them together, make a long piece, at least 55″.
Sew the ends of the fabric strips together at an angle, trim the fabric and fold open to create a nice seam on the binding. If you need more detaield information on creating binding strips, check out this tutorial for how to bind a quilt.
Step 6:
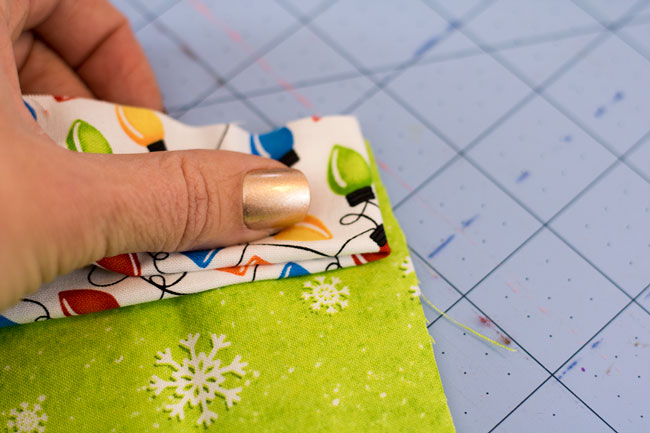
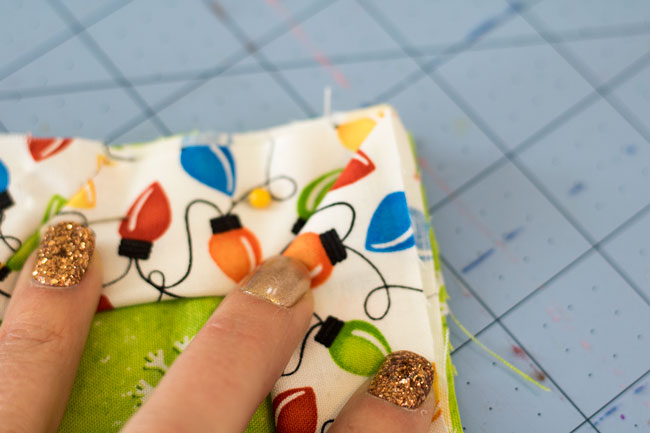
Fold the binding in half widthwise with the wrong sides together, so you only see the right side throughout the strip. Pin on the front of the placemat. Line up the edge of the mat with the raw edge of the binding. Fold the fabric at 90 degree angles at the corners (here are more tips on perfecting your binding corners).
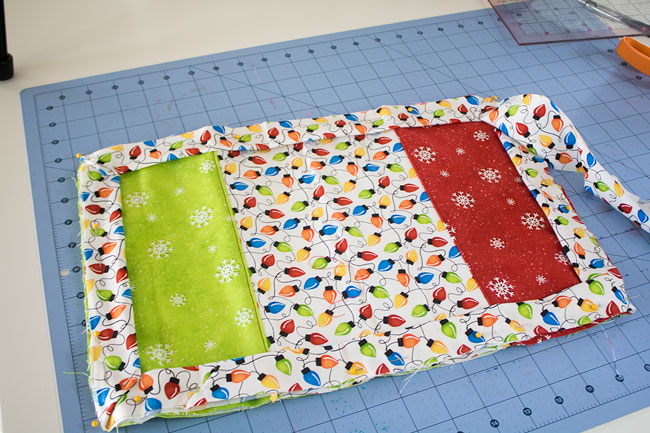
Pin all the way around, leave at least 2″ unpinned on each side where the binding meets. You’ll need this loose fabric to sew these ends together.
Step 7:
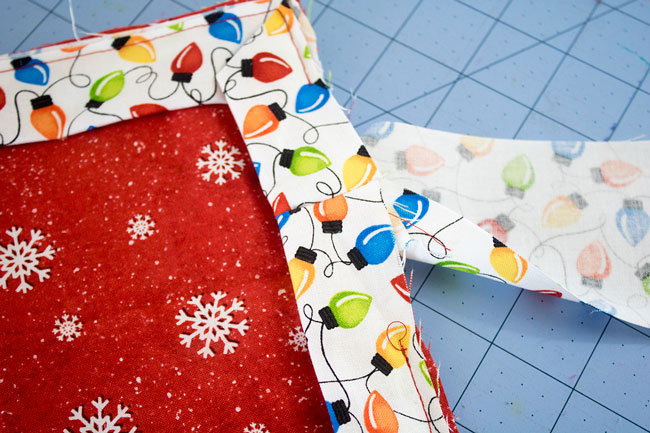
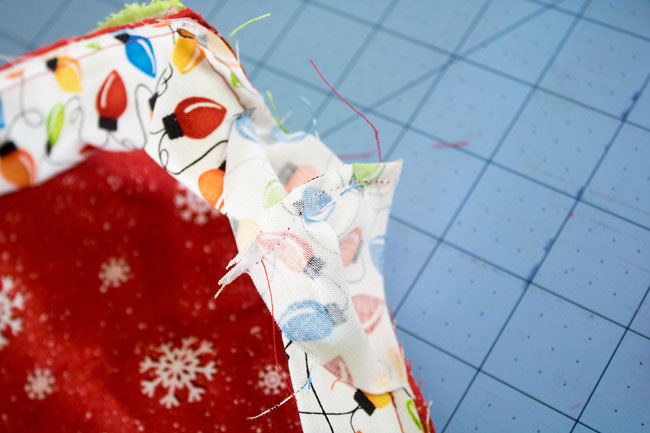
Starting about 2″ from one end of the binding, sew the binding to the placemat around the outside. Pivot the needle at the corners. When you’re 2″ from meeting where you started, remove the placemat from the sewing machine and sew together the ends of the binding fabric. Trim the excess fabric and finish sewing around.
Step 8:
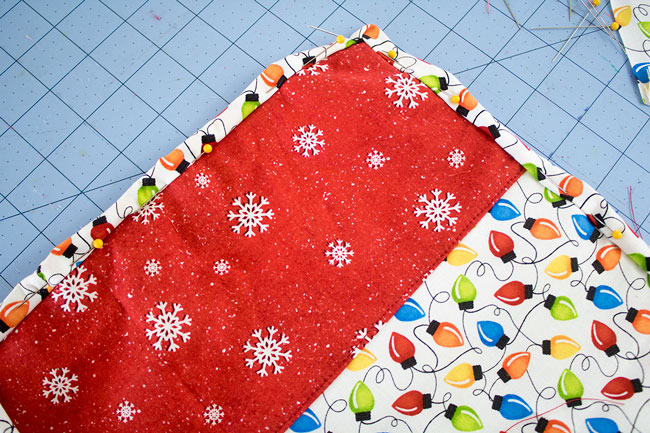
Fold the binding edge to the back of the placemat and pin.
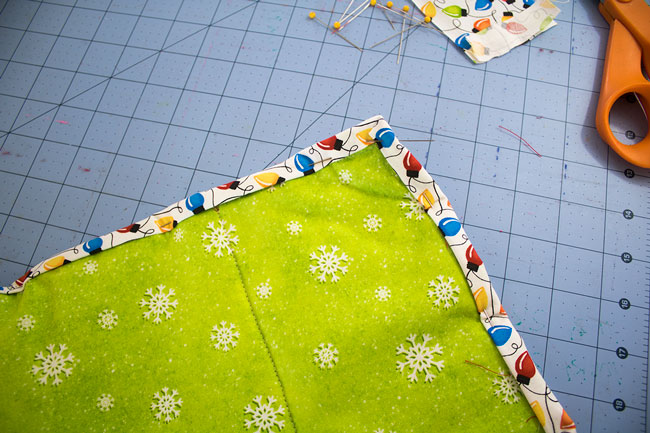
You will want to fully cover the seam allowance on the back of the placemat.
Step 9:
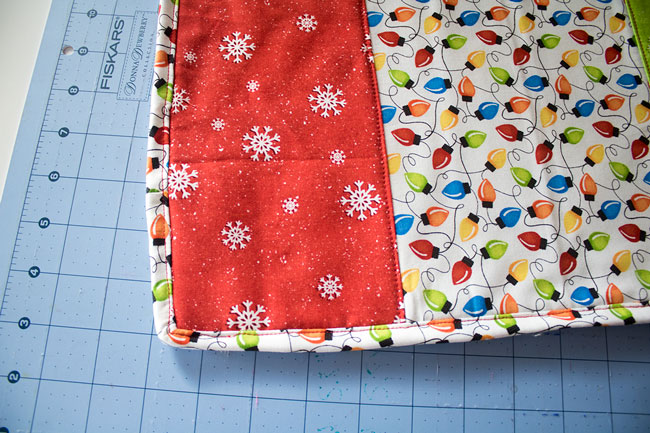
Sew all the way around the placemat very near the edge of the binding. This will finish the edge of the placemat.
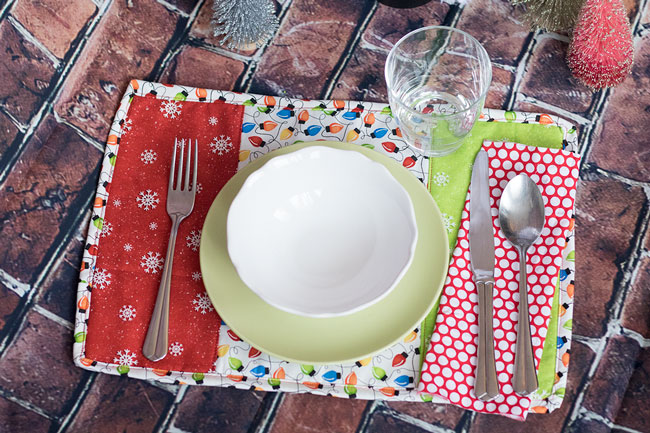
And there you have it! A quick holiday placemats tutorial! Make up a bunch to decorate your festive holiday table this season.

Share tips, start a discussion or ask one of our experts or other students a question.
No Responses to “Sew These Cute, Scrap-Friendly Placemats Before Santa Arrives!”