
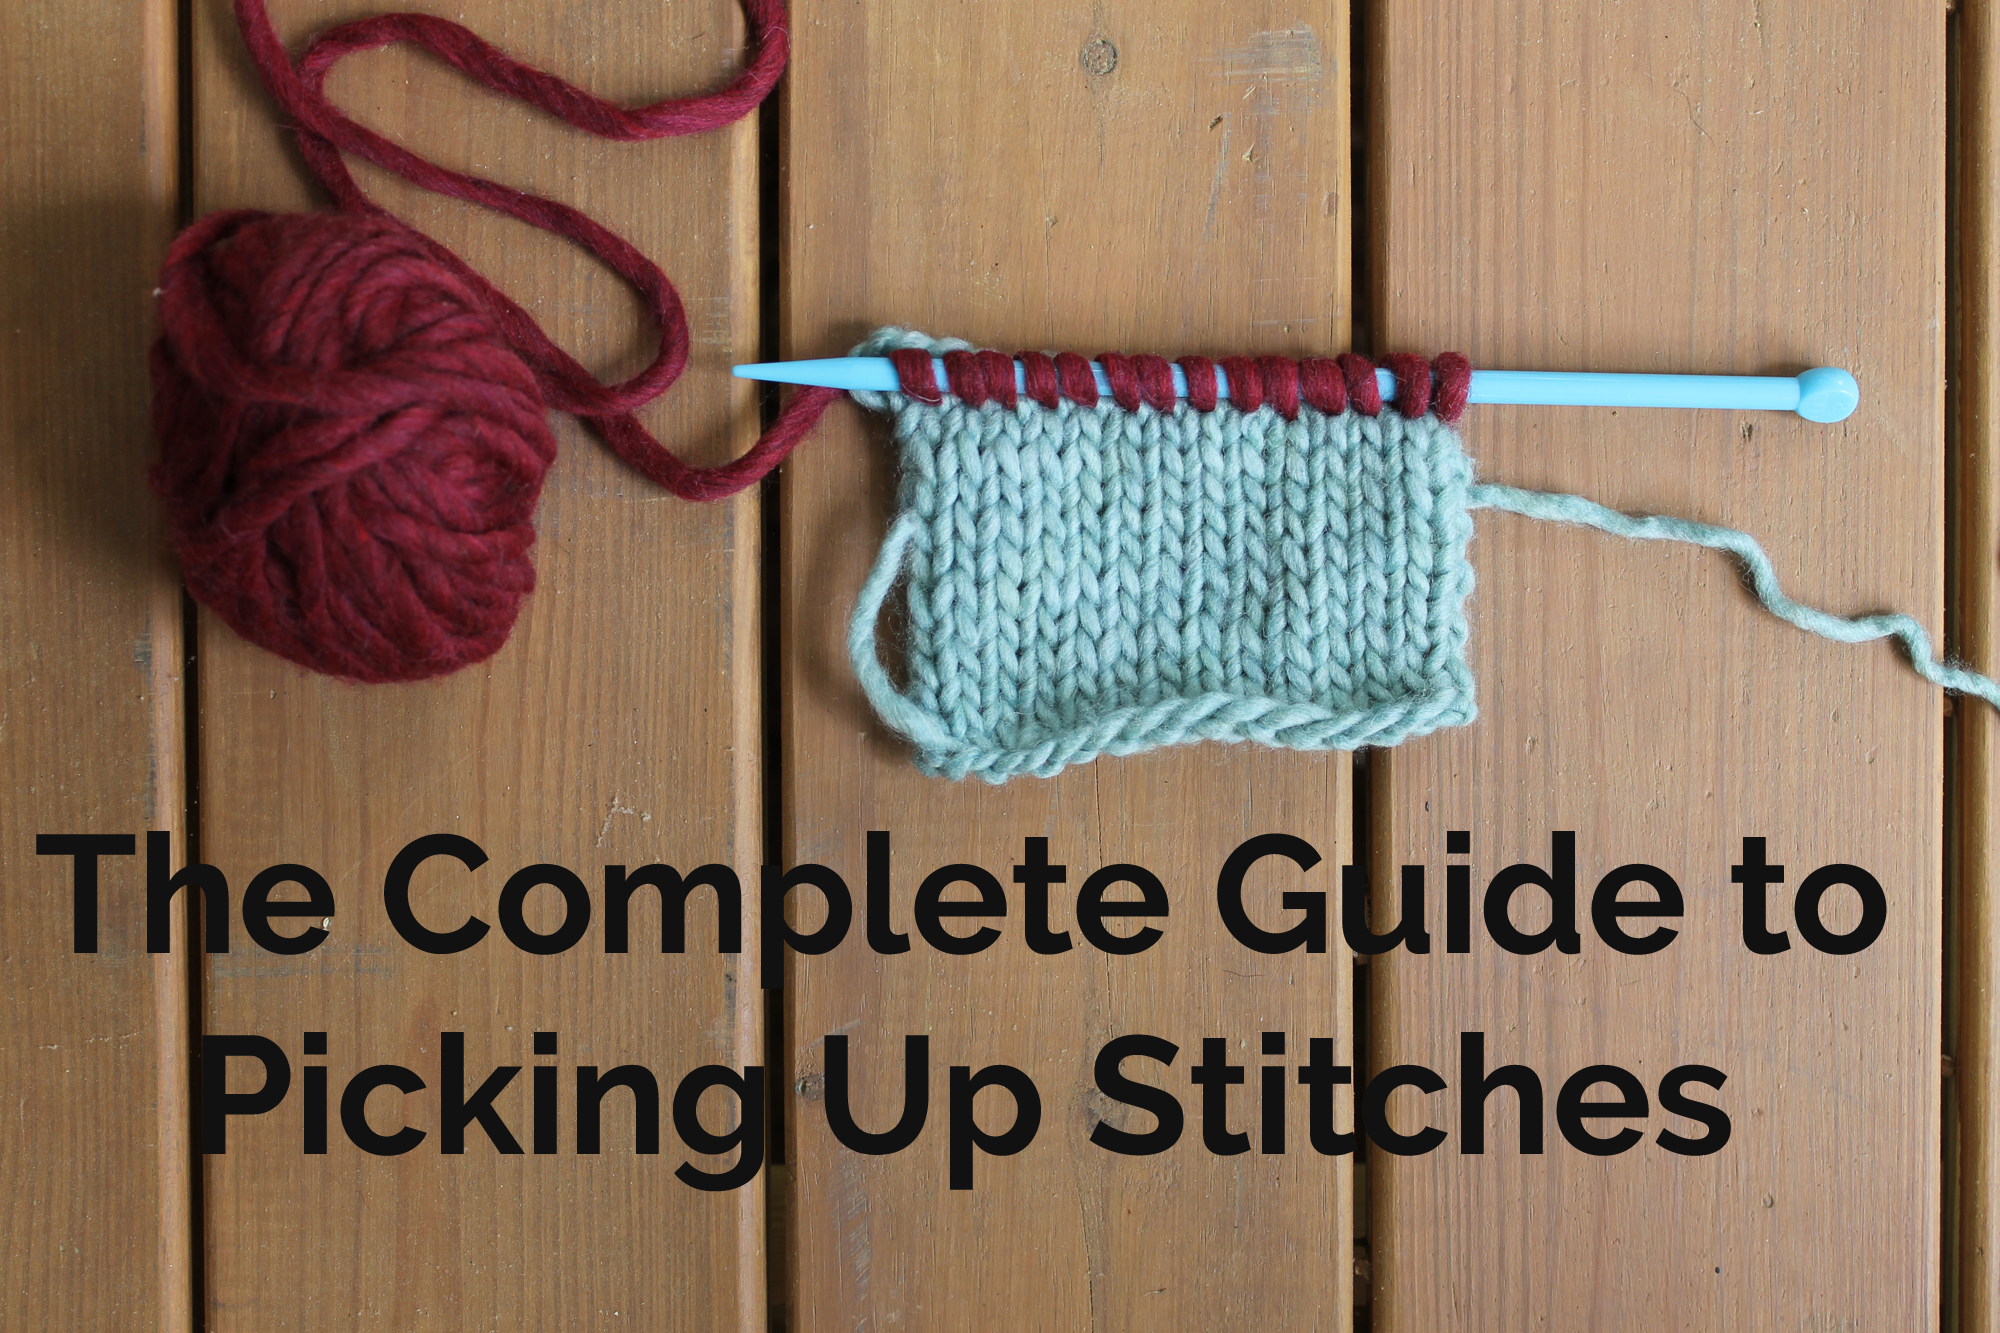
So your pattern is telling you to “pick up stitches” or maybe “pick up and knit,” and you have no idea what it means? Craftsy to the rescue! Picking up stitches is a lot easier than it seems.
You don’t need any special tools or skills to do it, either. If you can wrap yarn around your needle, then you have already mastered picking up stitches. The trick is just knowing where to pick up those stitches.
Check out our complete guide to picking up stitches.

When to pick up stitches
There are many different scenarios in which you’d need to pick up stitches. Let’s take a look at a few of them:
1. Sock gussets
If you’ve ever knit socks with a heel before, you’ll remember that you have to pick up stitches along the sides of the heel to create the gusset.
2. Creating shape
Projects like drawstring bags often have you knit the bottom circle, then pick up stitches around the circle. This gives the bag shape and sometimes even helps bags sit up without falling over.
3. Knitting necklines
Some sweater patterns ask you to pick up stitches around necklines. Picking up stitches makes the neckline more smooth and even, and it’s also great for unifying pieces that you’ve seamed together.
4. Button bands
If you’re knitting a cardigan, occasionally you’ll need to add a button band as part of finishing. This requires picking up stitches along the edges of the cardigan.
5. Adding sleeves or hems
You can pick up stitches around armholes to add sleeves, and you can also pick up stitches around hems to add length to your sweaters.
How to pick up stitches
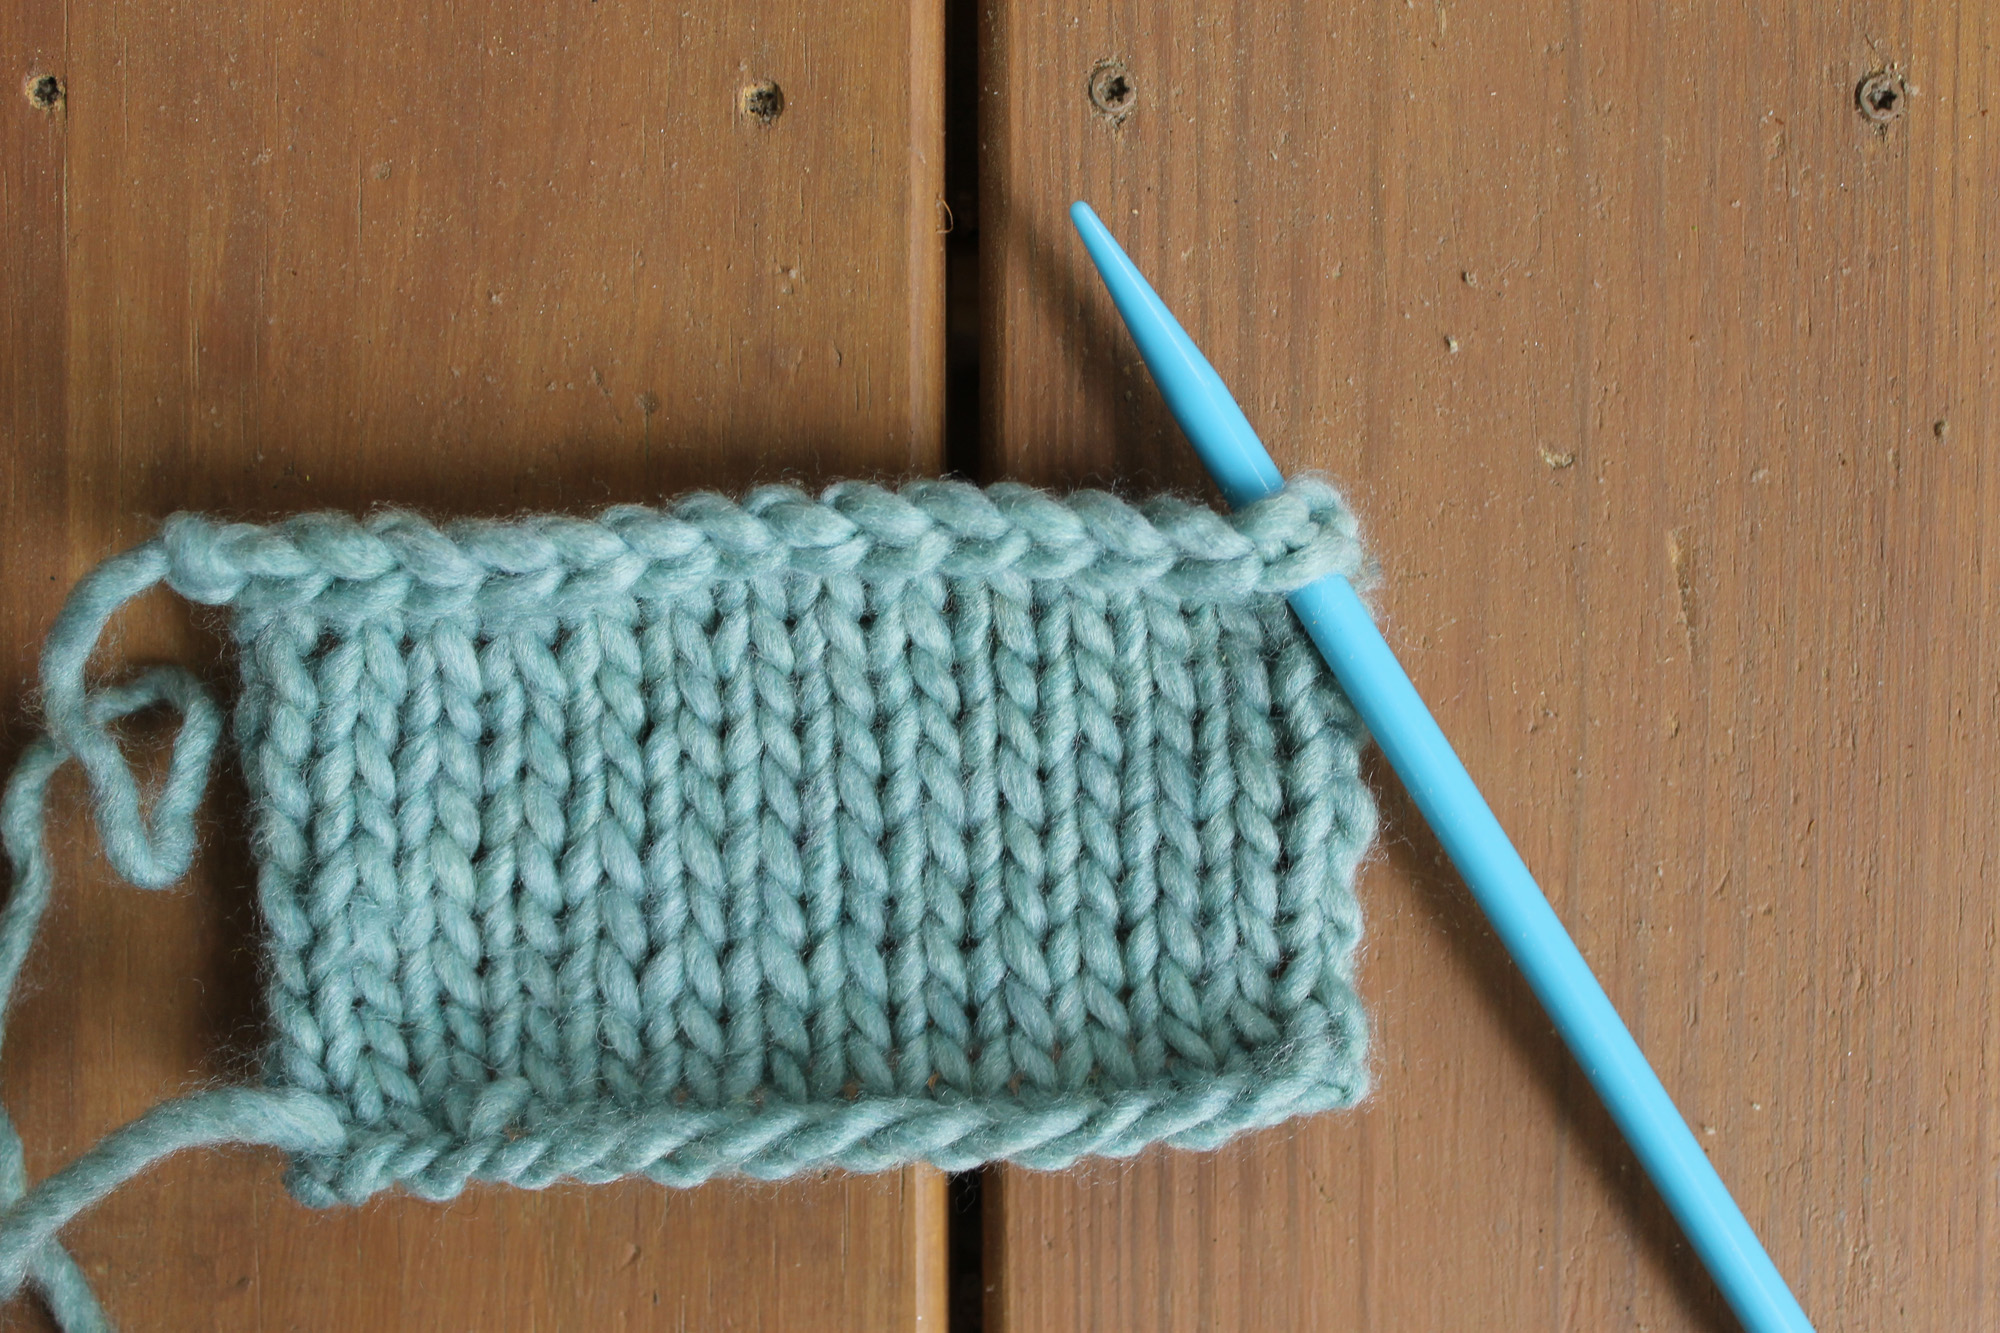
Horizontal edges
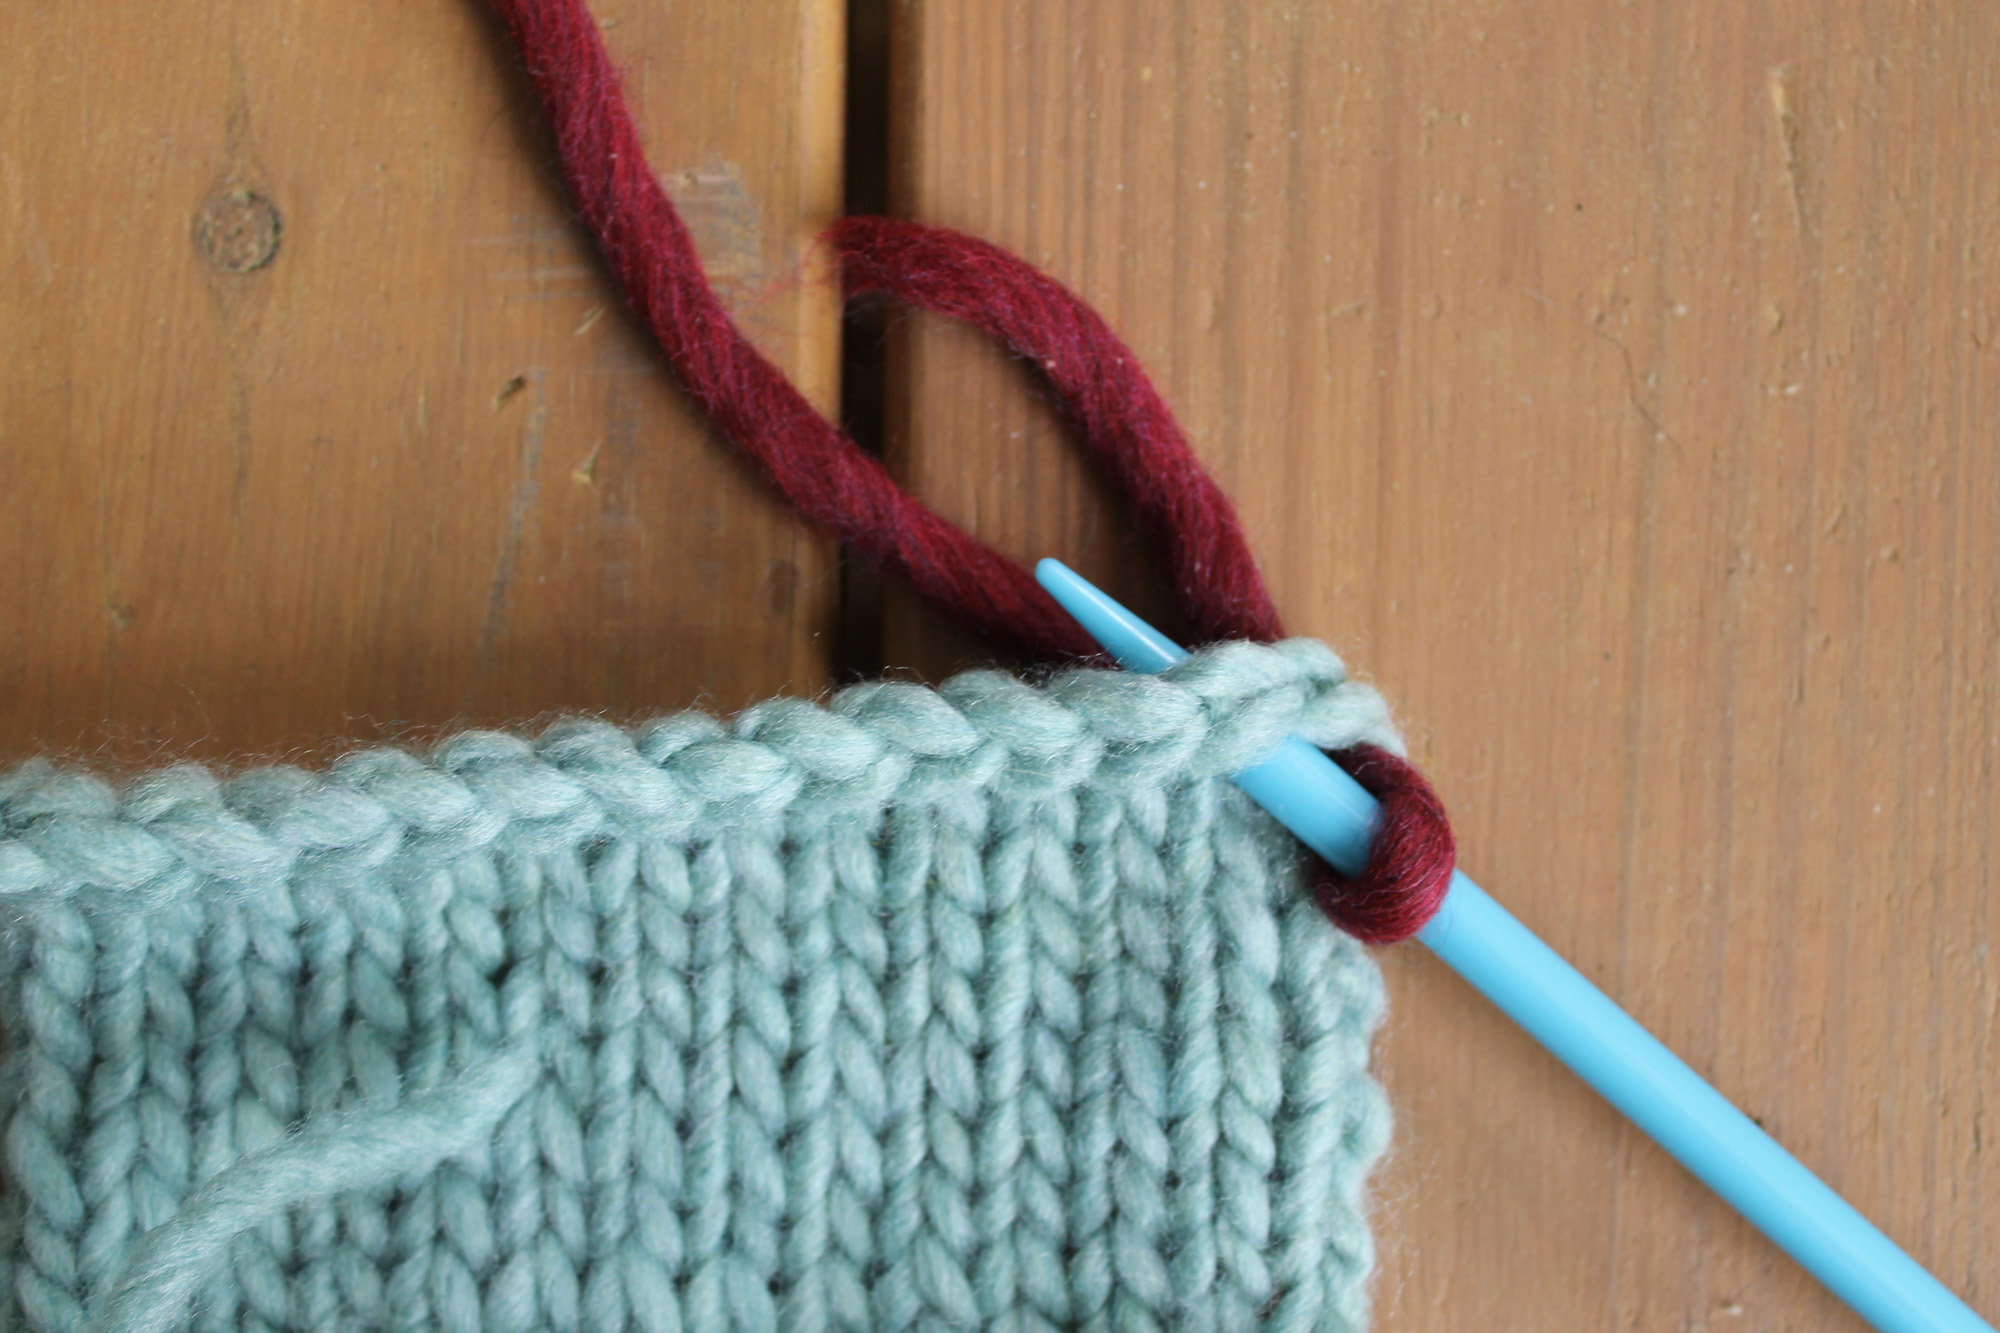
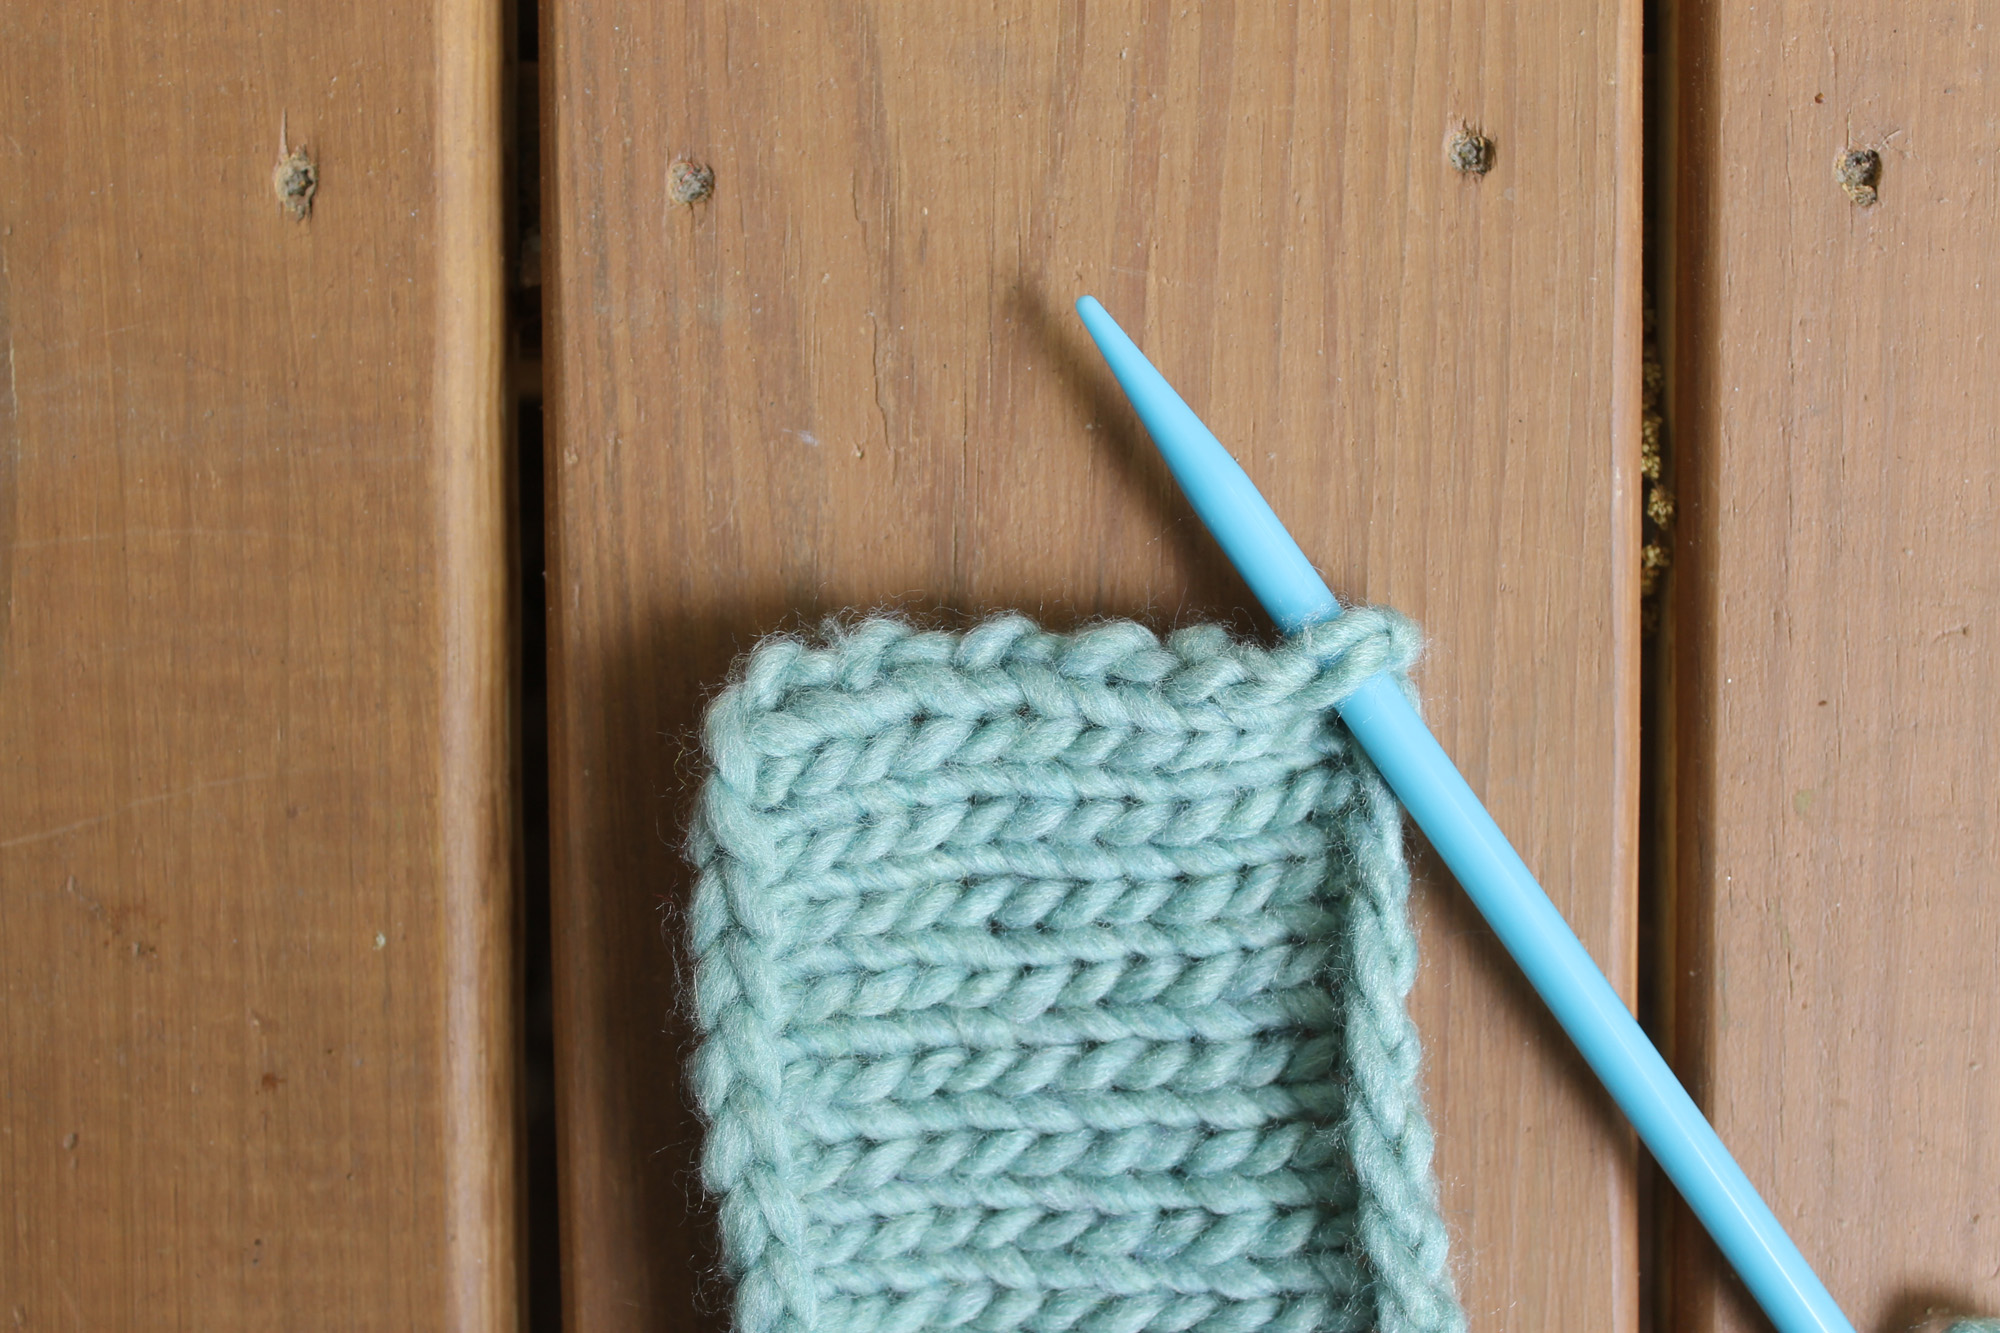
Here’s how to pick up stitches from a bind-off or cast-on edge. (Note that I’m using a contrasting color yarn so that you can more easily see the picked-up stitches.) You’ll be working from right to left across the edge.
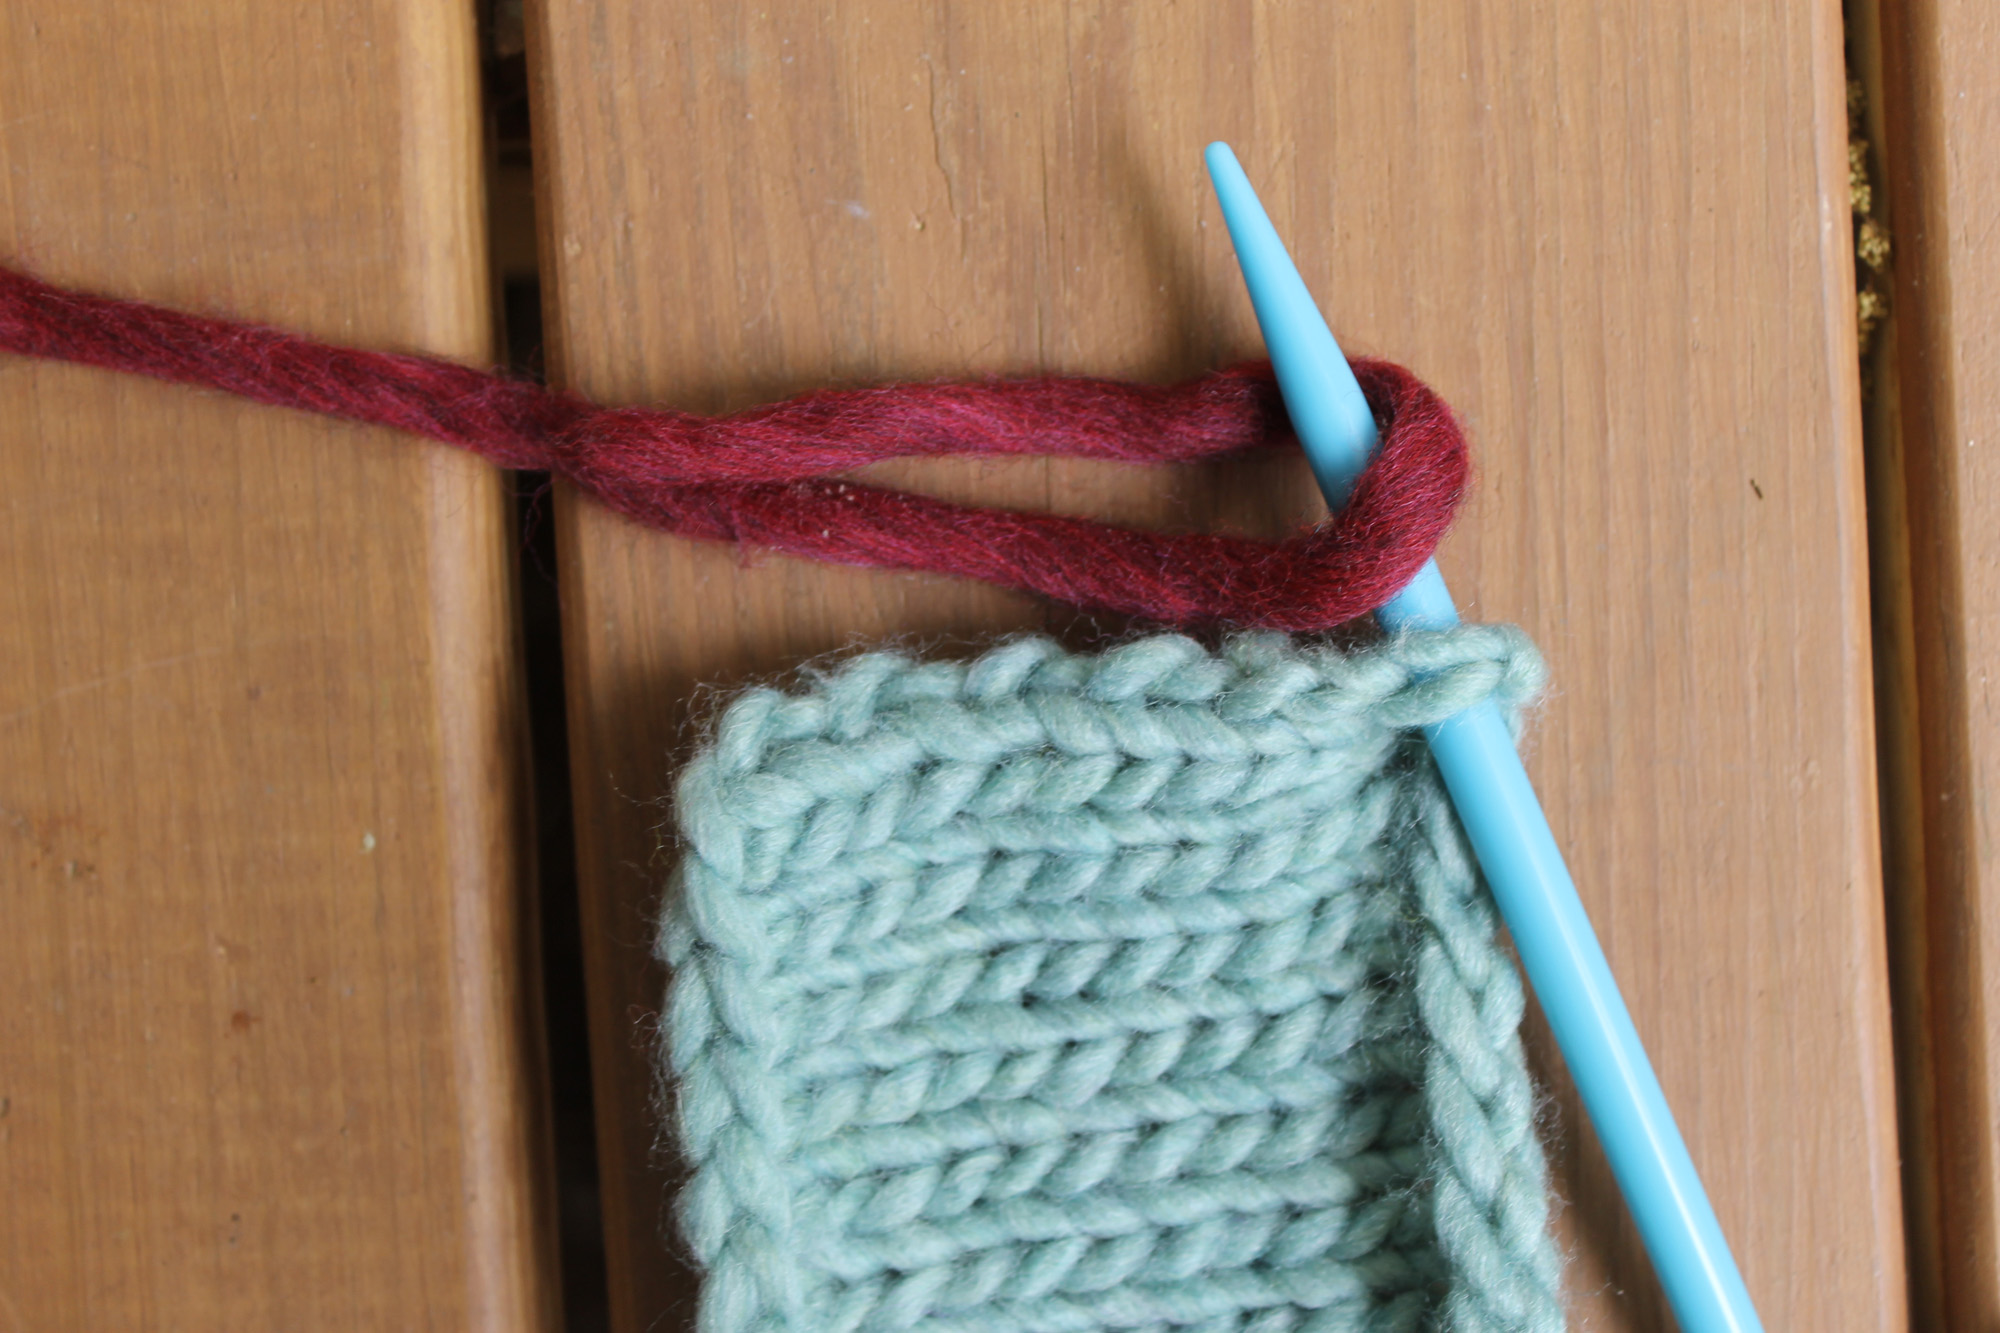
1. Place your work right side up. Insert your needle into the first stitch from front to back. For a bind-off edge, the needle will go inside the V of the stitch just below the bind-off edge. For a cast-on edge, the needle will go inside the V of the stitch just above the cast-on edge. (Here, I’m showing picking up stitches from the bind-off edge.)
2. Grab the new yarn that you’re going to attach. Leaving a long tail for weaving in later, wrap the new yarn around the needle.
3. Pull the new yarn through the stitch.
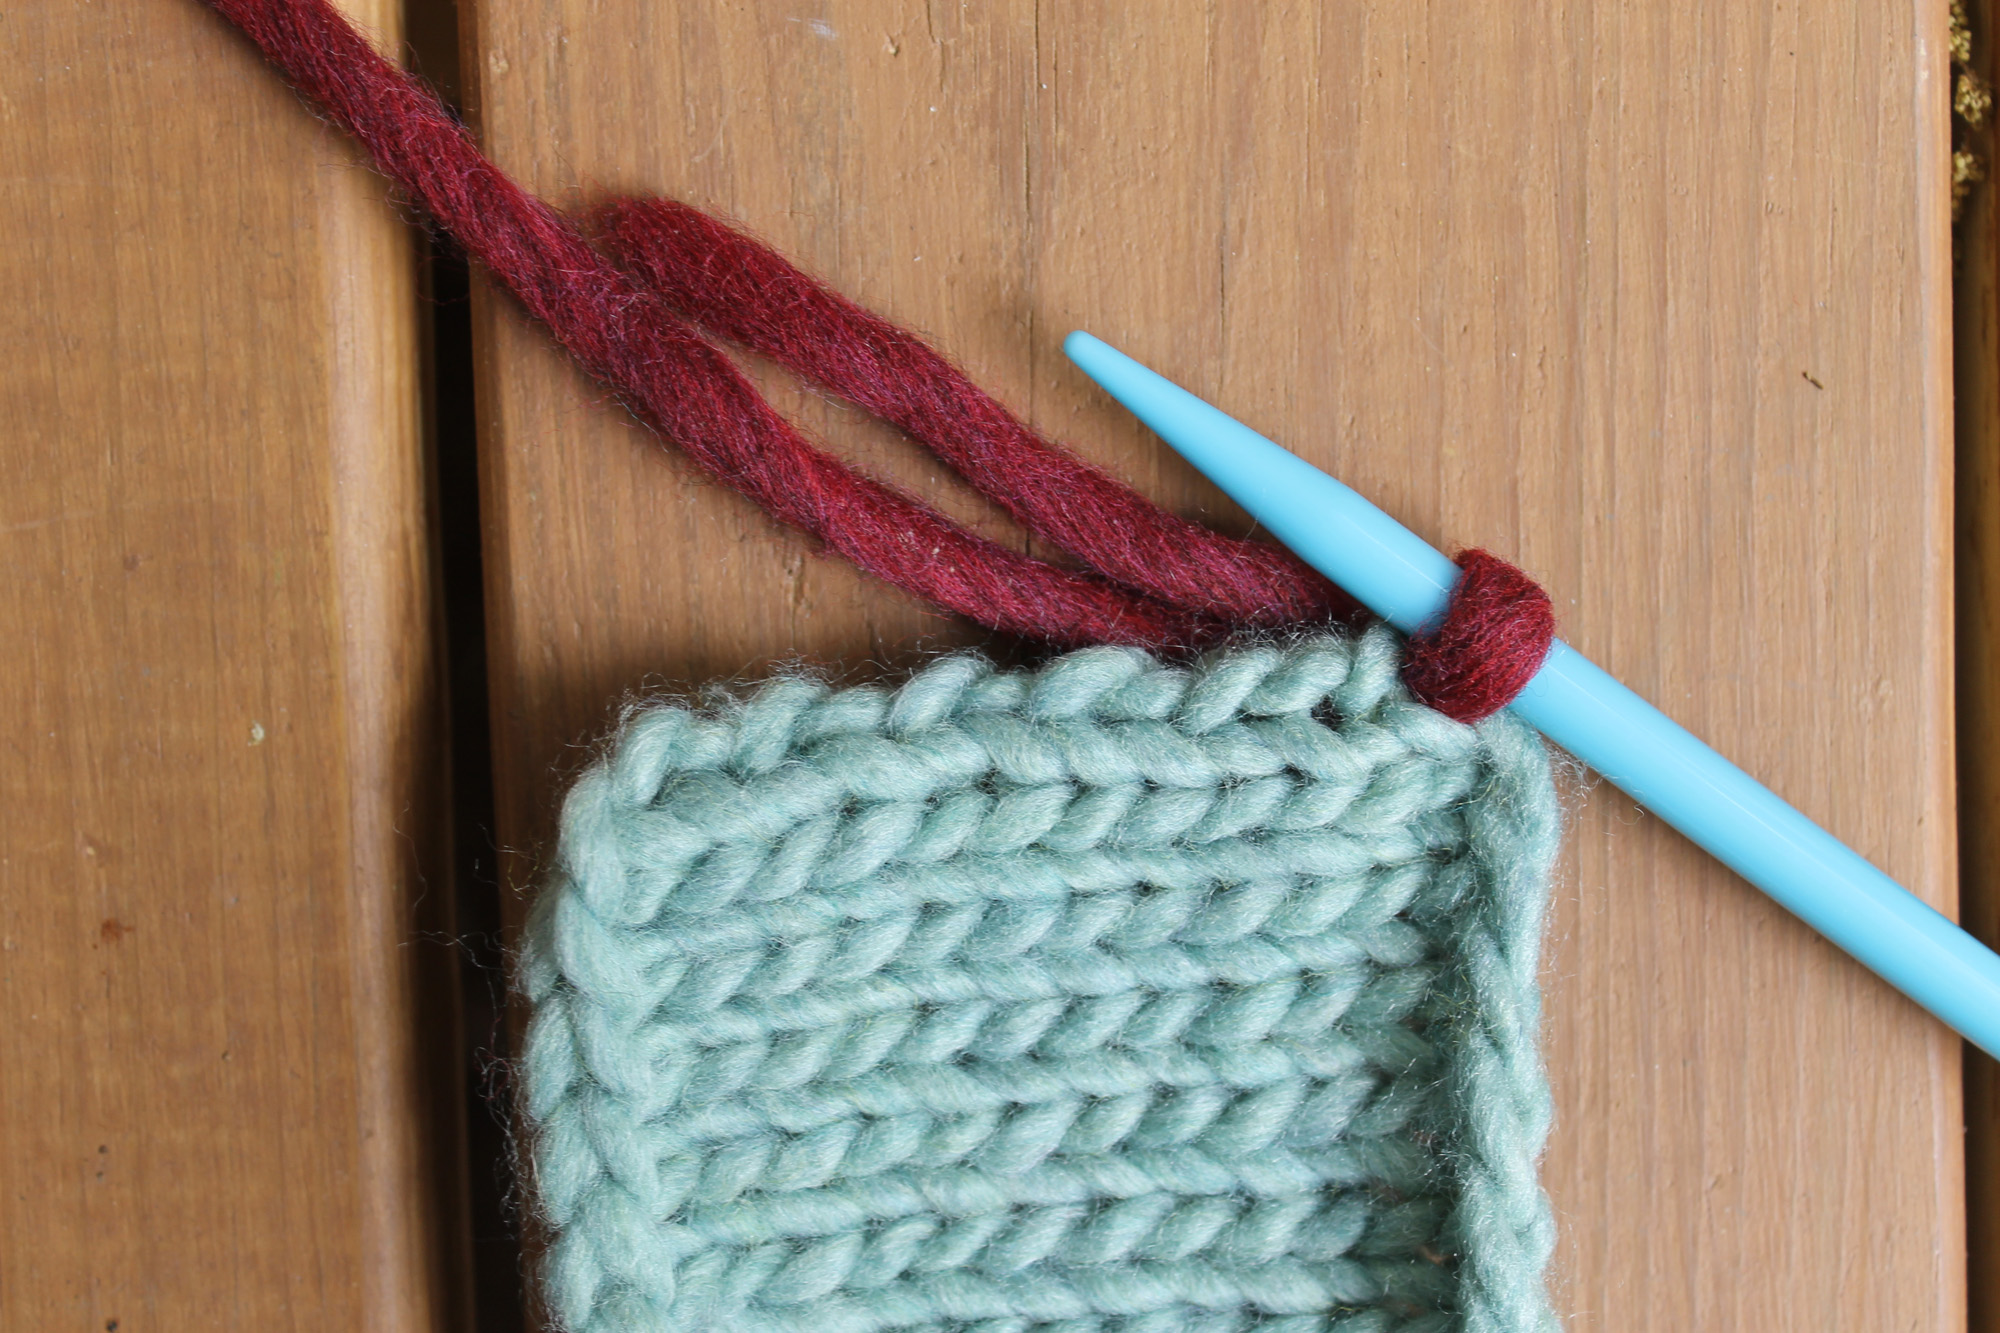
4. Insert the needle through the next stitch. Make sure you’re inserting the needle into the center of the next V so that the stitches are spaced evenly.
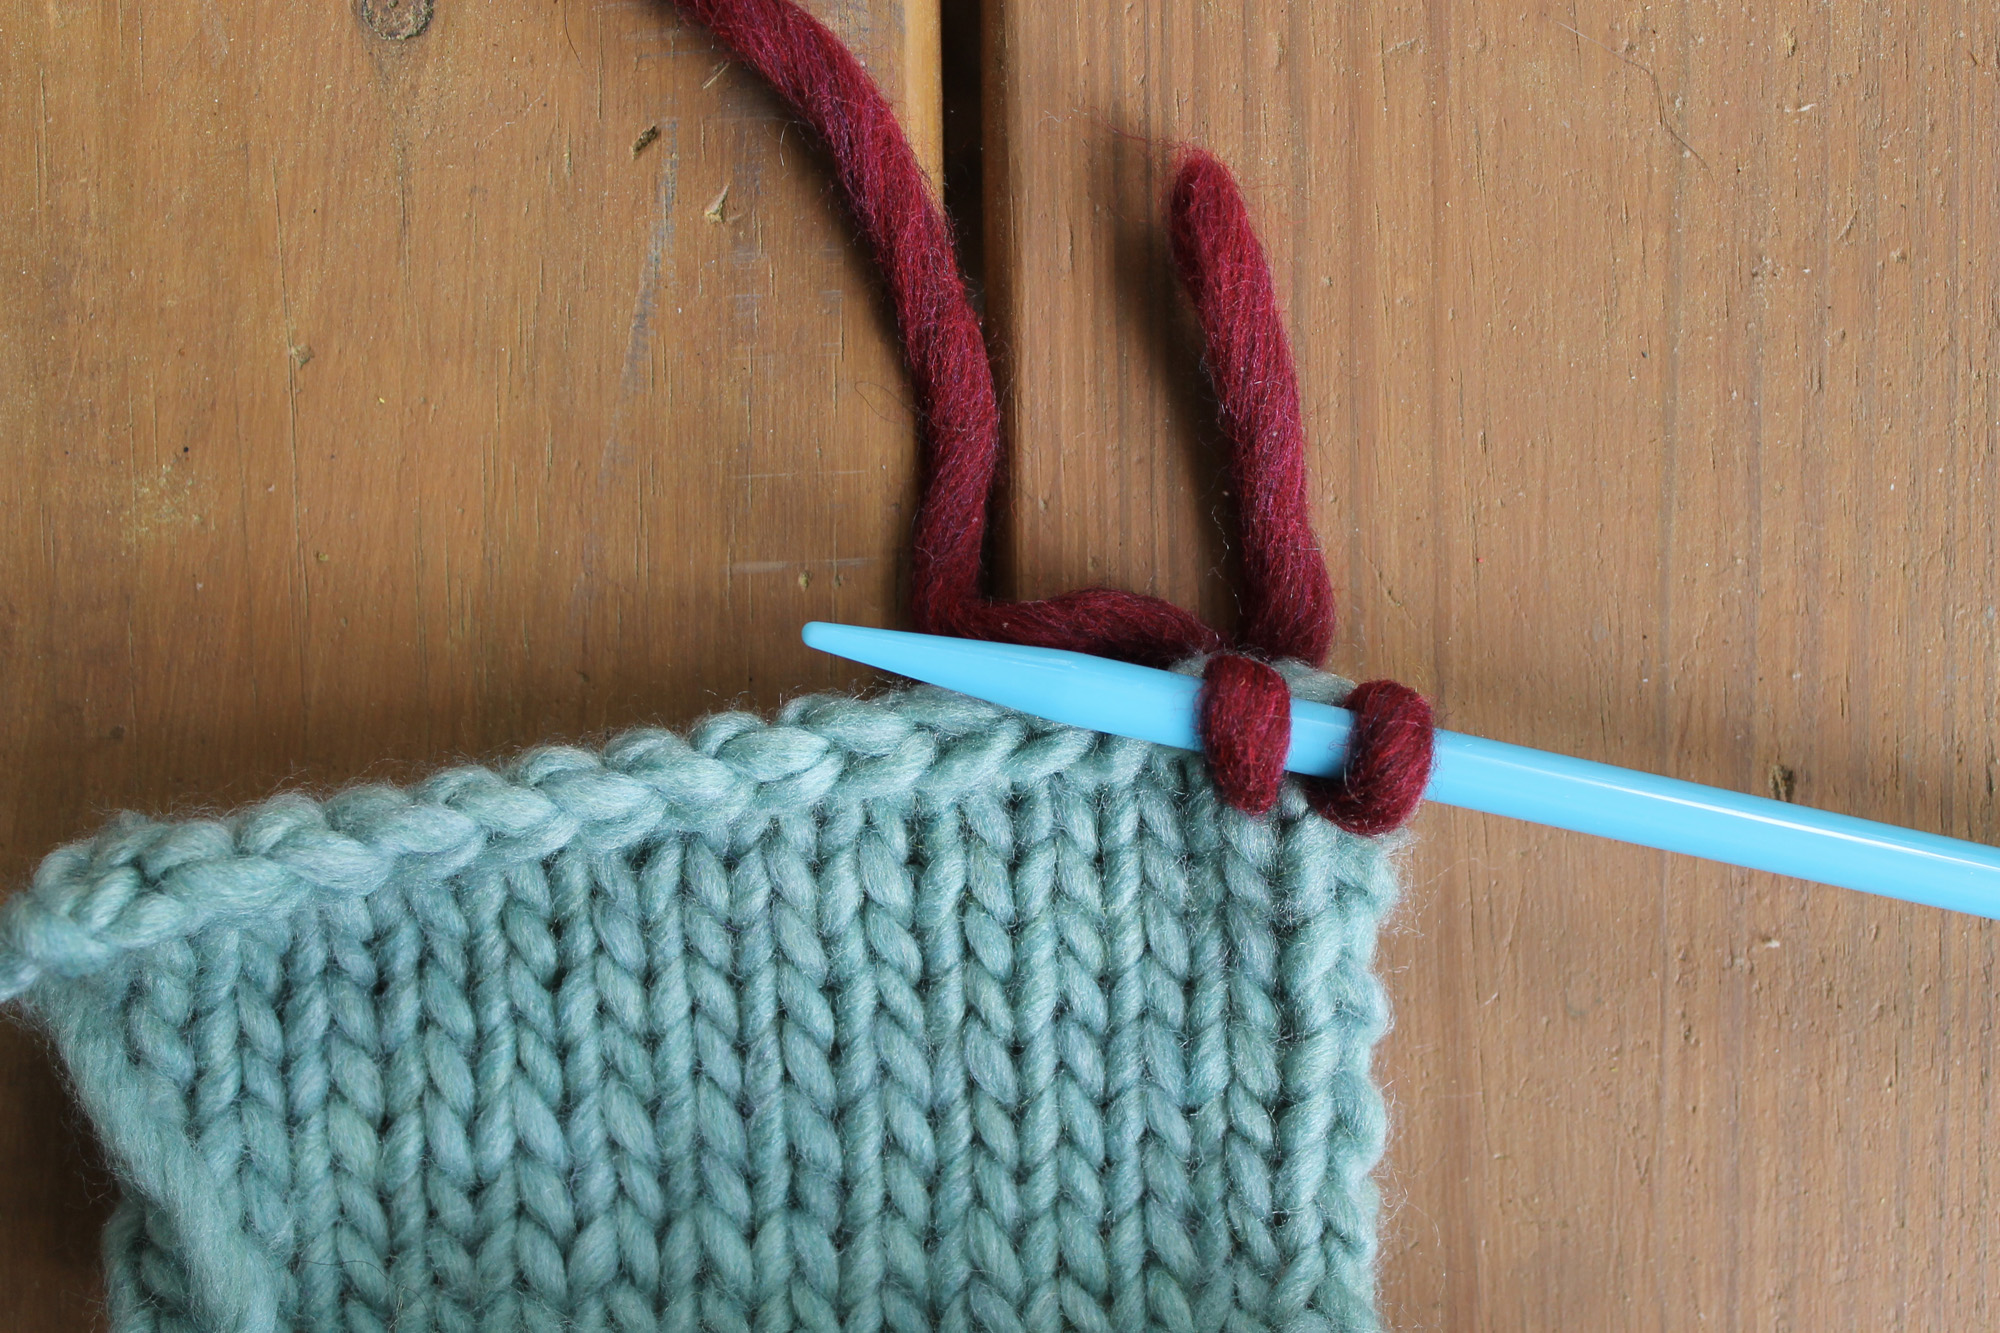
5. Wrap the new yarn around the needle, and pull the new yarn through the stitch.
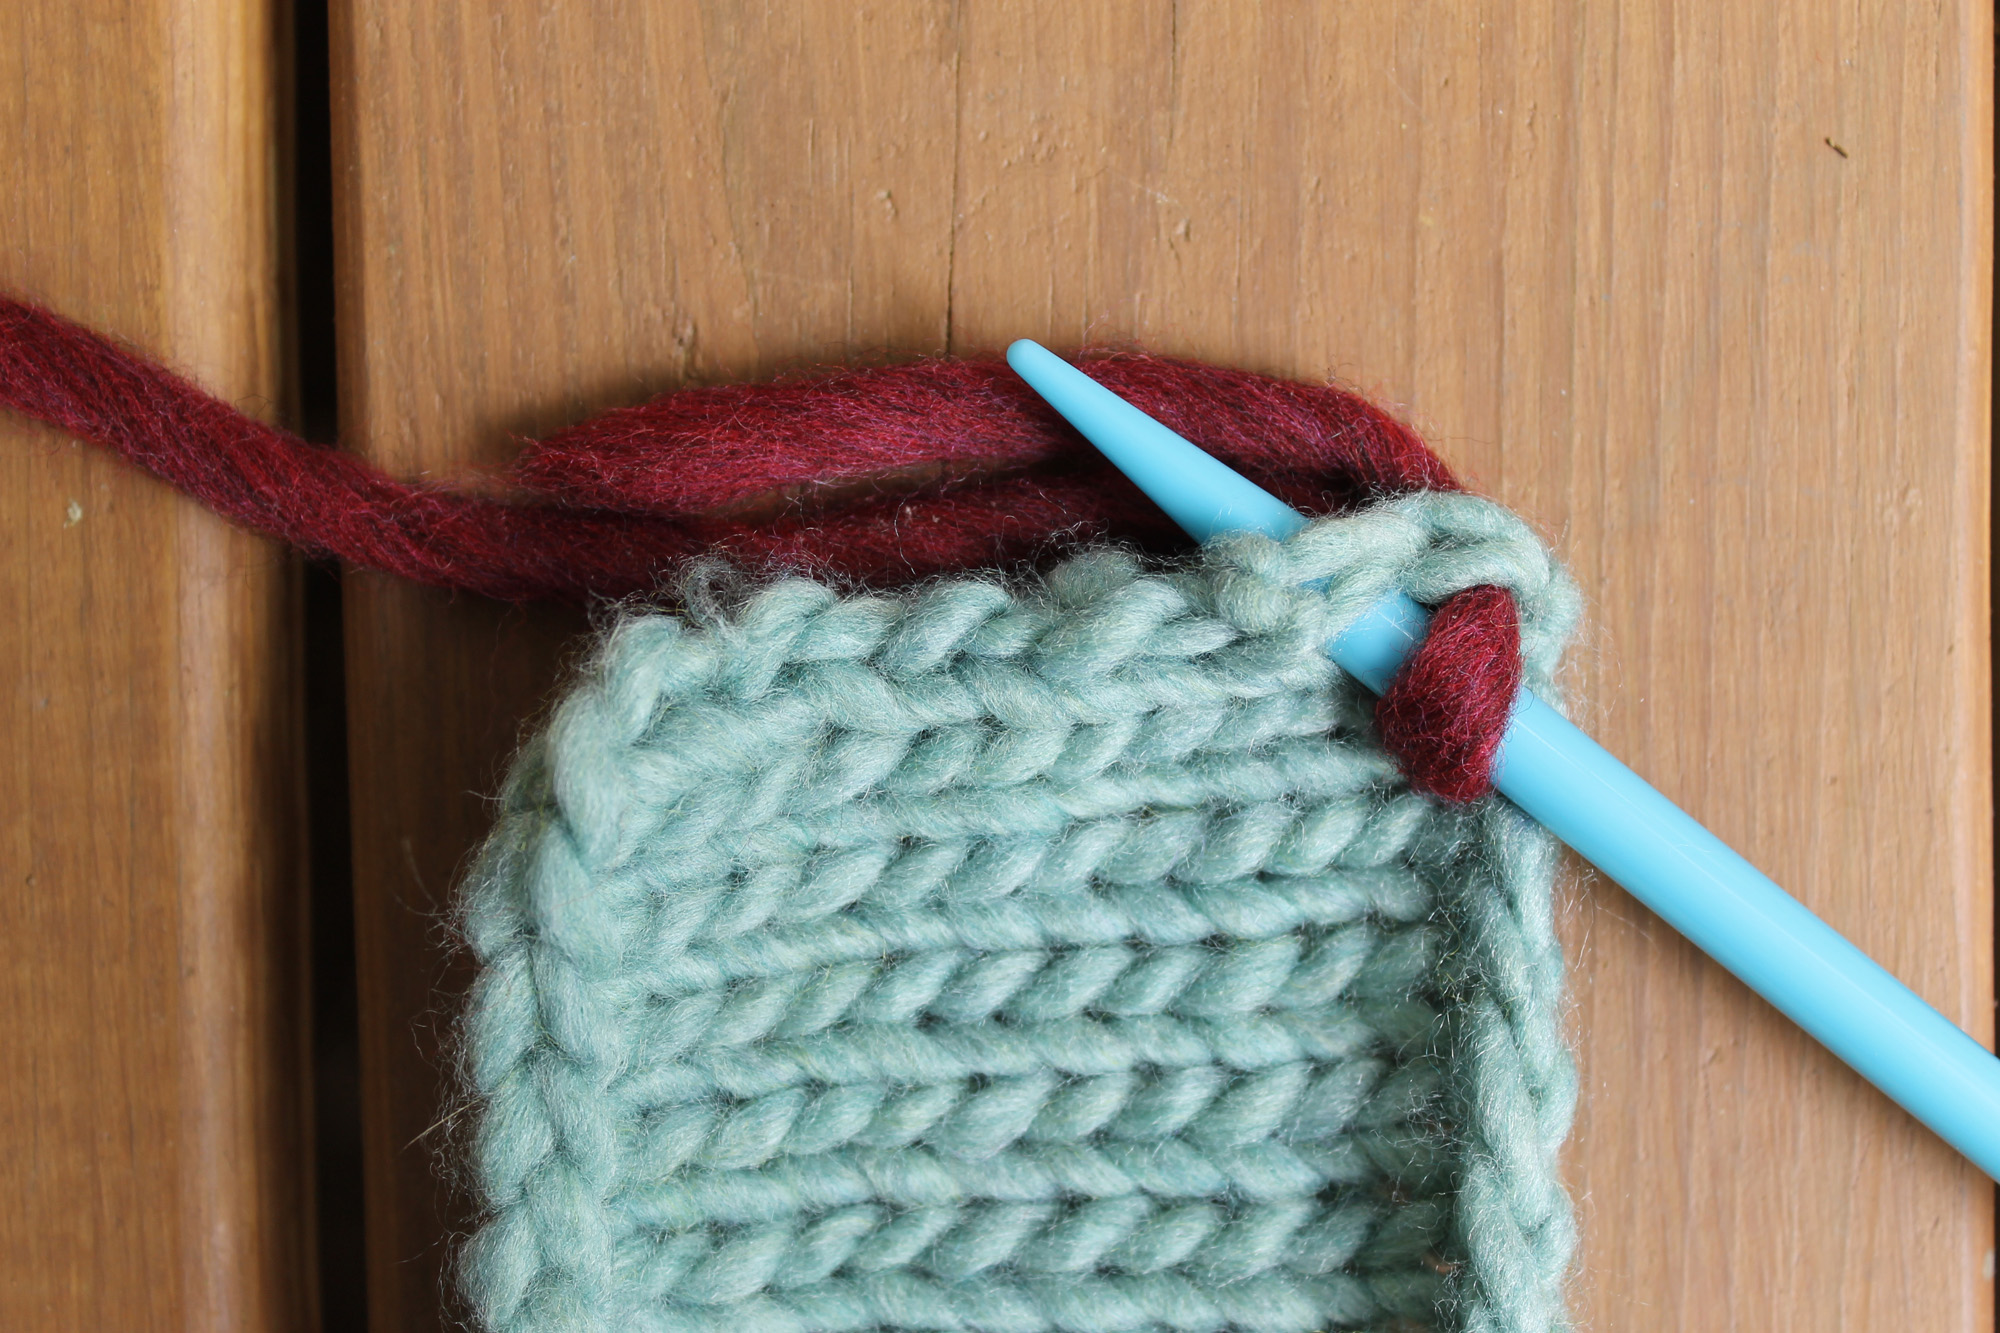
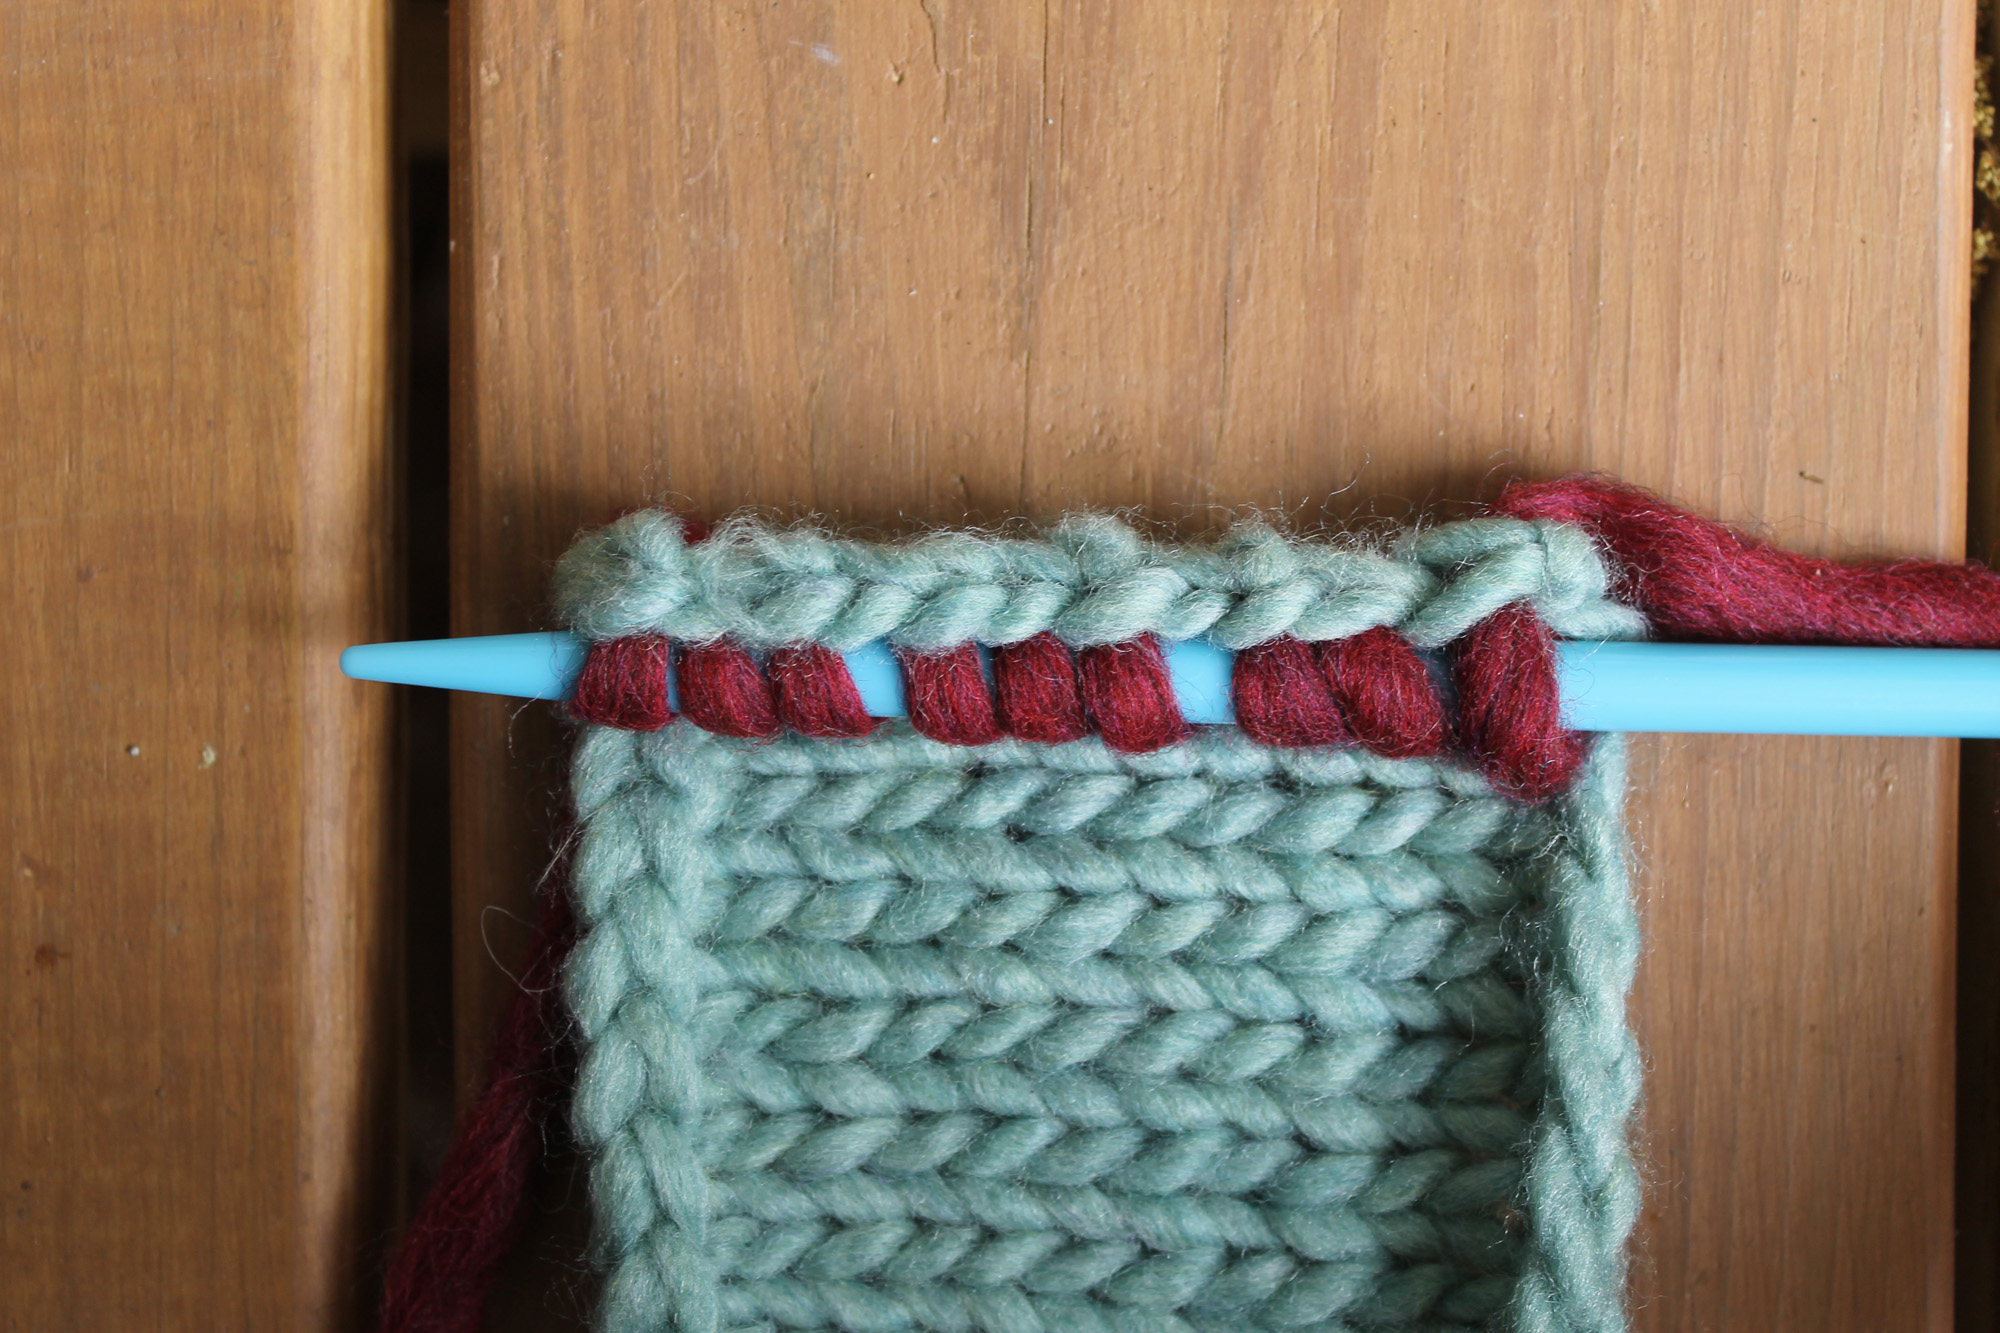
Continue picking up stitches evenly across the entire edge (or as your pattern instructs).
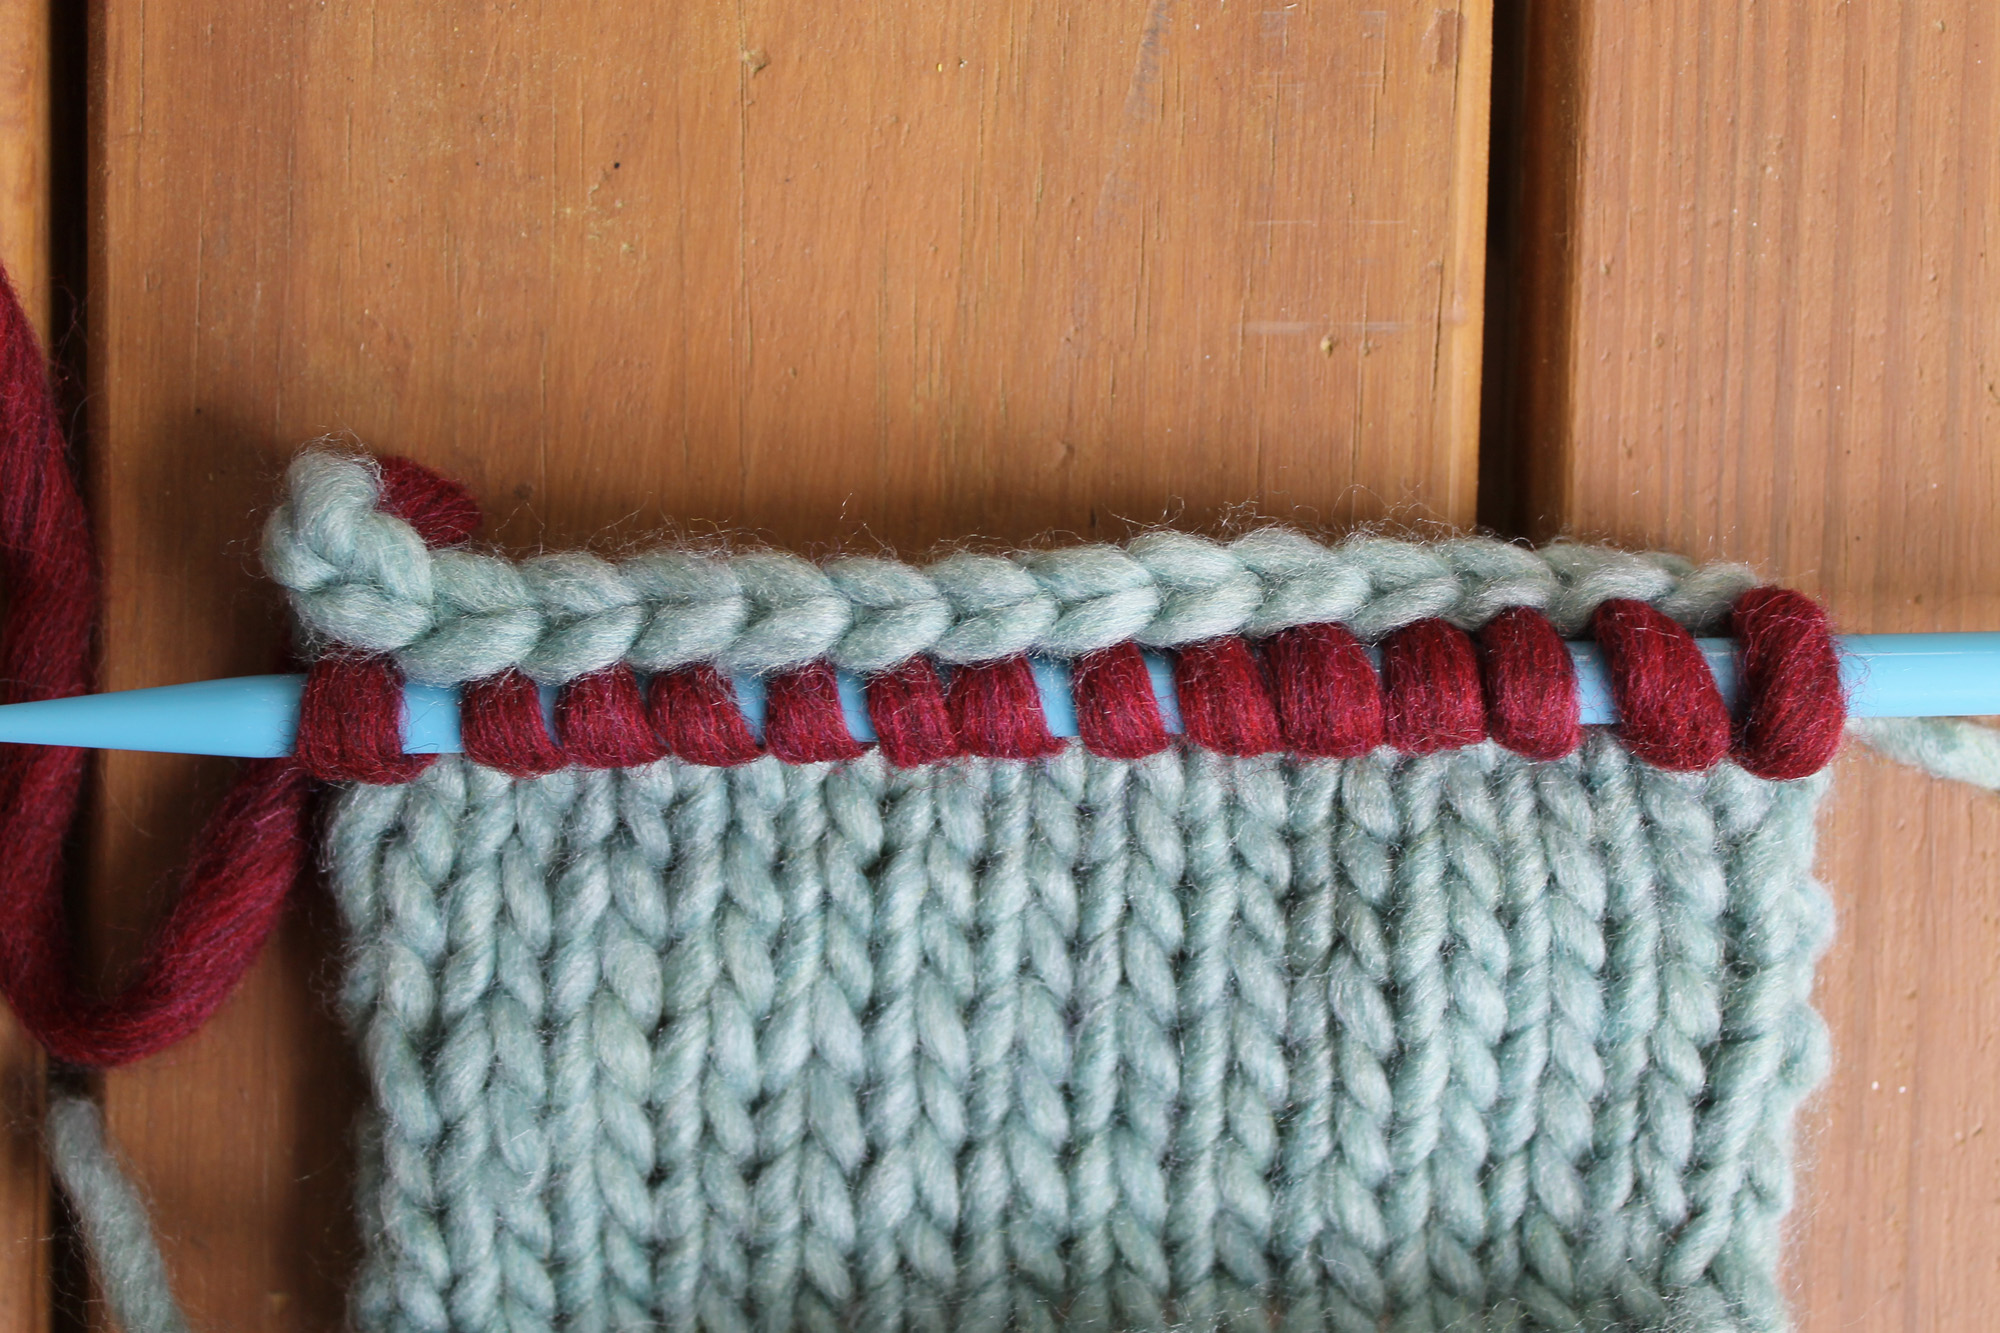
When you look at the edge of the work just behind your picked-up stitches, you’ll notice that there’s a neat little chain or braid running across the top.
Vertical edges
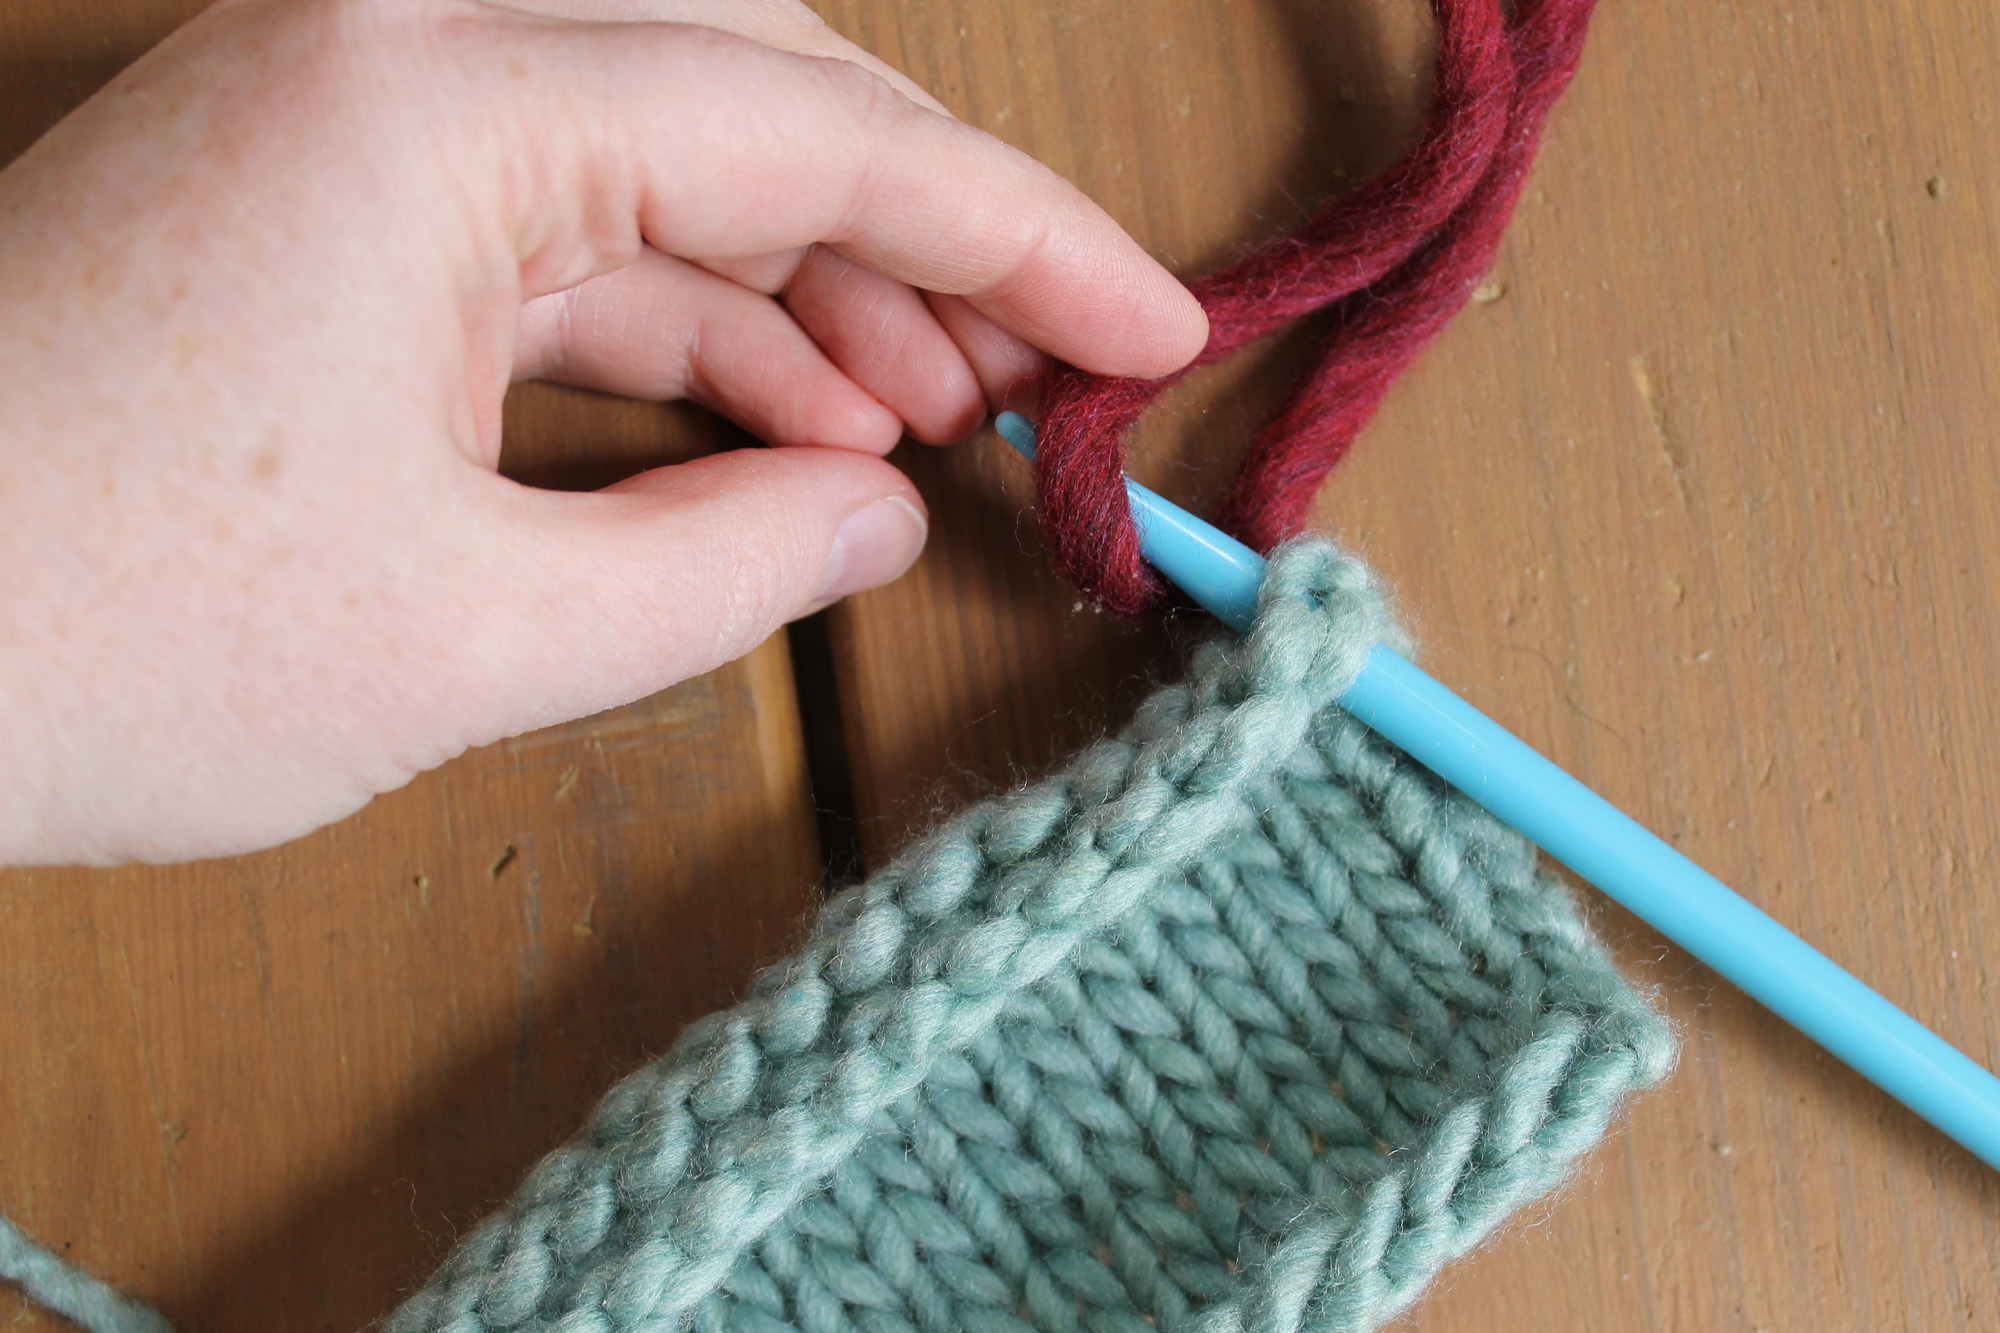
Here’s how to pick up stitches from the edge of the piece. (Note that I’m using a contrasting color yarn so that you can more easily see the picked-up stitches.) Just like with the horizontal edge, you’ll be working from right to left.
1. Place your work right side up. Insert the needle into the first space on the edge of the piece. Notice how the edge forms a little braid or chain. You’ll be inserting the needle right through one of those chain links.
2. Grab the new yarn that you’re going to attach. Leaving a long tail for weaving in later, wrap the new yarn around the needle.
3. Pull it through the stitch.
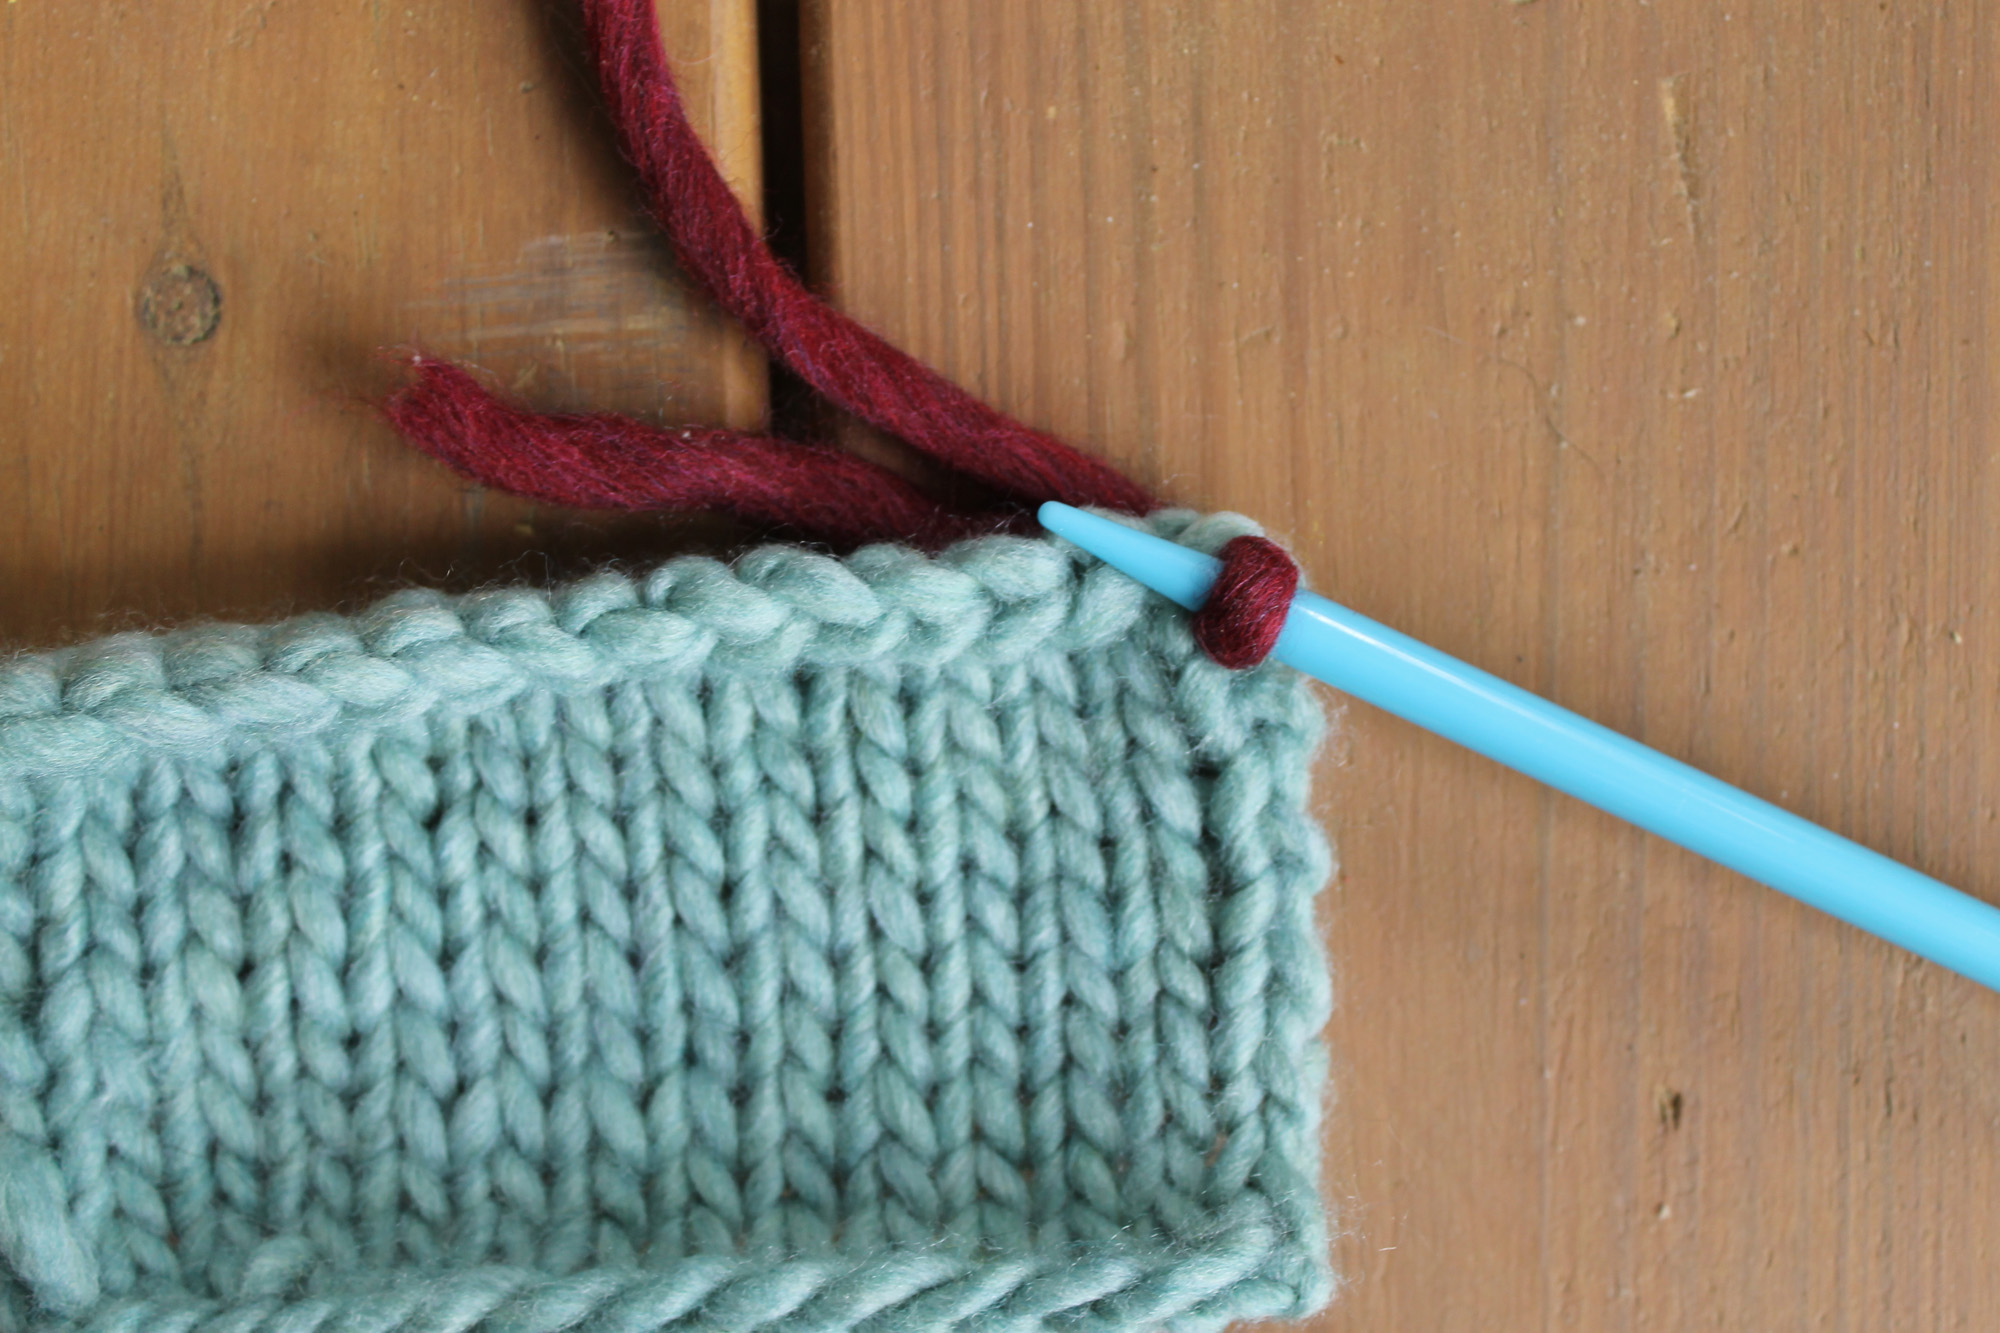
4. Insert the needle into the next stitch, wrap the new yarn, and pull the new yarn through the stitch.
Repeat this across the edge (or as your pattern instructs).
Notice here that because this is a vertical edge, I did not pick up a stitch in each and every chain. I’ll explain why in the next section.
Tips & tricks
Use the 1-2-3-Skip ratio for vertical edges
Since the number of stitches per inch and the number of rows per inch are often different in gauge, it’s a good idea to use a ratio to make up for the extra stitches. Instead of picking up every stitch on the vertical edge, you can use Chris Bylsma’s 1-2-3-Skip ratio to get the right amount of stitches.
The technique is simple: Pick up three stitches, then skip a stitch. Skipping that stitch will make sure that you don’t have too many stitches packed onto that vertical edge.
Changing needle size
When you’re picking up from a vertical edge, you have to account for the fact that stitches may take up less room vertically due to gauge. To make up for this, use a needle that’s about two sizes smaller than the needle you used in the project. This will make the stitches look more even along the vertical edge.
Using a crochet hook
It’s sometimes tricky to get the yarn through the stitch since a knitting needle gives you no grip. If you can’t seem to get the yarn through the stitch, try picking up stitches with a crochet hook, then place them on the knitting needle.
Right hand vs. left hand
You can use either your right hand or left hand to wrap the yarn around the needle. Experiment to figure out which way is best for you!
Share tips, start a discussion or ask one of our experts or other students a question.
No Responses to “The Beginner's Guide to Picking Up Stitches”