

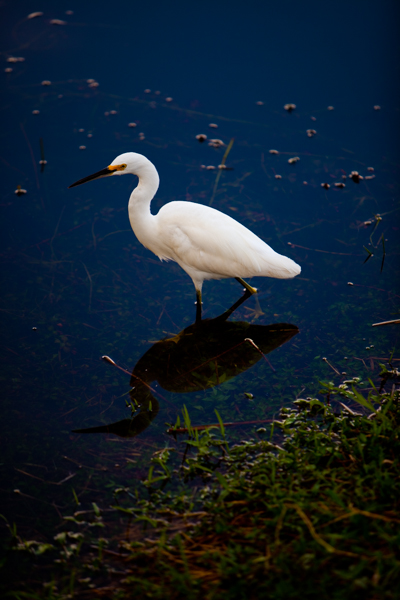
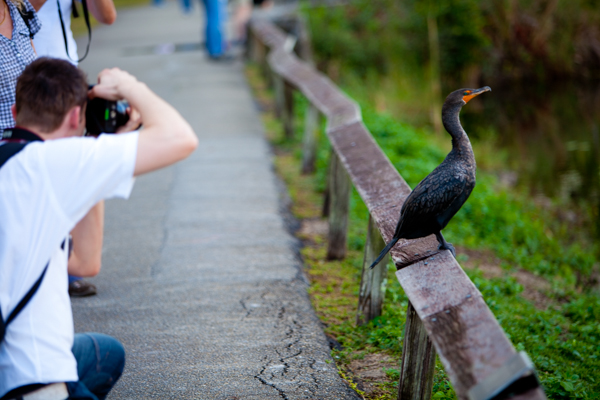
Photographing birds can be a wonderful way to get some amazing photos. Birds come in a variety of sizes, shapes, colors, and personalities; the detail in each of their feathers makes for an interesting challenge to capture.
Nothing will make you a better bird photographer than just getting out there and giving it a try.
Here is a guide to give you a starting place in bird photography.
Shutter speed
Keeping an eye on your shutter speed is perhaps the most important thing you can do. Amazing bird photos typically have one thing in common: They are sharp. You can’t have a sharp photo with too slow of a shutter speed. First, take note of the lens you are using. Is it is a long lens, and you don’t have a tripod, you may need a faster shutter speed than you realize to compensate for camera shake (the slight movement in the camera while holding it).
I like to use the “Inverse Rule.” At 200mm, my shutter must be 1/200 of a second to hand-hold. At 500mm, my shutter must be 1/500 sec to hand-hold. If the bird is in flight, you may want the fastest shutter speed you can get to in order to freeze the action. Depending on the type of bird and the speed of flight, 1/1000 of a second or faster may be necessary.
Aperture
My general rule is to use the widest aperture available for bird photography. This does two things. First, it allows you the quickest shutter speed possible because you are allowing the most light onto the sensor with the wide opening. Second, it allows you to throw the foreground and background out of focus, so that the bird is the focal point and the only thing sharp in the frame. In most situations this strengthens your composition and makes for a more interesting photo.
ISO
Like most other types of photography, a low ISO setting is ideal. The higher the ISO, the more digital noise, or grain, you introduce into the photograph. Slowly you lose detail as the image gets noisier. However, I believe it is better to have a noisy photo than a blurry one. So, if you are unable to get your shutter speed as fast as you need it to be to freeze the motion, crank up the ISO until it works for you.
Continuous shooting mode
Most DSLRs have different shutter modes: single shot, continuous shot and timed shot. For birds, or any quick moving wildlife (like children), use the continuous shooting mode. This mode allows you to hold the shutter down while the camera rapidly fires off one shot after another. A bird in flight is often making movements that are faster than you can react. Continuous shooting mode ensures that you don’t miss the shot because you couldn’t react in time and gives you a nice sequence of photos.
Focus
If you are able (through proximity or a pretty long lens) focus on the bird’s eye. This will be the ideal focal point. If you are photographing birds that are moving quickly or flying, you make want to consider switching to the AI Servo mode. Typically, when in One Shot mode, the camera will lock the focus when your shutter is depressed half way and before the shutter clicks all the way.
With AI Servo, the focus is not locked, and is allowed to change based on the movement of your subject. The catch is you need to keep one of your focus points locked onto the bird, which limits your composition. This mode isn’t for everyone, but could help you out in certain situations.
I hope these basic settings get you started on the right path, but like I said, nothing beats getting out there and practicing.
Share tips, start a discussion or ask one of our experts or other students a question.
No Responses to “Rules of Thumb: Camera Settings for Photographing Birds”