
We live in a three-dimensional world, yet our cameras capture two-dimensional images. Learning how to add perspective into your photos can help create a sense of depth and also allow you to distort visual reality.
What is perspective in photography?
Simply put, perspective in photography can be defined as either:
1. A way of creating a sense of depth within in an image.
2. The spatial relationship between objects, including their dimensions with respect to the camera lens.
So adding perspective into a photo can create either a sense of depth or a sense of scale. It can also misrepresent the world, as we will see.
To create either kind of perspective in your images, consider these tips.
Tip 1: Use leading lines
One of the easiest ways to introduce perspective into your photos is by using leading lines. These are lines within an image that lead the eye to another point in the image or even out of the image. Leading lines can draw the viewer’s eye into the photo, creating a sense of depth.
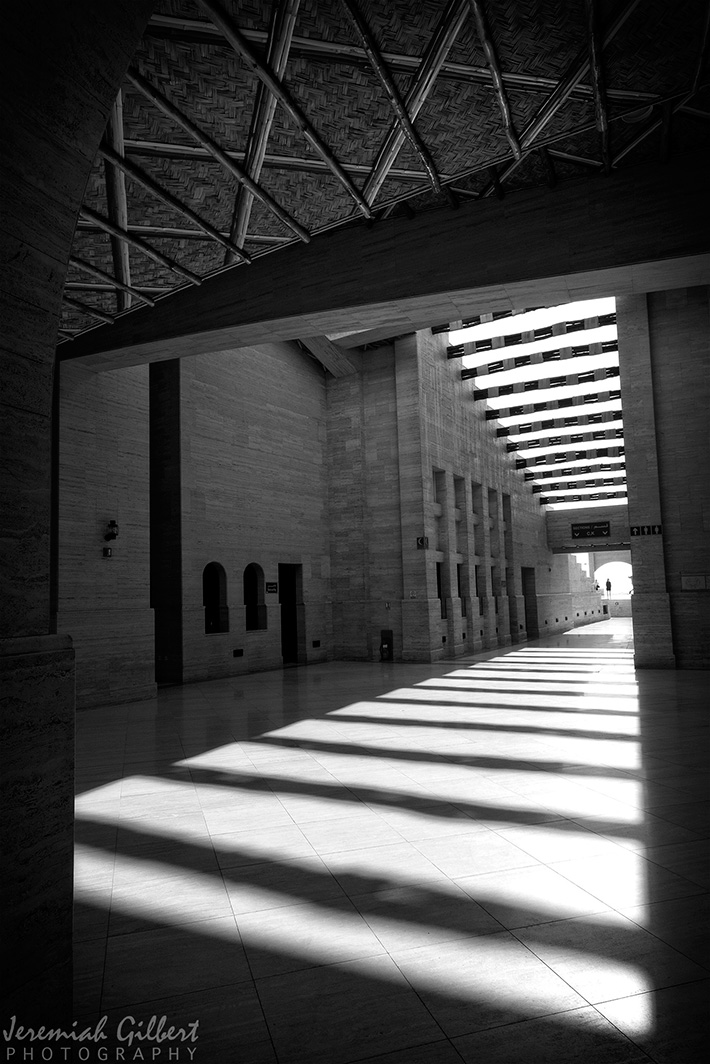
The photo above not only uses leading lines but also has the added benefit of the diminishing light reflections on the ground, adding a second element to lead the eye back into photo.
Tip 2: Include the foreground
Including more foreground in your composition will create a sense of depth, as the main point of interest will be farther back in the shot. This is a good choice when working with landscapes but can also be used in cityscapes or street photography.
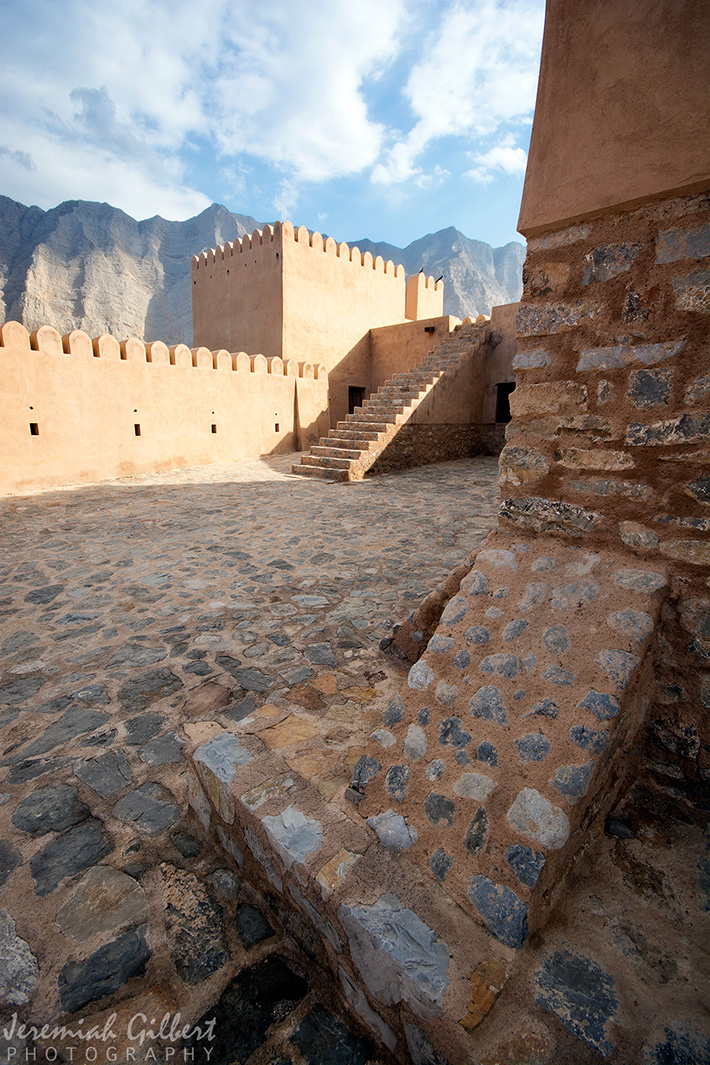
In the above photo, it would have been easy to include more of the beautiful sky, but I wanted to create a sense of distance. To do this, I included less of the sky and more of the foreground.
Tip 3: Overlap elements
When photographing a scene with different objects on the same line of sight, the objects that are nearer to the camera overlap or obstruct those that are farther away. To the viewer, it becomes clear that the partially obstructed object is behind the unobstructed object.
This obstruction or overlapping of elements gives the viewer both a sensation of depth and a perception of the relative distance between the objects in the scene.
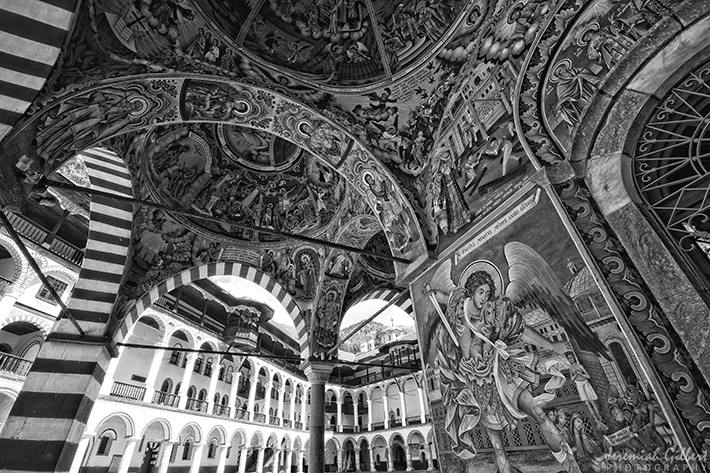
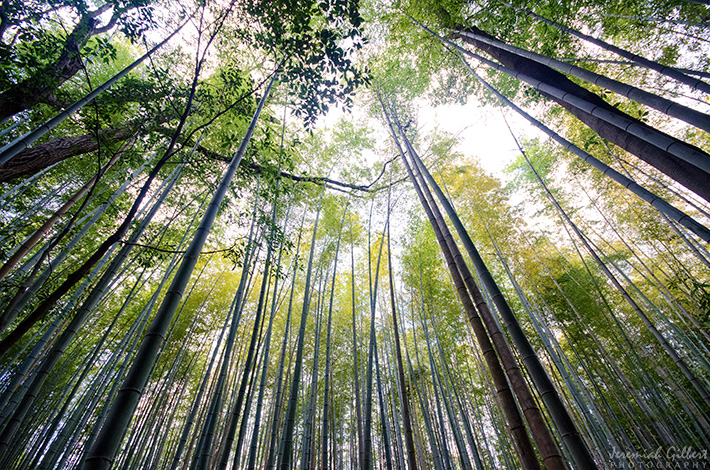
Tip 4: Look up (or down)
If you happen to find yourself surrounded by tall buildings or trees, for instance, simply look up. The natural lines found in the buildings or trees will draw the viewer’s eye upward, creating a sense of height and depth. This could also be accomplished using the walls of a courtyard or the opening at the top of a canyon.
You can achieve a similar effect by positioning yourself high and looking down, such as from the edge of a canyon or from a building’s rooftop or observation deck.
Tip 5: Create forced perspective
You can also use perspective to distort reality. One common way is through the use of forced perspective, a technique that employs optical illusion to make an object appear farther away, closer, larger or smaller than it actually is. It manipulates visual perception through the use of scaled objects and the correlation between them and the vantage point of the camera.
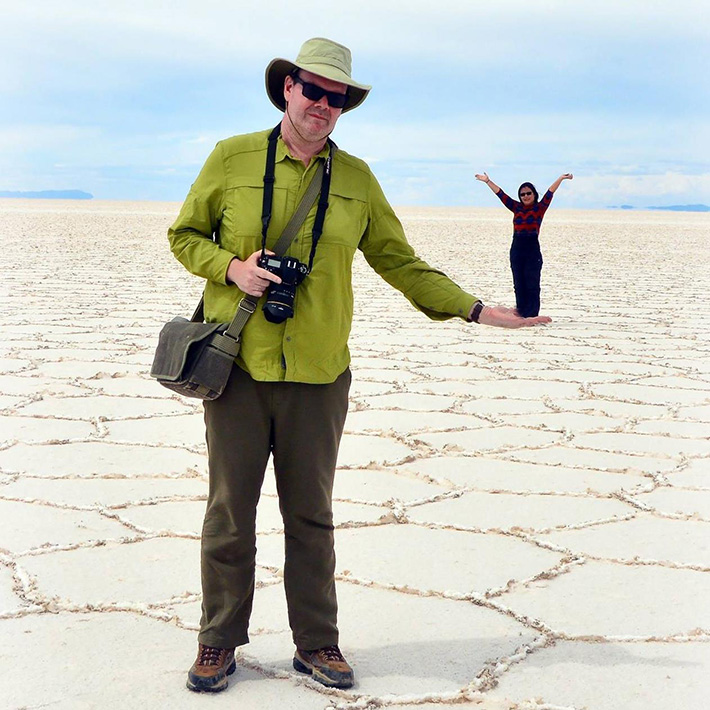
Photo by Lily Feng
For the photo above, one person is much farther back than the other in order to create the illusion of her standing in his hand. You will need to make sure to use a high f-stop when attempting a shot like this so that you have a deep depth of field, allowing both foreground and background to be in focus.
So before taking your next photo, take a moment and see if you can find some leading lines, or consider if you may want to add a bit more of the foreground. Take a look up from where you are or take a look down if you are already in an elevated location. See how you can add depth to your photo, or maybe you’d just like to distort reality a little.
Good stuff...thanks very much for the photography tips. As a keen 'amateur' photographer, I do very much appreciate it. ;-)