
Fitting your illustrations properly for the page for printing is an integral part of the final image being successful.
When viewing an illustration in a book, the eyes should easily adjust to the artwork as well as the words on the page. There should be no disruptions such as a portion of an essential subject or form in the illustration being partially cut off at the edge of the page. This creates distraction and detraction from the aesthetics of the book.
An essential part of your work as an illustrator is to work within the page or “trim” dimensions that you are provided at the early stage of your assignment. The sizes may vary from page to page, even for the same book you are working on, but it is critical you stay within the size you are given in order for the job to be fully successful. For a primer, this earlier post on how to prep a layout may be helpful. This post, however, will specifically deal with illustrations destined for a book.
Starting with exactly what we want to happen with an illustration after the book is cut and printed.
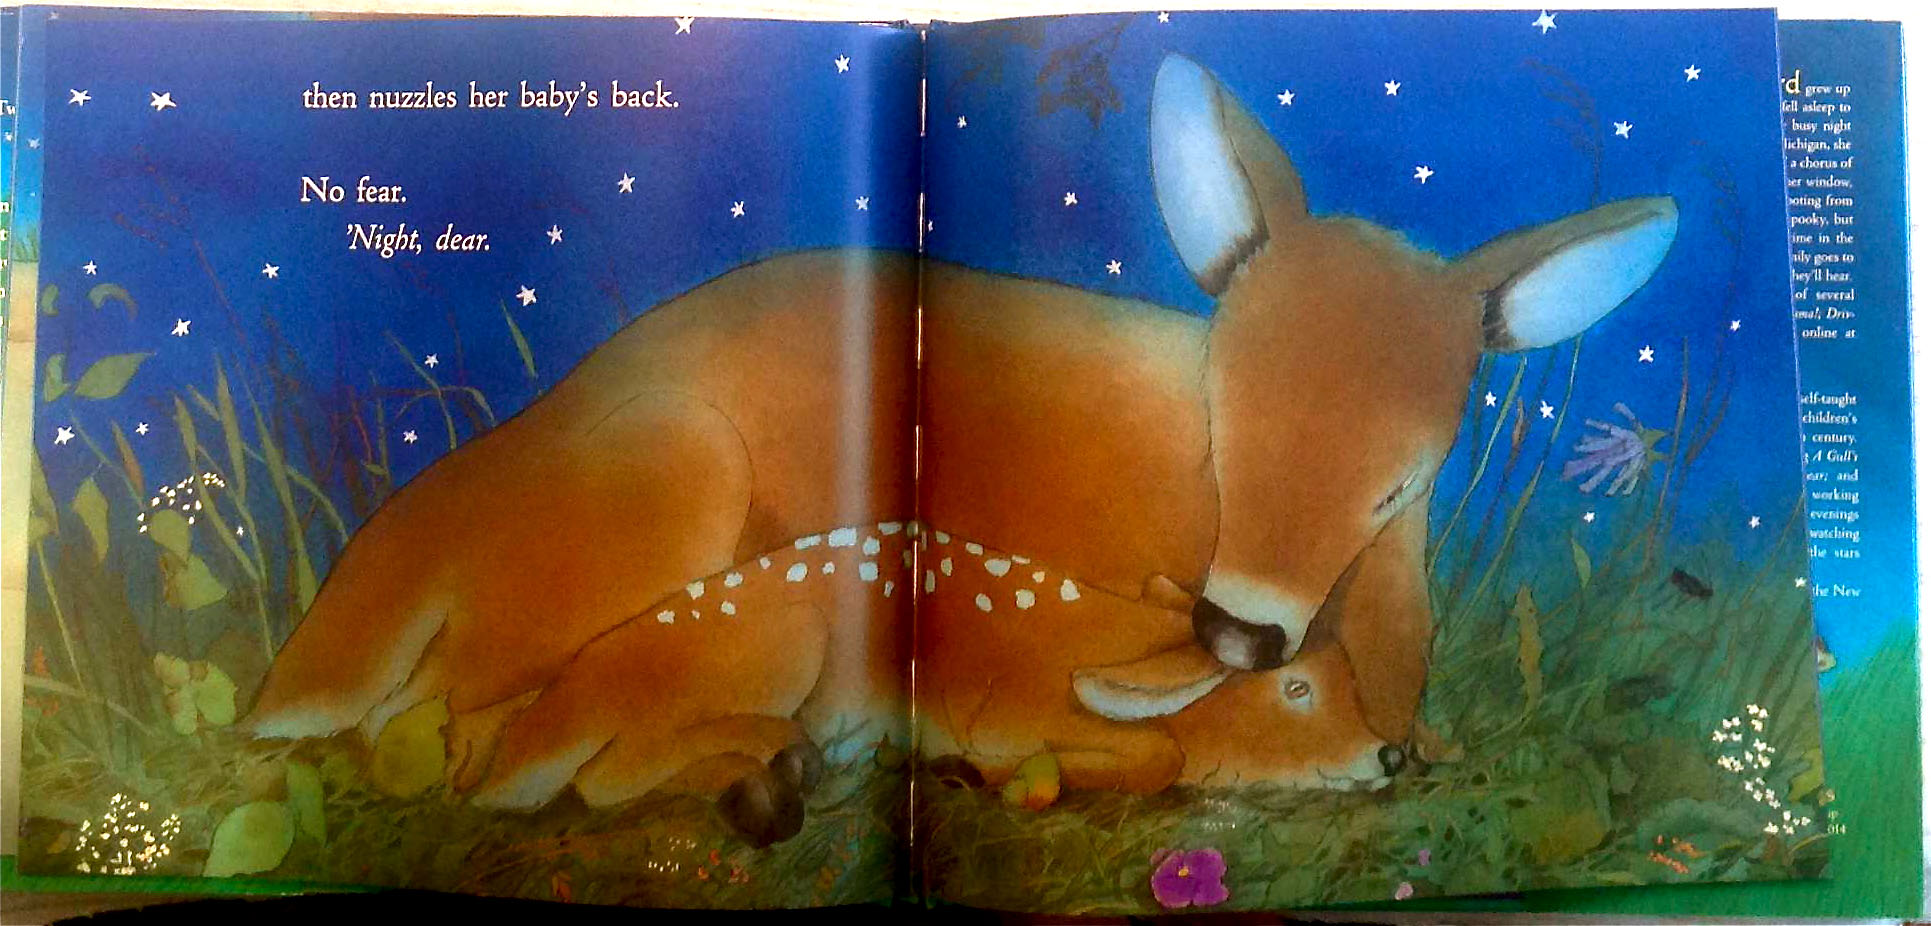
All the essential portions of the composition, are comfortably within the page trim. It is easy on the eyes, everything is in it’s place.
Here is what you would not want to happen:
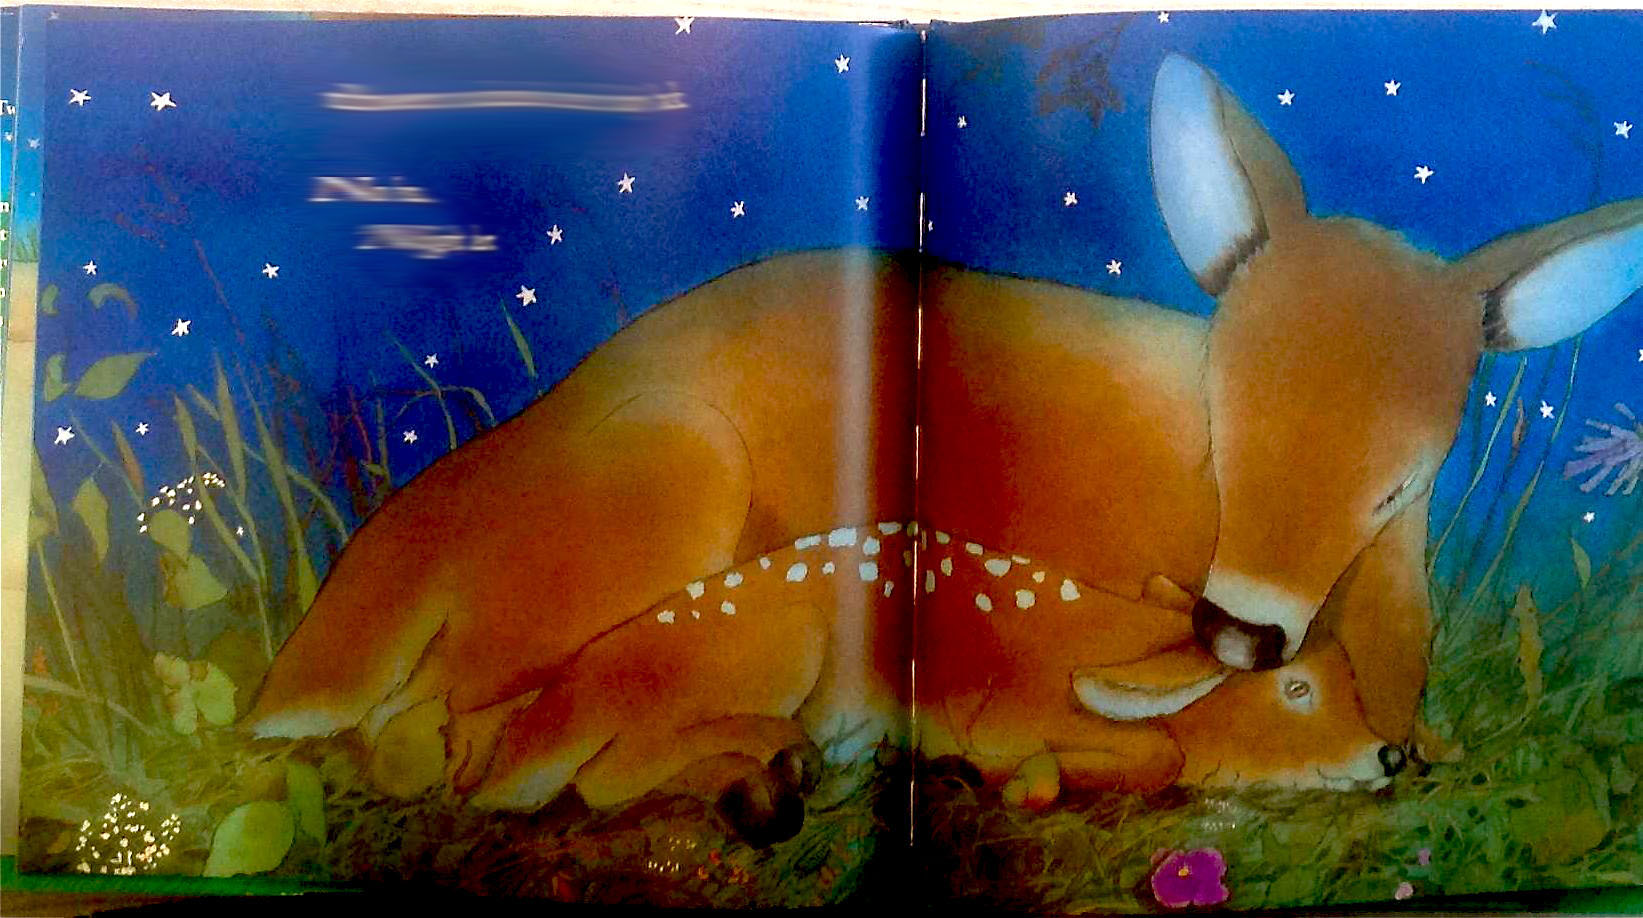
If any portion of essential artwork is too close to the trim edge, this is possible. The ear of the doe has been truncated by being too close to the trim edge.
Let’s say it is not a disaster, but it could have been much better with a little more attention to placement of artwork.
Here is how to make sure your artwork is placed properly on it’s page:
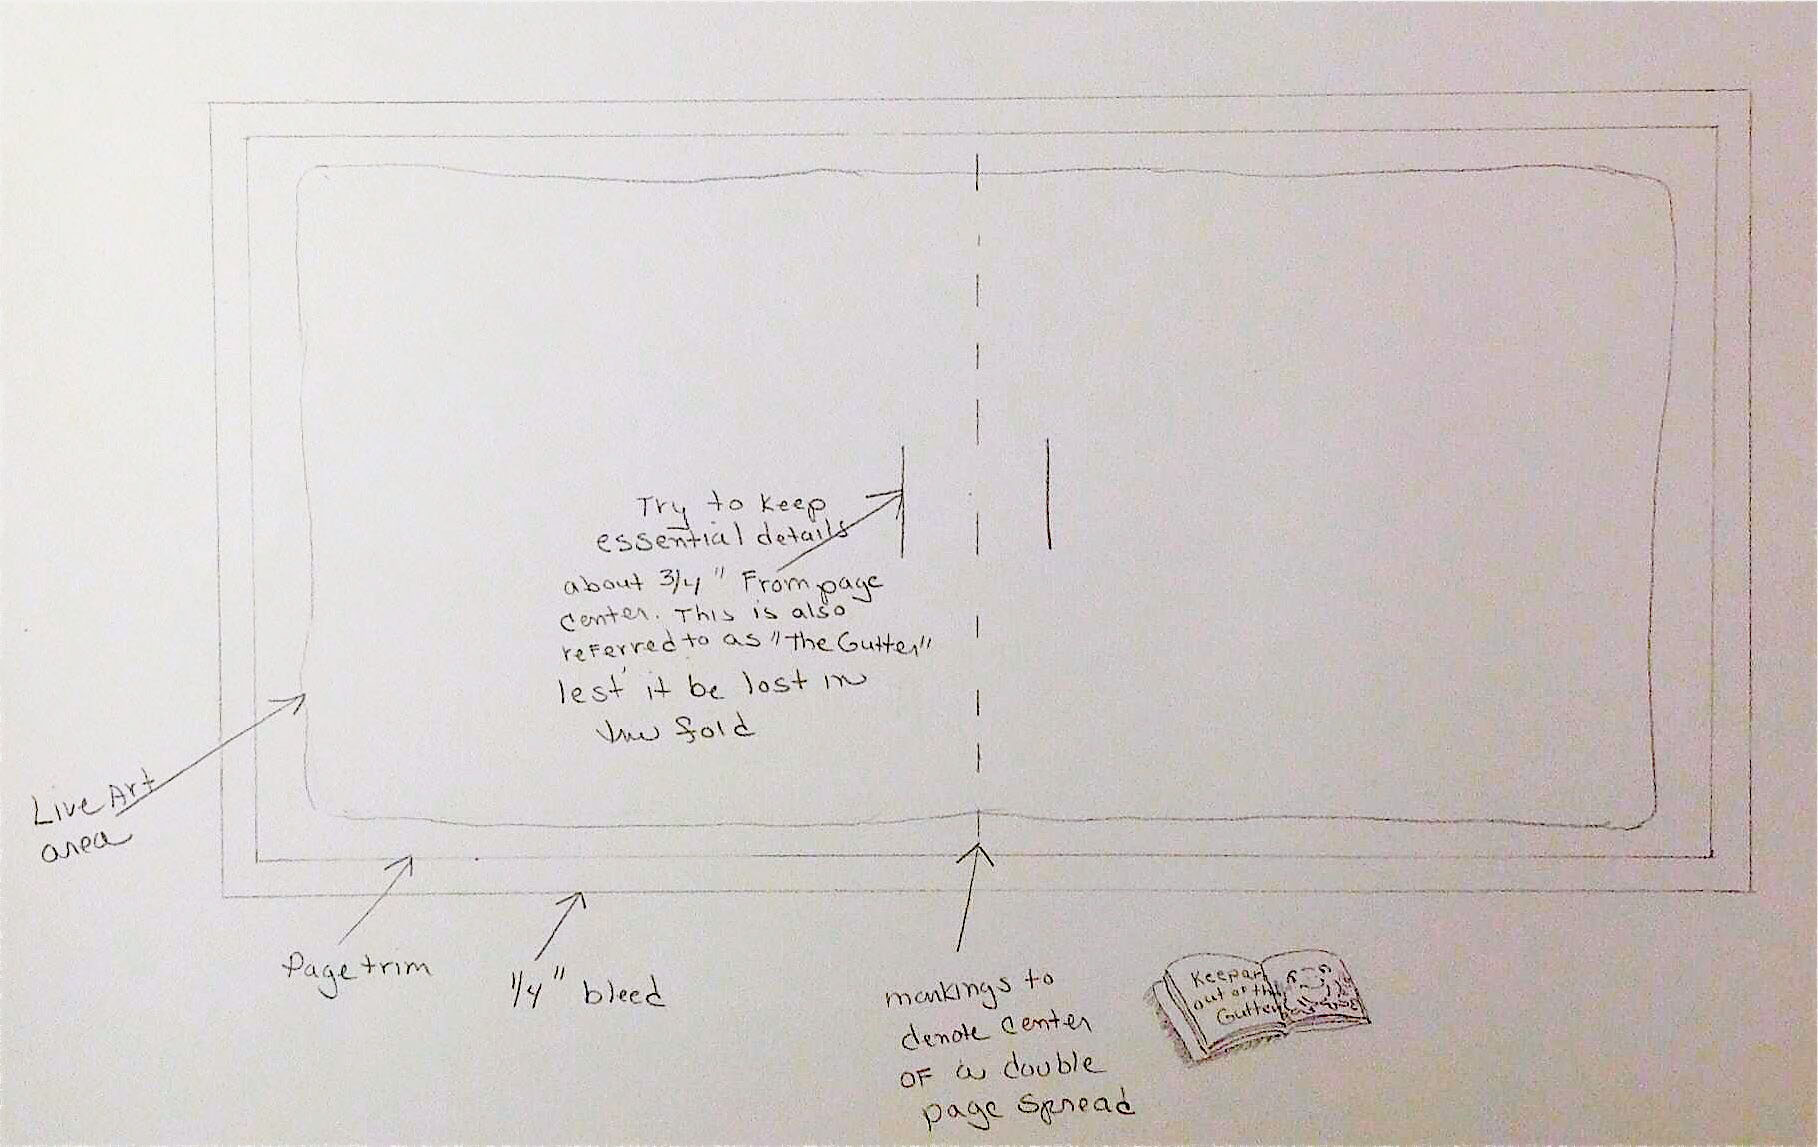
My layout is the measurements of the planed book trim size.
To this, I have measured outside of the lines to add an additional 1/4” all around. This is known as bleed, a safety measure to insure that when the book pages are cut, in case the blades cutting the pages are a tiny bit off in calibration, there is a little more artwork or bleed, that if cut too close, will prevent a white strip on the edge of a full bleed illustration.
So, you will work your art all the way to the bleed, but still keep in mind compositionally that you are working within the trim.
More to consider
Looking at the layout above, try hard to keep any details that you do not want trimmed off about 1/2” away from the trim which is 3/4” from the bleed edge. This is your live art area. Keep fingers, ears, or objects important to the composition and text within this area.
Your last concern before you are free to let your artistic ideas really flow, is to make sure that the essential details are at least 3/4” away from the centerfold gutter of the page (see the layout illustration above).
This is the same for single page art or double page spreads (one illustration that flows over both pages).
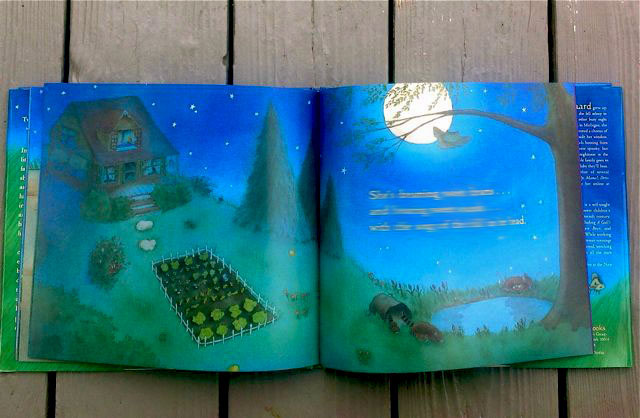
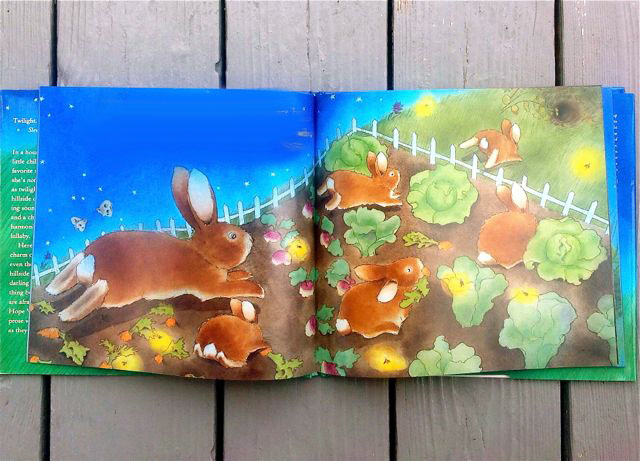
The same rule applies for a large singular shape in your composition that spreads across both pages, just make sure important details, such as the hooves in the artwork below are well away from the gutter.
Online Drawing Class

Develop and refine characters that captivate audiences of all ages!Enroll Now »
Share tips, start a discussion or ask one of our experts or other students a question.
No Responses to “Illustration 101: Planning and Plotting Artwork on Pages”