
Do you enjoy building things with clay but don’t have the ability to make it to a ceramic studio? Well, you’re in luck. Polymer clay is a great alternative that’s inexpensive and, best of all, you can bake it in your oven and decorate it with a unique painting!
Learn tips and techniques for oven-baked clay projects!
Advantages to oven-baked clay
There are a lot of advantages to using oven baked clay. First and foremost, it’s not messy and only feels a little oily to the touch. This means its easy to do in your home or with kids. In addition, it doesn’t require any special storage, meaning that the clay stays fresh until you pop it in the oven. You can use your drawing skills to create designs and to decorate it, you can use acrylic paints that you already own.
Tools
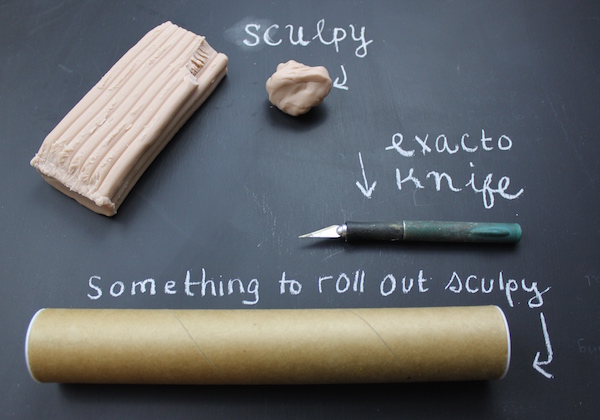
Maybe you’ve worked with clay before and own some sculpting tools. I don’t, unfortunately, so I’m using things around my studio. And, you know what? They work great! All I need is my trusty X-Acto knife and something to roll the clay out with. You can use a rolling pin, but here I’m using a thick cardboard tube.
Other ideas for supplies:
- Cookie cutters
- Sticks (for mark making)
- Textured objects to use as stamps
- Paint
1. Warm up the clay
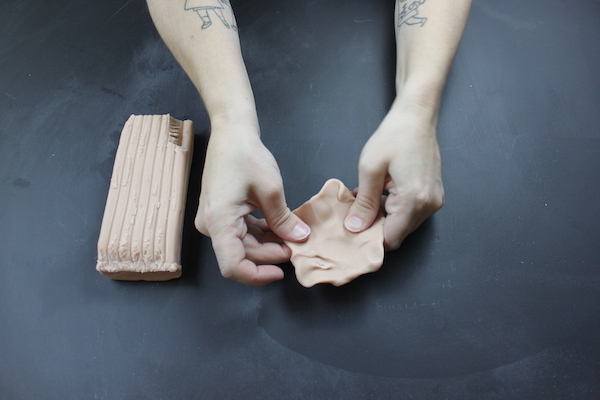
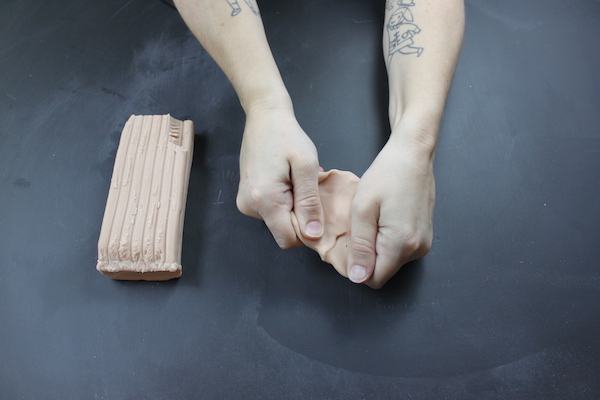
When you take your clay out of its package, it’s probably going to be really tough to handle. This is normal — just keep working at pressing it between your fingers and palms. Eventually, you’ll warm up the clay and it will be malleable.
2. Roll out a slab
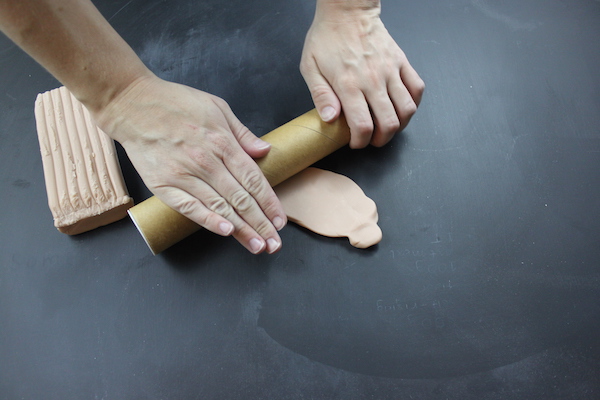
Once your clay feels like putty, it’s time to start making things. There are a lot of different ways to get started, but I’m going to create a slab. To do this, press your clay into a flat disc. It doesn’t have to be perfect, but thin and even enough for you to roll on top of it.
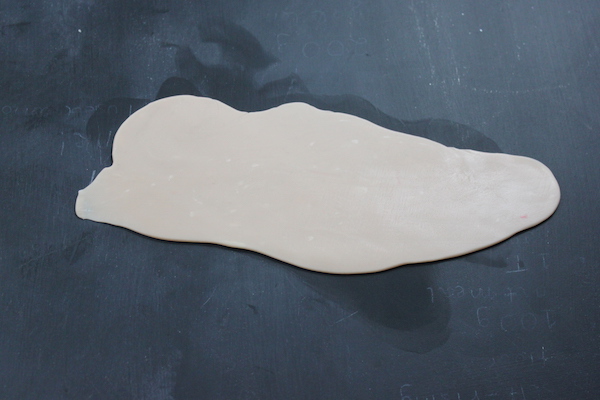
Taking your rolling pin/tube, firmly press down on the clay and roll away from you. Move back and forth until you reach the desired thickness of your material. You’ll probably have to do this several times.
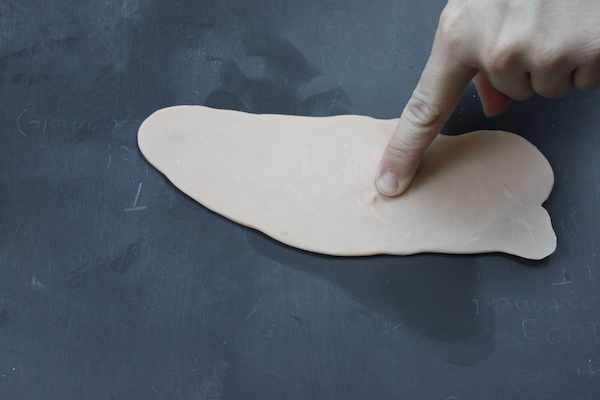
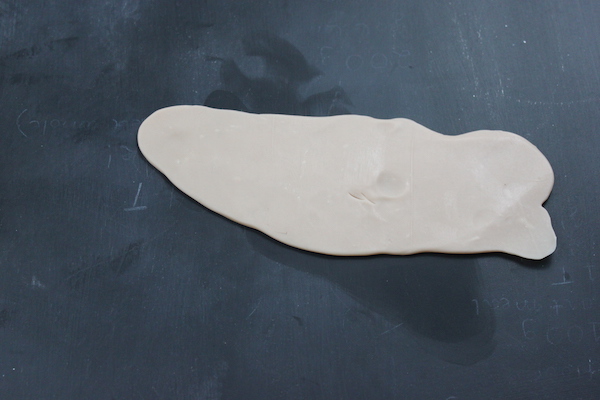
Upon rolling, you might see a tiny air bubble. If you do, make sure you pop it — pierce it with your finger and go over it with your pin to smooth.
Joining slabs together:
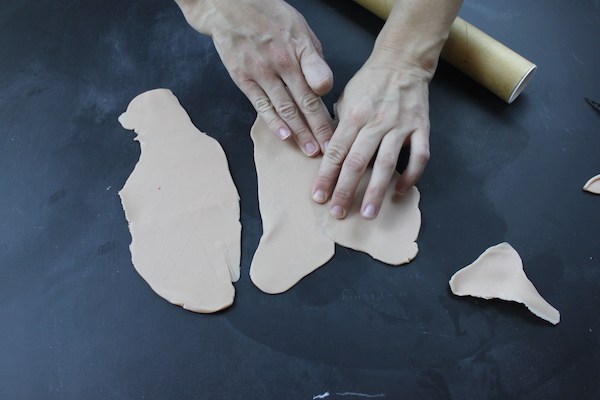
If you have two smaller pieces and you want to form one big piece, it’s easy. Just slightly overlap the two parts and press them together. The joint will look messy and uneven, but that’s alright. Just roll over it.
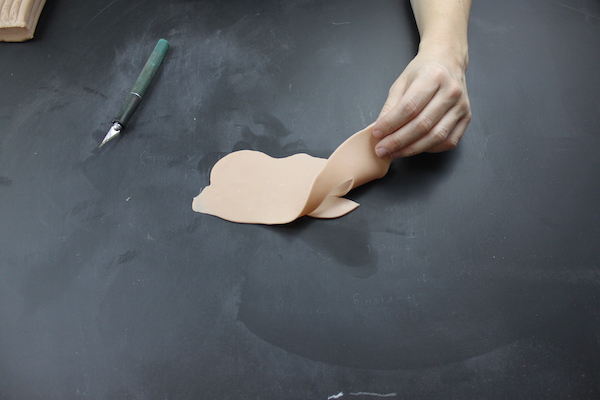
3. Cut out shapes from the slab
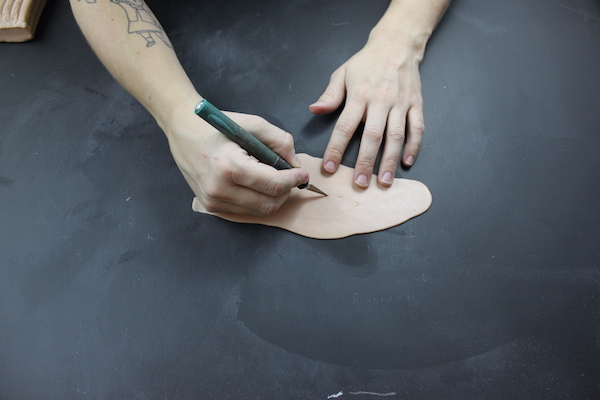
What I like about the slab method is that it creates a “canvas” of sorts for you to use. Using my X-Acto knife, I drew and cut out the shape of an almond (I’m going to make an eye). See how I pulled the rest of the clay away from what I cut out? It’s sort of like using a cookie cutter! Repeat this process until you have all of the pieces.
4. Joining shapes
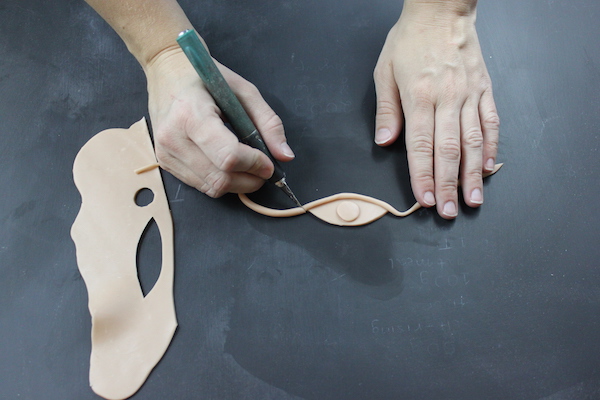
Joining shapes is easy. There’s no special slip or scoring needed. Just press two clay pieces together! Depending on how you want your project to look, you might want to smooth the clay around the joints. But, it’s not required.
Another great thing about polymer clay is that it’s somewhat forgiving. I didn’t like where I placed lash line on my eye, and I was able to peel the clay without damaging it. Then, I just repositioned it.
5. Baking your creation
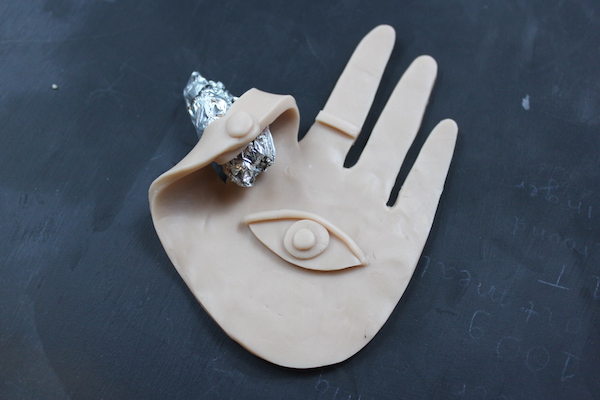
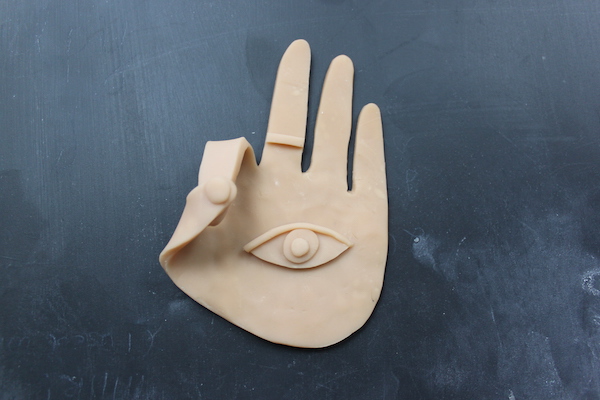
As you can see, I went ahead and made an entire hand (inspired by a Hasmsa hand) out of clay. The index finger that the thumb reach to touch one another, and my eye is centered on the palm.
I was afraid that during baking, the thumb and finger wouldn’t make — they’d fall down and break under the heat. I used a piece of foil to create a support structure for it. I’d recommend this if you’re nervous about something getting damaged during fire.
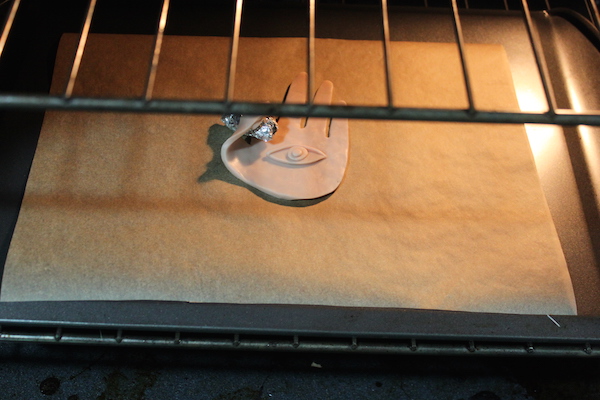
To bake, follow the instructions that come with your clay. I used Sculpy-brand, and it recommends baking at 275 degrees Fahrenheit at 15 minutes for every 1/4-inch thick. Since my piece fell into that category, that’s exactly what I did. It’s on parchment paper and a baking sheet. I just popped it into the oven and that was it!
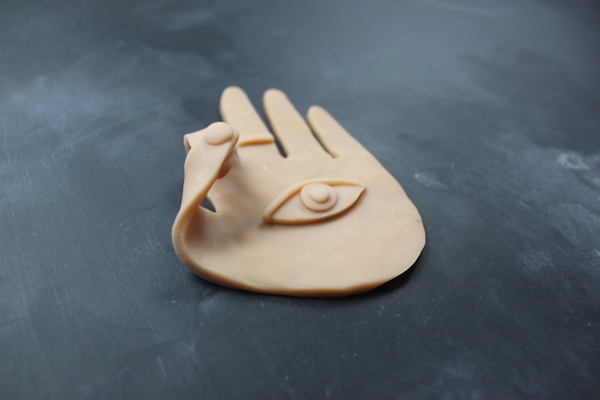
Your piece will be hot to touch when it comes out of the oven. It will also feel slightly rubbery. That’s OK. It will harden as it cools.
6. Painting your clay
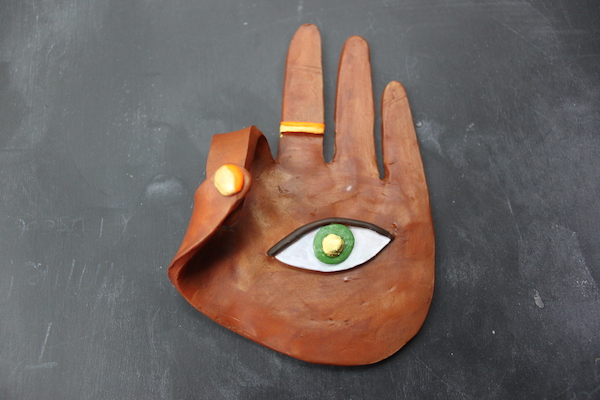

To finish this project, all you need is acrylic paint. Use your favorite brand and painting technique to decorate your creation. If you like the way the clay looks, feel free to leave it. In fact, Sculpy brand makes many different colors of clay, so you could experiment with adding two together.
Have you ever used oven-bake clay before?

Painting Inspiration
Visit out art page for more drawing and painting ideas!
Share tips, start a discussion or ask one of our experts or other students a question.
No Responses to “Tips and Techniques for Oven-Bake Clay Projects”