
Have you ever wanted to try your hand at making jewelry but weren’t sure where to start? Sometimes the tools and skills required for jewelry projects can be overwhelming if you’re just starting out. Fortunately, there are projects that require no special skills, and you can even use materials you already have on hand.
Here’s a simple tutorial that’s perfect for all jewelry makers.
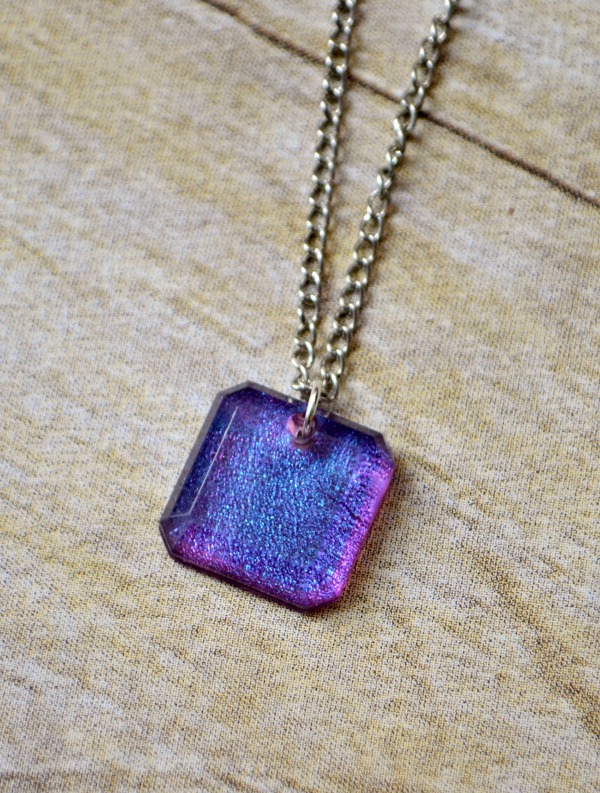
One of the most fun things about nail polish jewelry is that every piece you create can be totally unique — all you have to do is change the size, shape or type of cabochon you use and use different polishes. This technique can be used to make necklaces, earrings, rings or even matching sets, but today I’m going to show you how to make a very basic pendant.
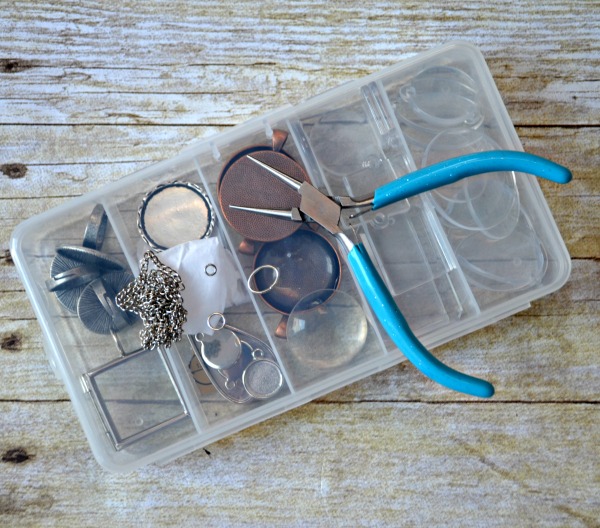
Here’s what you need to get started:
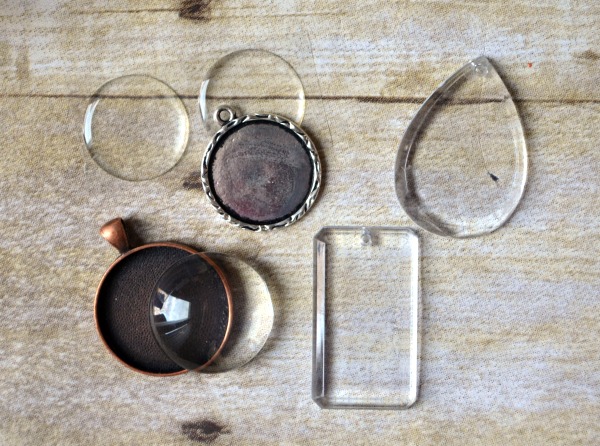
- A clear cabochon
- Nail polish
- Jump ring
- Necklace chain
- Needle nose pliers
Step 1.
Place the cabochon face down and paint the back with nail polish. Let it dry, then add more coats until you get the color and coverage you want. Darker and more opaque polishes will take 3-4 coats while lighter ones may require seven or eight. Allow the polish to dry completely before moving on.
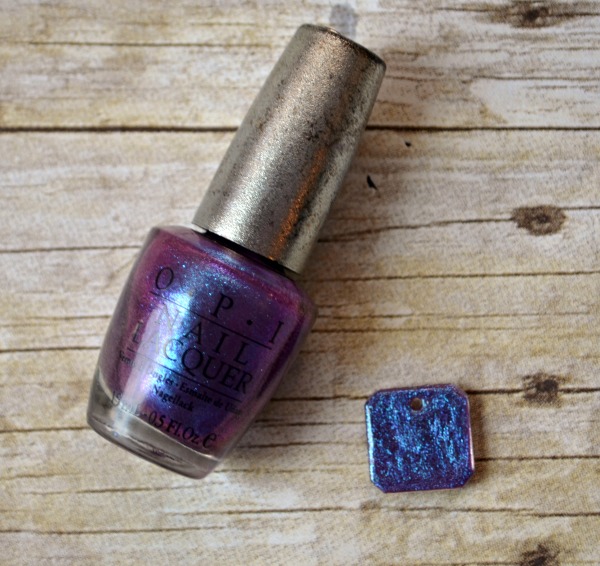
You can be as simple or as fancy as you like with this step. Use the same polish for all the coats, or layer several different nail polishes on top of one another. Just remember that since you’re working on the back of the cabochon, you need to put the coats on in the reverse order of how you want them to be seen. For example, if you want to combine a clear polish with glitter and a solid colored polish, you’ll want to paint the glitter on first, let it dry, then add several coats of the color.
Step 2.
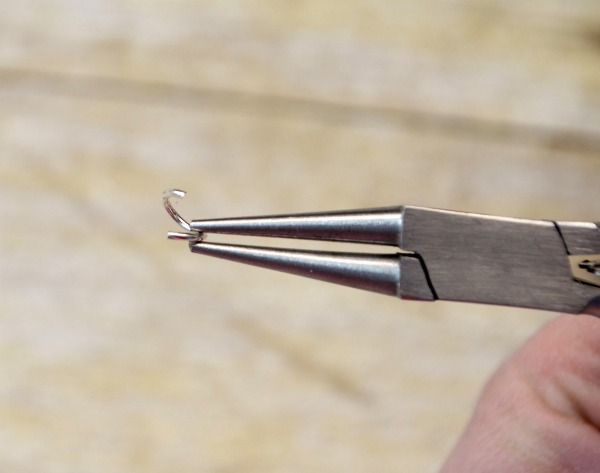
Attach a jump ring to the hole in the cabochon.
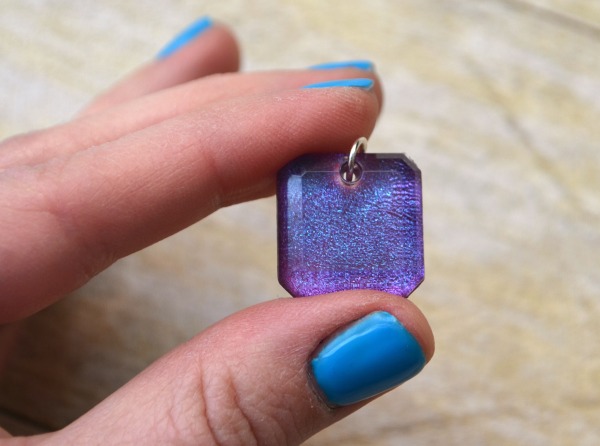
To open a jump ring, always find the split and gently twist the two ends apart with pliers. Thread the ring through the hole, then twist the ends back into place. You never want to pull the ends apart because it makes it much more difficult to close them securely and to maintain the shape of the jump ring.
There are many different shapes, sizes and types of cabochons available. Mine happen to have pre-drilled holes which allows me to simply add the jump ring as shown above. However, if you find some without holes, all you have to do is glue a necklace bail to the back of your pendant instead. Other cabochons come with a backing, so once the nail polish is dry, you just glue it into the backing which is most likely already made to be either a pendant, a ring, an earring, or other type of jewelry.
Step 3.
Add a chain! The easiest way to do this is to use a pre-made chain, but you can also create your own by buying chain in bulk, cutting it to the length you like and adding a jump ring and clasp to the ends.
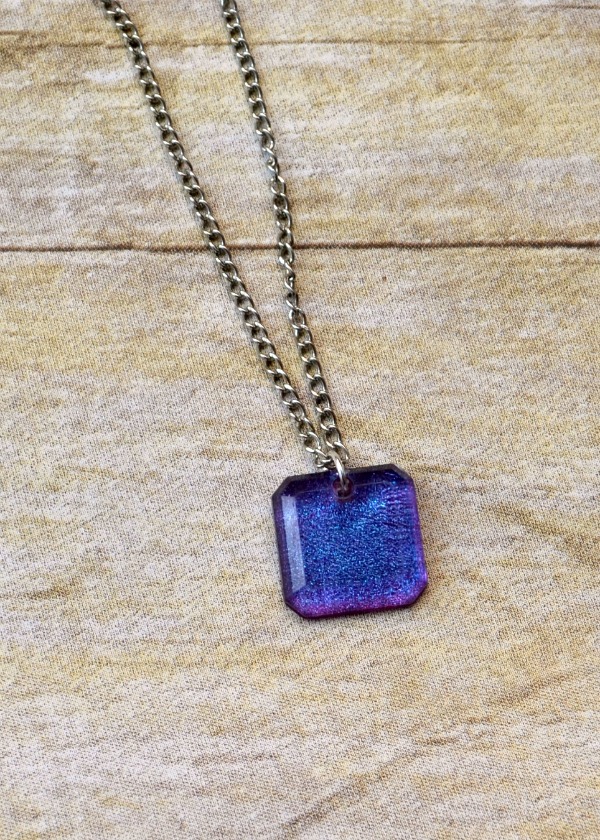
All that’s left to do is wear it and look fabulous! This is a perfect project especially if you’re just starting out with making your own jewelry because it requires no special skills and you don’t have to invest in a lot of tools either. Plus, there are so many ways to personalize these that you can never have too many. So, what are you waiting for? Pull out your nail polish and make some for yourself and your friends!
Share tips, start a discussion or ask one of our experts or other students a question.
No Responses to “Make Stunning Nail Polish Jewelry in 3 Simple Steps”