
One of the most basic and painless seaming techniques in knitting is the mattress stitch. The mattress stitch creates an invisible vertical seam on the right side of your knitting, and it’s perfect for stockinette stitch.
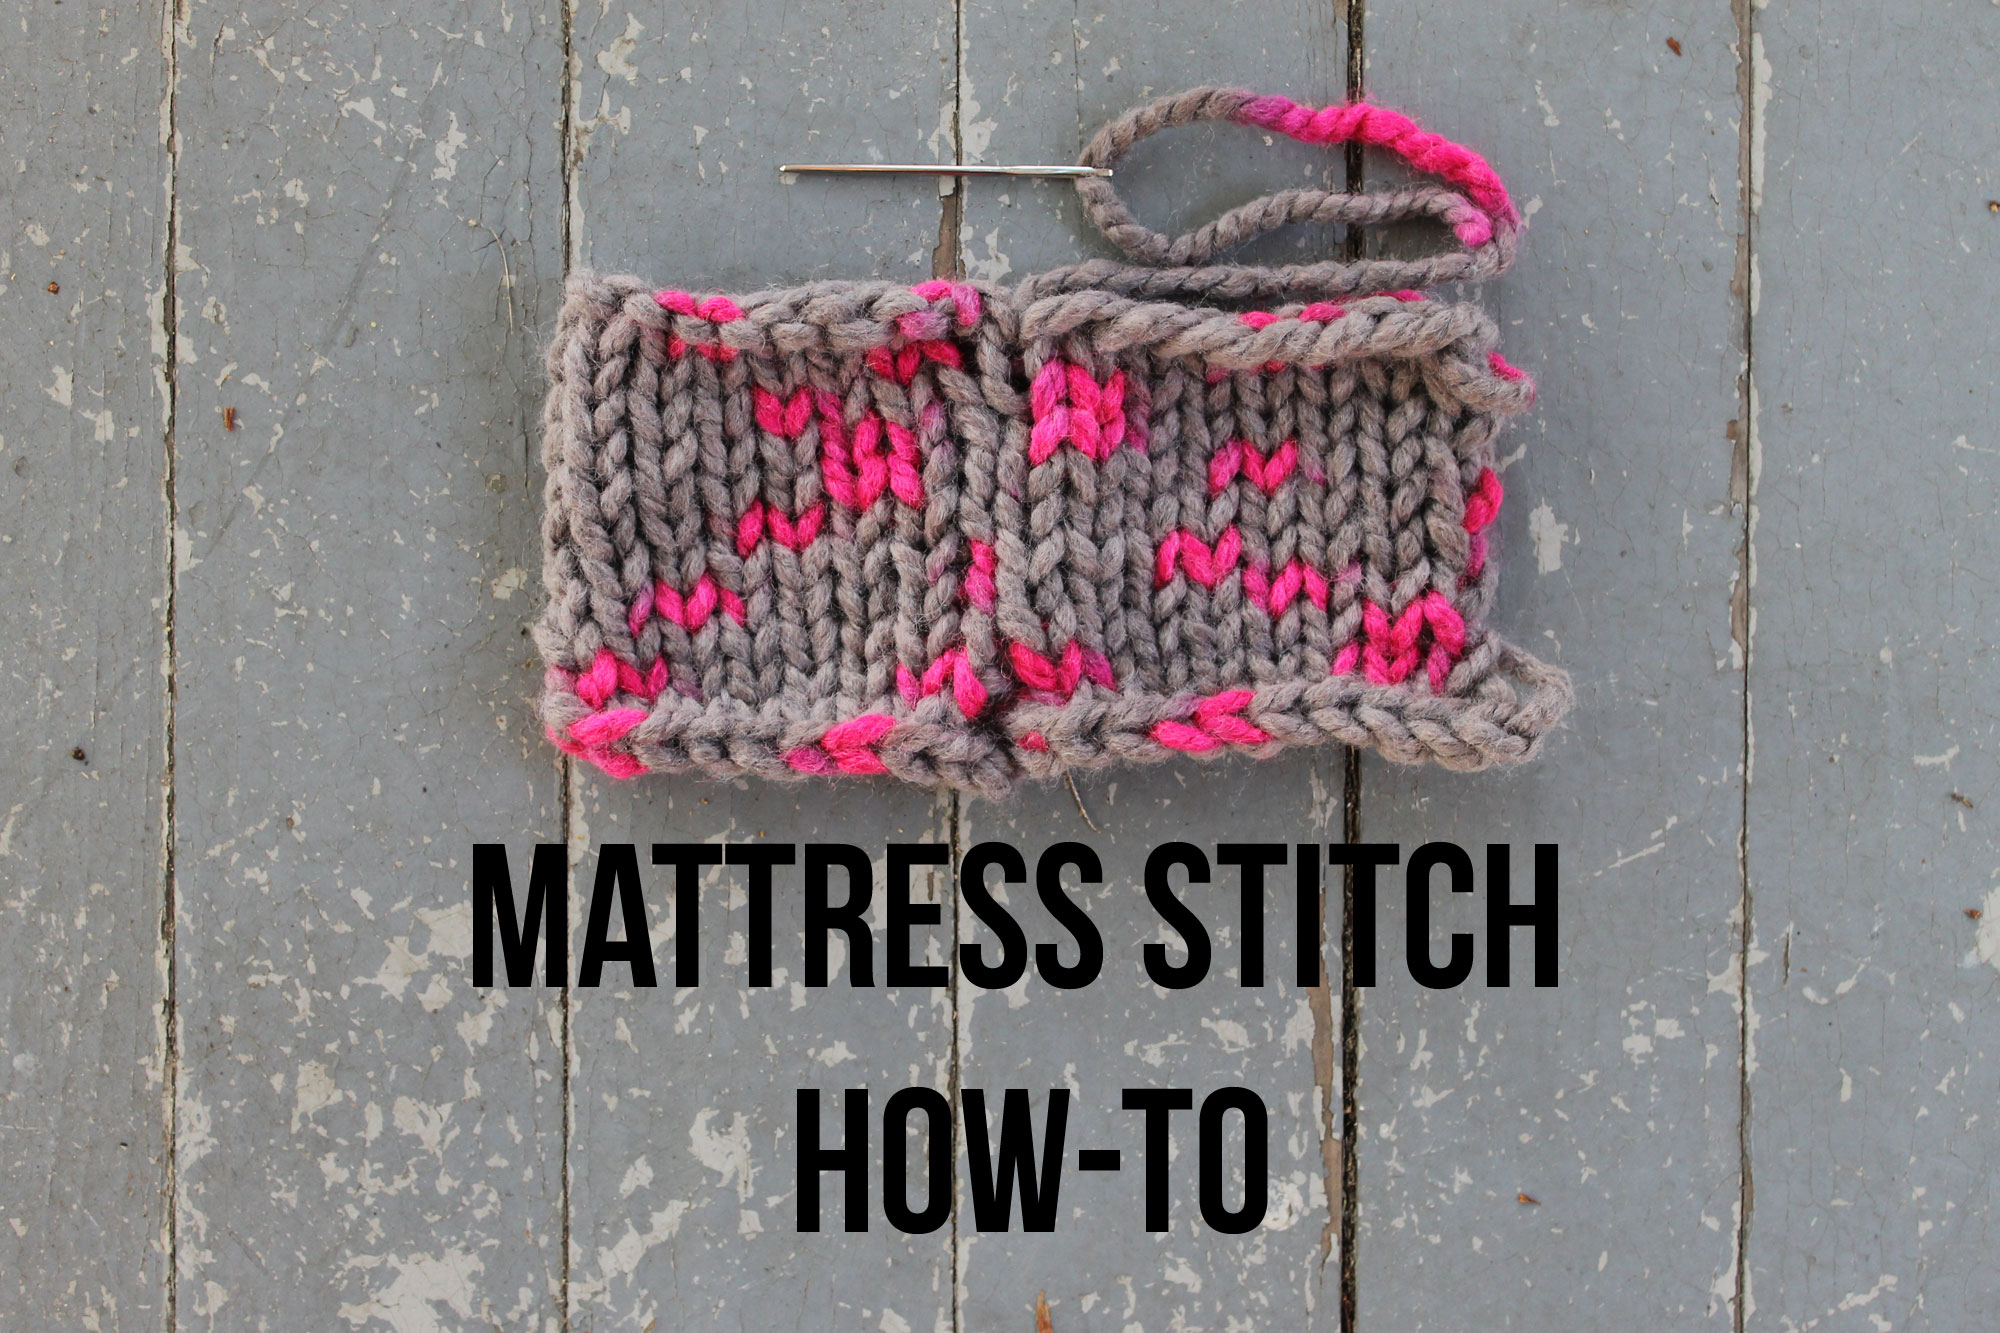
Ready to start seaming? Learn how to join knits with the mattress stitch!
What you need to practice the mattress stitch:
- Yarn needle
- Two pieces of knitting to be seamed together
- Scissors
Learn More Seaming Techniques for Free!

Gain the grafting skills to seamlessly join your knitting.
Knitting mattress stitch tutorial
When you bind off the last piece of your knitting, cut a yarn tail long enough for seaming. This will make your mattress stitch more secure and leave fewer ends to weave in later.
Before seaming, block all the pieces. This will ensure that everything lines up nice and neat; it can make seaming a lot less fussy!
Step 1: Prepare the pieces of knitting.
Thread the tail with a yarn needle and place the two pieces of knitting side by side.
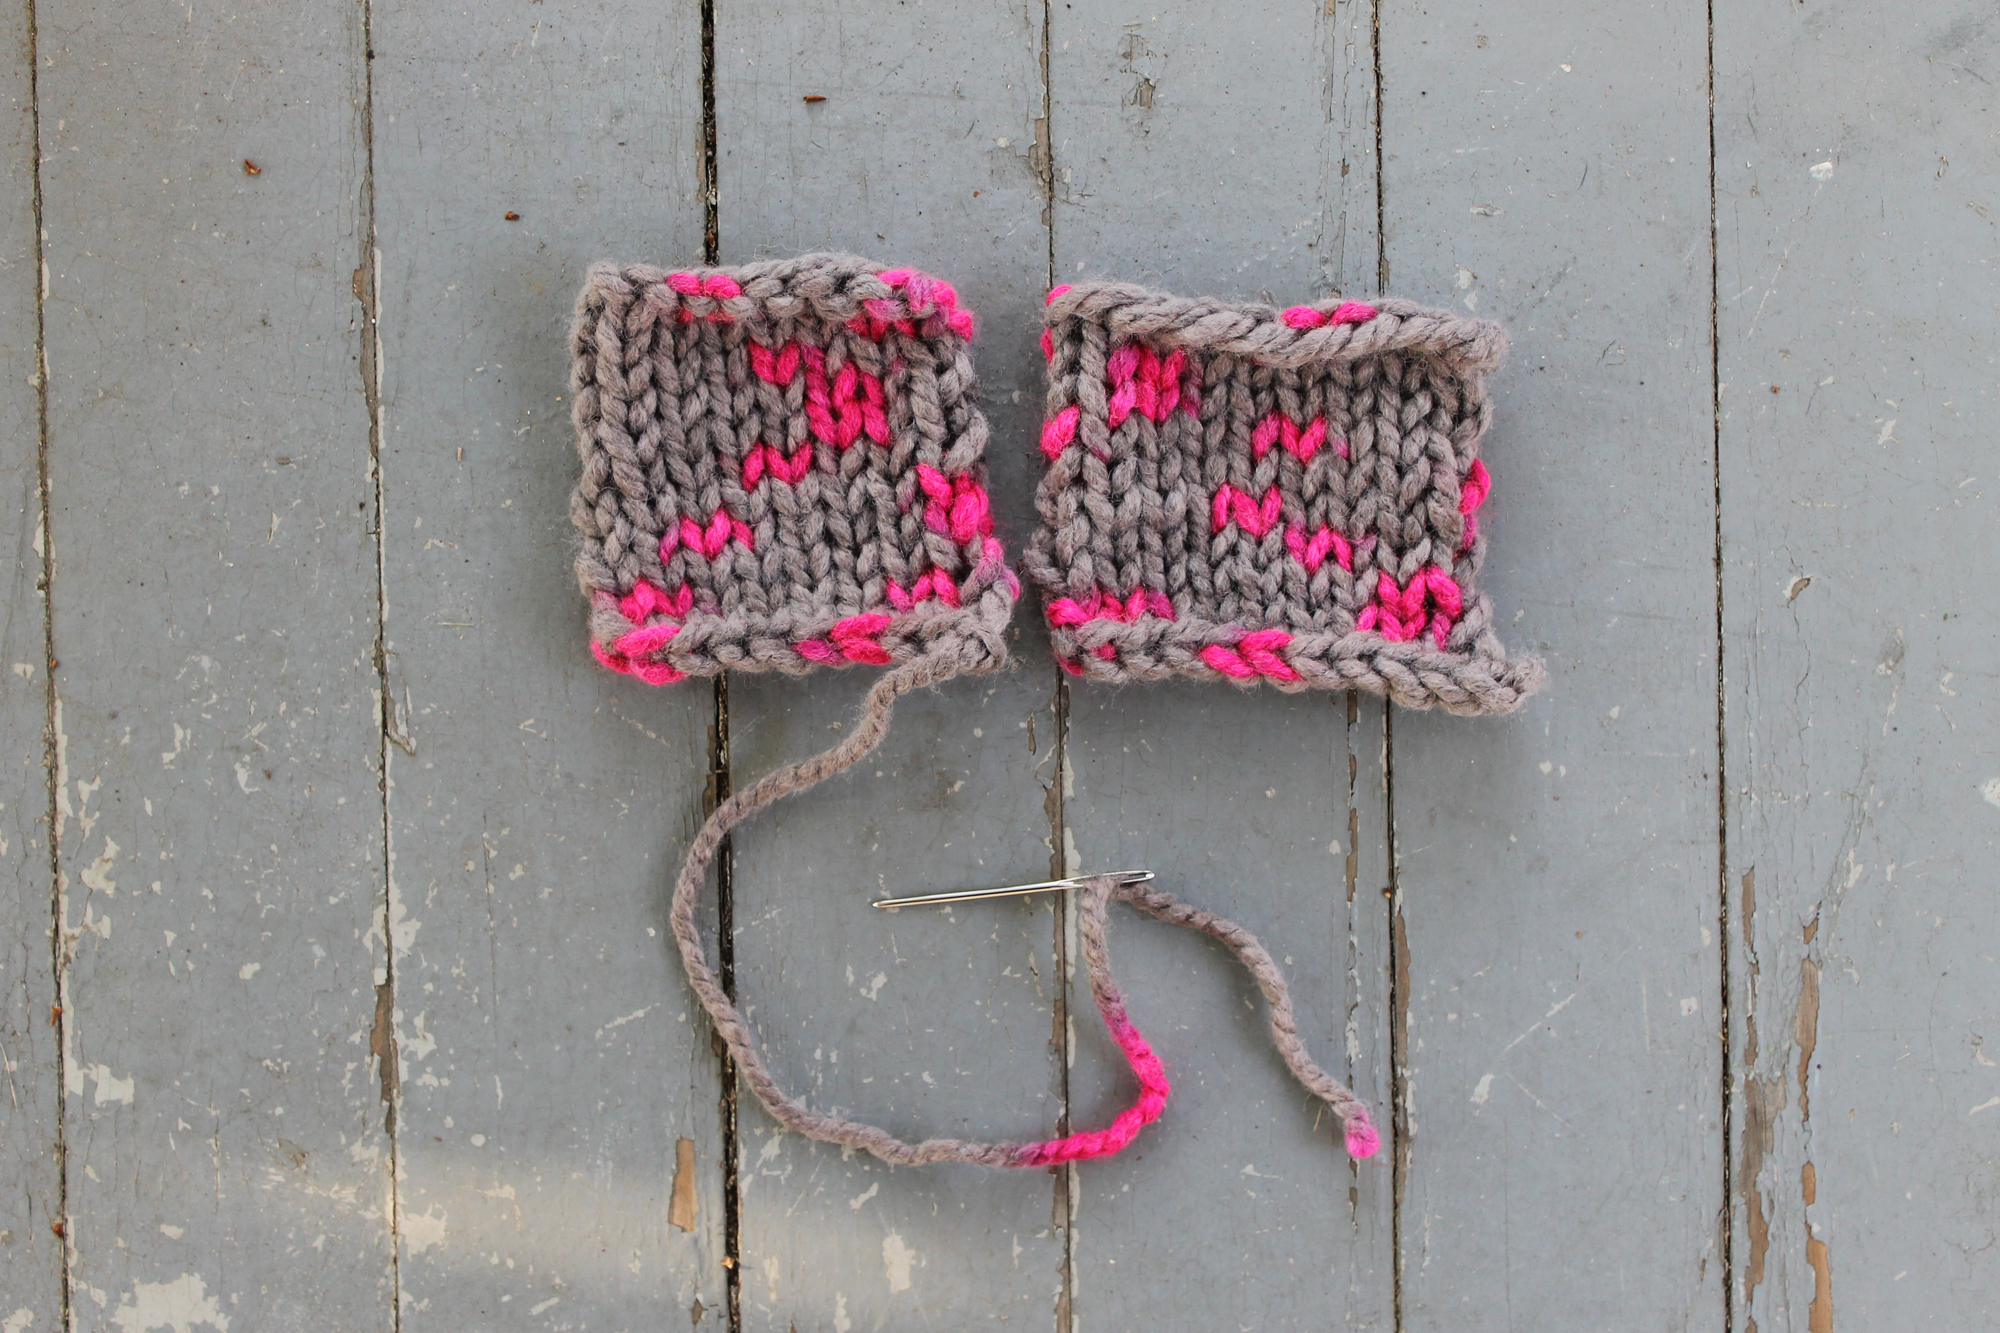
Step 2: Join the two pieces with the yarn tail.
Insert the yarn needle vertically from back to front into the corner of the side opposite from where the yarn tail is. Pull the yarn tail through, connecting the two pieces.
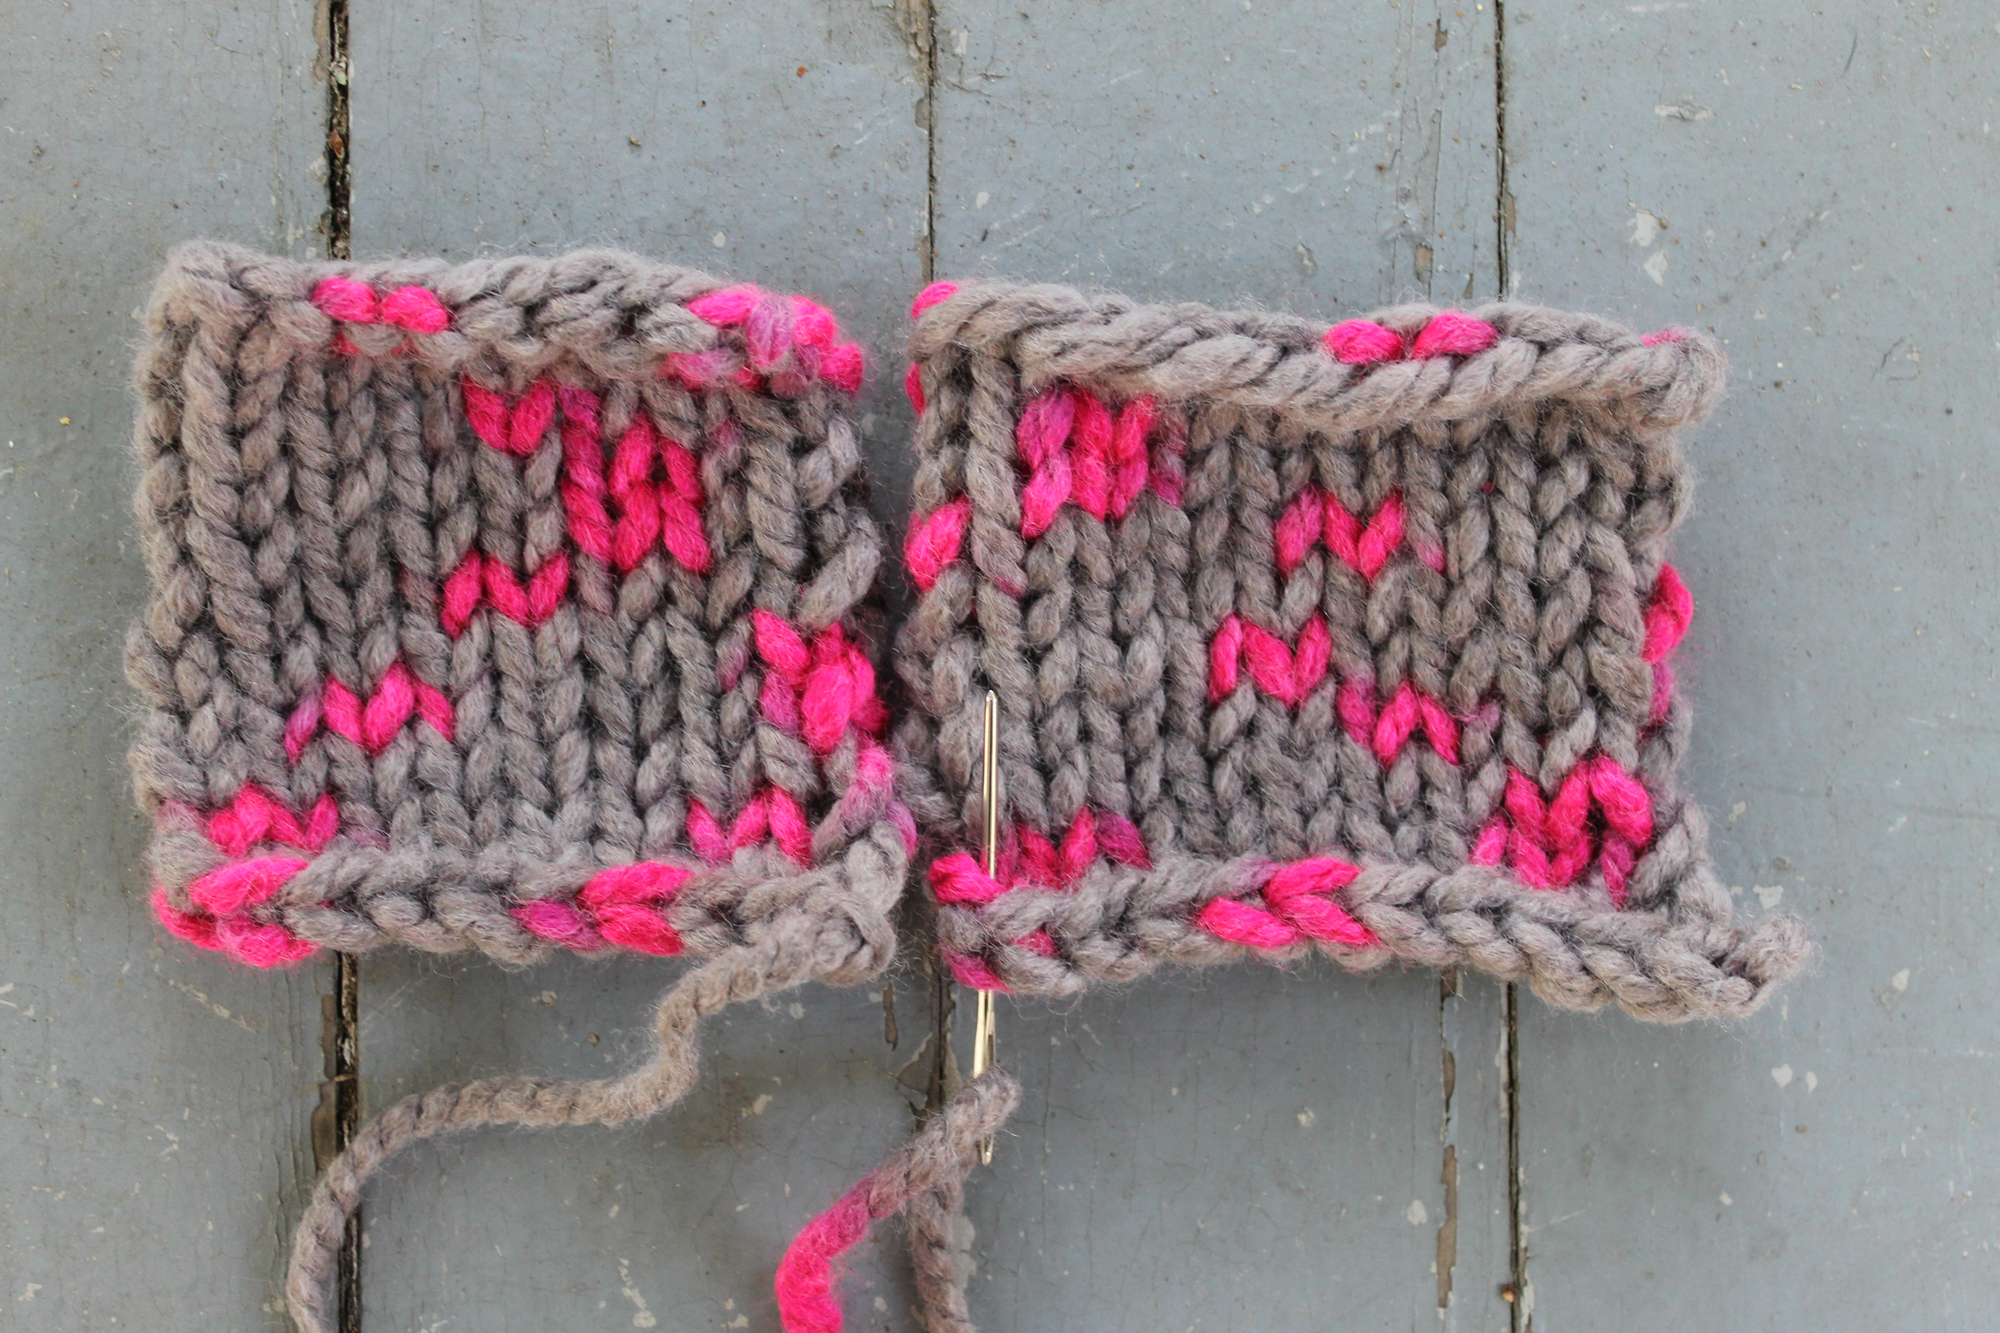
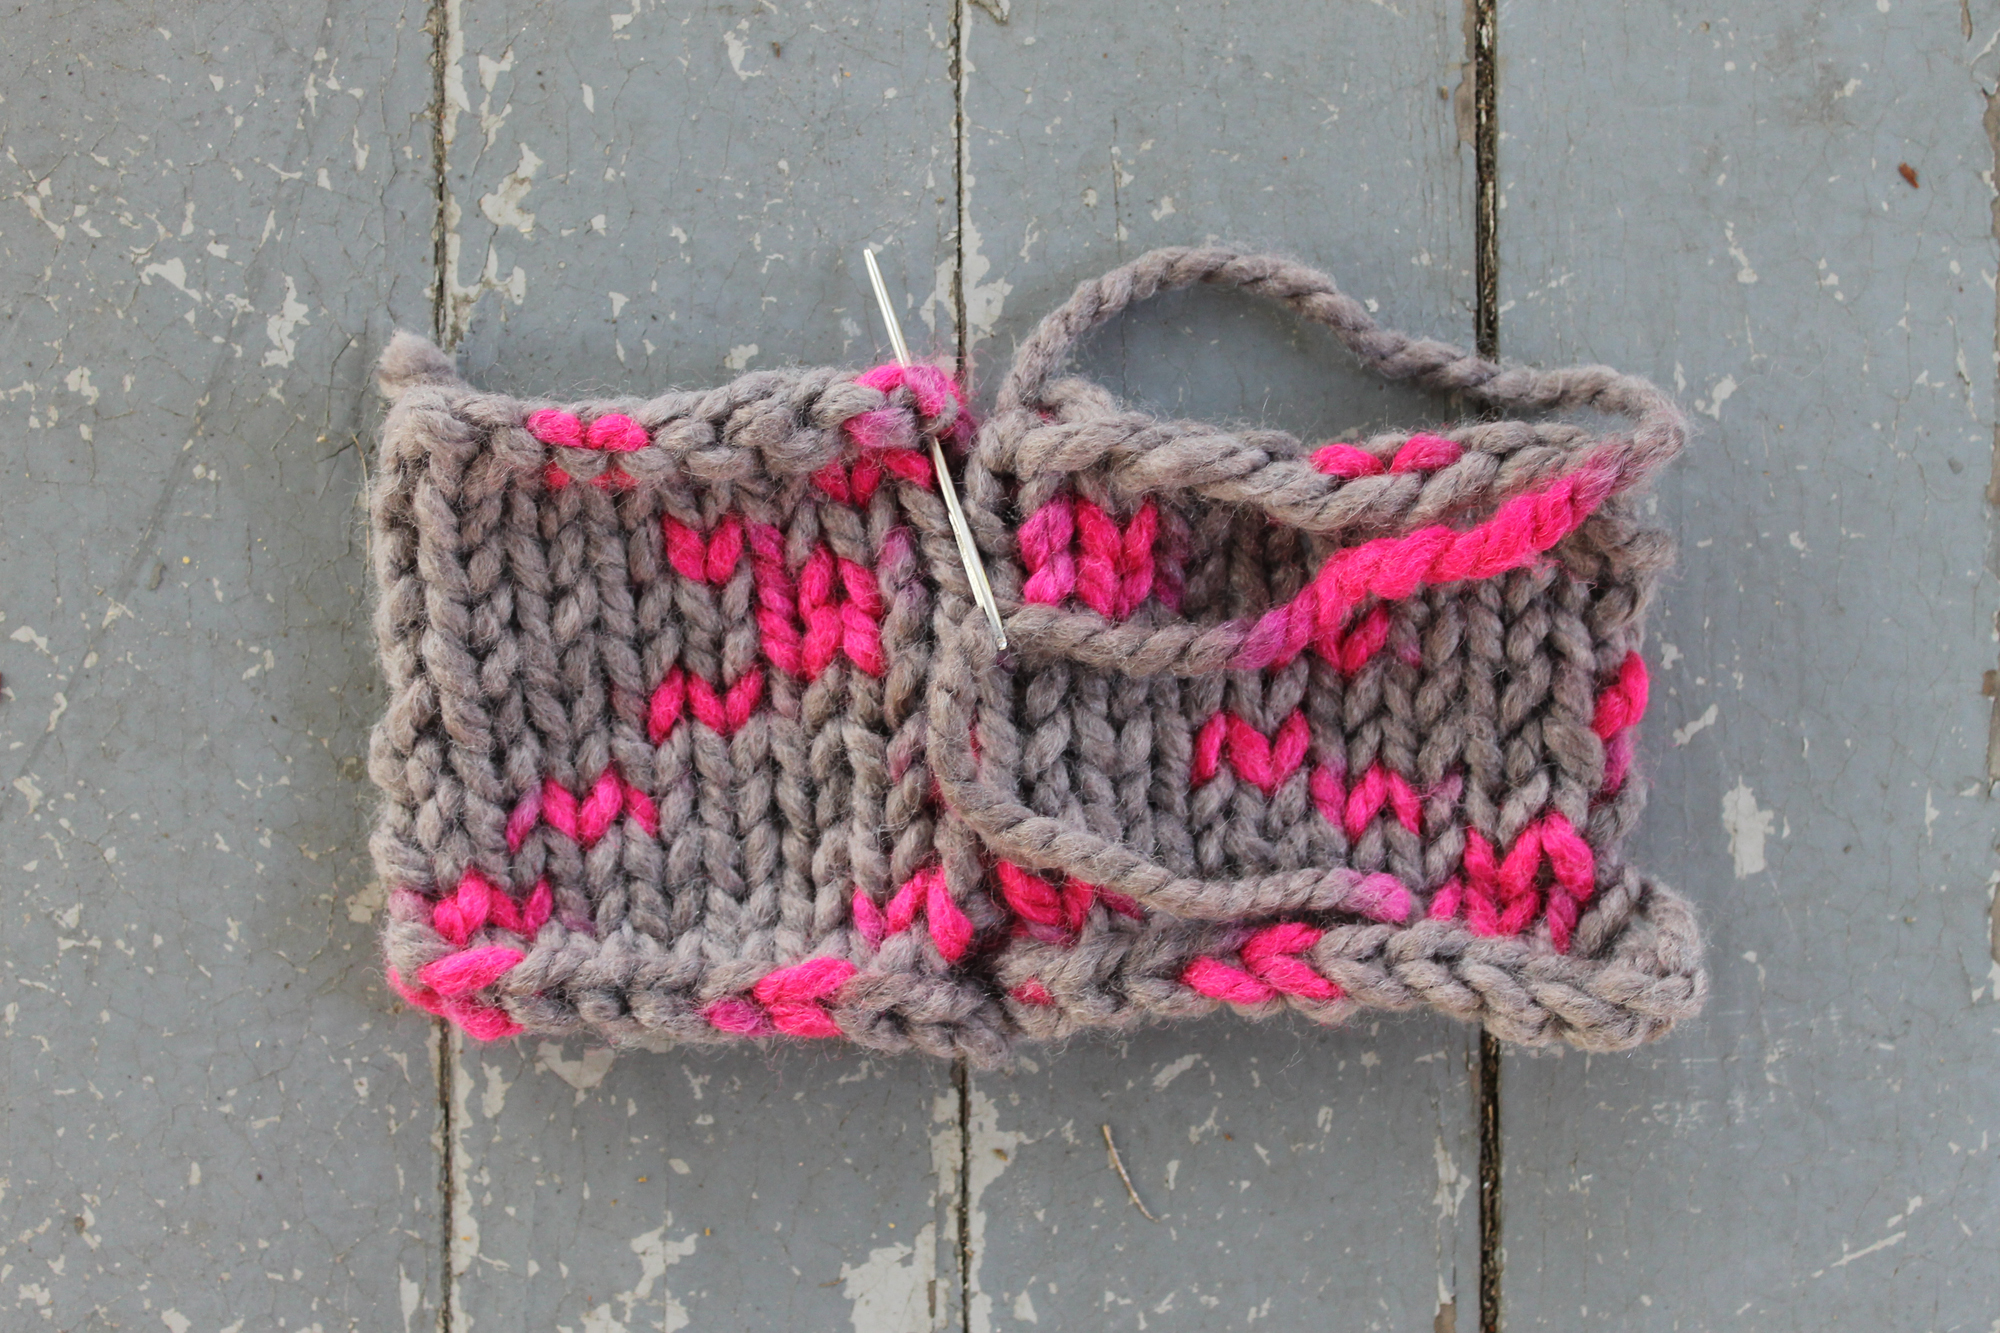
Step 3: Slide the needle through the ladder.
Now the real seaming begins! In mattress stitch, you’ll seam the pieces using the ladder between stitches. Check out the photo below: I’ve pulled apart the stitches a bit to show you the ladder that runs up and down between each stitch. Every piece of stockinette has this neat ladder, which you’ll use to seam right up that edge.
Check out your own piece and gently pull apart the edge to unveil the ladder.
Insert the yarn needle under the first ladder bar, from bottom to top, on the edge opposite where you just inserted the needle.
Note that for mattress stitch, you’ll insert the needle on one side and then the other, switching back and forth as you seam, moving vertically up the piece.
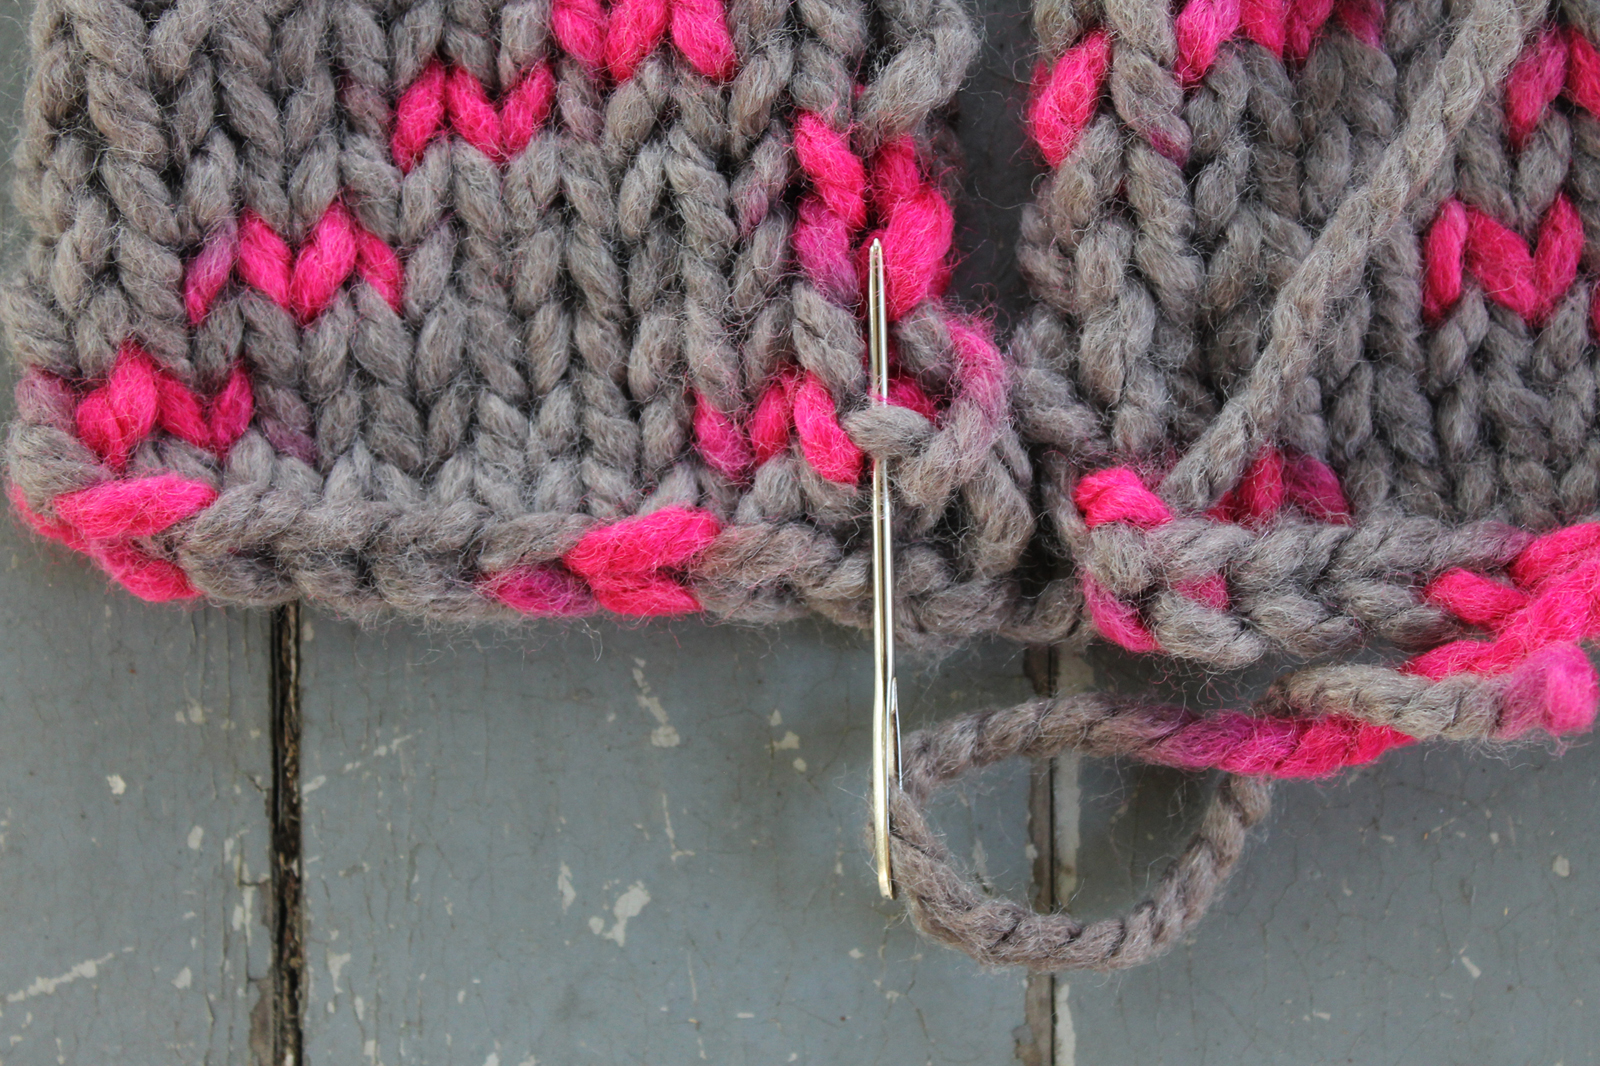
Step 4: Pull the yarn through.
Pull that needle all the way through to complete the stitch. Things might look a little hairy right now, but the seam will pull together and look neater in just a moment.
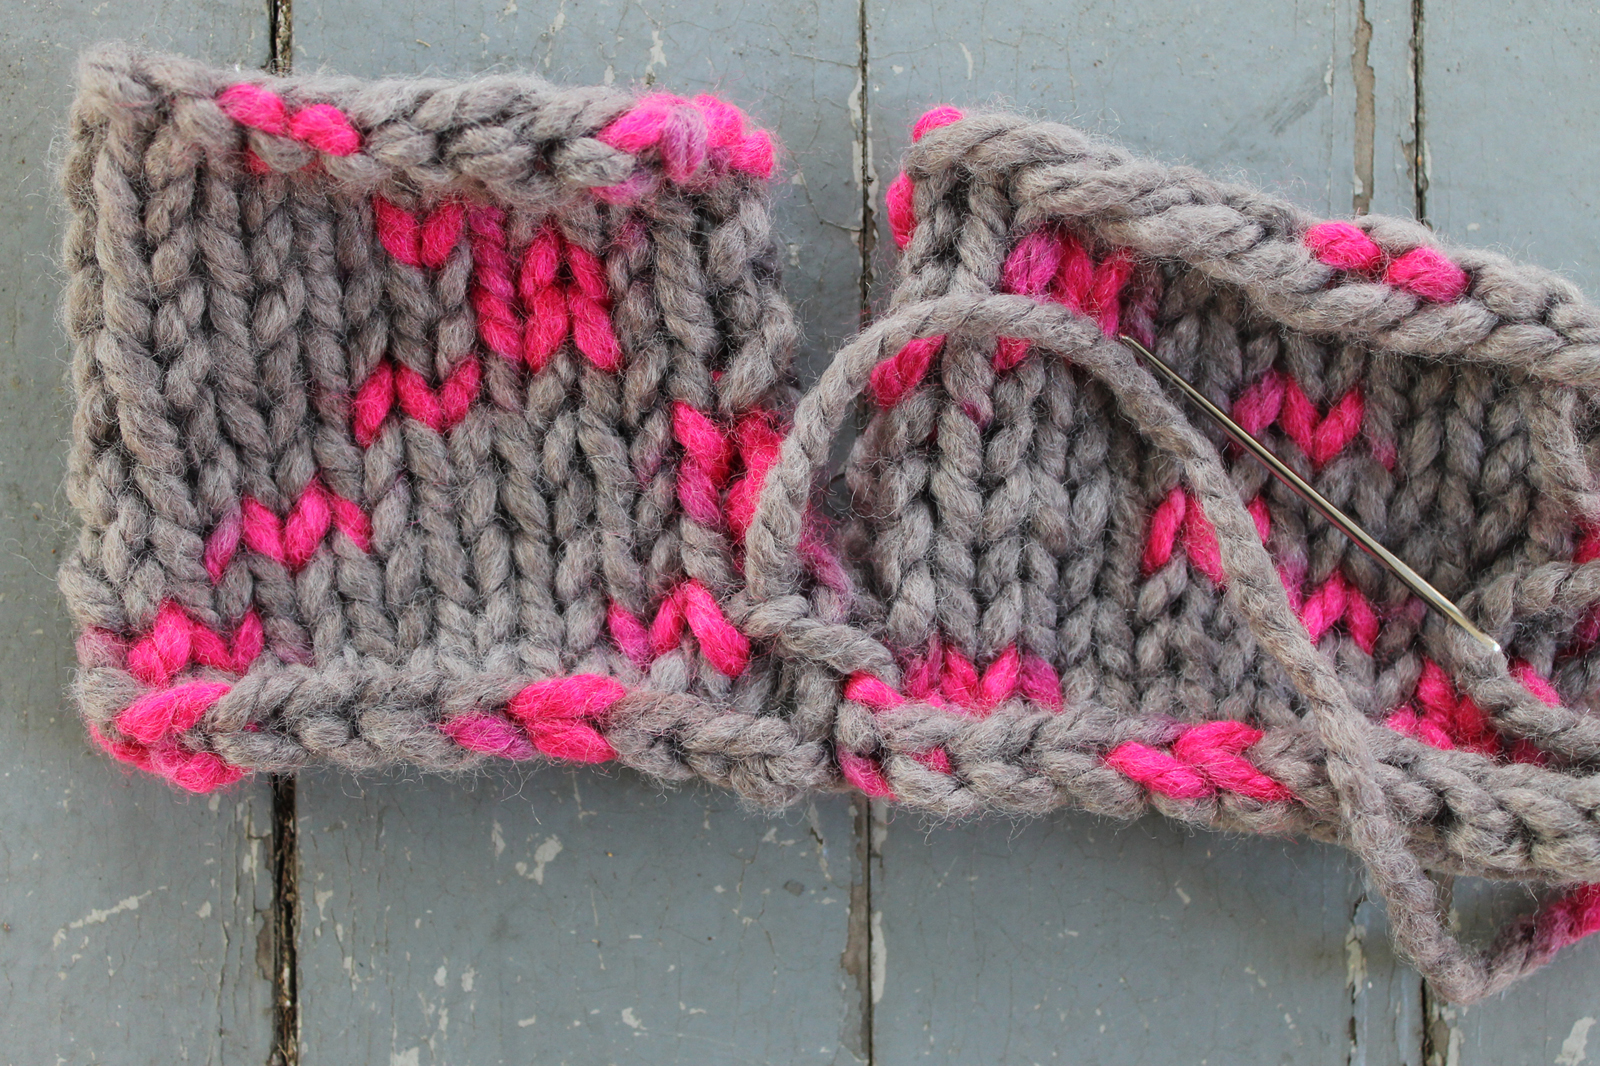
Step 5: Repeat the seaming with each stitch.
Move on over to the other side and repeat this, sliding the needle under the first bar on that side.
Starting to see the idea? Pull that needle all the way through and then move over to the other side.
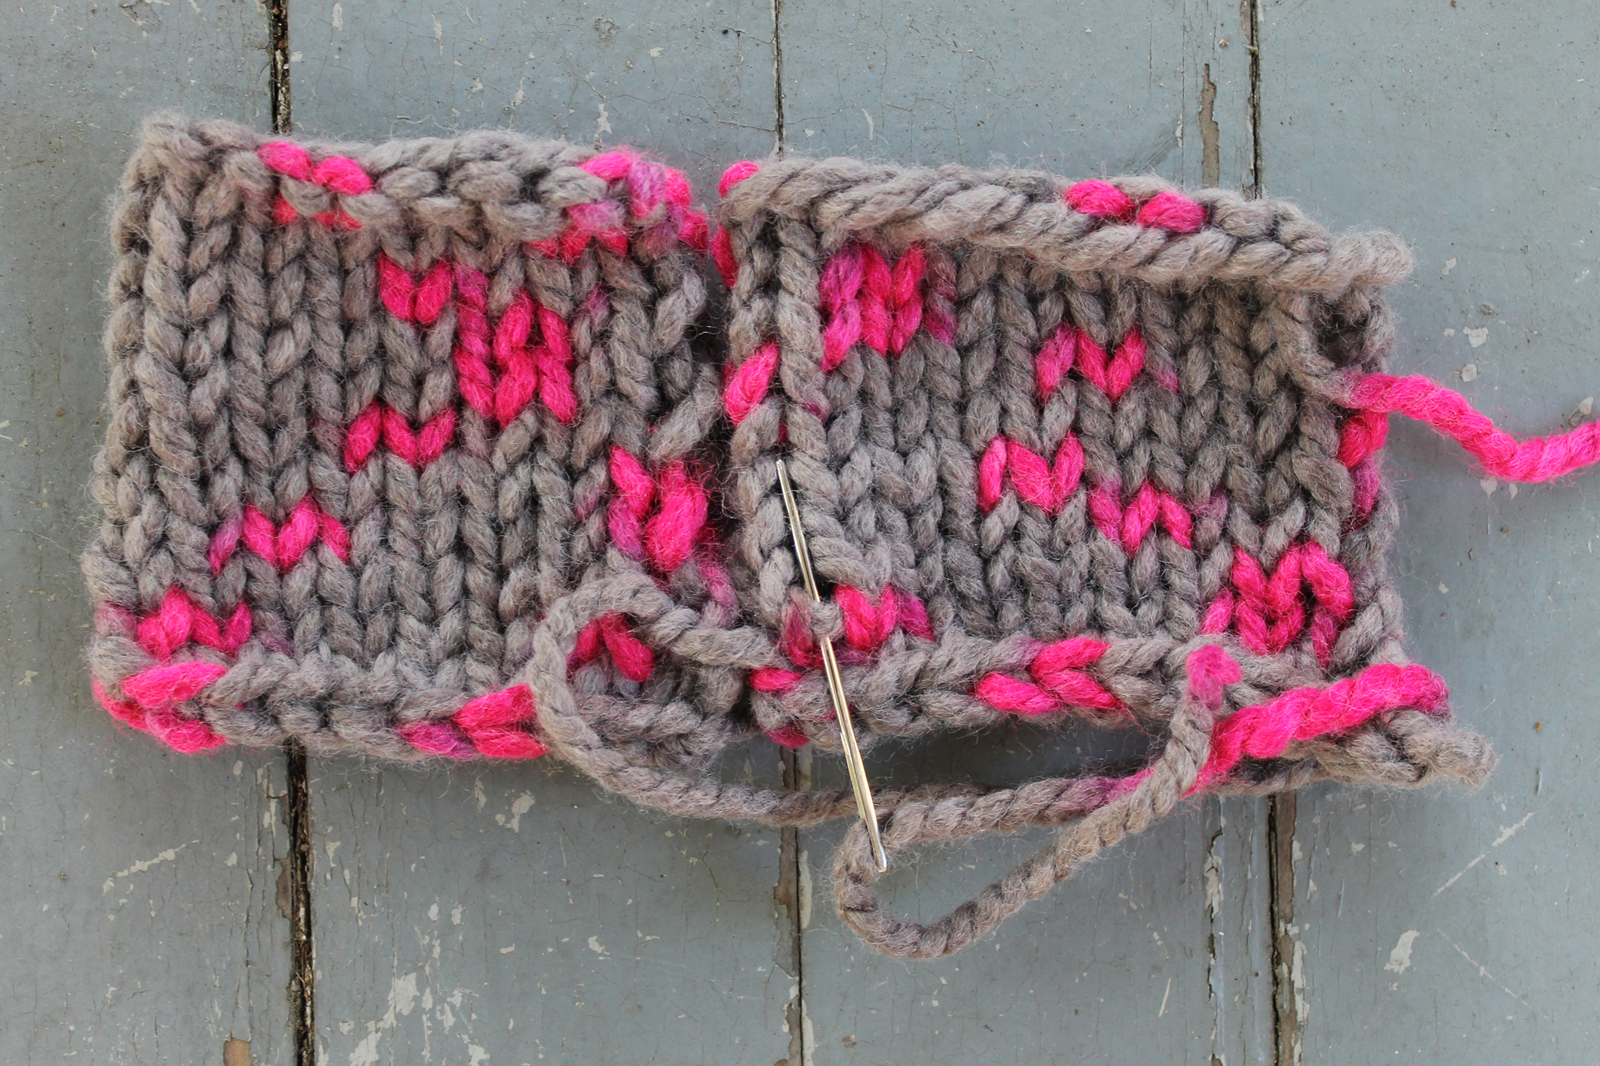
Step 6: Continue until you reach the end of your piece.
Repeat this, inserting the needle under the bar on one side and then the other, until you’ve reached the edge of the pieces. At this point, there are no more ladder bars, but you might find that the edges don’t quite meet. Insert the needle into the corner of the piece to make a nice, neat finish.
When you’re finished, weave in that end on the wrong side to secure it.
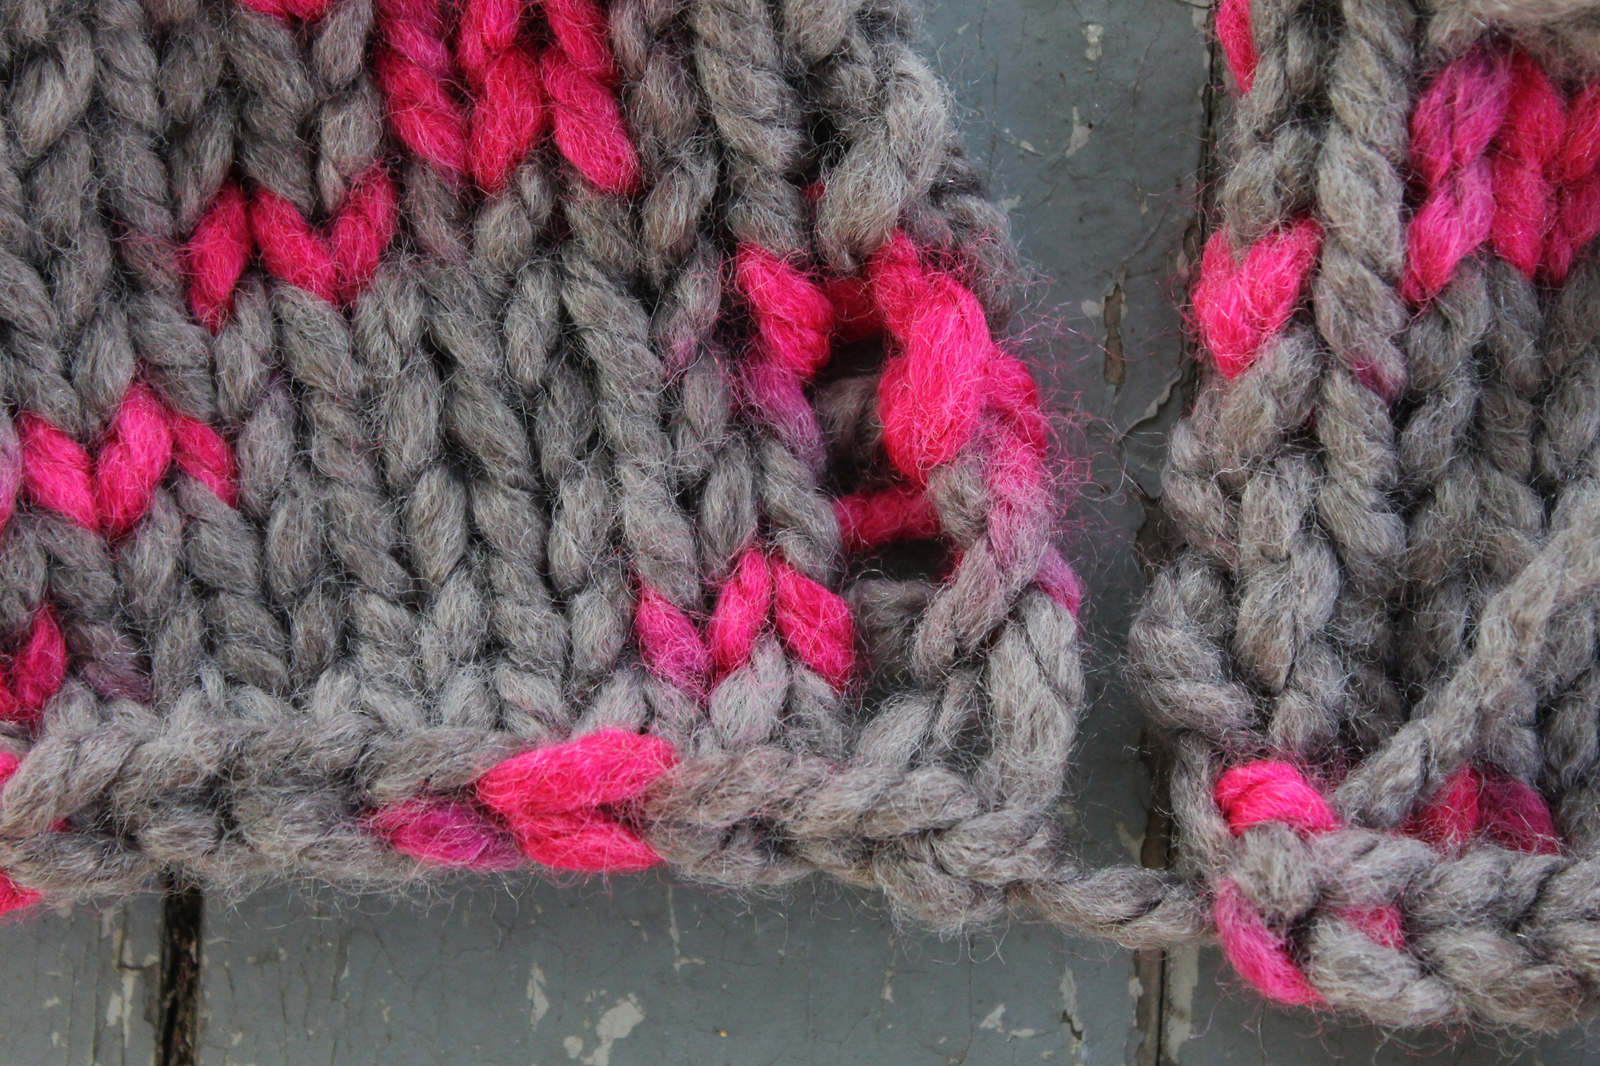
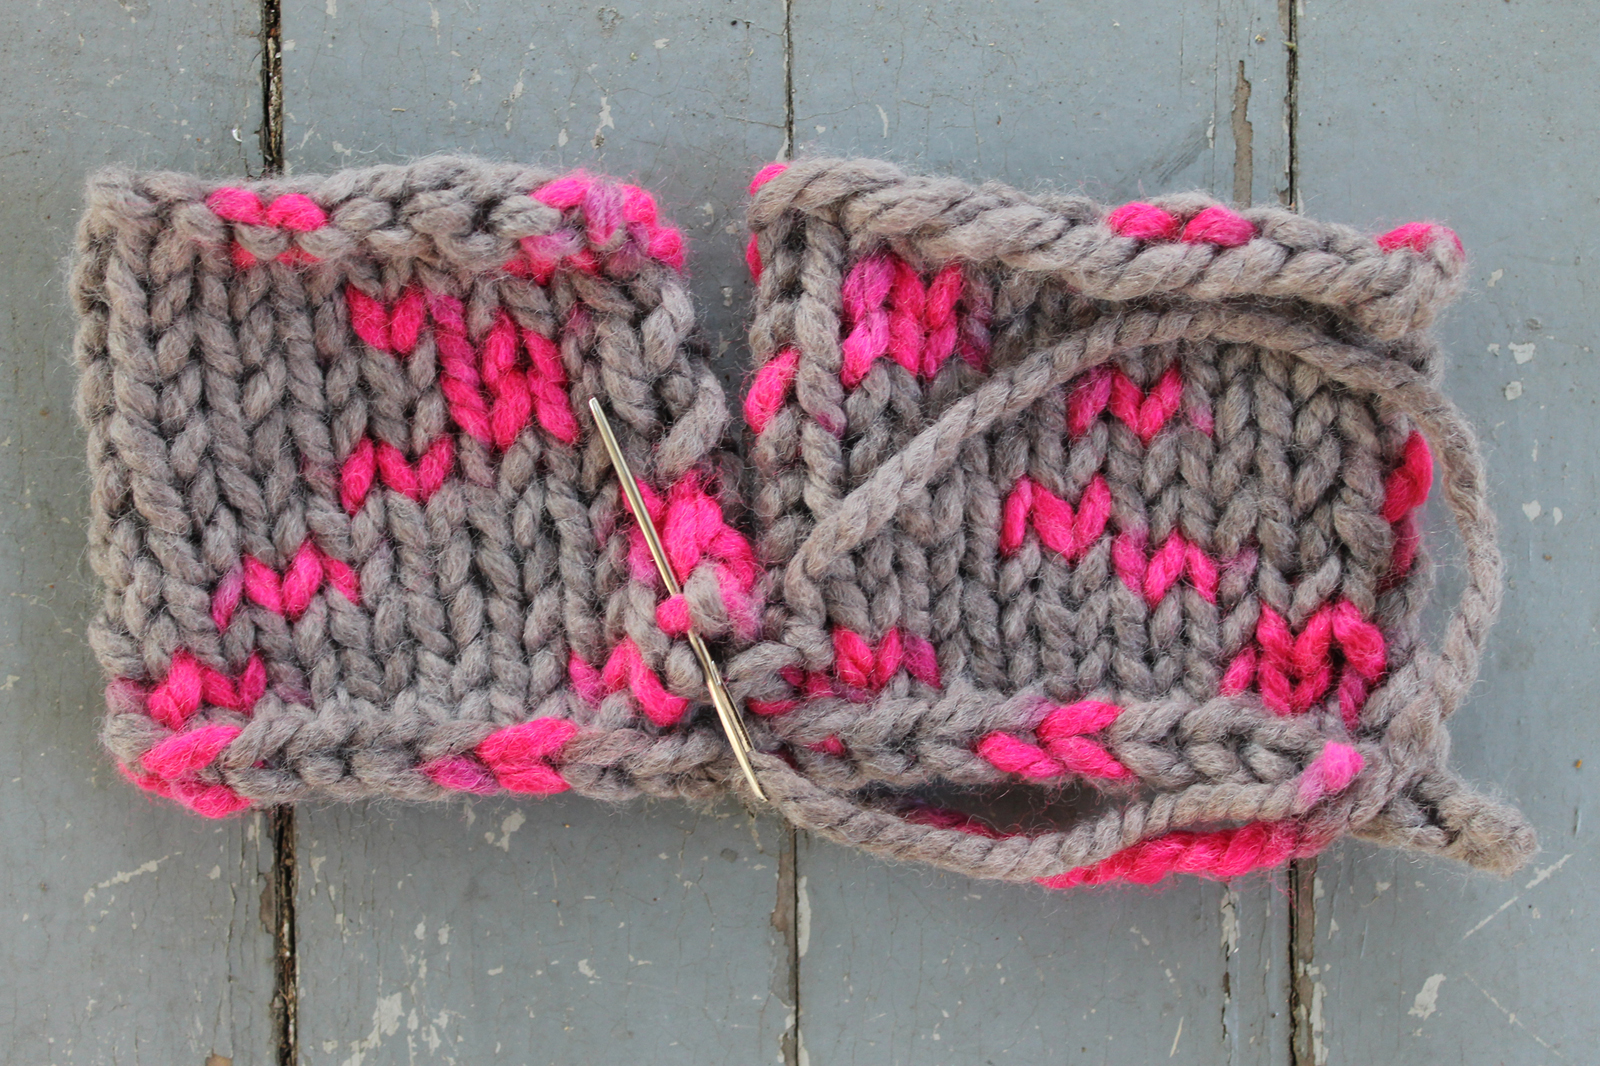
Using the mattress stitch
The seam created by mattress stitch is rather bulky and not as neat on the wrong side. Here’s what it looks like:
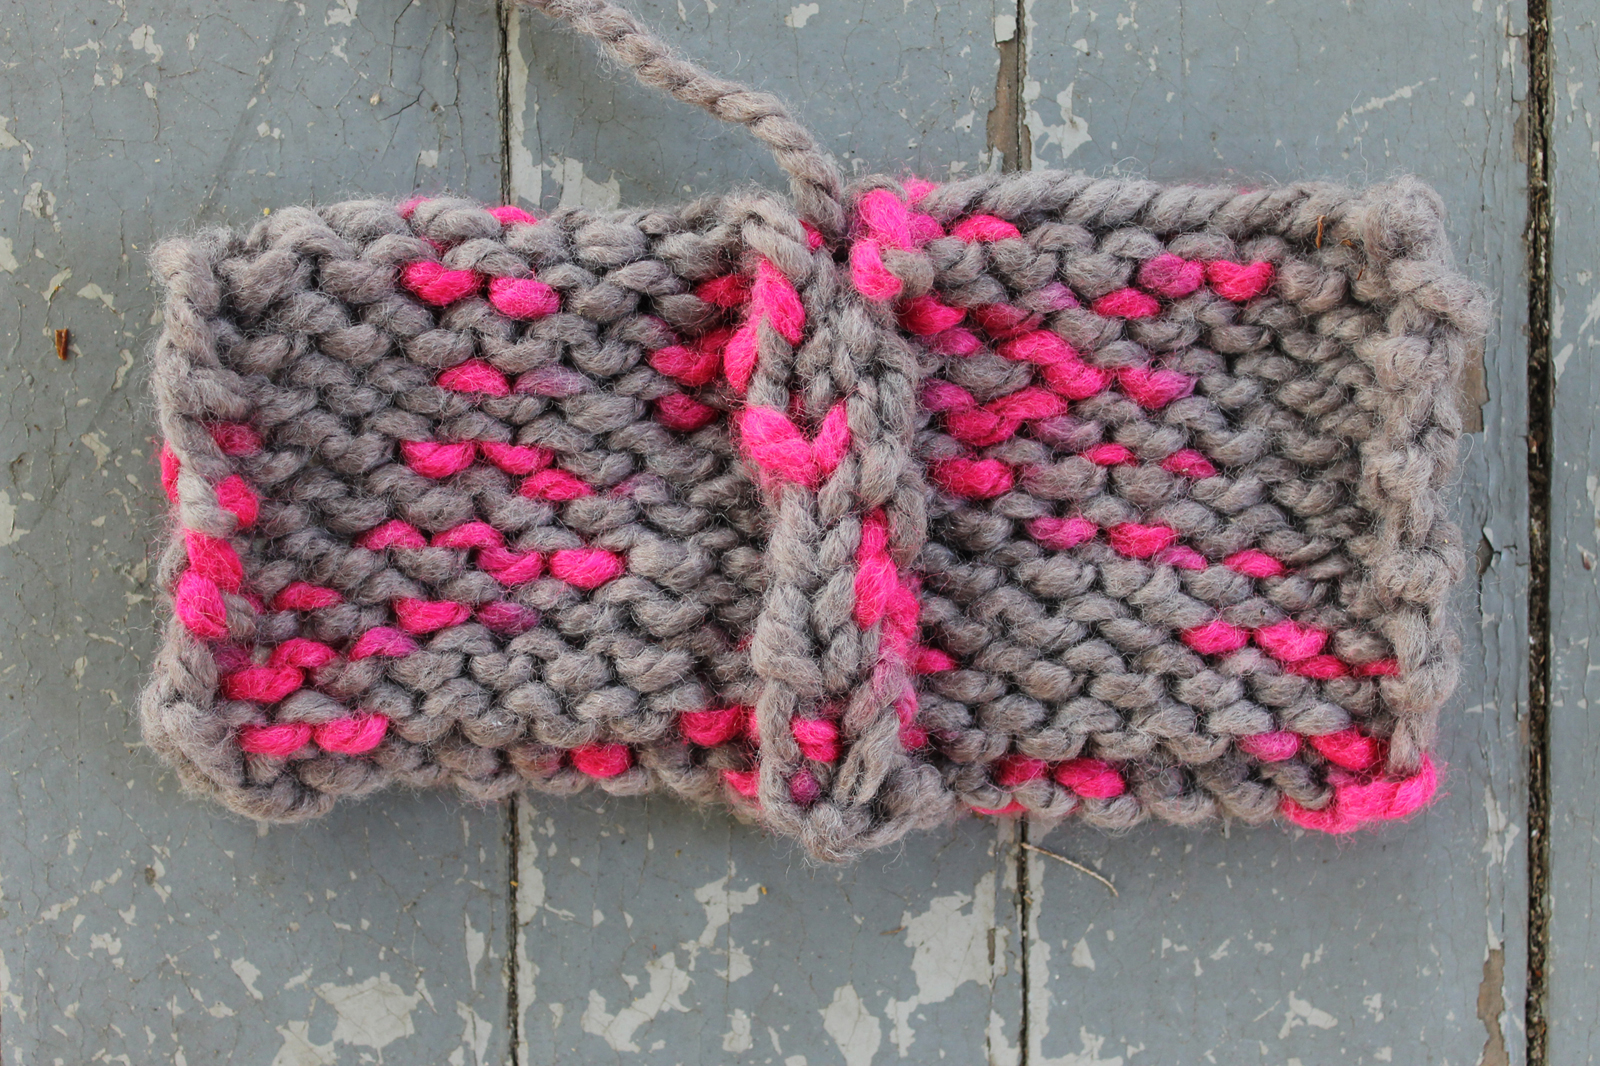
If I were seaming up a tote that was going to be lined, I would definitely use mattress stitch. Since this is a super bulky yarn, the seam is even bulkier; in that case, mattress stitch wouldn’t be ideal for something like a sweater side seam.
Mattress stitch not a good fit for your project? There are several other ways to seam a project, and John Brinegar can show you all of ’em in the Seaming Beyond the Basics class. You’ll even learn tricky seams, like sewing up those oddly-shaped stair-stepped shoulder seams!
Learn More Seaming Techniques for Free!
Gain the grafting skills to seamlessly join your knitting.
Share tips, start a discussion or ask one of our experts or other students a question.
No Responses to “Mattress Stitch Tutorial for Stockinette: It's Easier Than It Seams!”