
Last time, we covered cutting board design. Today, we’ll start the process of making a laminated cutting board by finalizing the design, cutting out the pieces to make our board and gluing them up.
For this cutting board, I looked at a number of cooking retailer websites as well as online resources for ideas. This cutting board is intended for serving cheese and appetizers. It doesn’t need to be heavy-duty, but it should have some nice design elements. Based on some cheese cutting boards that I found on the Internet, I decided to make this one 18” long, 6” wide, and 5/8” thick. These are not hard and fast dimensions. If the board turns out to be 17.6” long and 6.2” wide, it’s not going to affect anything.
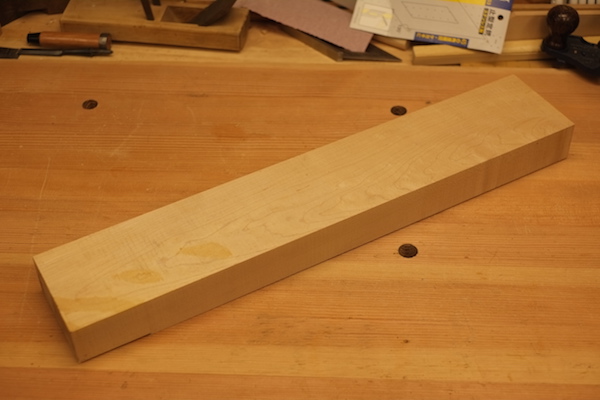
This may be a surprise, but the most important dimension is the thickness. Since this is going to be a serving piece, I did not want it to be too heavy. On the other hand, because this board is going to be on the thin side, I’m going to want most of the wood grain to run top-to-bottom for stability. To do this, I’ll start with a piece of maple 2” thick. This piece of maple may not look like much, but that will change as we work with it.
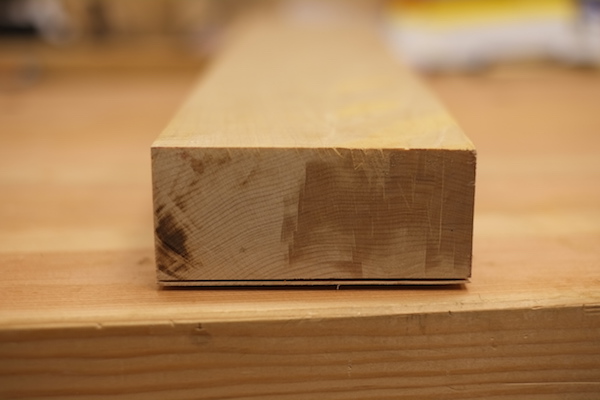
This board is flat sawn, which means that the grain runs mainly side-to-side as you look at the end of the board. I want the grain to be perpendicular to this orientation to prevent warping over time.
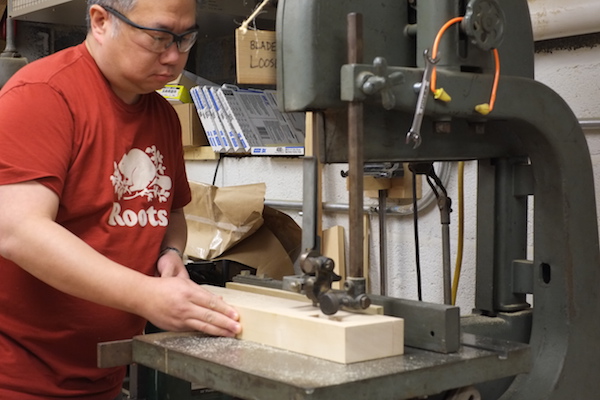
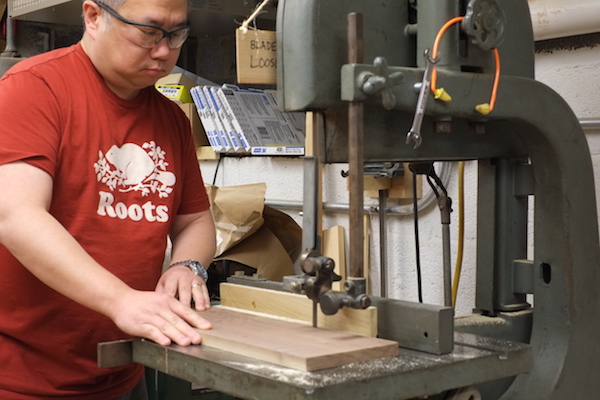
I’ll start by cutting three pieces about 3/4” thick from the long edge of the maple. A bandsaw is the best tool for this sort of cut. Although I’m cutting these strips 3/4” thick, after leveling and sanding the cutting board, I can expect to lose about 1/8” in thickness, which results in the desired 5/8” thickness at the end.
The board is 6” wide, and each piece is about 2” wide, so three pieces will cover the width of the board. When I turn the pieces on their side, the grain is reoriented so that it runs top-to-bottom instead of side-to-side.
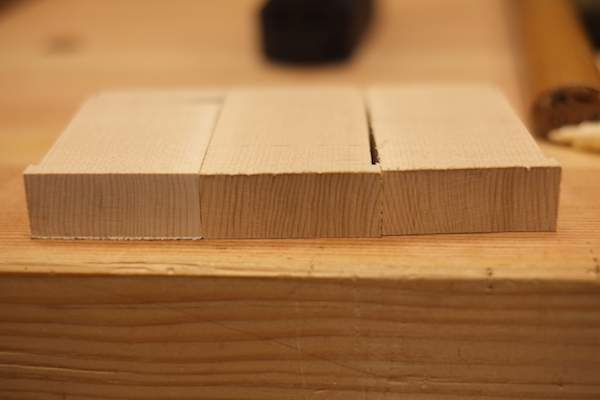
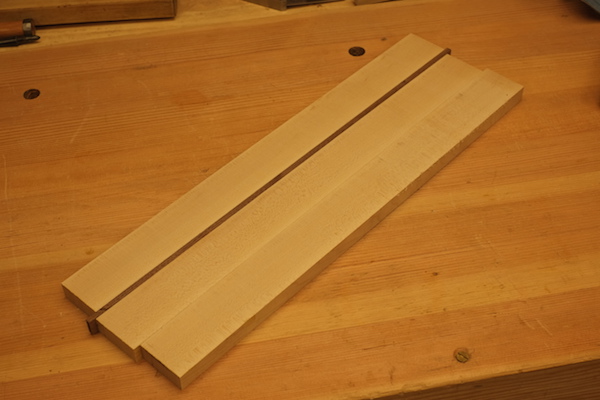
Three pieces of maple sitting side-by-side is a little boring to look at, though, so here’s where the design element comes in. I’ll take a piece of walnut and cut a narrow strip about 5/8” thick.
By inserting the walnut between two of the maple pieces, it adds an element of contrast to the cutting board.
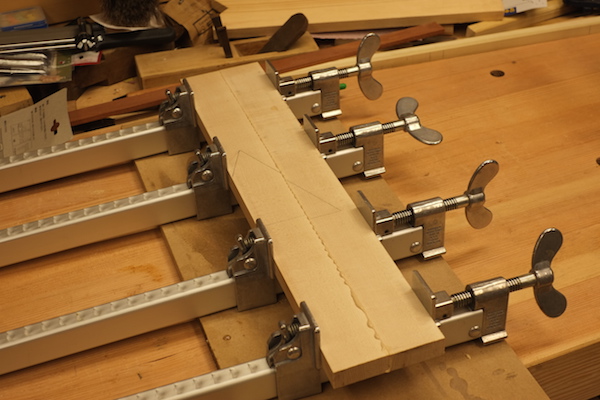
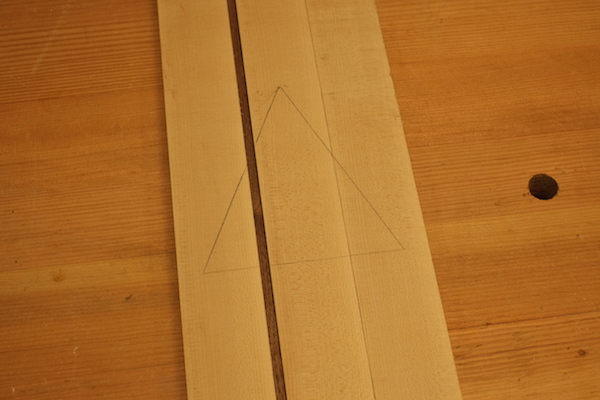
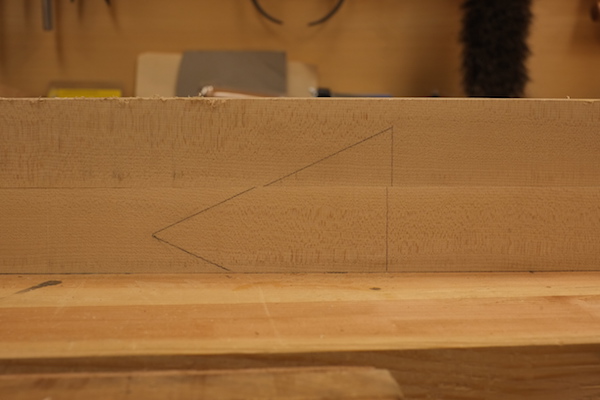
Now that the pieces are cut, they need to be glued up. To prepare the boards for glue up, first mark a triangle in pencil across the boards. This will help you put the boards back together after they are apart.
Then plane down the edges of the boards that touch each other so that they are flat. Use a straightedge or a ruler to check the edge.
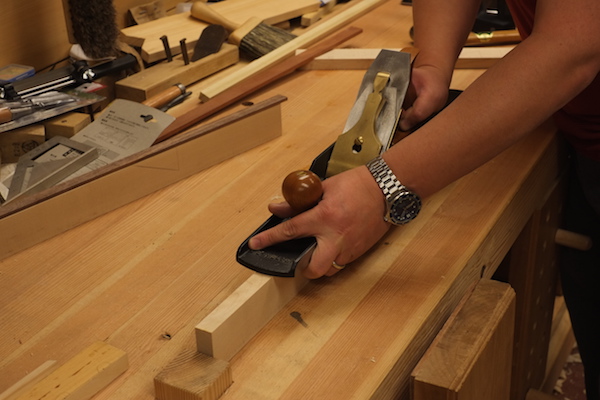
Check to see that both boards have tightly matching faces. The best way to do this is to rest one board on top of the other, using the carpenter’s triangle to keep things consistent. If both faces are flat and well matched, they will feel like they almost stick to each other as you try to move them around. Another good test is to shine a light behind the boards, and see if there are any light gaps.
Apply glue to both faces, and clamp them together. Since the cutting board will be exposed to moisture between being used and being washed, you will want to use a glue that is water-resistant. I’m using Titebond III.
Theoretically, you could glue up all the pieces at once. In reality, that often turns out to be more problematic than it’s worth. If you’re really rushed for time, then you could try to glue all the pieces at once, but don’t be surprised if you have issues with the pieces moving around as you’re clamping them.
While I’m waiting for the glue to dry, I’ll glue up the walnut strip to the other piece of maple, using the same technique as above. After both glue ups dry, I’ll glue the two parts together, again using the technique of planing the edges to be glued and testing for a tight fit.
Next time, final leveling and shaping of the board.
Share tips, start a discussion or ask one of our experts or other students a question.
No Responses to “Board Basics: Making a Laminated Cutting Board”