I grew up hearing the saying “that is as handy as a side pocket”—and who wouldn’t agree? Pockets are one of life’s essentials. When buying clothes, the rule is that if it doesn’t have a pocket, it doesn’t go in my closet. With machine embroidery I have found that adding a pocket is as easy as turning on my embroidery machine. And these are not just plain pockets or a one size fits all pocket. Machine embroidery pockets come in all kinds and sizes and can be added to almost anything. For children (and some of us adults) there are pockets with fun things peeking over the top. For holidays and those who like to celebrate favorite things, there are pocket toppers for every theme. And for very dressy occasions, there are even lace pockets.
Let me show you some pocket examples and then I’ll go through the steps of adding a pocket with your embroidery machine.
I purchased a whole set of pockets for children’s clothes from Designs by JuJu and made the two children’s projects shown below.
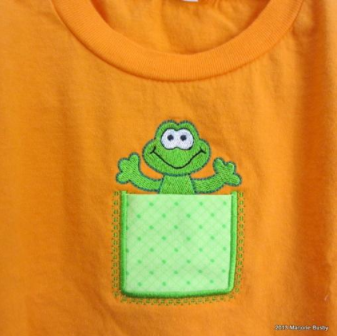
The frog design is added to a toddler t-shirt front and the princess pocket is for the front of a child’s purse. These are adorable and just perfect for children who always want to pick up little things and put them in their pockets. Think how fun it would be to add pockets to a child’s shorts or jumpsuit or a beach towel or favorite blanket.
And if it’s a t-shirt that you want to make, there’s a wonderful Craftsy class by Eileen Roche, The Machine Embroidered T-shirt which will teach you everything you need to know about adding embroidery to t-shirts.
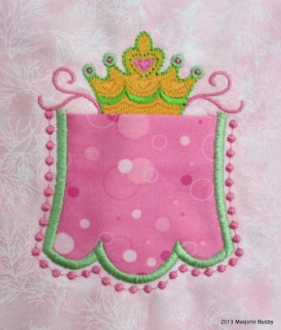
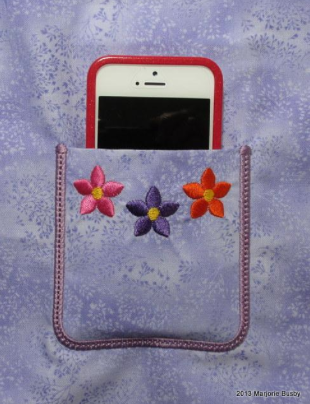
Another pocket that is a lot of fun is a pocket with a design at the top of the pocket itself (pocket topper). I made the pocket shown below to be used on a vest. It’s just the right size for a smartphone. You can find quite a lot of pocket topper designs at Embroidery Library. Just type in pocket in the search box on the Home page and you will find a variety of designs. You can also take some of your favorite small designs such as the ones shown here to add to pockets.
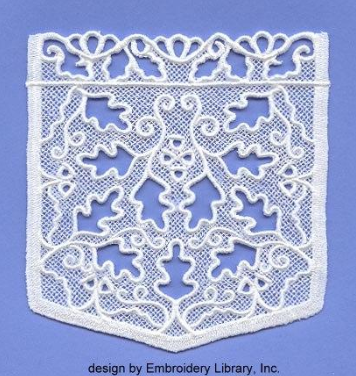
And shown below is a very elegant free-standing lace pocket that would be perfect for dressing up a simple shirt – white or in colors. Here’s a picture of one of the Embroidery Library lace pockets.
Pocket how-to in three easy steps:
Before you begin: If you want to add embroidery to the pocket itself, stitch that embroidery motif now before you begin the actual pocket construction.
1. Stitch the placement line.
The first step is to hoop your background fabric and stitch the placement line. We talked in previous posts about alignment. So go back to those principles and feel comfortable stitching a pocket on any garment or other item.
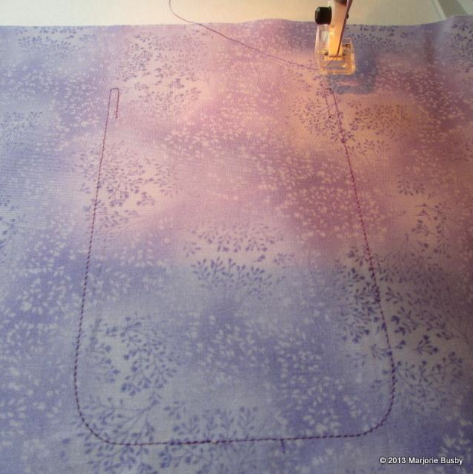
2. Add the pocket fabric, stitch the tackdown stitches, and trim close to the stitching.
You will fold the pocket fabric in half and press it so that there is a sharp crease at the top of the pocket. Carefully place it so that the top of the pocket matches the top of the placement stitches. With the embroidery machine, secure the pocket fabric with the tackdown stitches. After the tackdown stitches are complete, remove the hoop (do not unhoop the fabric) and trim the fabric carefully around the tackdown stitches.
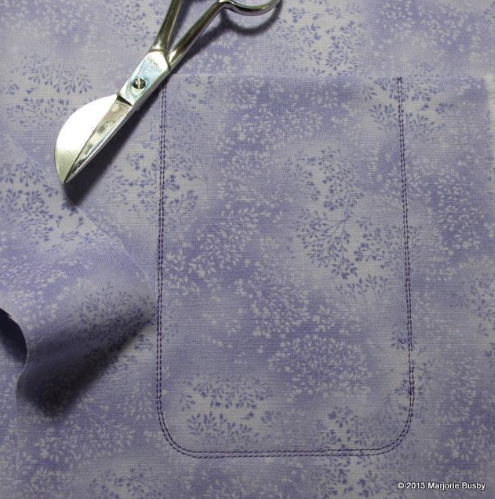
3. Stitch the final pocket stitches and enjoy!
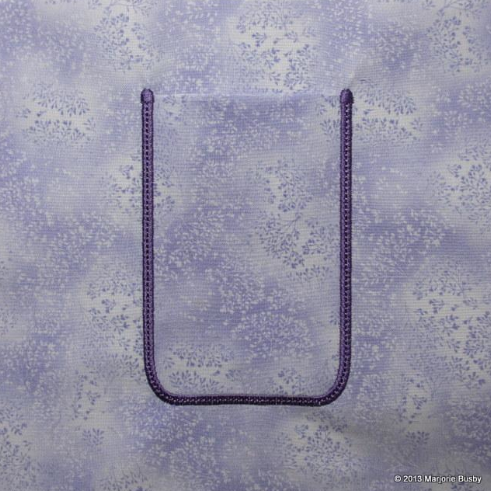
I have added the embroidery files for this simple pocket as a download in my Craftsy pattern shop for practice and fun. The pattern includes the three pockets and the flower topper.
After making pockets with the embroidery machine, I’m not sure I’ll ever stitch a pocket with my regular sewing machine again. The stitches are so nice from the embroidery machine and the pocket construction is so secure. Adding embellishments and utility to the pockets such as snaps and/or buttons and buttonholes as well as your favorite embroidery motif or monogram is so easy. Just think of the things you can make with these pockets. Have you stitched pockets with the embroidery machine? What creative suggestions do you have for making machine embroidery pockets?
Come back to the Craftsy blog on Wednesday for another great machine embroidery tutorial.

Share tips, start a discussion or ask one of our experts or other students a question.
No Responses to “Pick a Pretty Pocket: Machine Embroidery”