Almost two years ago, a friend made and gave me a key fob that was a fabric loop attached to metal hardware. At first, I wasn’t sure that it would work for me. But once my keys were attached and I began to use it, it quickly became one of the most useful key holders ever. It works like a bracelet and allows me to have keys at my fingertips. It also helps me find my keys inside my purse. But alas, I have now worn out that wonderful gift.
The gift that was given to me also turned out to be a gift that I wanted to give to others. And in searching the Internet for key fob hardware, I found many examples of this type of key holder. Some of them use webbing with ribbon embroidery. Others use decorative fabrics. To me, this is the perfect place to showcase embroidery and personalize a gift.
A tutorial for making a machine embroidery key fob is below.
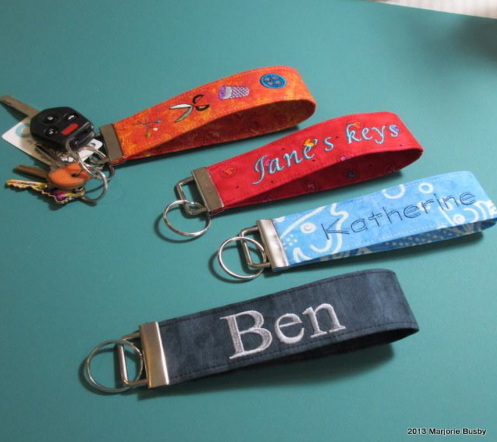
Finding the perfect embroidery design to fit a 1-½” or 1-¼” rectangular space is not always easy. But there are designs that work beautifully. Your machine may have built in fonts and designs, so check there first. The Craftsy pattern store has some machine embroidery designs that will fit and more designs are being added all the time so check back regularly.
Materials
- 6 x 12” fabric of your choosing
- 2 each 3 x 12” medium weight fusible interfacing
- Lightweight cutaway or tearaway embroidery stabilizer
- Embroidery designs to fit and embroidery thread in colors for designs
- Embroidery machine and hoops
- Hardware for key fob (The hardware I purchased through Amazon was 1.5”)
- Rubber tipped pliers
Step 1: Prepare the fabric.
Press the interfacing to the wrong side of the fabric. By using two pieces of interfacing, a nice fold is created in the center of the strip.
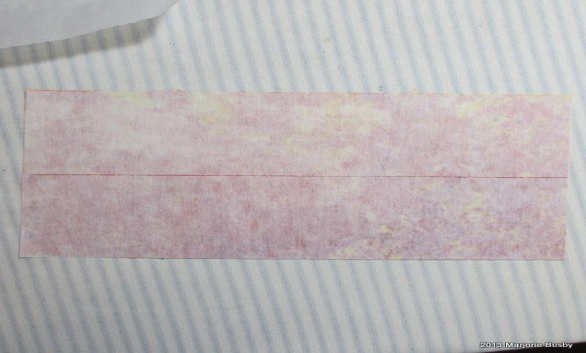
Press each side of the fabric in toward the middle. You will now have a middle fold and folds on either side.
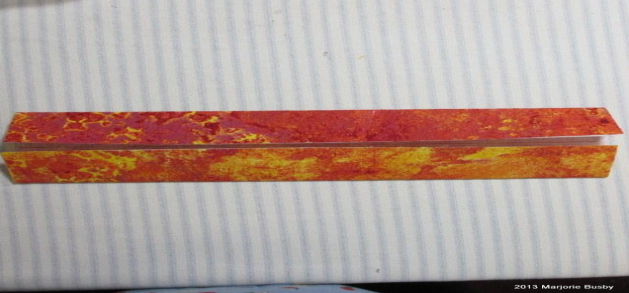
Step 2: Determine embroidery design placement and secure fabric in hoop.
Design placement is completely up to the maker and is dependent on the machine embroidery design, but for the key fobs that I created, I wanted the name centered on one half of the key fob. And on some of them I wanted a design on the other half of the key fob. You can see that I folded the fabric in half and placed center mark stickers on each side.
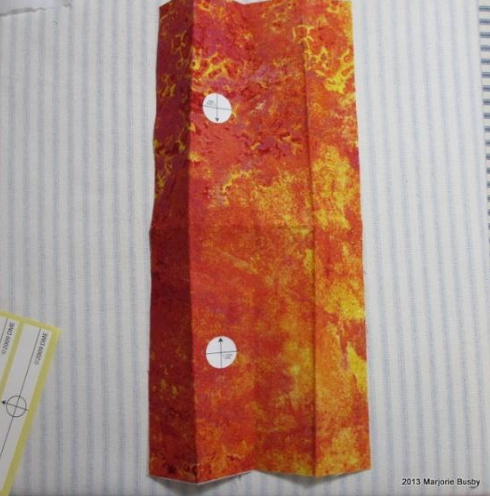
Hoop the stabilizer and stitch the embroidery placement line on the stabilizer. The basting feature on the embroidery machine can be used to baste the placement rectangle around the embroidery boundaries. Use the stitched placement lines to position the center marker over the center of the stitching area. Secure the fabric to the stabilizer using straight pins, basting glue stick, or a basting spray.
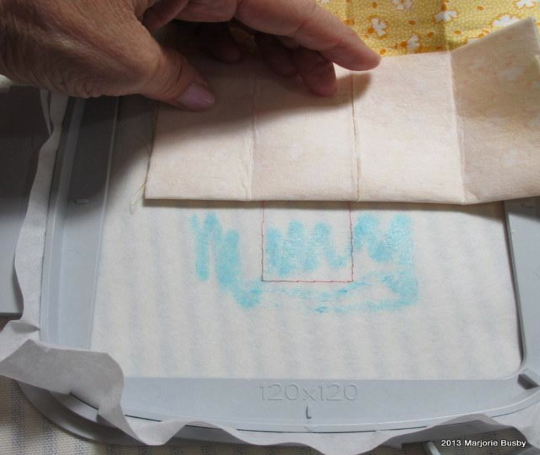
Step 3: Stitch your design and complete final top stitching detail.
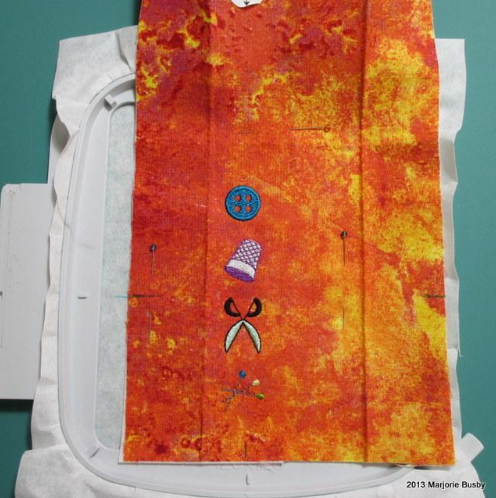
Stitch your design. When finished, remove the fabric from the hoop and remove the stabilizer from the back of the design. Press the fabric into quarters and top stitch approximately 1/8 -1/4 inches along the length of the fabric on both sides being sure to catch top and bottom of the open side with all the stitches.
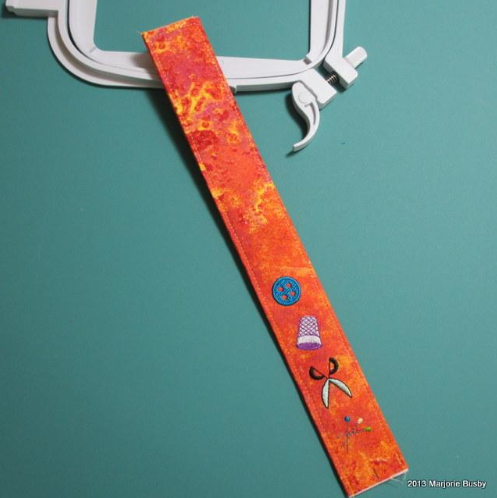
Fold the finished fob in half and zigzag the ends together.
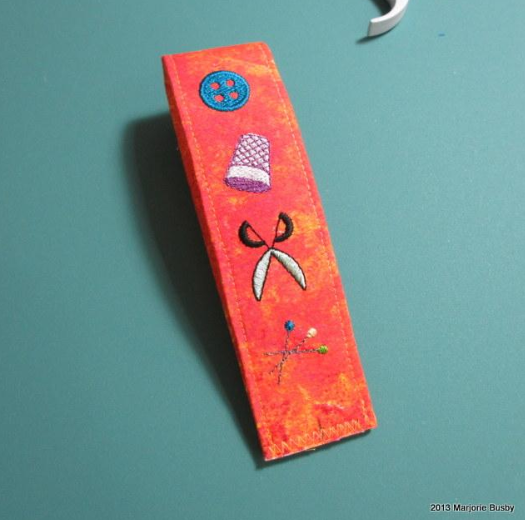
Step 4: Attach hardware and finish your key fob.
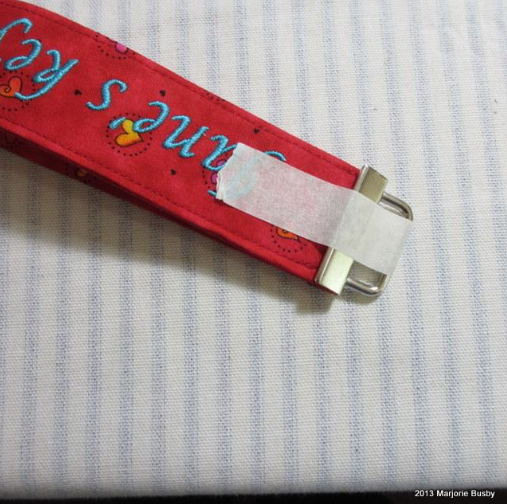
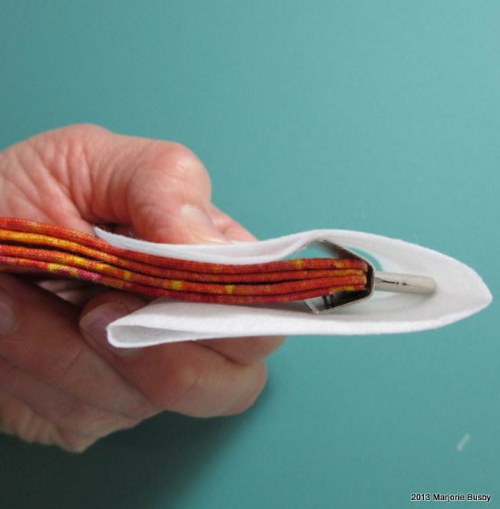
Masking tape works well to hold the fabric securely in the hardware while clamping the hardware with the pliers. If you have rubber tipped pliers, you can use them directly on the hardware. If you do not, you should place fabric of some kind between the pliers and the metal. Clamp the fabric securely into the hardware, add your keys, and enjoy.
It is surprising how many different options there are for making a key fob with this hardware. For example key fobs with embroidered ribbon attached to the webbing. This type of hardware also works well for key fobs that hold USB drives. And this is another project that includes a link to a free pattern for a magnetic key fob. Think how you could personalize this with machine embroidery.

Share tips, start a discussion or ask one of our experts or other students a question.
No Responses to “The Best Key Keeper Ever Tutorial”