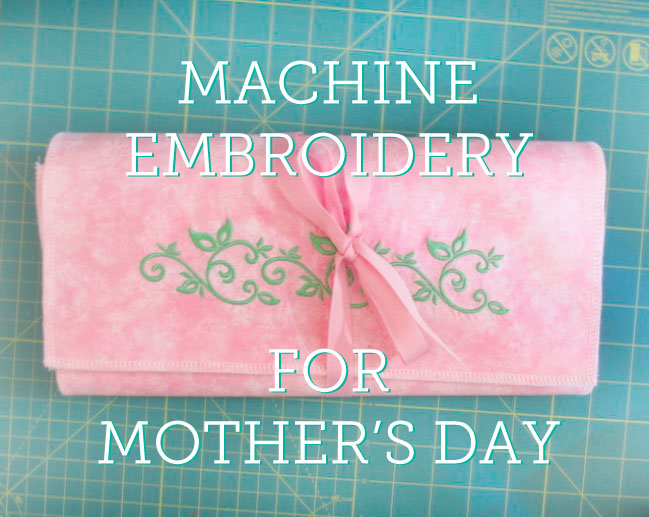
Mother’s Day is just days away and nothing is more special than something you make for mom. Join along as we create some travel organizers embellished with machine embroidery borders as Mother’s Day gifts. The organizer pattern I chose is one that my daughters, both now young mothers, made when they were in 4-H. The machine embroidered borders give this simple organizer an elegant appeal!
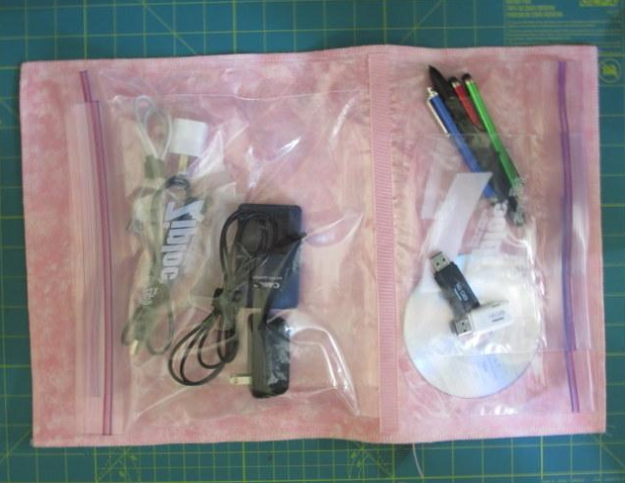
As you can see, this quick and easy to make piece is especially for storing all those electronics chargers and cords. So let’s begin!
Supplies:
- Continuous Border Embroidery design (see instructions below for machine embroidery)
- 2 pieces of cotton fabric 14” x 20” each
- 2 pieces of fusible craft interfacing 14” x 20” each
- 1-½ yards 1” wide coordinating grosgrain ribbon
- Blue water soluble marker
- Straight pins
- Assorted zipper freezer bags in desired sizes for organizer pockets
Organizer Assembly:
1. Complete the embroidery design on one piece of fabric (see embroidery instructions below).
2. Fuse craft interfacing to the wrong side of each piece of fabric.
3. Stitch the two pieces of fabric together, wrong sides together by serging the outer edge with a regular serger stitch. (Another option is to use a decorative machine stitch around the edges of the organizer.) You will now have a fabric that has the embroidery design on one side and the plain fabric on the other side and is approximately 14 x 20”
4. Plan your organizer by arranging the plastic bags as desired on the plain fabric inside the organizer.
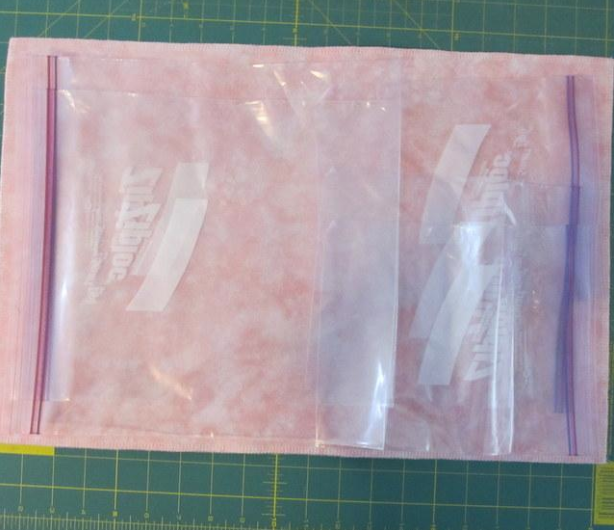
You may choose to cut the bottom off some of the bags to make them smaller or to make them fit the organizer. The bottom of the bags on each side must meet underneath the ribbon.
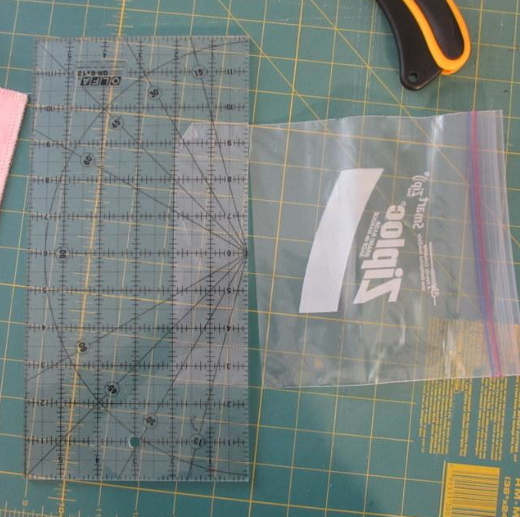
5. Mark the line where the ribbon will be placed using a blue water soluble marker. Using straight pins, position bags on the inside of the organizer with the bottoms along the blue line. The bags are slippery, so pinning is necessary.
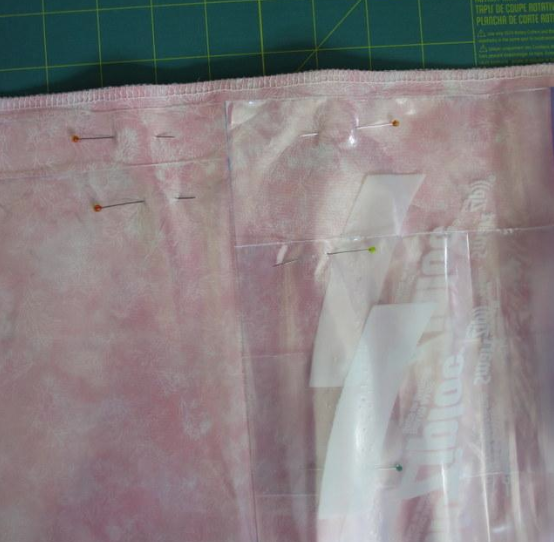
6. Attach the ribbon “spine” over the bottoms of the bags using Elmer’s purple glue stick to adhere the ribbon to the bags. Tuck the ends of the ribbons under at each end. Stitch all the way around both sides of the ribbon with a standard 2.5 mm sewing machine stitch.
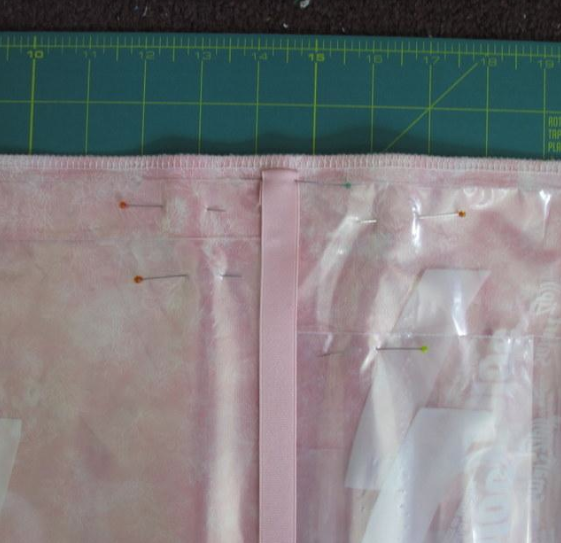
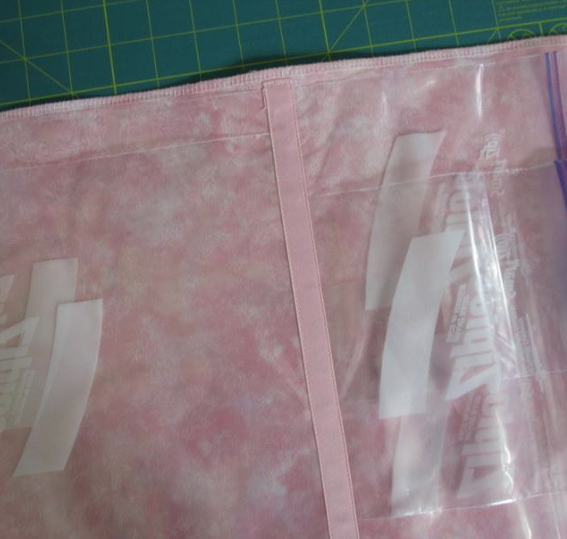
7. Stitch closure ribbon onto organizer. Turn organizer over and stitch a one yard length of ribbon matching the stitching lines on the “spine.”
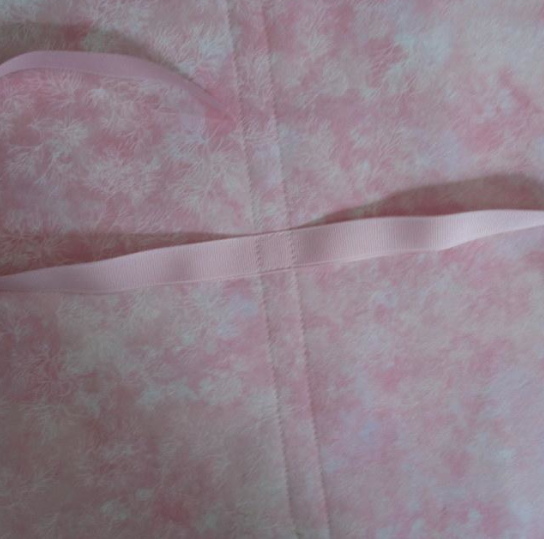
Your organizer is complete. Now all you have to do is gift wrap it – or fill it with whatever you have that needs to be organized.
Embroidery Instructions:
There are many methods to create continuous borders with machine embroidery. Some methods use aligning stitches at the beginning and the end of the design. With embroidery editing software you can add these alignment stitches or the alignment stitches may be a part of the design itself. You can see the use of this type of aligning stitch demonstrated in the Bluprint class The Machine Embroidered Quilt with Eileen Roche. Another possible method for very simple designs uses basting stitches that are available directly from the embroidery machine.
Because the design I chose interlocked with each subsequent shape, centering and spacing the design correctly was important. The first step was to calculate the length of the entire design as well as the center. An actual size template with two design repeats was printed. The calculations were made for three design repeats.
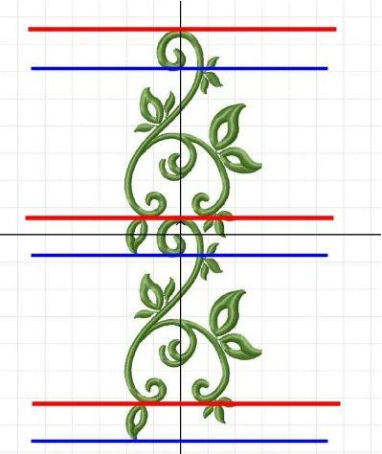
Calculations:
- Single Repeat: red line to red line = 2-3/4”
- End of design: red line to blue line = 1/2”
- Total Length of multiple repeats = # of repeats + end
- My calculation for 3 repeats: 2-3/4” x 3 repeats = 8-1/4”
- Total Length of Design = 8-1/4” + 1/2”(end) = 8-3/4”
- Center of design = 8-3/4” divided by 2 = 4-3/8”
1. Mark fabric with a blue water erasable marker with a horizontal line for the center of the design and vertical lines for the center, beginning, and end of the design.
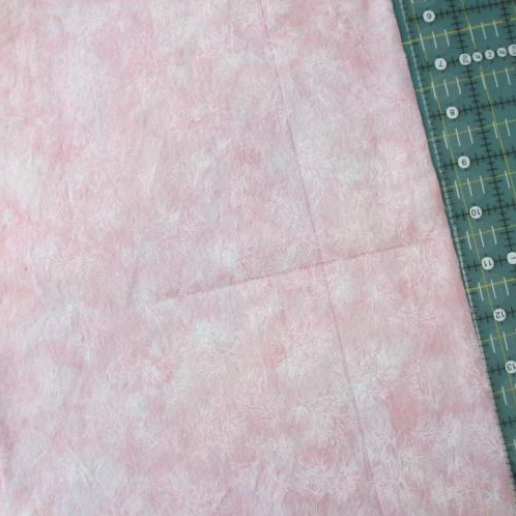
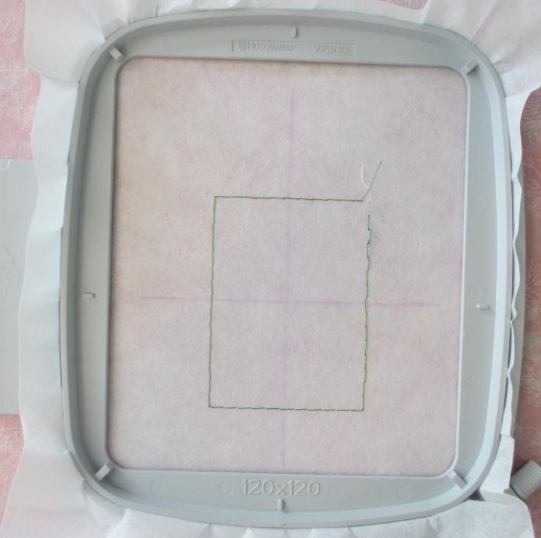
2. Stitch basting stitches onto stabilizer: Select the design on the embroidery machine, hoop a firm tear-away stabilizer, and use the machine’s basting function to stitch basting stitches onto the stabilizer. These basting stitches show the outside perimeter of the selected design. Remove the hoop from the machine and draw lines on the stabilizer that represent the vertical and horizontal center of the design.
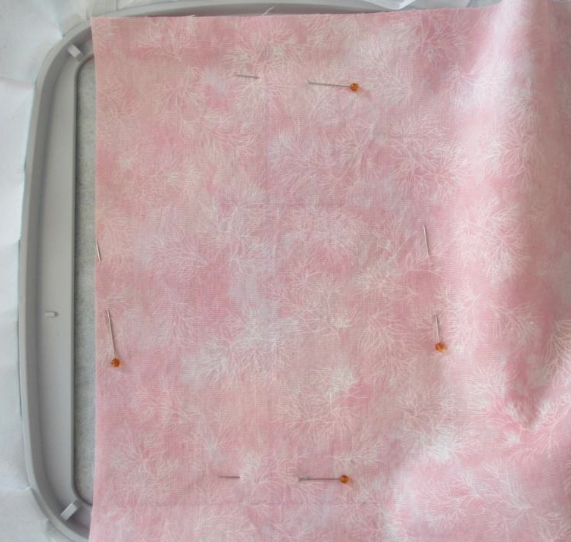
3. Align area for design: Float the background fabric over these aligning stitches and match up the alignment marks on the fabric with the alignment marks on the stabilizer. Pin the fabric to the stabilizer keeping all marks aligned.
4. Stitch the first design onto the fabric.
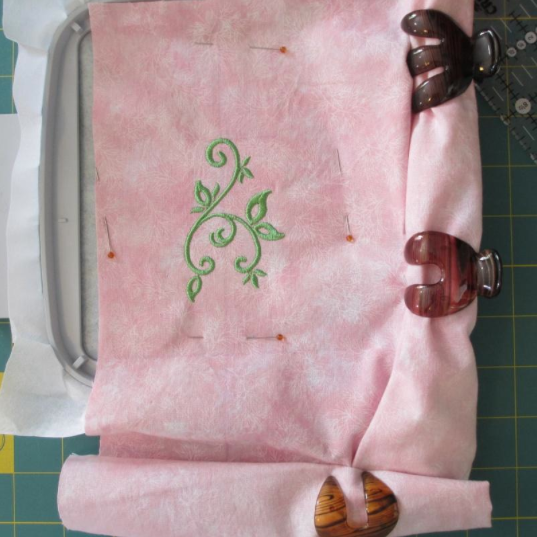
5. Stitch the second design. Release the hoop and remove the tear-away from the back of the embroidery. Using the same method as above, hoop tearaway stabilizer, stitch basting stitches onto the stabilizer, and line up the first design so that the beginning of the second design falls in the same position as the red line shown on the worksheet.
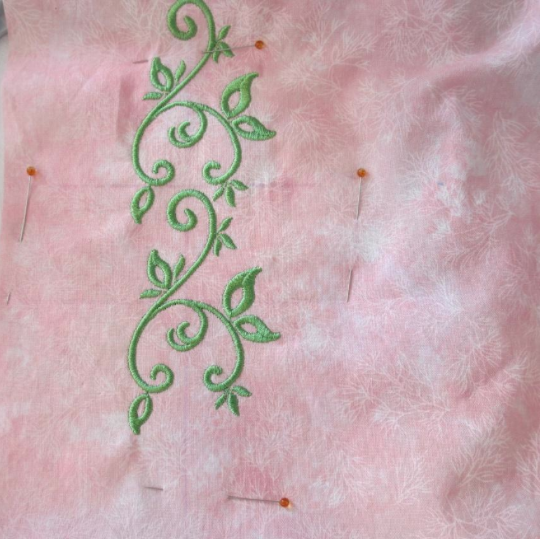
6. Stitch the third design by repeating the same procedure.
7. When your design is complete, you will have a beautifully embellished fabric ready to be made into something beautiful.
The nice thing about this method for stitching machine embroidered continuous borders is that the alignment stitches are already a part of the machine. And I like to float the fabric over the stabilizer and use pins or glue to hold it in place once it is aligned. Have you used this method for aligning continuous borders? If not, what methods have you used?

Share tips, start a discussion or ask one of our experts or other students a question.
No Responses to “Embellishing with Continuous Borders with Machine Embroidery”