
Do you need some fresh ideas for personalizing handmade gifts for friends and family this upcoming holiday season, or for other celebrations? How about personalization with embroidery. This quick and easy way to create names and celebration greetings with machine embroidery alphabet mini banners may be the perfect solution!
The mini banner, which includes the letter, can be stitched directly onto your project, making it a very convenient shortcut. Each letter is on the same size banner which means that the alignment is exactly the same for the whole alphabet, so you can create an endless number of layouts. And the “string” that holds the banners together adds extra pizzazz because it can be created using many different decorative materials including ribbons and braids, rickrack, and fabric strips.
In another post we talked about creating bunting shapes and using machine embroidery on each individual shape. With these mini banner designs, you will see that the bunting is actually stitched onto a background and each bunting/banner is much smaller.
Here are some fun ideas for using this banner:
Holiday banner
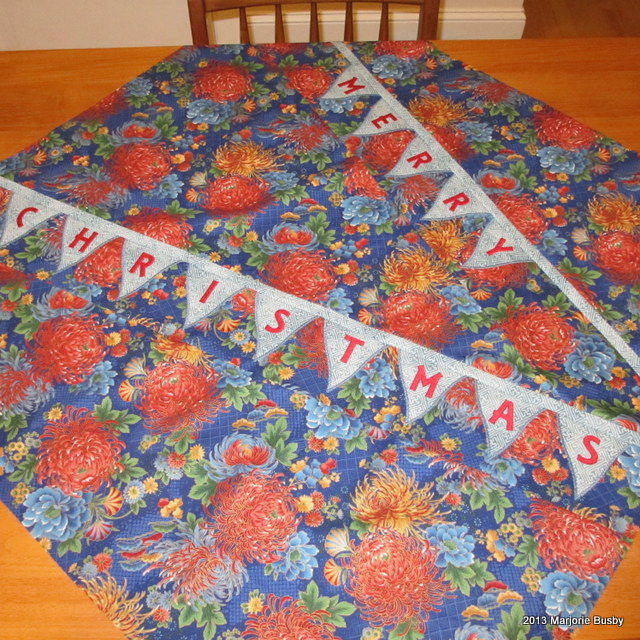
The table topper above, for the Christmas holidays, looks beautiful over a solid color linen table cloth. The banners are stitched diagonally across the fabric in a free-form style. The string that holds them together is a one inch fabric strip (cut 1-1/2″ with 1/4″ seam allowances).
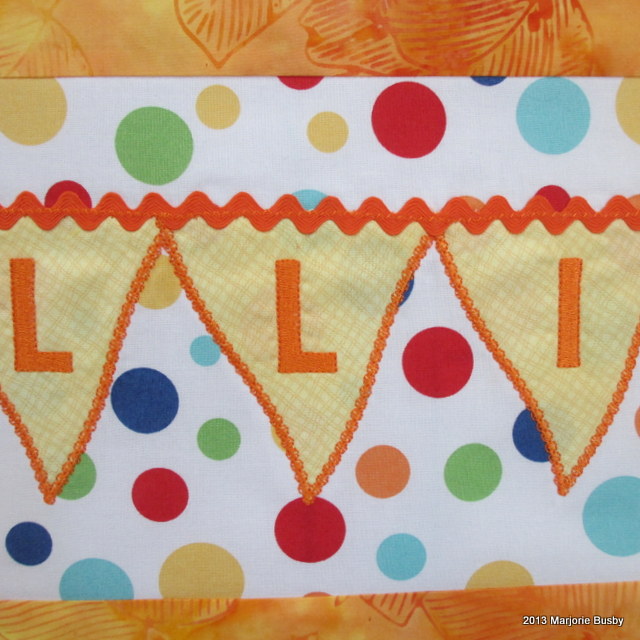
Bedroom name banner
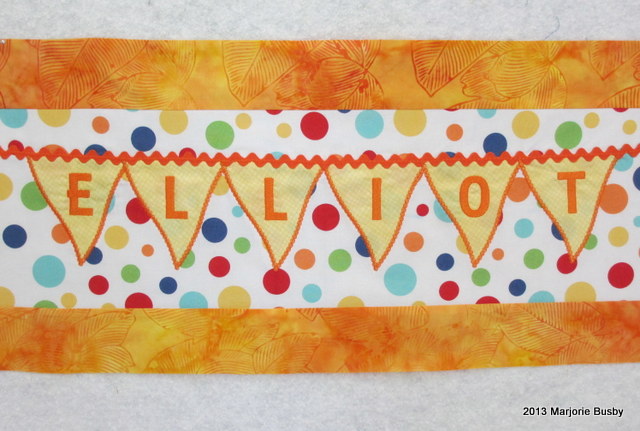
This is a name banner for a child’s room. The string used on this banner is rickrack in a color that matches the embroidery thread. This very same idea would be beautiful on a child’s quilt, or used to decorate an art display board in a child’s room.
Birthday banner
Another idea is to create a festive Happy Birthday banner as a family tradition at birthday parties. And these mini banners would be great across a quilt made with novelty fabrics like this Pirate’s Life pattern. Another idea is to use the blank banner that is included in the set along with these mini embroidery designs to create your own personalized sets.
What suggestions do you have for personalizing projects with machine embroidery mini banners?
Machine embroidery method for quick and easy bunting/banners:
1. Print actual size templates of the embroidery and arrange them to determine where the letters will be on your project. The nice thing about using actual size templates is that you can preview multiple layouts until you find one that is just right for your project. For smaller spaces you can overlap the banners slightly, and for larger spaces they can be spread farther apart.
2. Mark your fabric and stabilizer. The best way to make sure everything lines up correctly and to be able to work from left to right, is to mark all the letters at one time. Using the layout you made in #1, measure from center to center on the templates and mark the center of each template on the fabric. For lighter fabric, I use a water erasable blue marker and for darker fabric, I use chalk. In this example you can see there is a line which shows where the top of the banner will be as well as a horizontal and vertical line for the center of each individual banner.

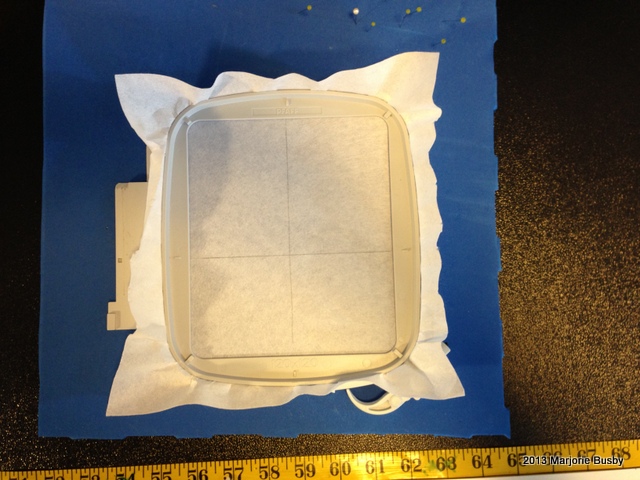
Using the centering marks on your embroidery hoop, mark horizontal and vertical center lines on the stabilizer.
3. Align the fabric on the embroidery hoop. For alignment, make yourself a “pinning” board by cutting a 12″ x 12″ piece from a foam interlocking anti-fatigue mat. You can use a larger diameter pin, and pin right through the alignment marks on the fabric, through the stabilizer, and into the mat. You can then carefully slip your fingers between the mat and the hoop and manipulate the fabric and the fabric center stays in place. Spray or glue baste or pin your fabric exactly in place, matching the alignment marks on the background fabric with the marks on the stabilizer.
4. Let the machine do the stitching for you. Select the letter or design you want and align the center marks on the background fabric with the cross hairs on the design in the machine. You can use the same thread color for the tackdown and the letter or you can use contrasting thread colors.
5. String your bunting together. Stitch ribbon, braid, or rickrack across the tops of the banners and your project is complete. And if you want to use a fabric strip, why not add a decorative machine embroidery stitch along the length of the fabric strip.
Share tips, start a discussion or ask one of our experts or other students a question.
No Responses to “Make 3 Types of Machine Embroidery Celebration Banners”