In case you missed it, learn all about machine embroidery appliqué using a tackdown stitch here. Today, we’ll take a look at a different way!
Electronic cutters are perfect for creating and stitching original and one-of-a-kind designs, or a limited number of repetitive designs. These machines have a plastic mat (mine is 12” x 12”) and cut one layer of fabric at a time. This means that in a single pass you can cut as many shapes as will fit on the mat. These machines have been used for several years for scrapbooking. They are now being recognized for the creative and fun ways that you can use them for machine embroidery appliqué.
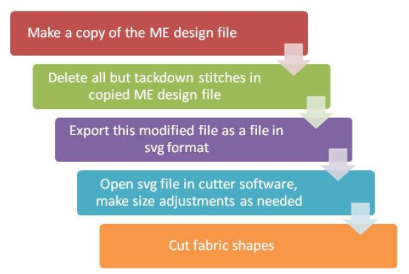
The most challenging part of cutting with an electronic cutter is creating a file for cutting a shape that matches the appliqué shape of your machine embroidery design. You will need to convert your machine embroidery file into a format that can be used to cut shapes with the electronic cutter. The software for most cutters will accept a scalable vector file (svg). Thus, you will need drawing software or machine embroidery software that will export an svg file. For example, the machine embroidery digitizing software that I use will export a stitch file as an svg file. Sometimes the software that comes with the electronic cutting machine will allow you to import an image file such as a jpg, and it includes drawing or tracing tools so that you can create the cutting file with the machine. Each machine is different, so you will have to determine what your machine will do and what software works for it. Here is a list of software for cutting.
The following steps show how to convert a regular appliqué design into one that can be cut with an electronic cutter:
Here are a few tips for cutting machine embroidery appliqué shapes with an electronic cutter:
1. Select a design with an embroidery file and a matching shape file in svg format.
I decided to create a simple basket for this example.
2. Prepare fabric for cutting.
There are different methods for placing the fabric on the cutting mat. Some people cut with the fusible paper backing on the fabric and adhere the paper to the mat. I have had much better results by removing the paper, placing fabric squares on the mat, and rubbing it down with my finger tips. I use six inch squares on the twelve inch mat so that I can cut different colors at the same time.
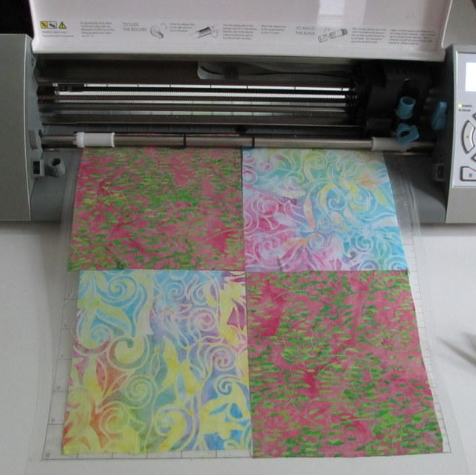
3. Load the mat into the machine and send the cutting design to the machine.
The machine will then begin cutting. You can see the blue blade cartridge on the carriage in the photo below. This works similarly to a plotter or an inkjet printer, except that instead of an ink cartridge, there is a blade cartridge.
4. Remove the cut shapes from the mat.
I peel the outer fabric off the mat. Then I use a sharp pin to lift an edge and peel the shapes away.
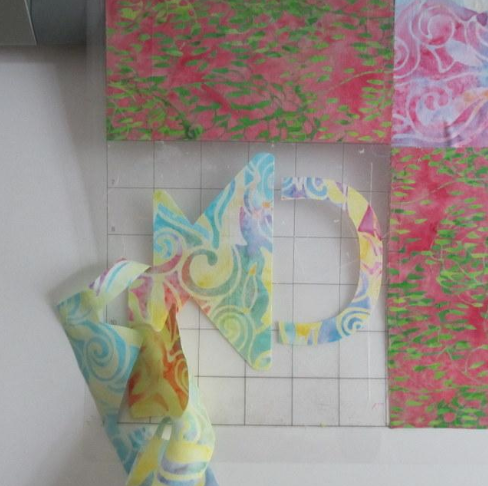
Aren’t they just perfect and beautiful? The only thing left is to let the machine do the embroidery stitching.
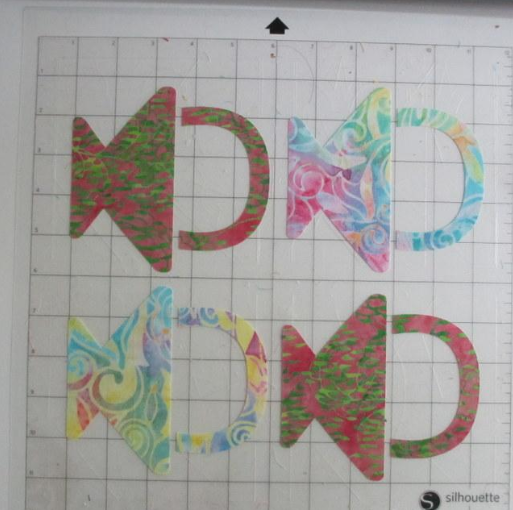
5. Stitch the placement lines.
Stitch the placement line first and without removing the fabric from the hoop, fuse the shapes just inside the placement lines.
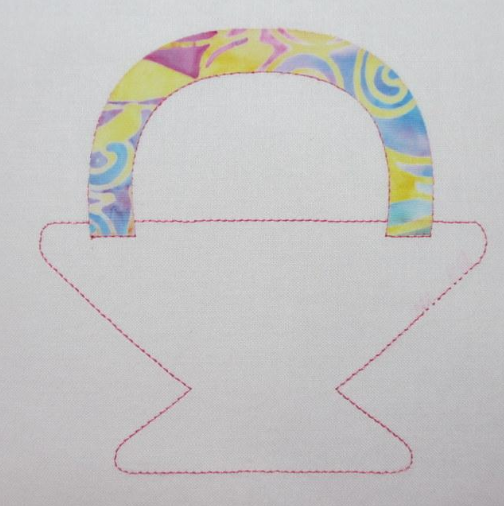
6. Stitch the tackdown stitches.
Mount the hoop back onto the machine and the tackdown stitches will stitch and then the embellishment stitches.
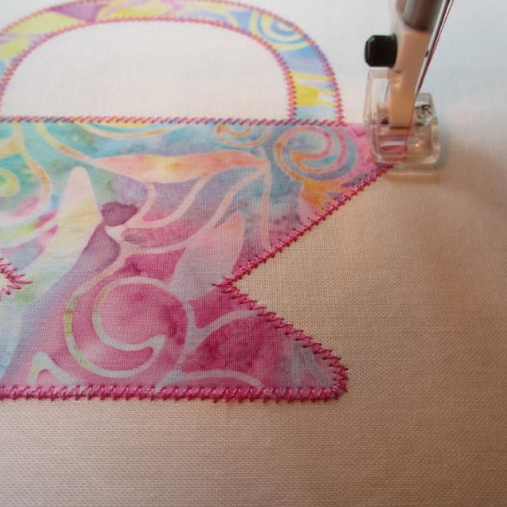
7. Complete the embroidery.
Isn’t this beautiful? And think of adding some three-dimensional flowers and buttons to complete it.
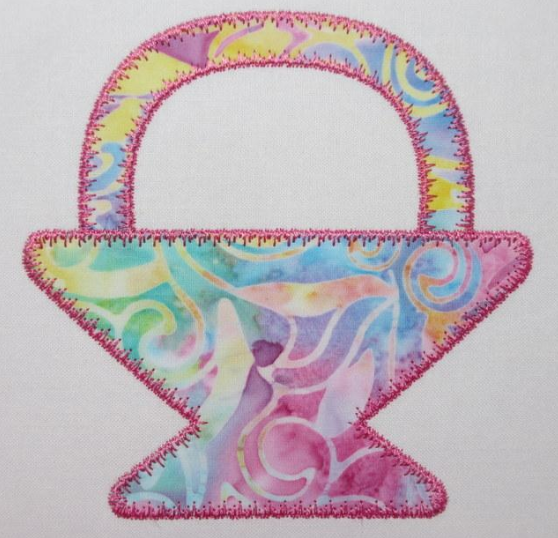
These tools are so modern that there are not a lot of machine embroidery designs available for them. But that will soon change. And if you have your own digitizing software, it is very easy to create simple designs like the basket above with an appliqué stitch around the edge.
Have you cut fabric with modern tools for machine appliqué? What do you think?
You might enjoy the Bluprint online class Digitizing Machine Embroidery Designs with Cookie Gaynor. Come back to the Bluprint blog on Wednesday for more machine embroidery fun!

Hello, I know this article was published a long time ago, but one of the links is broken. Could someone update it, please? The broken link is in this sentence: "Here is a list of software for cutting." Thanks so much!