
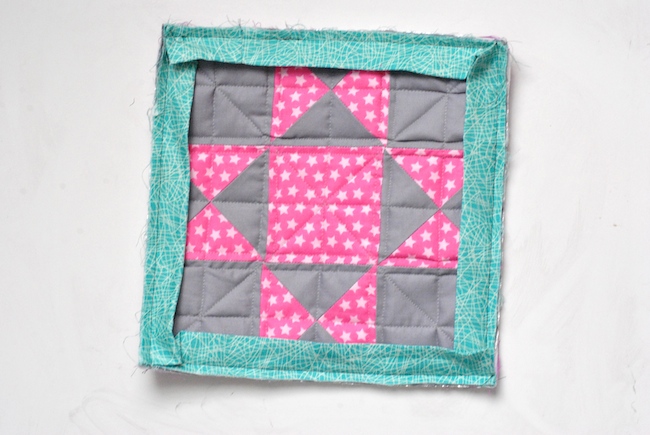
Who doesn’t love the satisfaction of finishing a quilt? The very last step of attaching a binding to a quilt is so satisfying!
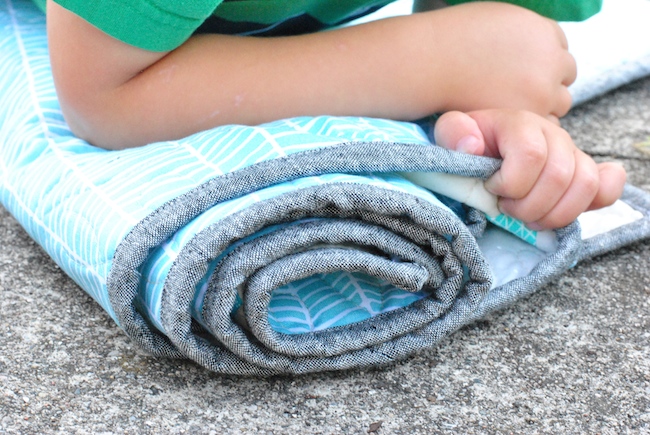
This post shows my complete method for machine binding a quilt, from start to finish! Binding your quilt with straight-grain, double-fold binding is a great, durable way to finish off the raw edges.

To make straight-grain binding (pictured above), the binding strips are cut from selvage to selvage, sewn together into one long strip and pressed in half. Alternatively, you may choose to cut continuous binding, which is a must for binding a project with curved edges. Finally, I’ll show you how to finish the binding by machine, but you can also finish your binding by hand sewing the back.
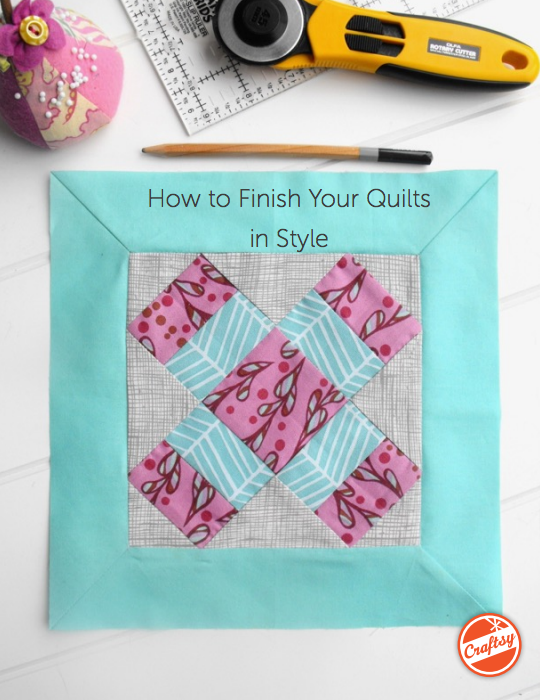
FREE Guide: How to Finish Your Quilts in Style
Frame your quilts like the masterpieces they are! Learn how to add beautiful borders and binding today.
Step 1: Calculate how much binding you need
Before you get ready to attach the binding to your quilt, make sure you have enough of it! I work with a 2½” width for my binding strips, but some quilters go slightly thinner or wider. To determine how many of these binding strips you’ll need, you can use this calculator at My Web Quilter or the formula below:
1. Measure your quilt (length x width).
Example: This formula is for a baby quilt measuring 45″ long x 40″ wide.
2. Add the L + W and multiply by 2.
Example: (45″ + 40″) = 85″ x 2 = 170″
3. Add 12″ to that number, to account for corners, seams and finishing.
Example: 170″ = 12″ = 182″
4. Divide that number by 42″ to determine how many binding strips you’ll need (cut from selvage to selvage), rounding up to the next whole number.
182″ / 42″ = 4.33, so round up to 5 binding strips
Step 2: Join the binding strips
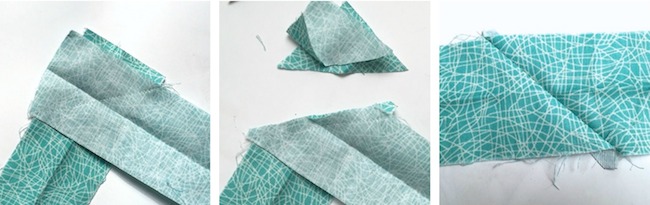
Place two strips right sides together, at a 90-degree angle, as pictured. Make sure the strips extend over the edge by about 1/4″. Sew a diagonal line from corner to corner, avoiding the fabric overhangs.
Trim 1/4″ from the stitched line.
Press the seam open, and repeat with the rest of the binding strips to make one long strip. Sewing them together on an angle will help reduce fabric bulk when you attach the quilt binding.
Once everything is sewn together, press the whole strip in half horizontally, wrong sides together.
Step 3: Attach the binding to the quilt
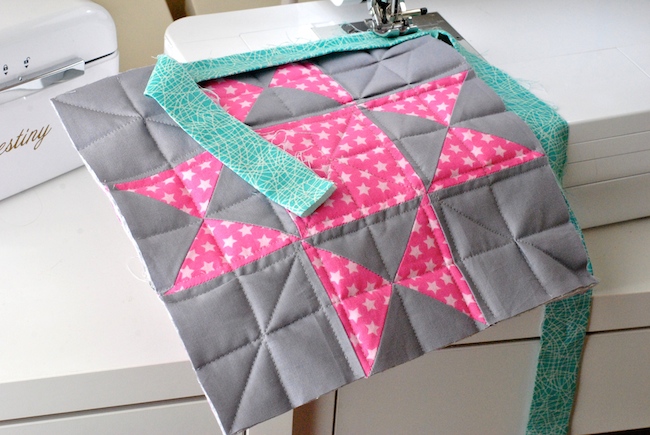
With your long binding strip pressed in half, align the binding’s raw edges to the quilt’s raw edges on the front side of the quilt. The folded edge should be facing in toward the quilt top.
Make sure that the seams don’t fall in any of the corners — if they do, adjust the placement so that the seams are along a straight edge.
Leave several inches of binding loose and start sewing the binding ¼” from the edge of the quilt. It’s a good idea to start near the bottom of the quilt, somewhere that won’t be too noticeable when you later join the binding ends.

When you get ¼” from the corner, pivot your quilt under the machine’s needle until you end up sewing directly into the corner. Cut the threads and remove the quilt from the machine.
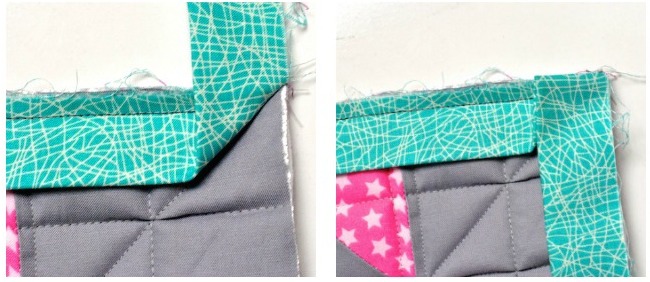
Fold the binding strip back along the line you just sewed, making a diagonal crease. Then fold the binding strip down, making a horizontal fold that lines up with the quilt’s top edge. Crease with your finger.

Sew along the entire right side of the quilt, ¼” from the raw edge. (Remember to backstitch at the beginning.) Again, stop ¼” from the next corner, and pivot your quilt under the machine’s needle so you sew right into the corner.
Continue around the entire quilt, leaving several inches of both ends unstitched. Since I’m making a mini quilt, my loose end are shorter, but you’ll want to have plenty to work with.
Step 4: Join the binding ends

Pinch together the loose ends of the quilt, with right sides together. Place a single sewing pin between the binding strips close to the quilt back to hold them together.
Note: I like to join my final two binding ends in a straight line, which I believe is easier for beginners, but you can also join them at an angle to reduce fabric bulk.
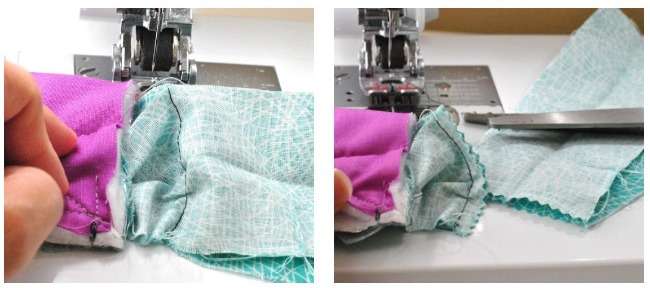
Pull the pinned binding away from the quilt. Start sewing where you pinned, making a straight line through both layers of binding, making sure the right sides are together. Trim the binding ¼” from the stitched line.
Press the seam open. Fold the quilt binding wrong sides together and clip or pin to the raw edge of the quilt.
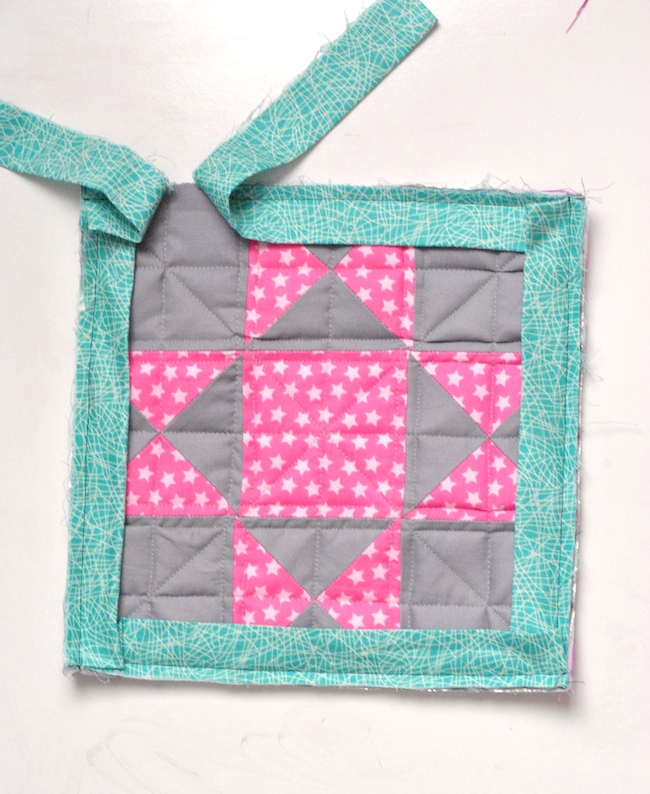
Stitch the rest of the way around to secure the binding. This is what your binding will look like when it is completely stitched to the front!
Step 5: Turn the binding over and secure

Press the binding to remove any creases or wrinkles that formed while you were attaching it.
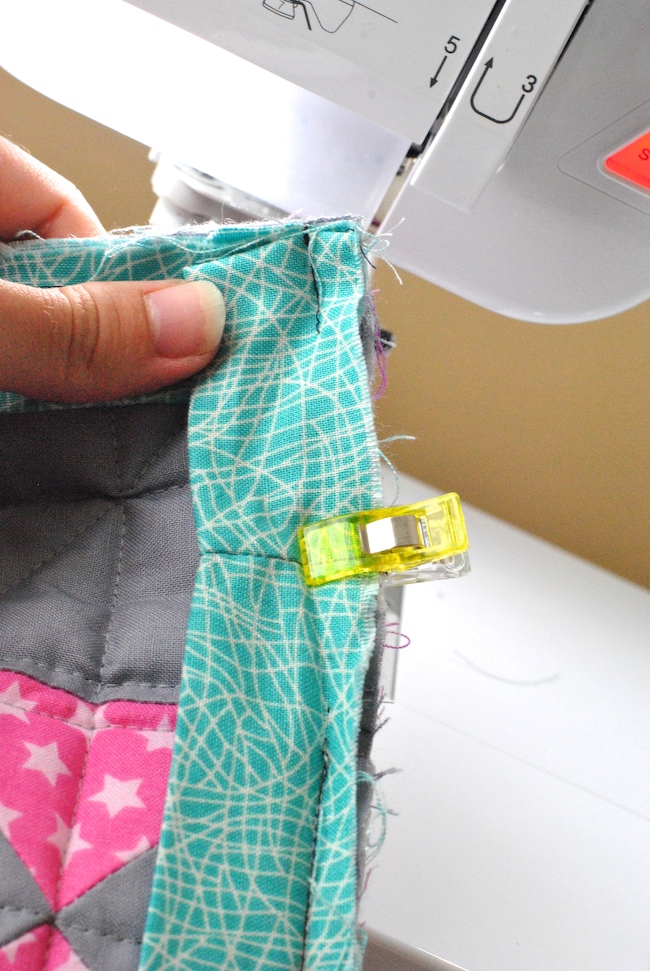
Fold the binding toward the back side of the quilt. It’s easiest to hold the binding fabric in place with Clover Wonder Clips. For my mini-quilt, I only needed about three per side, but for a throw-sized quilt, it takes about 100 clips to go all the way around the quilt. Pins or hair clips work well, too.
Step 6: Finish sewing the binding
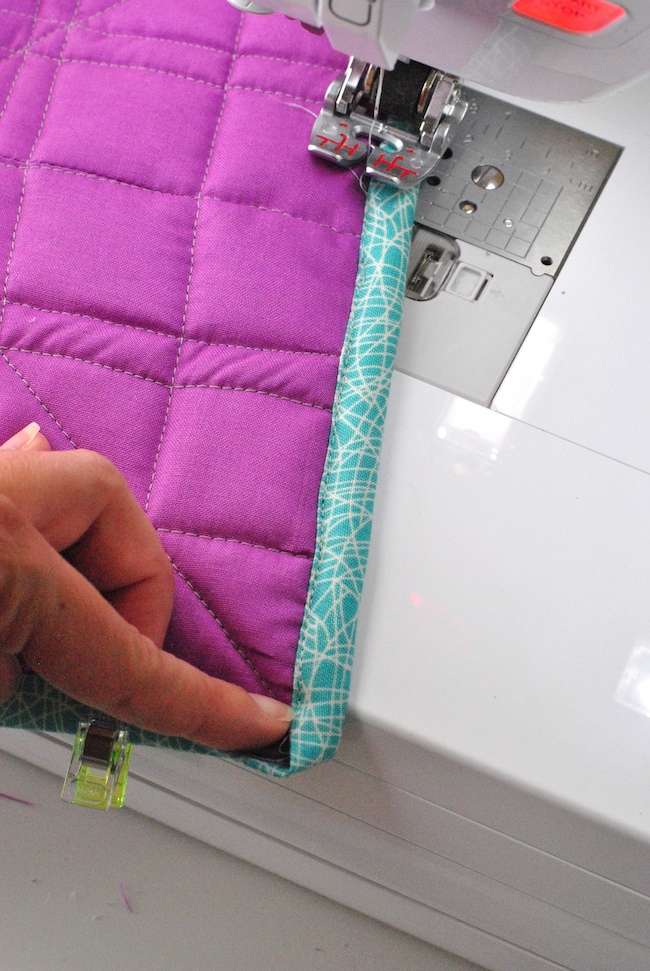
Use a bobbin thread that matches your quilt front (I chose gray) and a top thread that matches your binding (I chose aqua).
Begin stitching on any side, about halfway down one side of the quilt. Use your fingers to guide the binding just over top of the previous stitch line, so it completely covers that stitch line. Stitch until you are ¼” from a corner. Stop, backstitch and cut the threads.

Hold the quilt as pictured. Use your fingers to press the corner down and to the right, and then fold it back on itself (to the left) to make a mitered corner. Pinch the miter in place as you carefully move the quilt back to your sewing machine.

Lower the needle directly into the mitered corner, where the binding fabrics meet. Backstitch, then stitch forward. Again, guide the binding with your fingers, making sure the binding covers the previous stitch line completely.

When you get to the last side of the quilt, sew slightly over where you started, and backstitch to completely close the binding.

Use a pair of scissors to trim the threads, especially in the corners. If you don’t like the look of the stitches on the quilt front, you can follow this tutorial to attach binding to the front of your quilt and sew the back by hand.
I hope you picked up a few tips to use in your next machine-finished quilt binding!
Could you just stitch the binding to the back, folding it to the front. This way you will only see the stitches on the binding.