
Knowing a few keyboard shortcuts is essential when working in Lightroom. If you have to process large quantities of photos at a time, using keyboard commands can significantly speed up your workflow. You may have figured this out, but with all of the options in Lightroom and all of the different tools you have at your disposal, there may be a few more tricks to learn.
There are plenty of books and tutorial out there with comprehensive lists of shortcuts, but this list of shortcuts I use most has made the biggest impact in my workflow efficiency.
Here are my top Lightroom keyboard shortcuts:
Note: I work on a Mac, so of course, replace “control” with the “command” key when you are using these shortcuts.
Spacebar – Zoom to 1:1 view
When I’m deciding whether to keep a photo or not, I want to make sure it’s sharp. A quick way to check is to hit the spacebar, zooming in to full size, and see if anything is blurry. You could use the magnifying glass too, but I find the spacebar to be quicker.
Control + – Zoom In
The spacebar is for a quick check on focus—this command lets you choose what you are looking at and how much you want to zoom in. Maybe you want to see a specific part of the image without going to 100% view.
Control + = Zoom Out
This command gets you back out once you’ve zoomed in.
G – Grid Mode
This command takes you into the grid mode in the Library Module. It allows you to see multiple images at once and to scroll through your whole catalog.
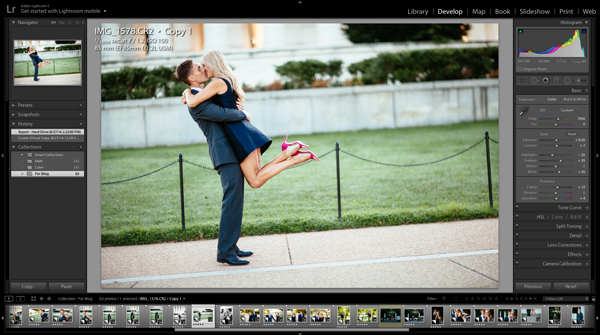
I – Info Overlay Mode
In the Develop Module, the I key will allow you to see info for the image. What information is shown can be set in the “View Options” menu. I like to be able to see which camera I used, which lens, what the focal length was, shutter speed, aperture, and ISO. Pressing I will allow you to toggle through this information. This helps me to learn more about what I’m doing right and what I could have done better with my camera settings.
Control + Shift + I – Import
When I have images I want to quickly import into my catalog I will use this key command.
Control + Shift + E – Export
Often times I’ll be exporting my images at several different sizes: for delivery to the client, for my blog, for Instagram, as watermarked proofs, etc. To quickly export I will use this command, which brings up a dialog box with more options.
Backspace – Remove from Library
If I have an image that I know I don’t want to keep, or I want to remove it from my catalog, I will use the backspace key to quickly remove it.
P – Flag Image
After importing images into a catalog, I will go through and mark images that I want to keep by pressing the P key. This marks it as flagged. After marking them, I can sort the images by which are flagged an which are not.
U – Unflag Image
If I inadvertently flag an image that I don’t want, the U key removes the flag.
1-5 – Image Rating
After flagging images that I want to keep, I will assign ratings for the photos that I really like. 5 Star images will be ones I want to remember to put on my blog or feature in some way. 4 star images are ones that I want to revisit to possibly print. This helps me to figure out what my best images from any given set are.
6-9 – Color Label
You can also assign color labels: red, yellow, green, and blue. Sometimes I’ll have images in a set that I want to keep but maybe don’t want to deliver to a client. I’ll mark these as red, so I remember not to export them to the final delivery set.
F – Full screen preview
Viewing a photo in full screen can help you decide whether the image is sharp or whether you like it blown up. Depending on the size of your monitor, this can be a really helpful tool.
Tab – hide side panels
Shift Tab – hide all panels
Sometimes, on a small monitor, the toolbars take up so much room that it’s difficult to see the image while you are working. Hiding the panels gives you a little more real estate to work with, if you aren’t using the panels at the moment.
Control [ – rotate left
Control ] – rotate right
Usually, your camera can automatically tell when an image is right side up or not. Occasionally, it get’s it wrong. These commands help you get the orientation right.
Control 1-7 – Develop module panels
When I’m editing, I like to make use of all the tools available in the develop module. Rather than scrolling through all my options, these commands get me to the specific tools I want more quickly.
What other shortcuts do you use frequently that may be helpful?
[box type=”shadow”]
Unlock key Adobe Lightroom skills with a class you can access forever! Learn essential editing and organizational techniques in Bluprint’s Essential Guide to Lightroom class.
[/box]
Share tips, start a discussion or ask one of our experts or other students a question.
No Responses to “Essential Keyboard Shortcuts in Lightroom”