
 This problem can happen with any pattern where you’re turning a corner as you pick up stitches, from sweater sleeves to sock heels. But there’s an easy way that you can fill that gap without messing with the stitch count.
When to pick up corner stitches
This technique can work on any project that requires you to pick up stitches across a line that’s not straight. This technique can work on plenty of projects. For this demo, I’ll show you the technique on a sweater sleeve. But you can use the same approach on sock heels to avoid a gap in the corner between the foot stitches and heel stitches.How to pick up corner stitches
To show you this technique, I’ll use this Agrotera Pullover by Amanda Bell as an example. The sweater is constructed from the top down. After knitting the yoke, I placed the stitches for the sleeves on stitch holders, following the pattern instructions. Then I knit the rest of the sweater body, and came back to the stitches around the sleeves.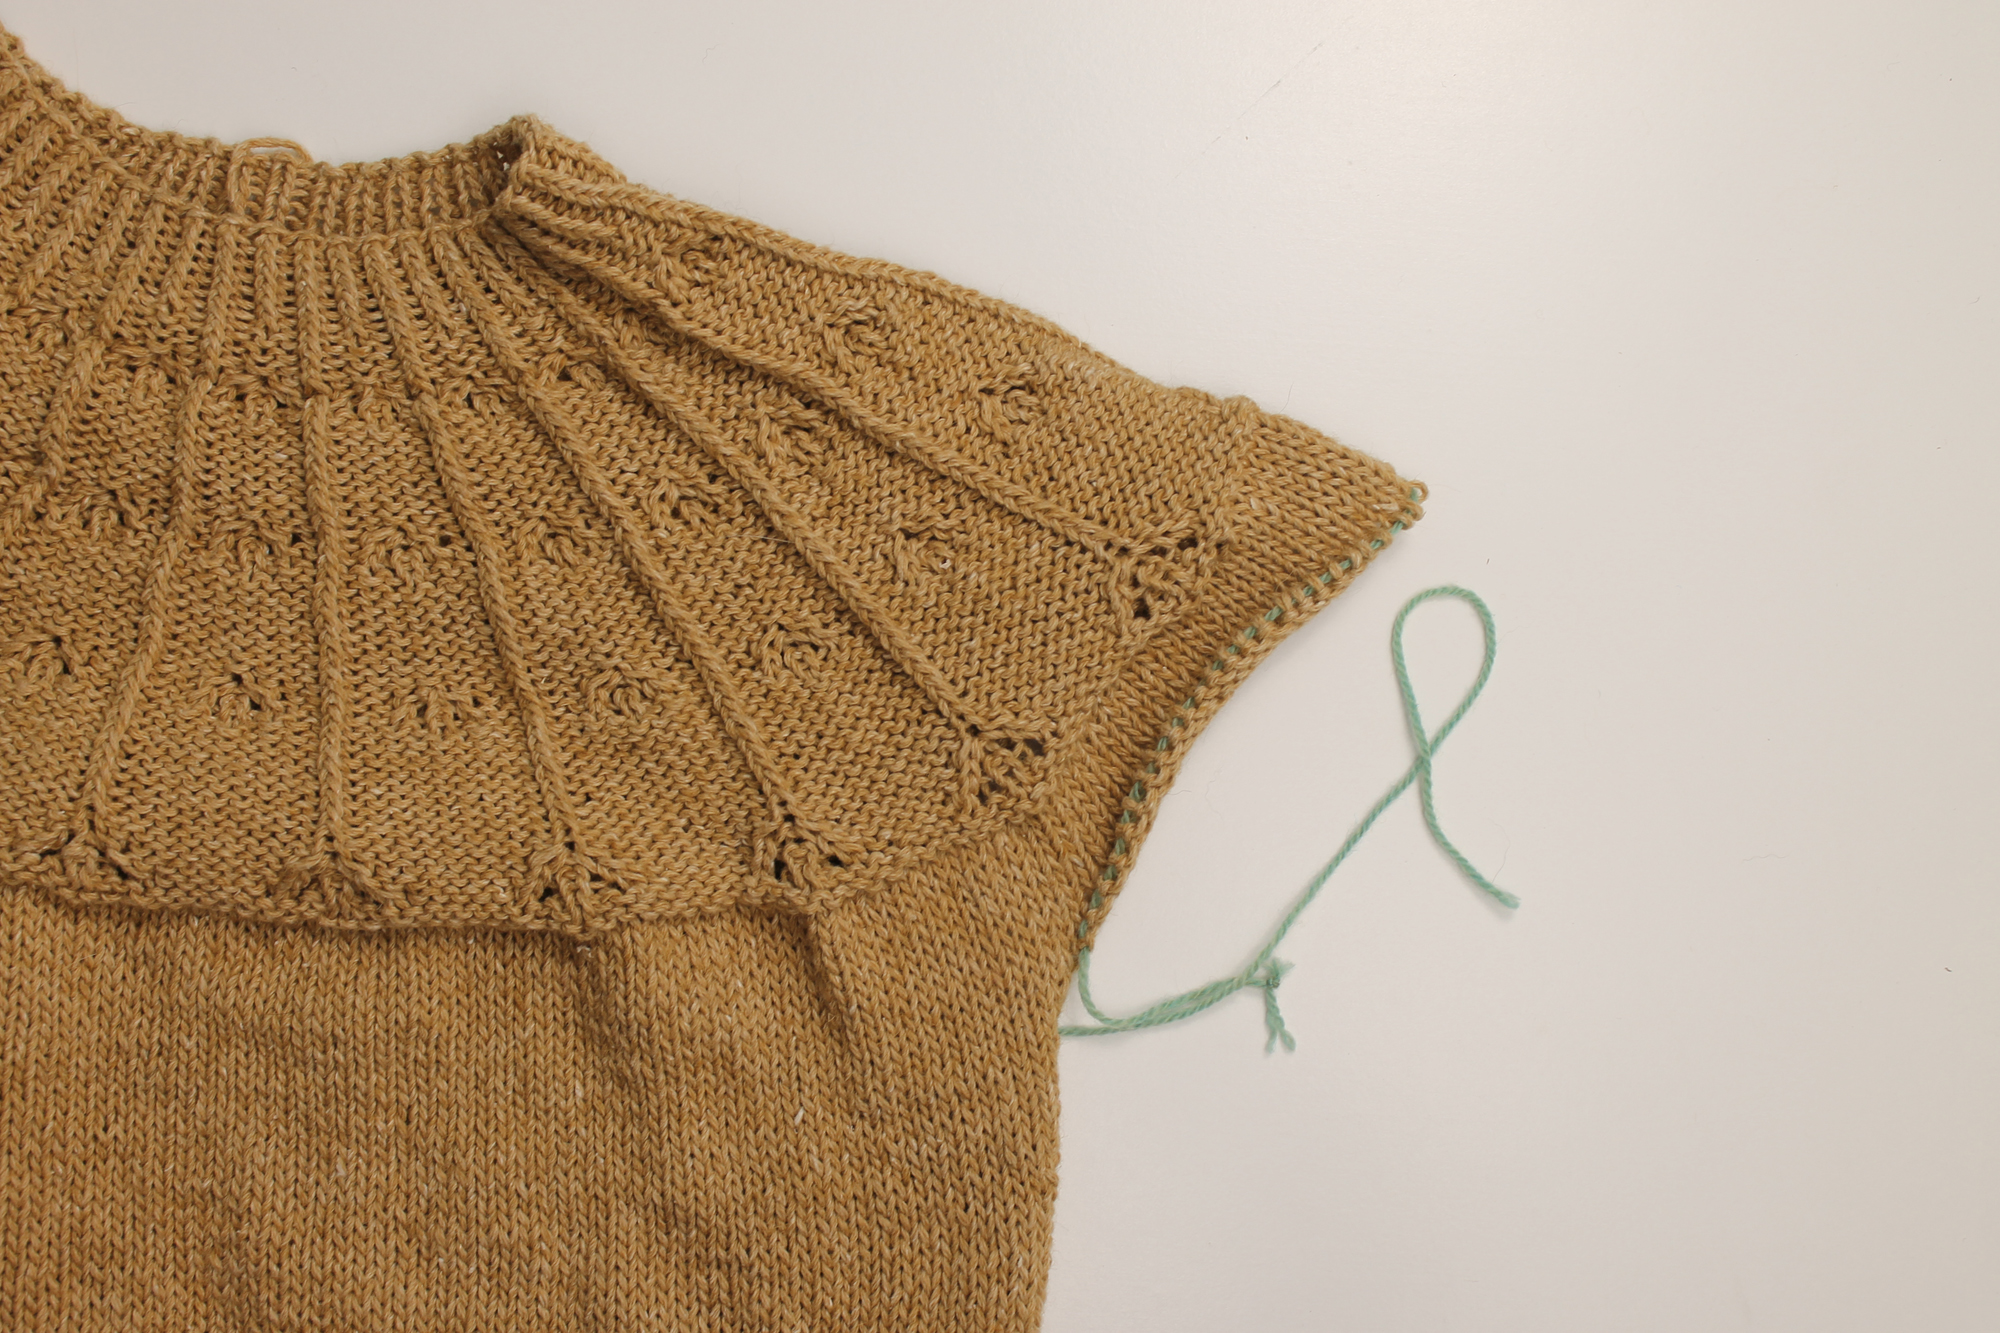 To make sure the sleeve goes all the way around the armhole, stitches are picked up across the underarm and combined with the stitches on the holder. This requires turning a corner, leaving a little gap. To avoid that gap, all we need to do is pick up some extra stitches then decrease them out.
Let’s take a look at how this technique worked on the sweater sleeve, then you can apply the technique to any project you’d like.
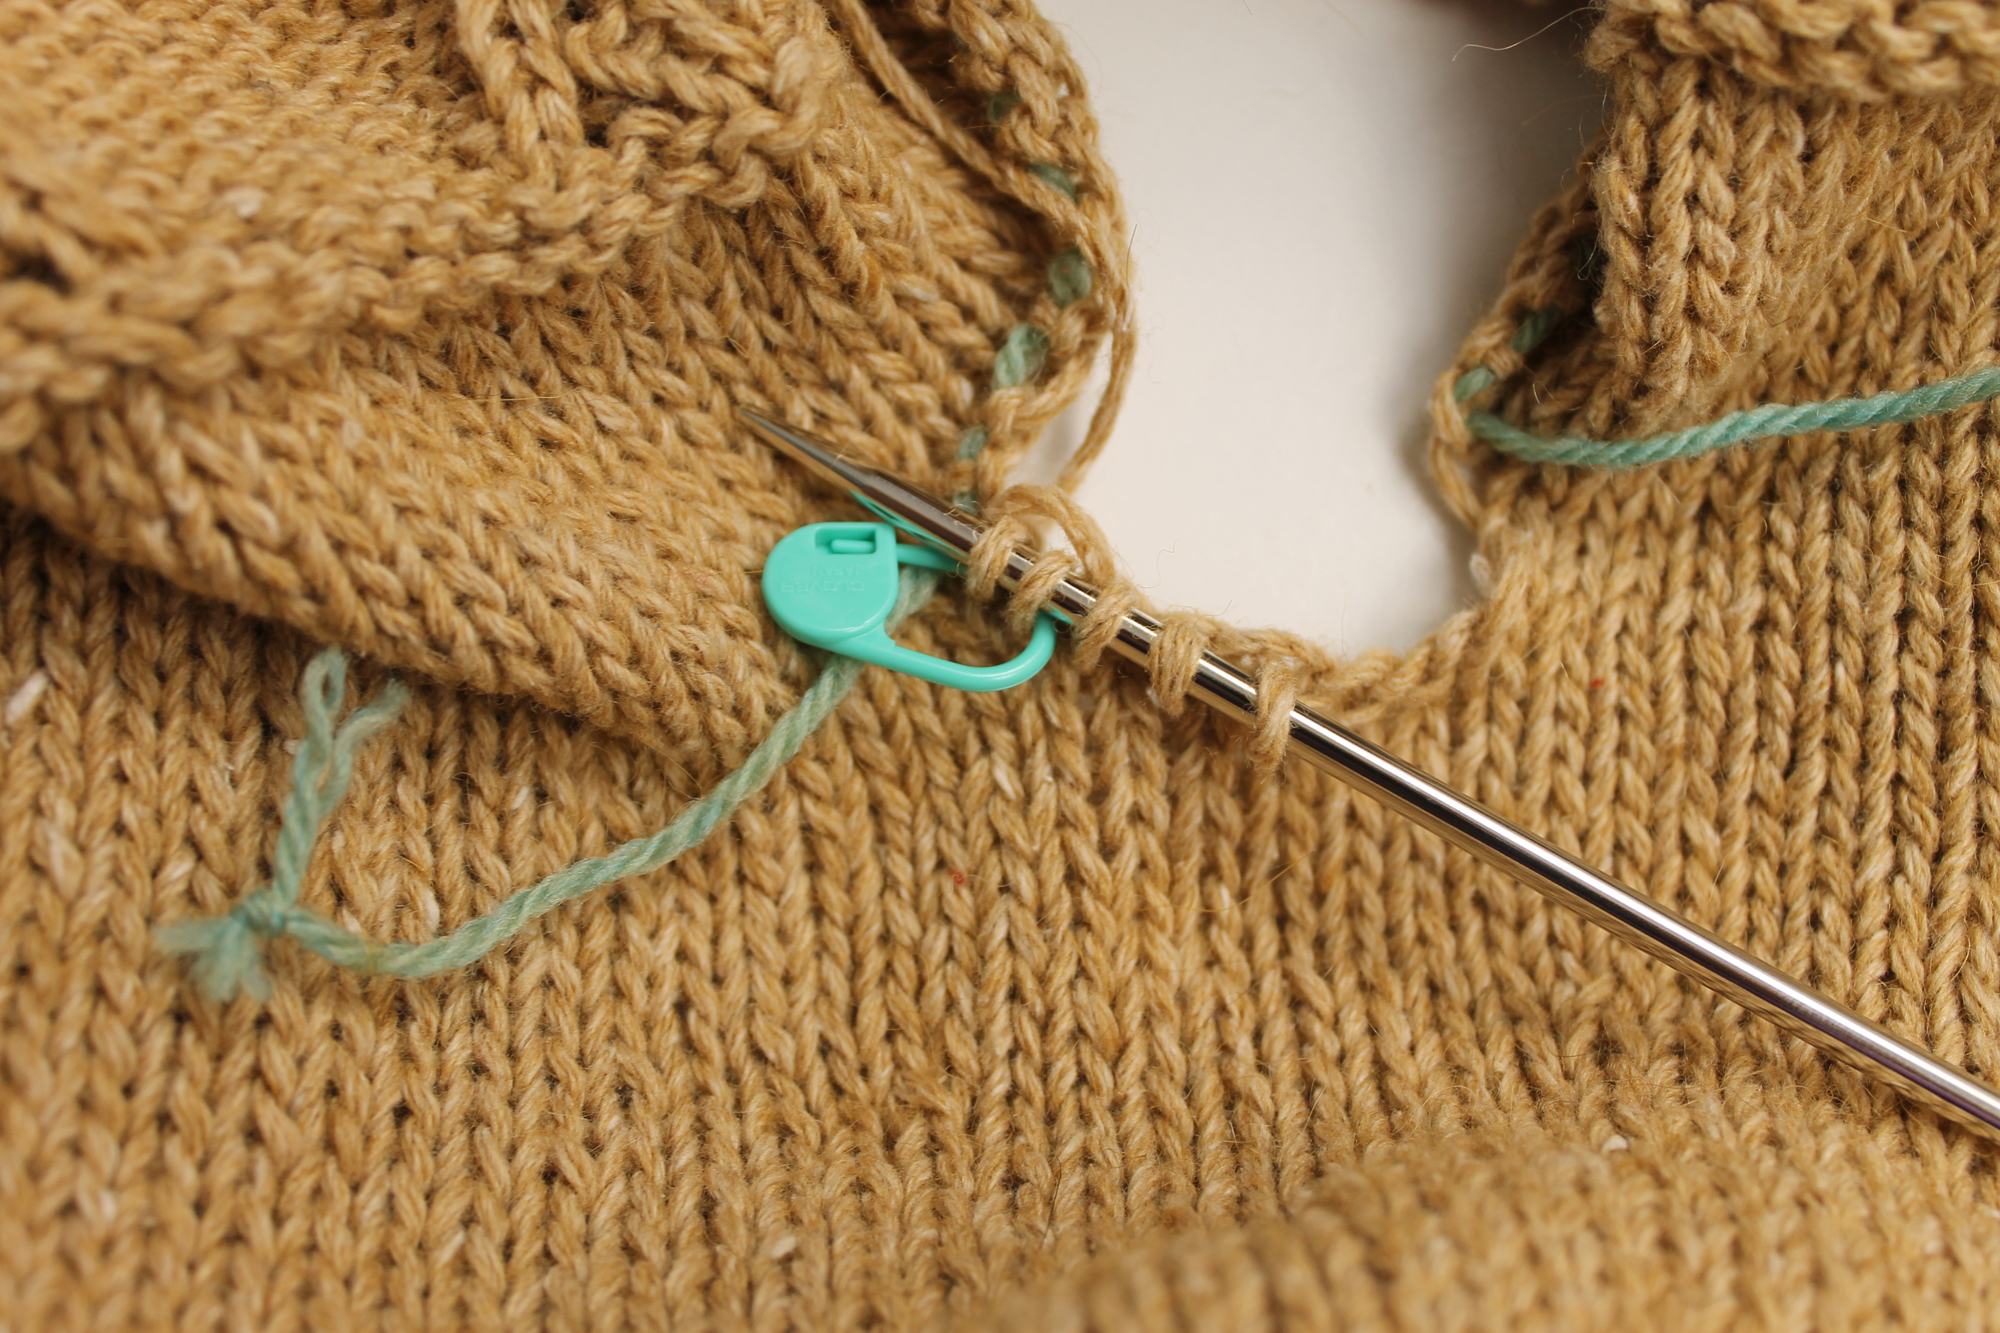
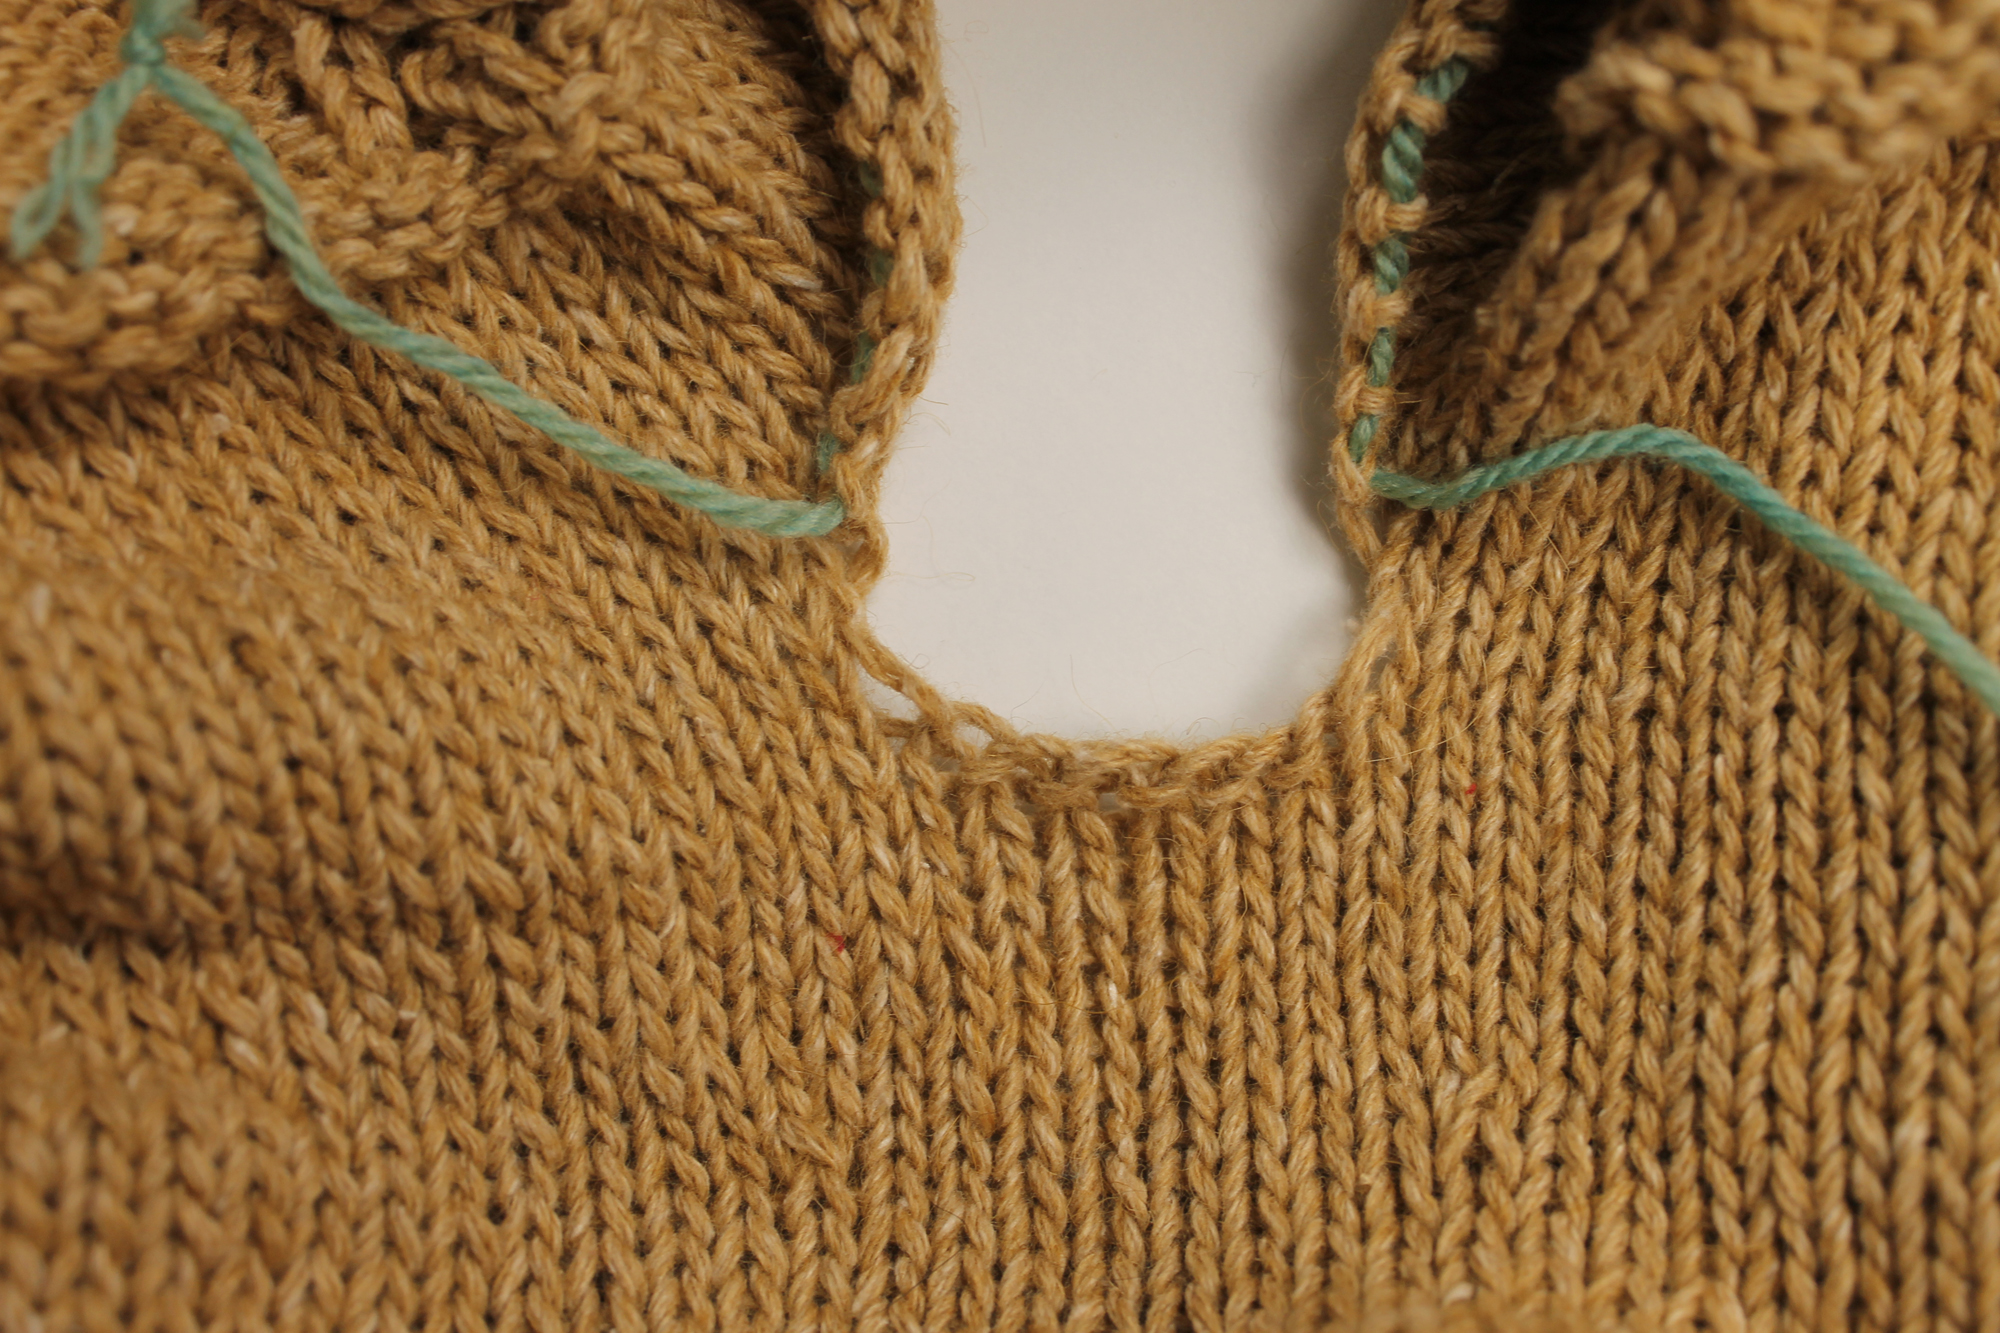 Here’s my armhole, pictured above. The pattern instructs me to pick up 3 stitches from the underarm starting at the center, then cast on the stitches from the holder, and then pick up 3 stitches from the other side of the underarm. (Note that I’ve used green scrap yarn as my stitch holder.)
Step 1:
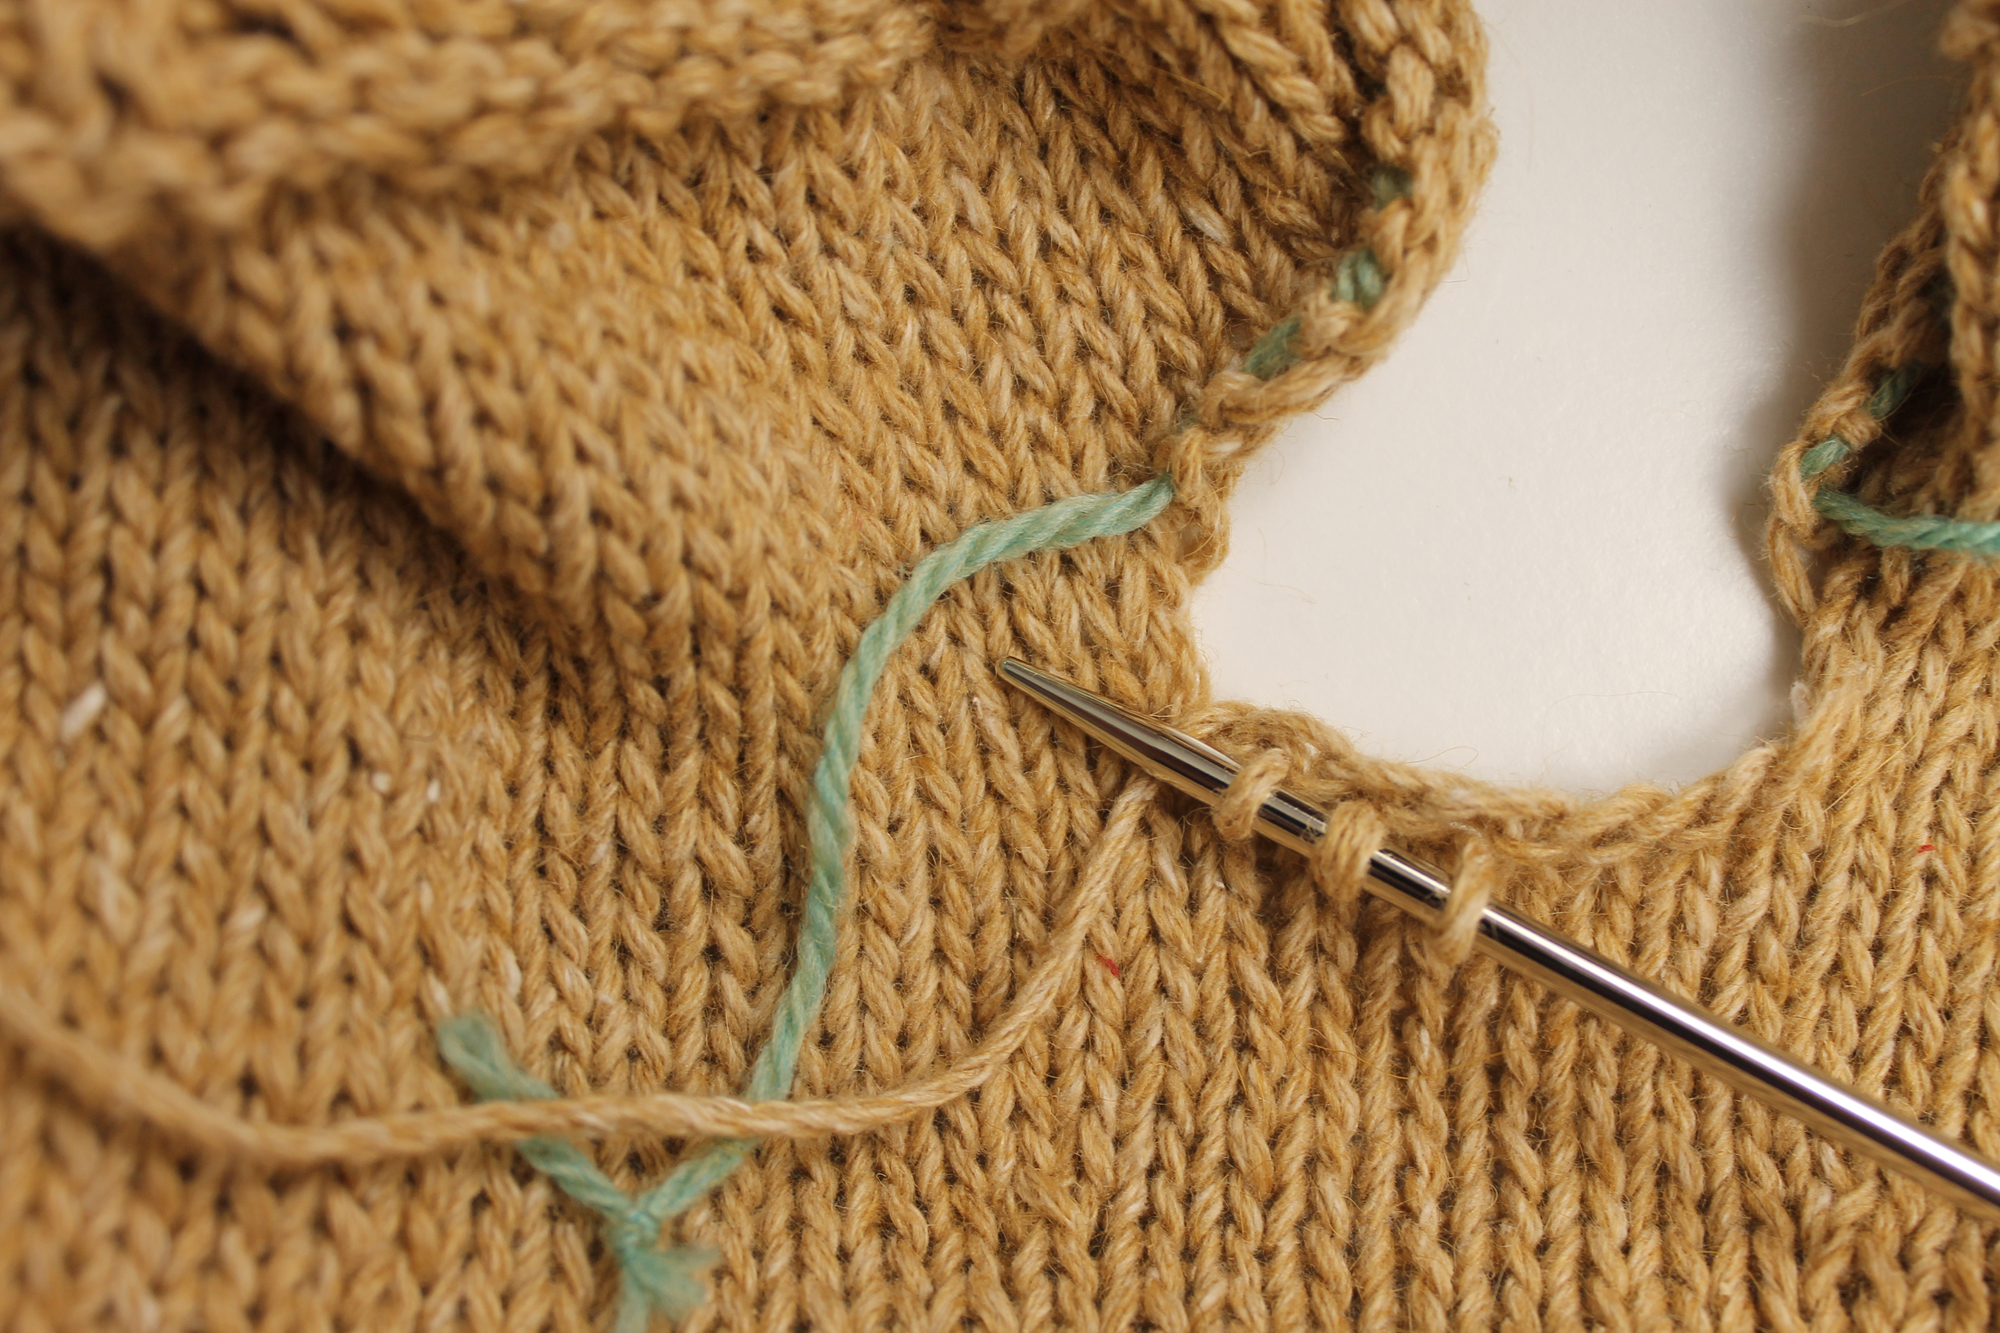 First, I picked up the 3 underarm stitches starting at the center. You can see that there’s a lot of space between the last picked-up stitch and the first stitch on the left holder yarn, which will create a gap. To avoid the gap, I’ll add some stitches (even though the pattern doesn’t call for it).
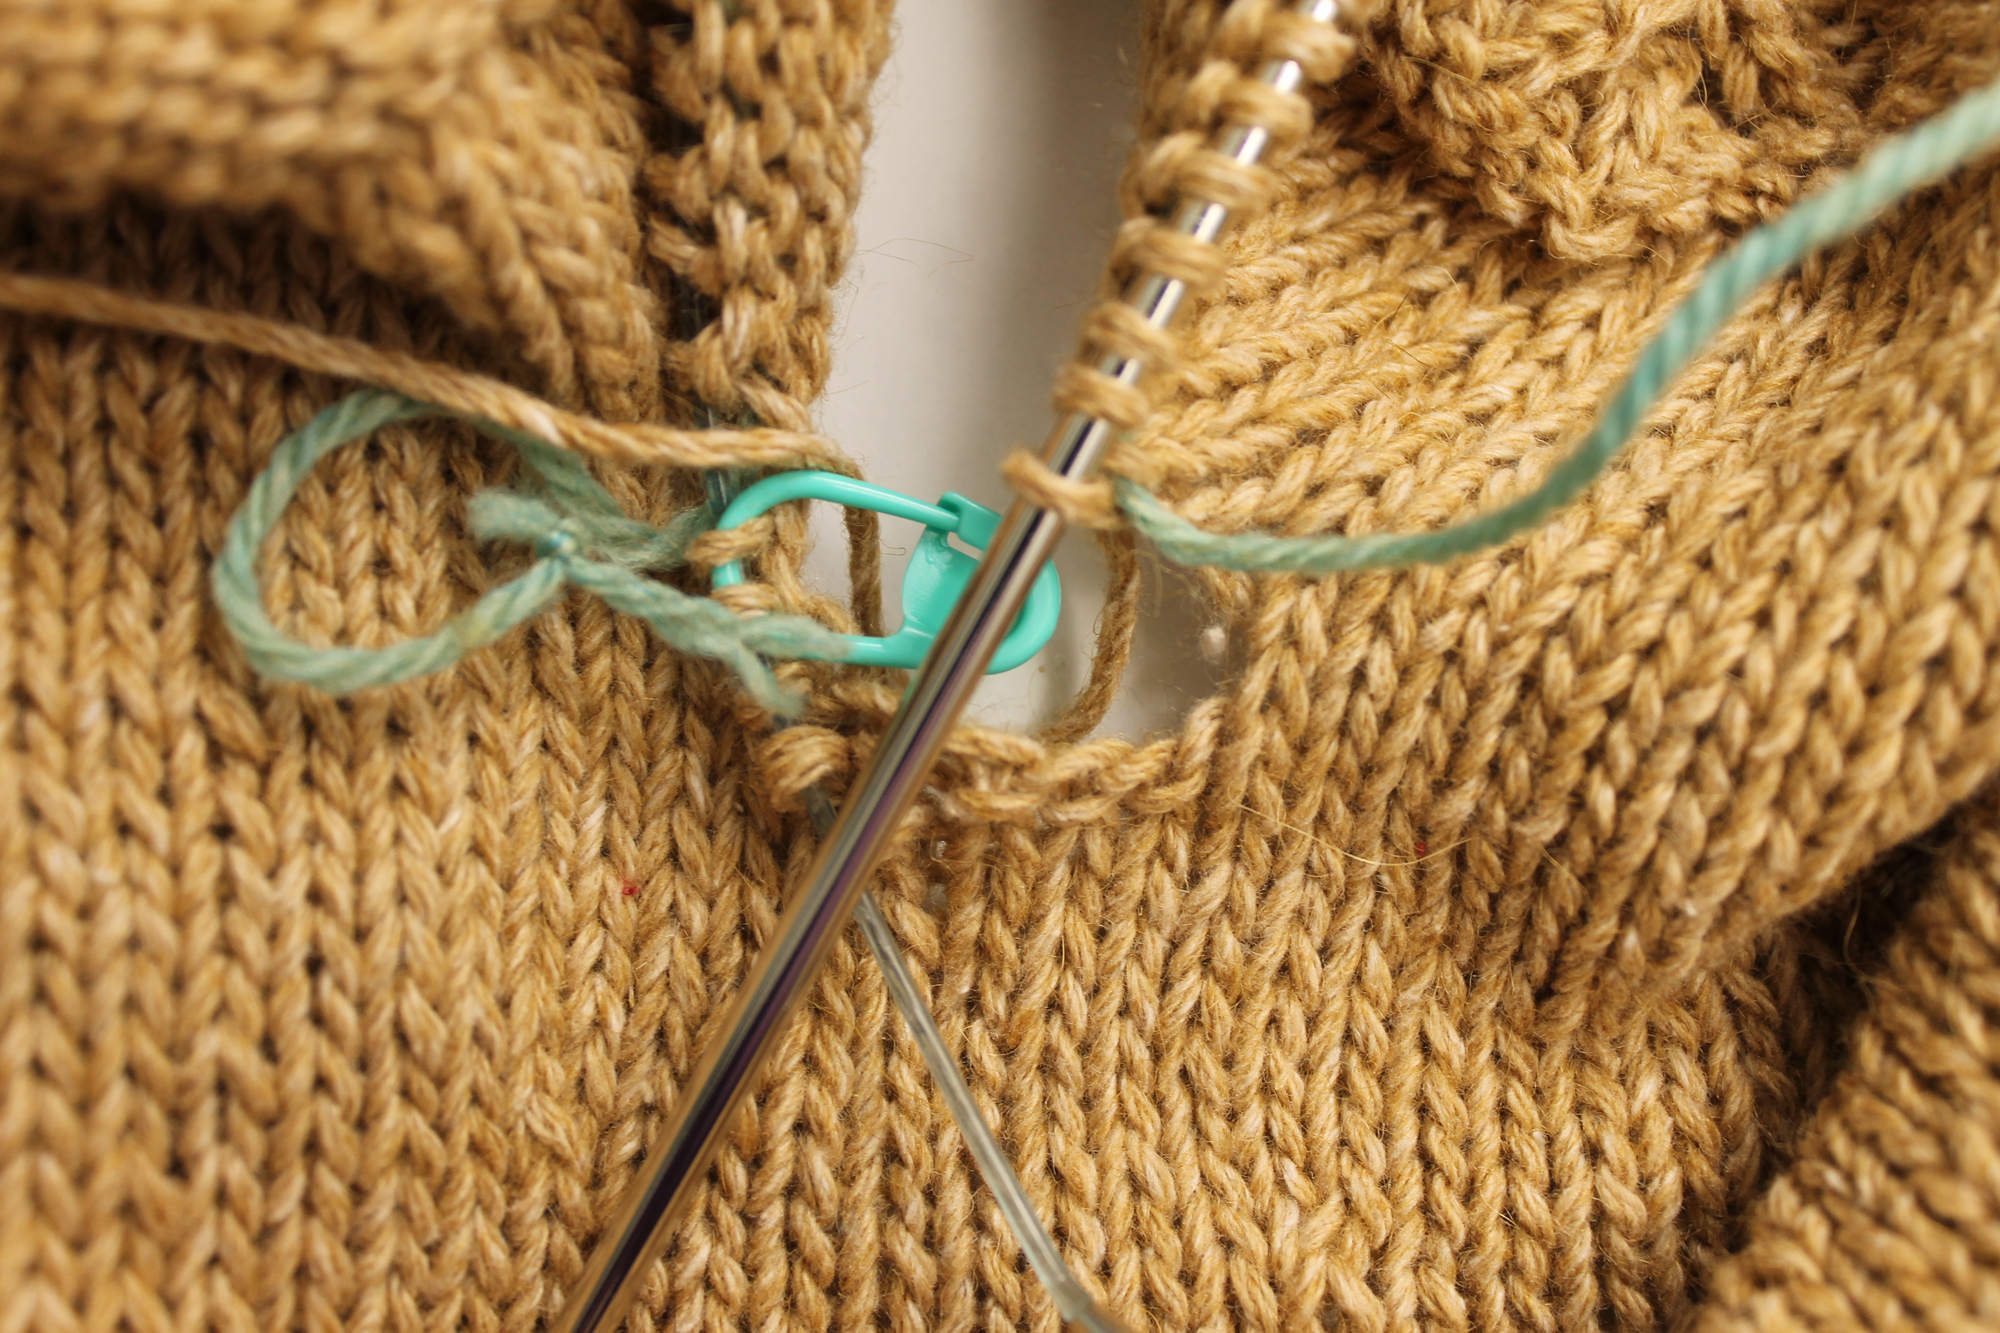
Step 2:
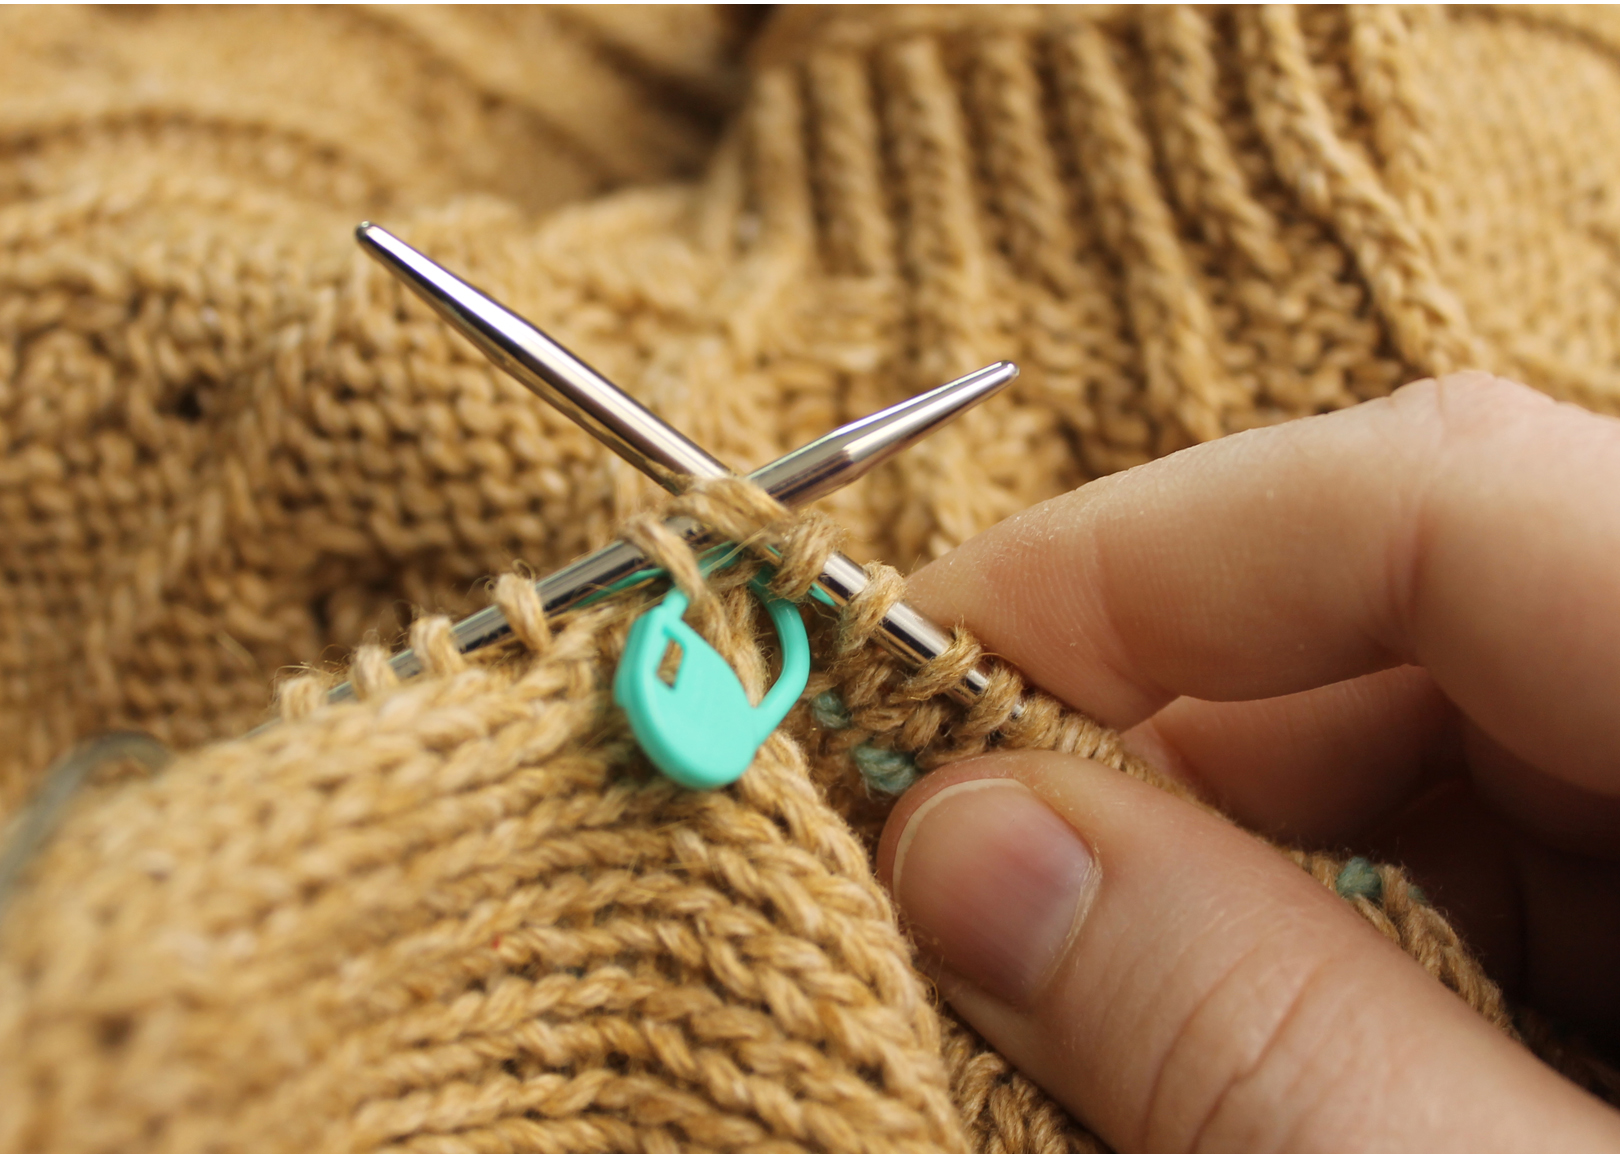
 I picked up two extra stitches between the underarm stitches and the first stitch on the stitch holder. I also placed a stitch marker around the extra stitches so I’d remember when I made my way around again.
Step 3:
 I continued knitting around to the other side of the sleeve. There’s a similar gap on this side, between the last stitch on the holder and the first picked-up stitch in the underarm section. So again, I’ll pick add some extra stitches.
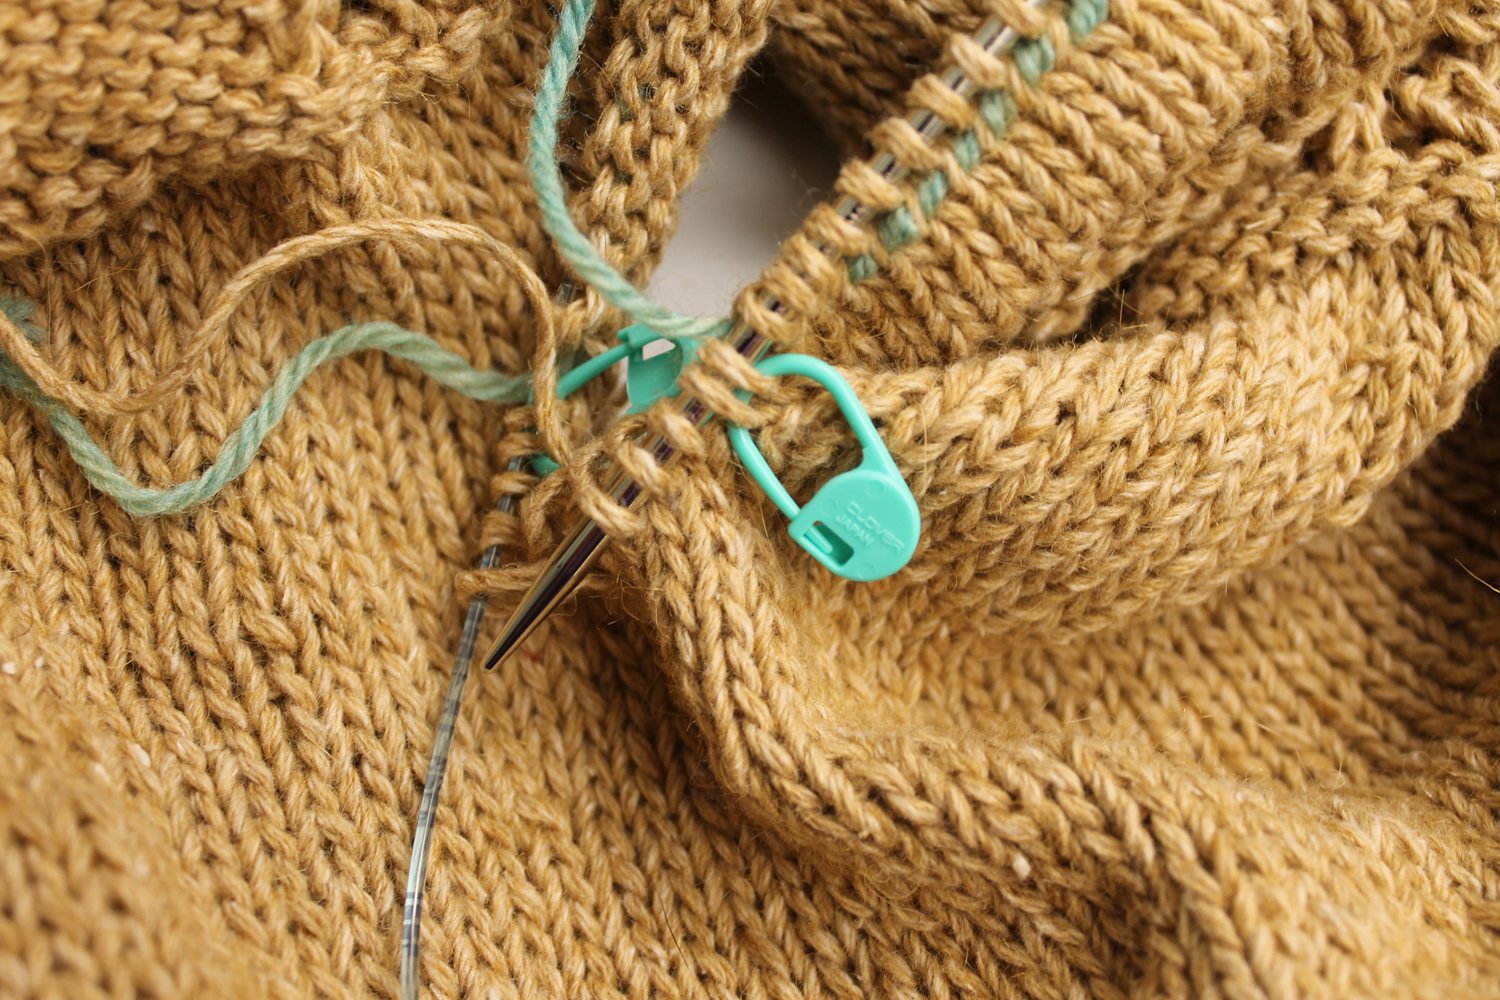 I picked up 2 extra stitches again, and placed another stitch marker around them.
Step 4:
Step 5:
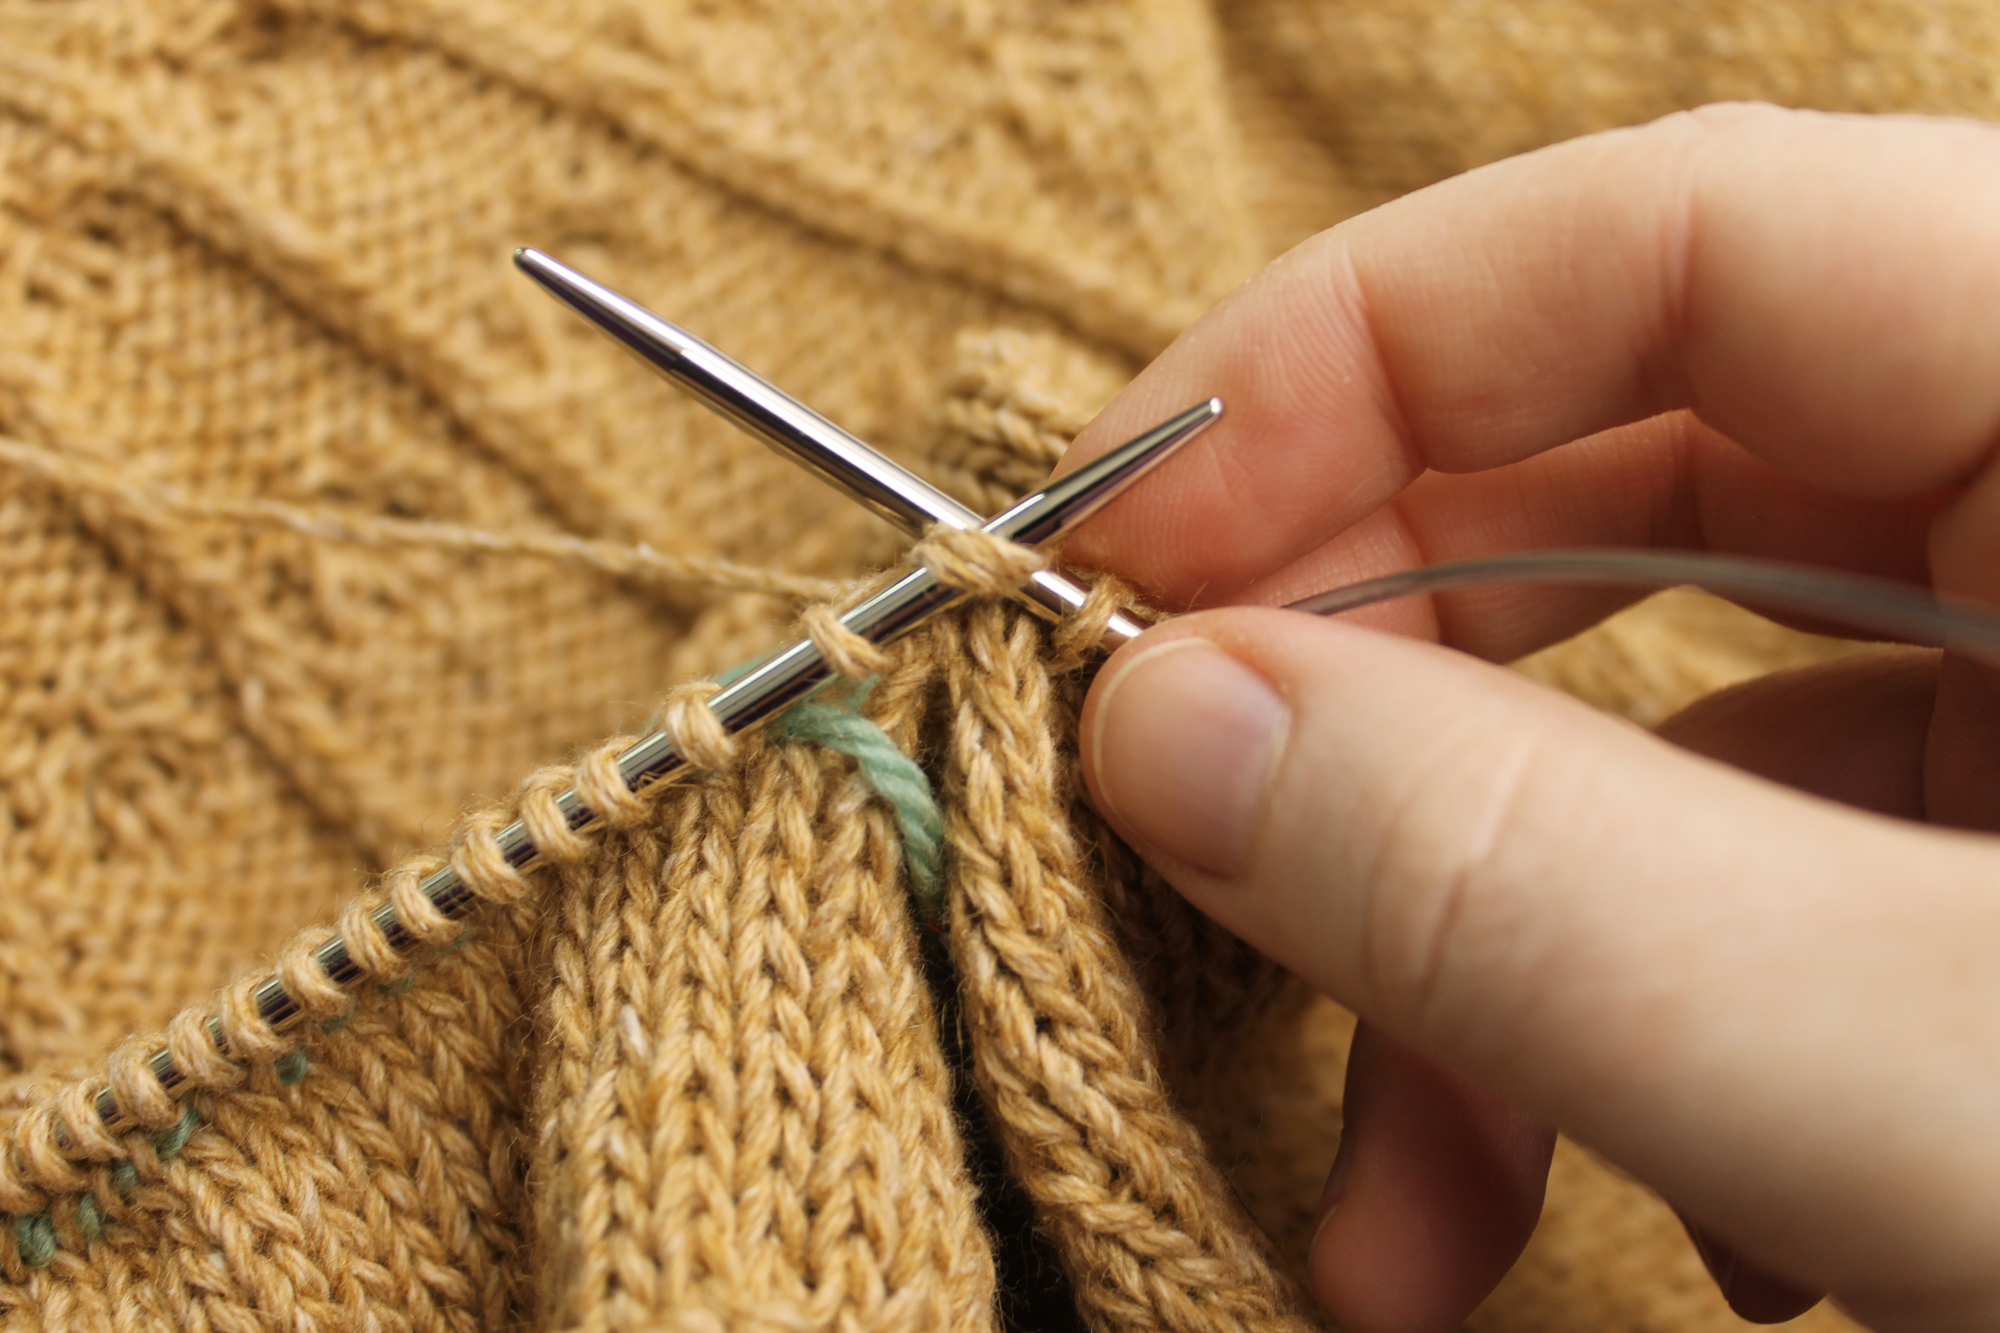
 I continued knitting around to one stitch before the next marked stitch and again prepared to decrease the extra stitches. I knitted the stitch before the marker together with the first extra stitch; then I knitted the second extra stitch together with the first underarm stitch on that side.
At this point, my stitch count matched the one in the pattern because I decreased out all the extra stitches.
I continued knitting around to one stitch before the next marked stitch and again prepared to decrease the extra stitches. I knitted the stitch before the marker together with the first extra stitch; then I knitted the second extra stitch together with the first underarm stitch on that side.
At this point, my stitch count matched the one in the pattern because I decreased out all the extra stitches.
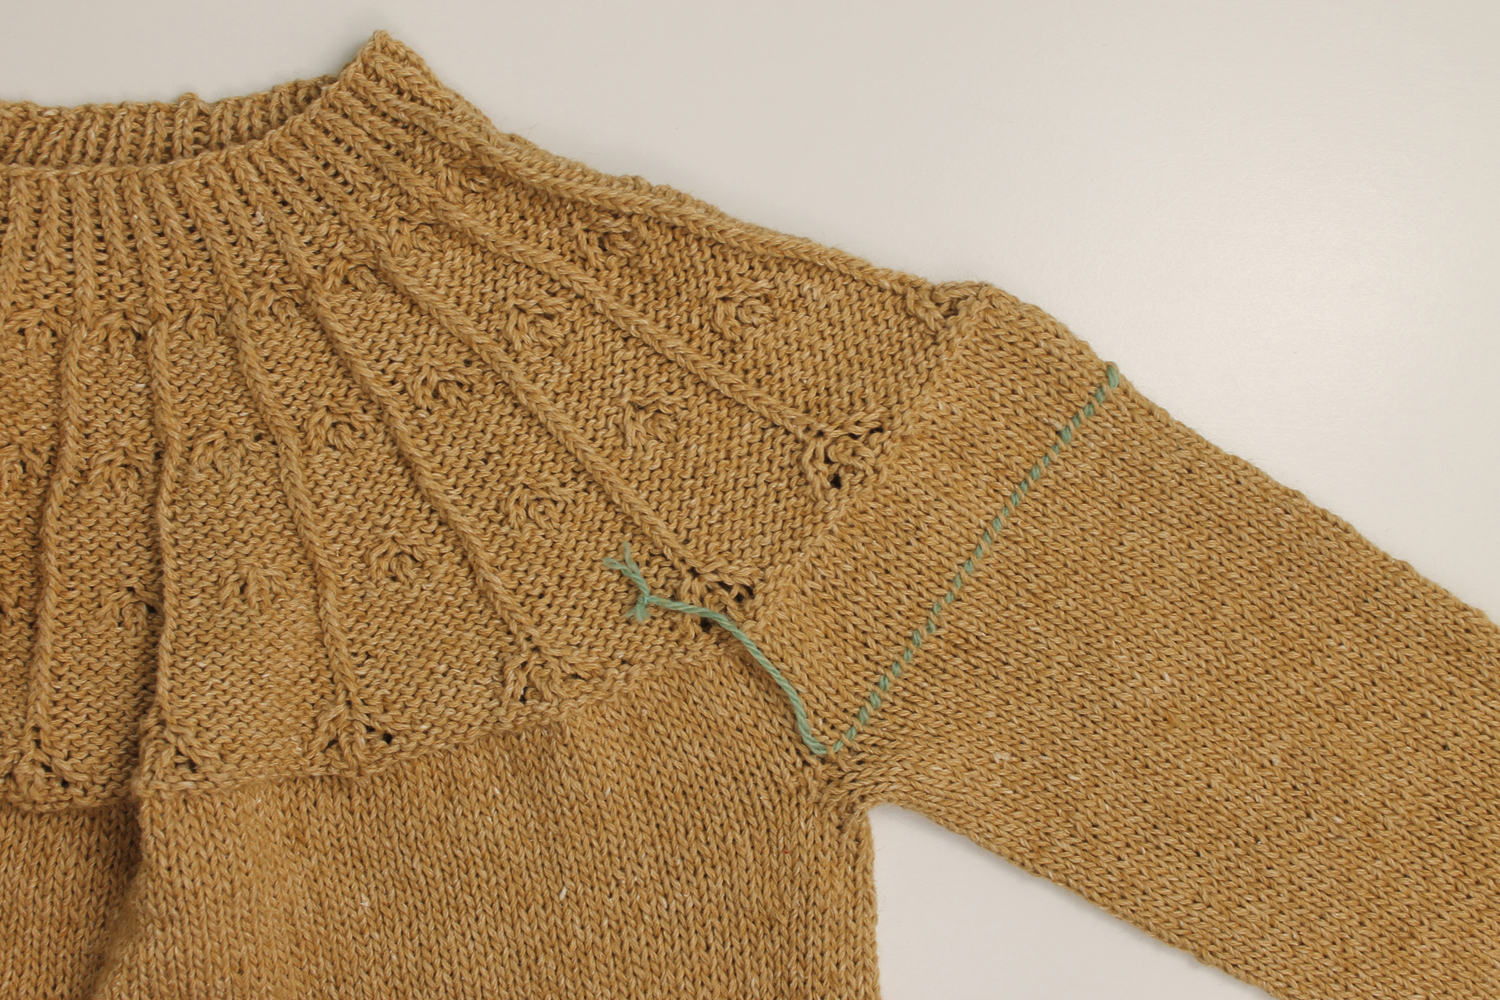
The final finished sleeve
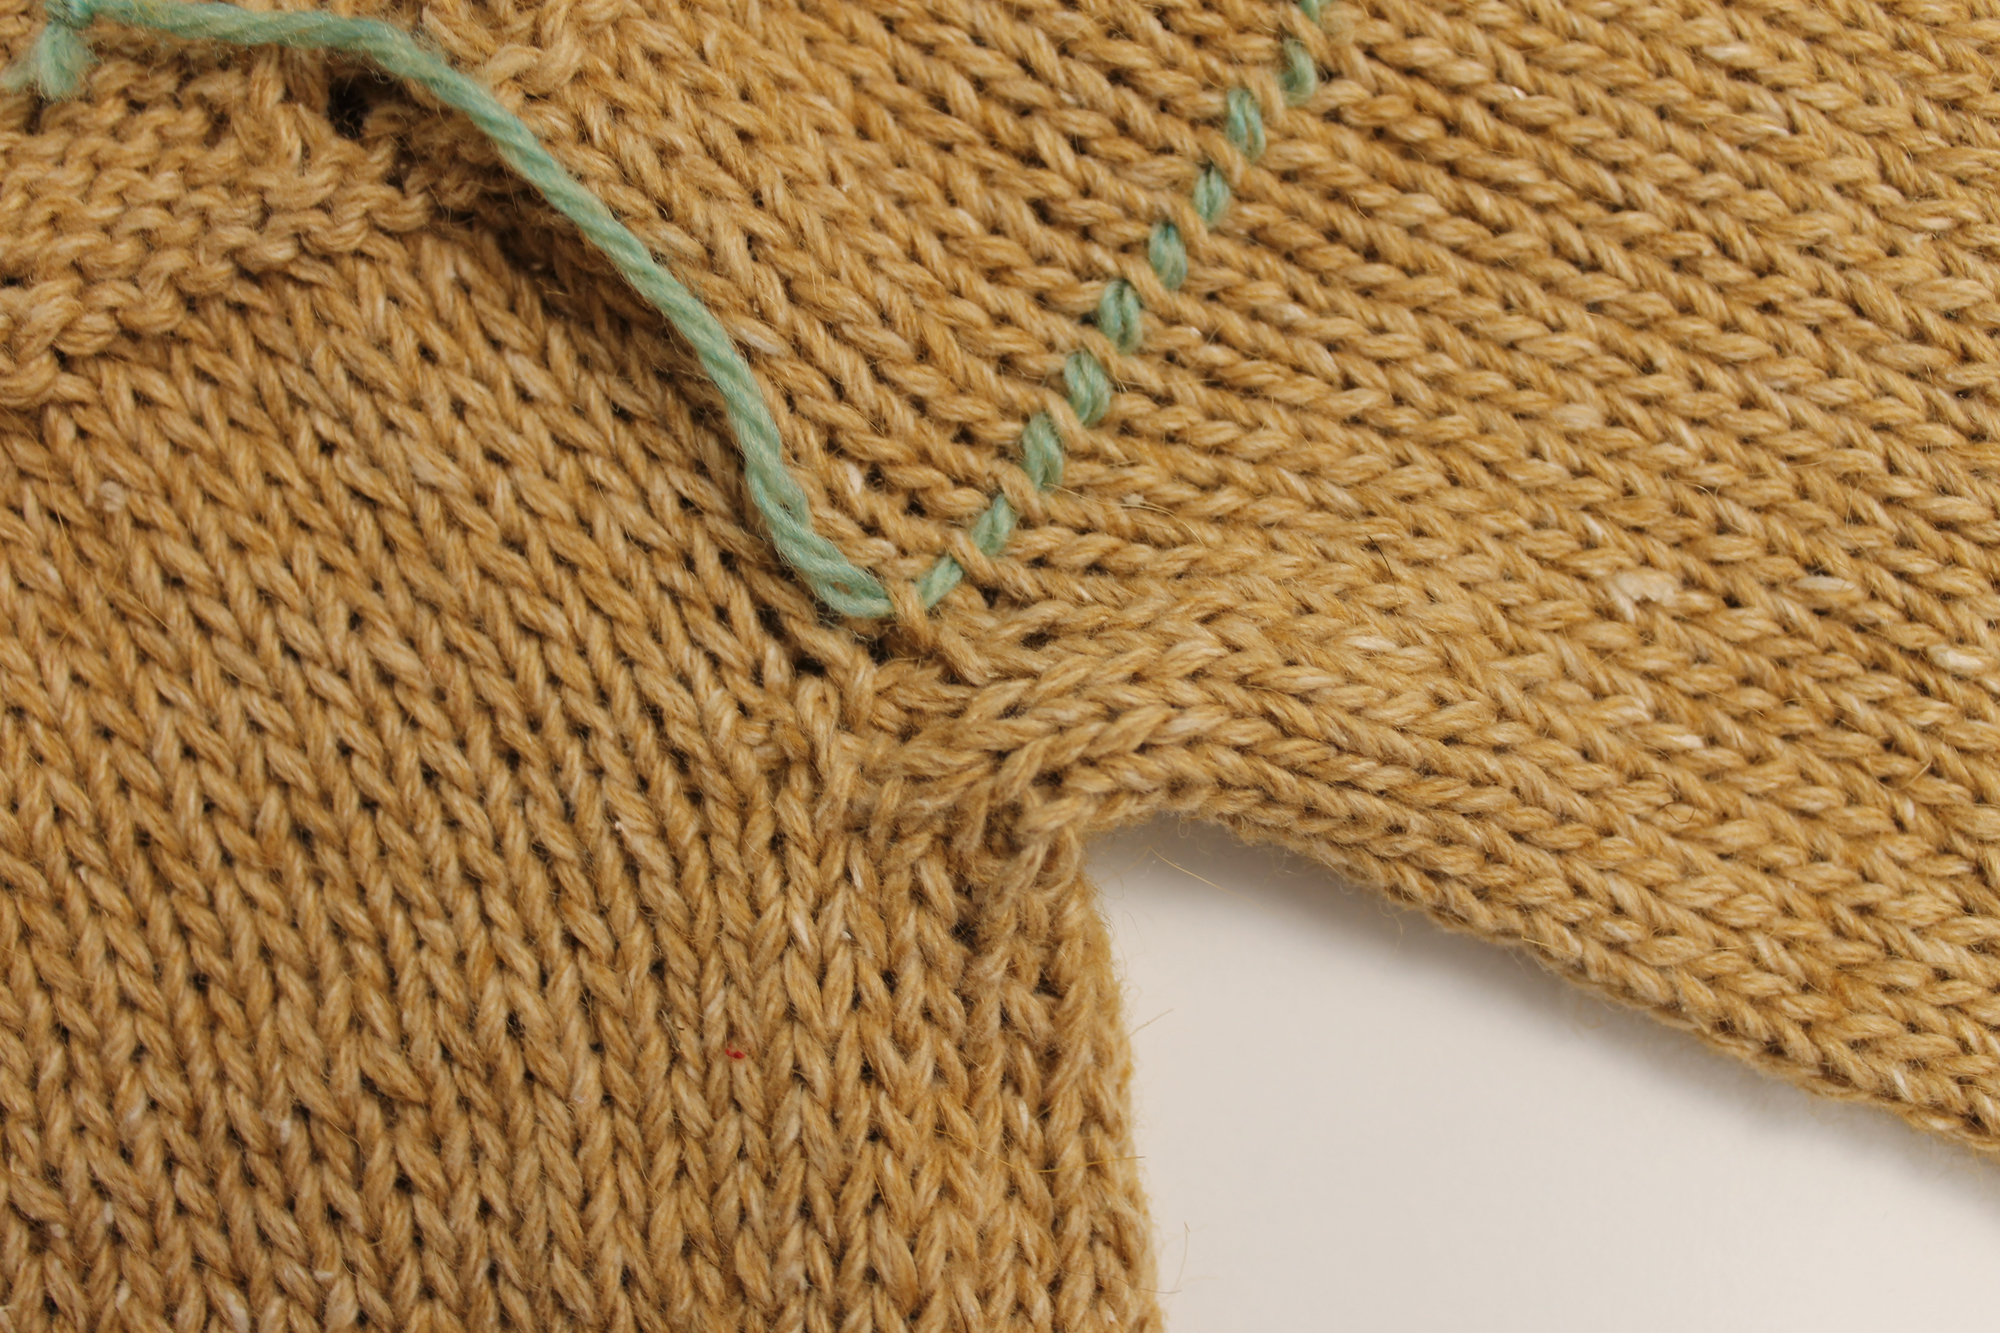 Check out the photo of the finished sleeve above. If you look close, you’ll see where I filled in those two extra stitches between the underarm and the start of the stitch holder stitches.
As you’re trying this technique, just remember: You can pick up as many extra stitches as you need to close up that gap, as long as you decrease out all the extra stitches in the next round.
Check out the photo of the finished sleeve above. If you look close, you’ll see where I filled in those two extra stitches between the underarm and the start of the stitch holder stitches.
As you’re trying this technique, just remember: You can pick up as many extra stitches as you need to close up that gap, as long as you decrease out all the extra stitches in the next round.
Share tips, start a discussion or ask one of our experts or other students a question.
No Responses to “Goodbye, Gaps! A Trick to Close Holes in Sleeves, Socks & More”