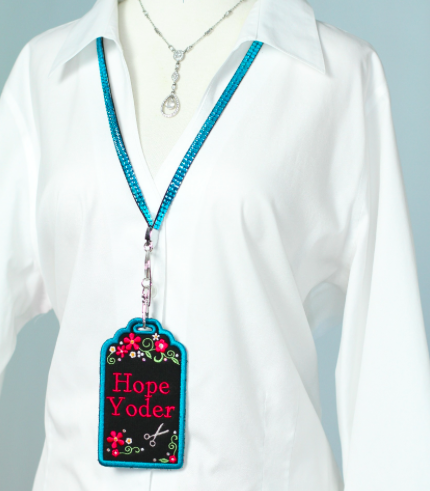
If you embroider you have certainly heard the words “In the Hoop” (ITH). So what does it mean?
Traditionally it means you start, and completely finish, your project entirely within the embroidery hoop, or finish it entirely by using only your embroidery machine without the aid of any sewing. Most ITH embroidery designs are not “plop and drop” designs, that you embroider onto a piece of flat fabric or on a purchased garment or accessory. Rather they are projects such as name tags, purses, keychains, key fobs, finished quilt blocks or little pouches. However ITH is now being used loosely by embroiderers and digitizers, with only a portion created within the embroidery hoop, plus a little bit of sewing using a regular sewing machine.
Today let’s talk about the traditional In the hoop designs that are uniquely digitized to create freestanding tags or name badges for backpacks, lunch boxes, hanging from a lanyard, luggage, sewing machine cases, computer cases, and more.
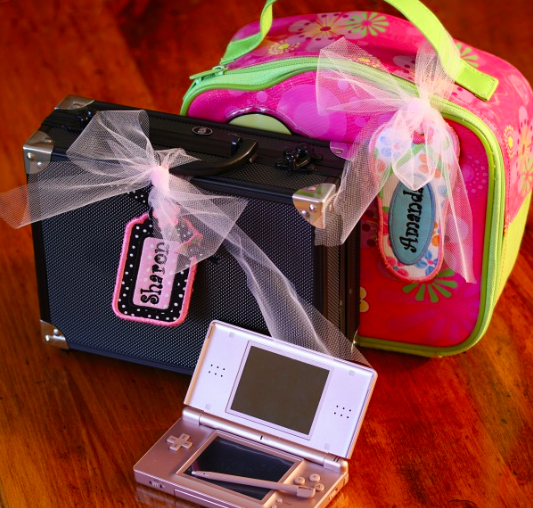
Materials Needed:
- Tag-A-Long Embroidery Collections Tag-A-Long, Tag-A-Long Sewing Edition or Tag-A-Long Family Edition)
- 5” x 7” embroidery hoop
- Tear away stabilizer
- Sharp curved scissors
The first thing you need to know about ITH designs is that they all come with a document that explains the techniques to embroider each step or color sequence. Most companies include lots of pictures showing each technique, which makes it easy to follow if you are new to ITH embroidery. Always print the directions (in color) and have them sitting by your embroidery machine while you are working. Create a file folder labeled “ITH Directions” to keep all your printed directions in one place.
Want to find out more about machine embroidery? Check out our machine embroidery classes!
Step 1
- Iron printed fabric to the fusible side of the heavyweight interfacing with the right side of the fabric facing out. Need to invest in your fabric stash? Here is a great place to get started.
- Hoop tear away stabilizer in a 5” x 7” embroidery hoop.
- Transfer the design to your machine.
- Embroider color 1 on stabilizer only. This is a placement line showing you where to lay your fabric that has been fused with the heavyweight interfacing. After color 1 is complete, center the fabric over the placement line making sure there is fabric outside of the placement line.
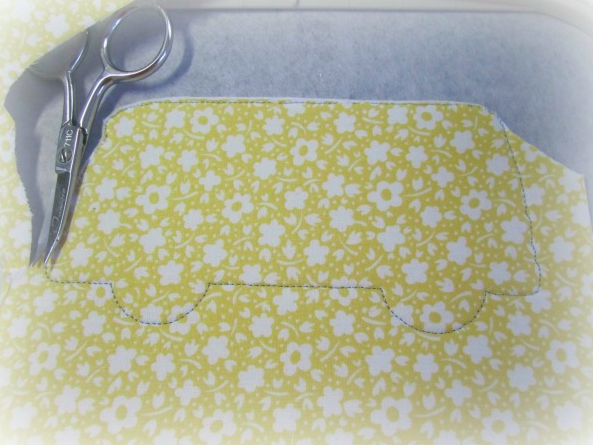
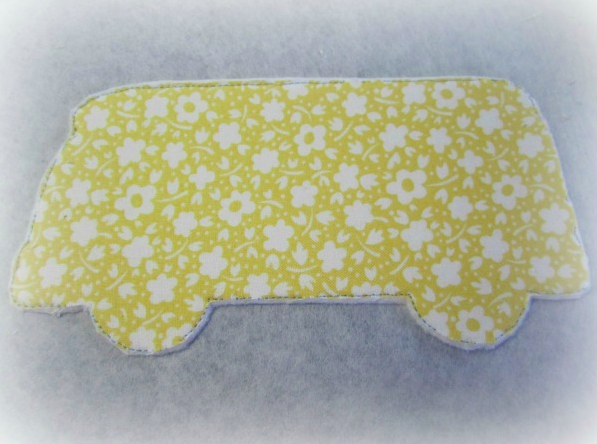
- Embroider color 2 which is a tackdown stitch, holding the fabric to the tearaway stabilizer. After color 2 is complete, use a small pair of sharp scissors to trim right next to the stitching line. It is very important that you take your time and trim as close as possible using your best pair of scissors.
Step 2
- Follow the directions on the PDF file to embroider the next set of color sequences up until you are requested to add a “blank name area” appliqué fabric.
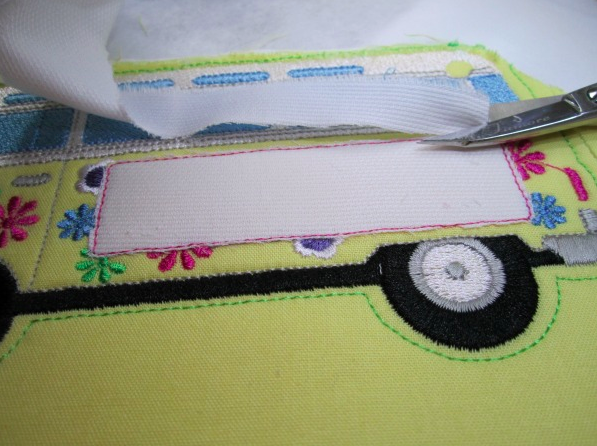
- Before you embroider the blank name area, you must lay a piece of appliqué fabric over the placement line. The fabric is not backed with the heavyweight interfacing, it should be a piece of cotton fabric with no backing.
- After the tackdown is complete, trim the appliqué blank name fabric very close to the stitching line.
Step 3
- Follow the directions on the PDF file to embroider the next set of color sequences up until you are requested to add fabric to the wrong side of the hoop, which will cover the back of the tag with fabric, hiding all of the ugly bobbin thread stitches.
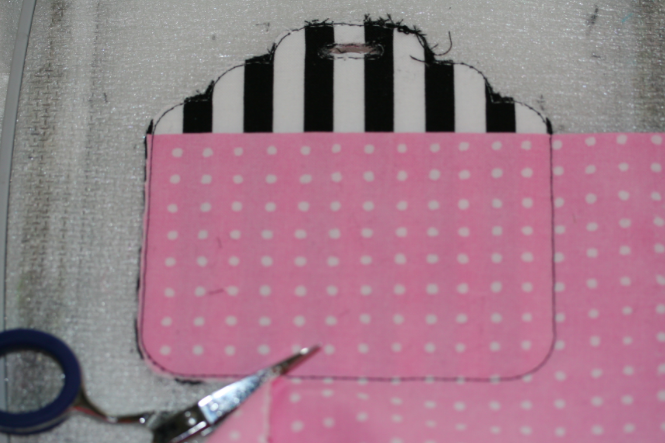
- Before you embroider the back appliqué fabric, you must remove the hoop from the embroidery arm and lay a piece of appliqué fabric over the back of the hoop. Make sure it will cover the tag with extra fabric outside of the stitching line. If necessary, you can use painter’s tape to hold the fabric in place while you put the hoop back on the embroidery arm.
- Embroider the back appliqué fabric tackdown stitches and then trim the appliqué fabric, from the wrong side, close to the stitching line. It will be necessary to remove the hoop from the embroidery arm to trim. If you have used painter’s tape, remove all of the tape before putting the hoop back on the embroidery arm.
Step 4
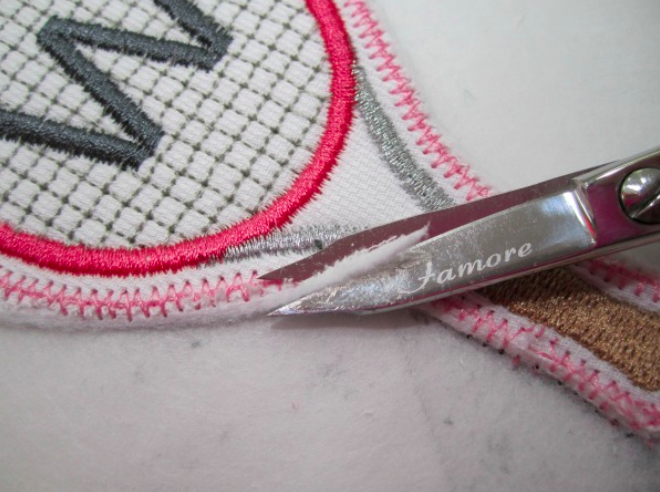
- The next to the last color sequence will be the zigzag underlay. After the zigzag underlay is complete, remove the hoop from the embroidery arm and check to make sure you have trimmed the heavyweight interfaced fabric close enough.
- Note: You may be asking, “How will I know if it’s close enough?” Great question because if you don’t trim close enough you will have ugly fabric extending beyond the final satin stitch. Since the interfacing is very thick, it is impossible to trim after the embroidery is complete and end up with a great looking tag. See the picture below. Notice there is heavyweight interfacing and fabric that is beyond the zigzag stitches. That is a no-no. Go back and use your sharp scissors trimming right up to the stitching line. You should be trimming so close that you accidently trim a tad bit of the zigzag stitches occasionally (do not try to trim away the zigzag, but if you accidently nip the stitches once in awhile, it will be fine.)
- If you are in doubt of trimming close enough, just go ahead and trim a bit closer.
Step 5
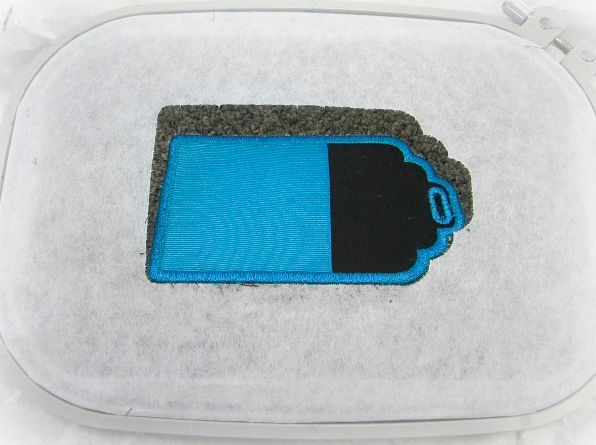
- When you are all done, tear away the finished tag from the tearaway stabilizer while it’s still in the embroidery hoop.
Note: If you are making tags for young children, I would encourage you not to use their name on the tag because of strangers. Instead, embroider a monogram or a cute phrase.
What tags will you make first? Come back to the Craftsy blog this Wednesday for another in the hoop project!

Share tips, start a discussion or ask one of our experts or other students a question.
No Responses to “In The Hoop Freestanding Name Tags Tutorial”