
Follow along as I guide your step-by-step in sewing your own custom travel slippers.

Step 1: Gather your tools.
- Paper for making a shoe pattern
- Fabric and batting
- Point turner
- Pins
- Clear ruler
- Water soluble pen
- Pencil
- Decorative buttons – this is optional, but a nice detail!
- Tape measure
- Scissors
- Thread
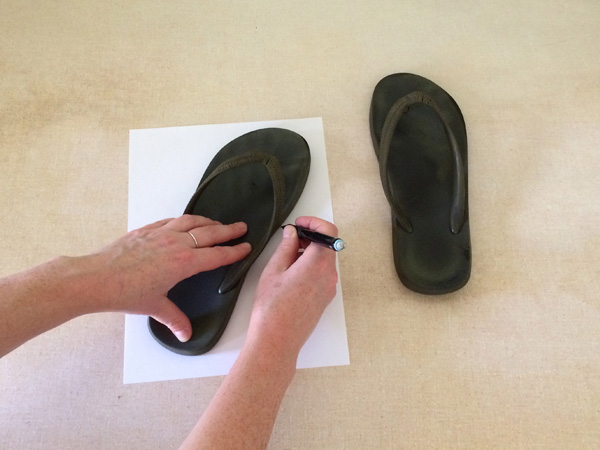
Step 2: Make the pattern.
Using a pair of shoes or sandals that fit you, trace around either the right or the left with a pencil onto a piece of paper. I used a pair of flip flops, since they are quite similar to the size and shape of what a traditional slipper would be.
Step 3: Cut the pattern.
Using your paper cutting scissors, cut around the line you drew in step 2.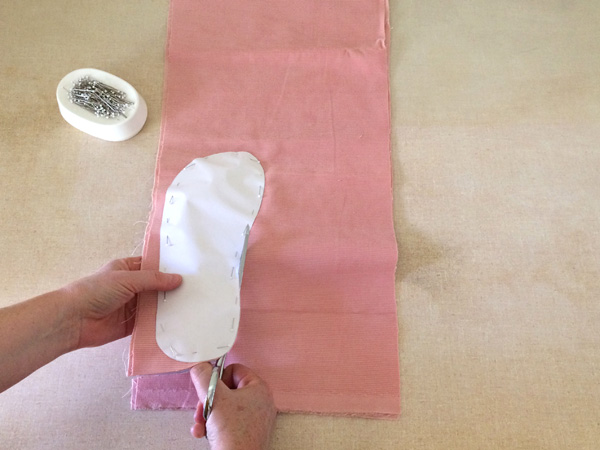
Step 4: Cut the fabric.
Lay the pattern piece down onto the fabric you want the bottom part of the slippers to be. Keep the length of the pattern piece in line with the grain of the fabric, so it does not stretch with the bias. I chose to make my slippers out of a medium wale cotton corduroy. Cut four pieces in total, two for each foot.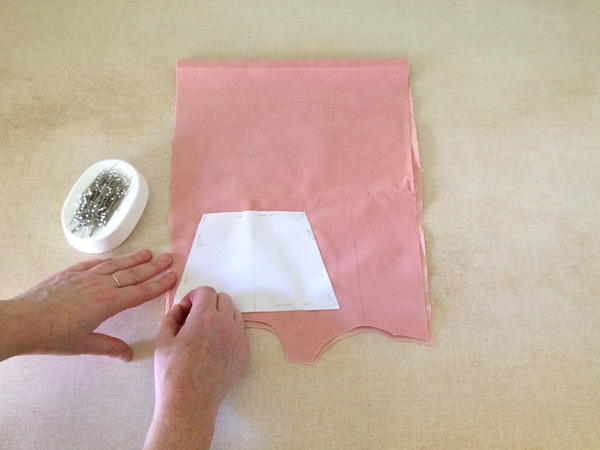
Step 5: Cut the band.
The band is the part that holds the foot onto the slipper. It might look like it is a simple rectangle, but most slippers actually have smaller front and wider back edges. To figure out how wide yours should be, use a tape measure to see what feels comfortable for you. For reference, my piece is 4 1/2″ across the top edge, 7″ across the bottom edge, and 4 3/4″ in height. Cut four pieces in total, two for each foot. Remember to include the seam allowance for sewing the two layers together. My measurements include a 1/2″ seam allowance along the top and bottom edges.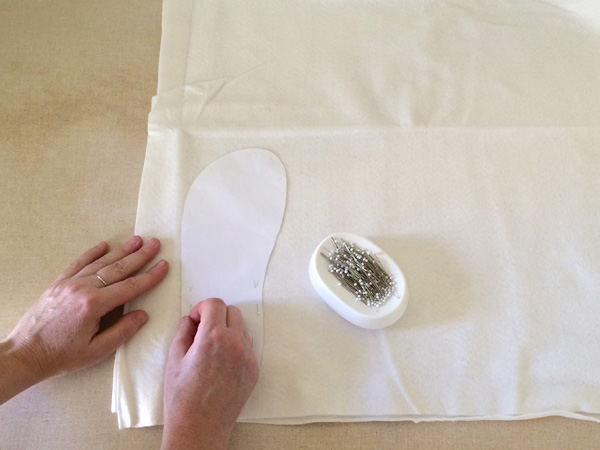
Step 6: Cut the batting.
Inside the layers of the slipper is a thin layer of batting. This could be swapped out with a heavyweight interfacing or canvas, anything you like to give the slipper some structure but still allows the slipper to fold into your travel bag. Cut two pieces in total, one for each foot.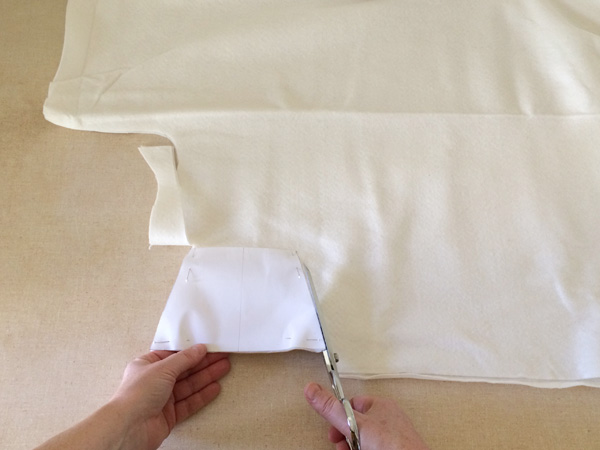
Step 7: Cut the band batting.
Just like for the under part of the slipper, the upper band has padding in it as well. Cut two pieces in total, one for each foot.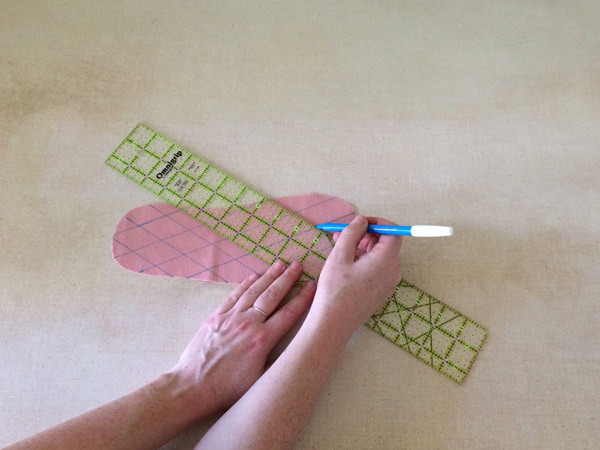
Step 8: Draw a quilt grid.
To give the slippers some stability, I chose to quilt the upper layer of the slipper bottom and band to the batting. Using a water soluble marking tool and a clear ruler, mark a grid of your choosing onto one slipper piece for each foot. My grid is at a 30-degree angle each way and the lines are 1″ apart.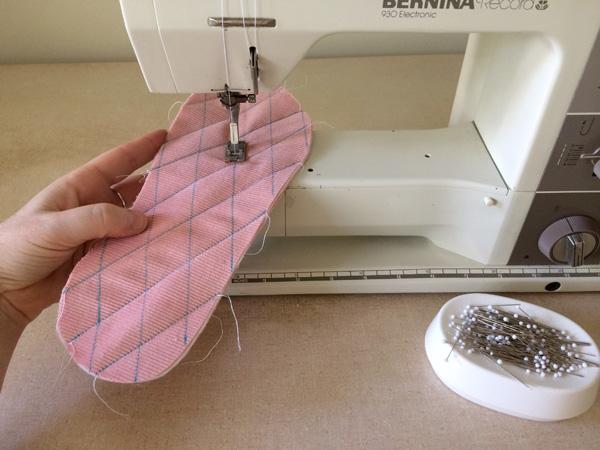
Step 9: Sew the grid.
Pin the left gridded slipper bottom to the piece of batting for the left foot. Stitch through the fabric and the batting along the grid lines. Repeat on the other foot’s fabric and batting.
Step 10: Sew the band grid.
Repeat steps 8 and 9 for drawing, pinning, and sewing a 30-degrees grid onto the band pieces. After steps 9 and 10, remove the water soluble markings from the fabric.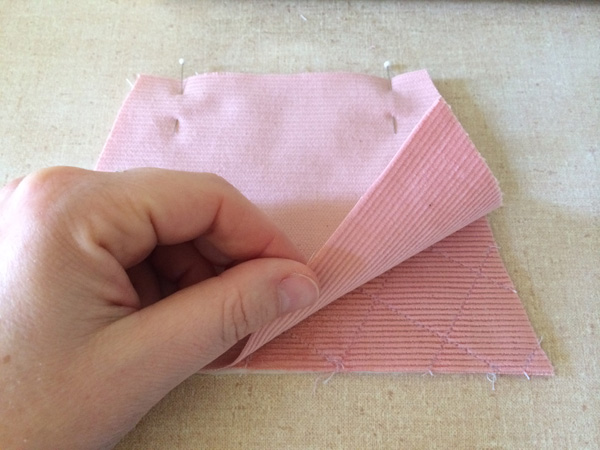
Step 11: Pin the band pieces.
Place one un-quilted band onto one of the quilted band pieces, right sides together. Pin along the sides that will be the top and bottom edges. Note: The interfacing should be under the two fabric layers. Repeat with the other pieces to create a pair.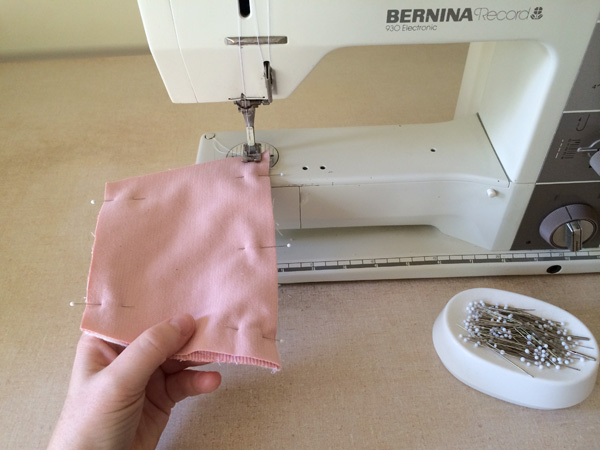
Step 12: Sew the band pieces.
Sew the two sides pinned in step 11 with the seam allowance you added to the pattern in step 5. I used a 1/2″ seam allowance. Repeat on the other band piece.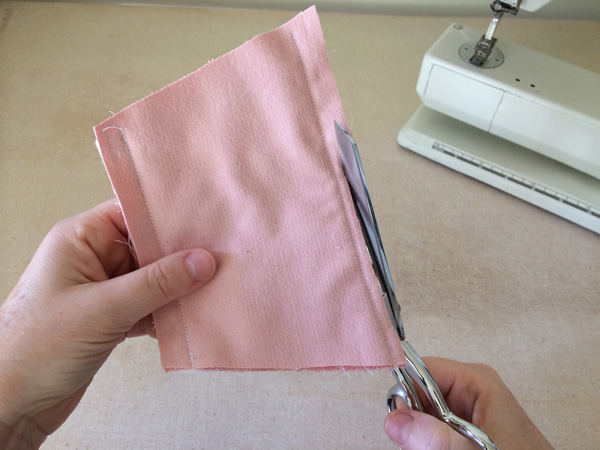
Step 13: Trim the bands.
Cut the seam allowances created in step 12 down to 1/4″. Turn the bands right side out and press the seam flat.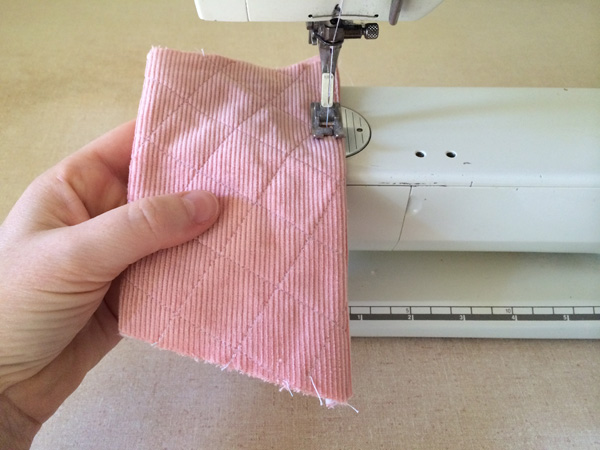
Step 14: Top stitch the bands.
Insert one of the band pieces and top stitch 1/4″ from the two sides sewn in step 12. Repeat on the other band piece.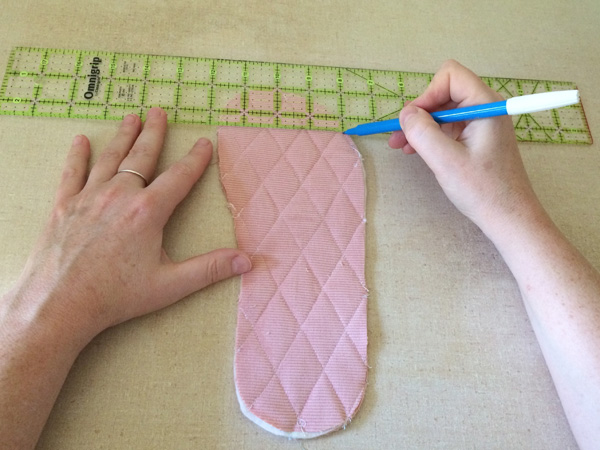
Step 15: Mark the band spot.
The band needs to be pinned to the slipper bottom, but we do not want it to be wonky. Use your clear ruler and line up the top to measure 1 1/2″ down into the slipper. Mark the left and right sides with a water soluble marker. There’s no need to mark the other end of the band placement, as it will work its way down the sides of the slippers.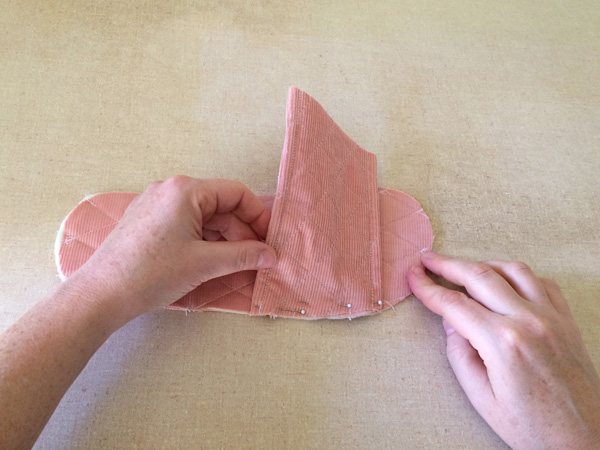
Step 16: Pin the bands.
Place the shorter end of the band at the spot marked in the last step. Pin in place at the top. Line up the remaining part of the band along the side of the slipper. Pin from the top down along the other side of the slipper. Repeat on the other slipper.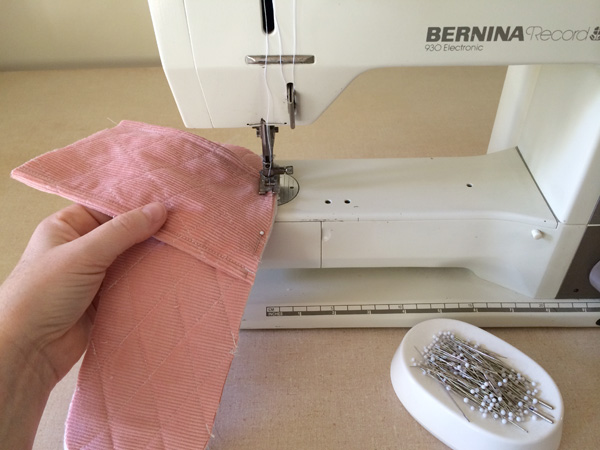
Step 17: Sew the bands.
Stitch at 1/8″ seam allowance along the band to secure it to the rest of the slipper. Repeat on the remaining sides of both band pieces.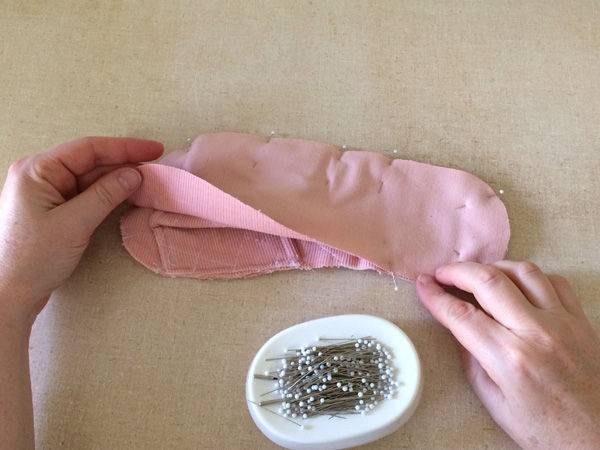
Step 18: Pin the layers together.
Place the remaining slipper piece on top of the slipper, right sides together. The band will be squished inside the two layers. I folded mine a little at the center to keep it from getting caught in the stitch line.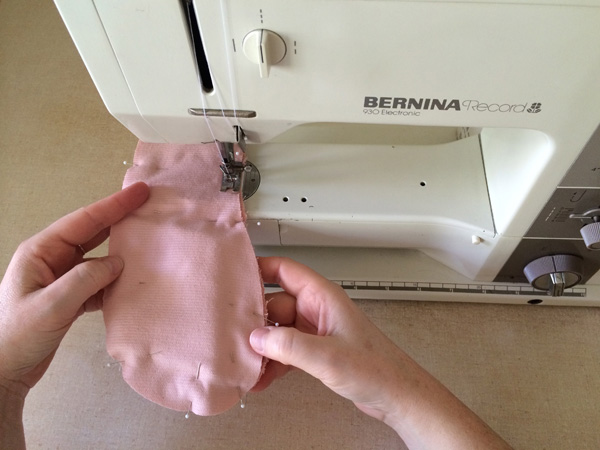
Step 19: Sew the layers.
Starting on the least curvy spot on the shoe, sew the pieces pinned in step 18 together with a 1/4″ seam allowance. Be sure to stop about 3″ from where you started. This will leave a hole in the side seam, allowing you to turn it right side out.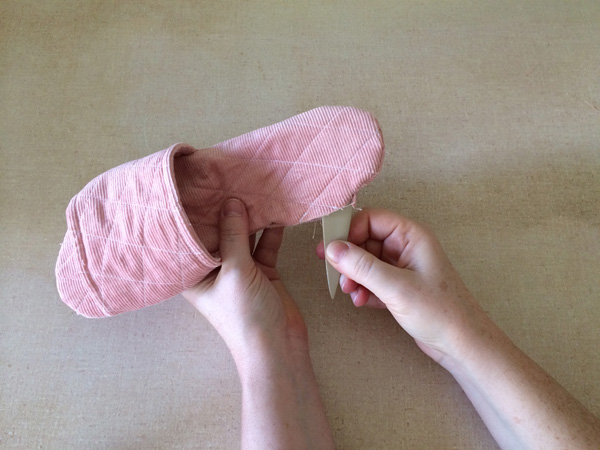
Step 20: Turn and point.
Flip the entire slipper out the hole left in the last step. It is tricky and bulky, but be gentle and pull the layers out the hole. Once it is all out, use the rounded side of a point turner to push out all the curves of the slipper. Give it a press if needed.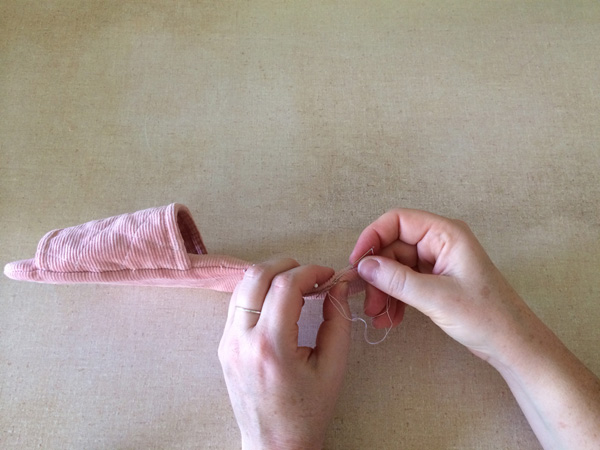
Step 21: Close the hole.
Finger press the fabric along the opening and pin it shut. Use a hand needle and thread, close the hole by hand sewing it shut. Repeat on the other slipper.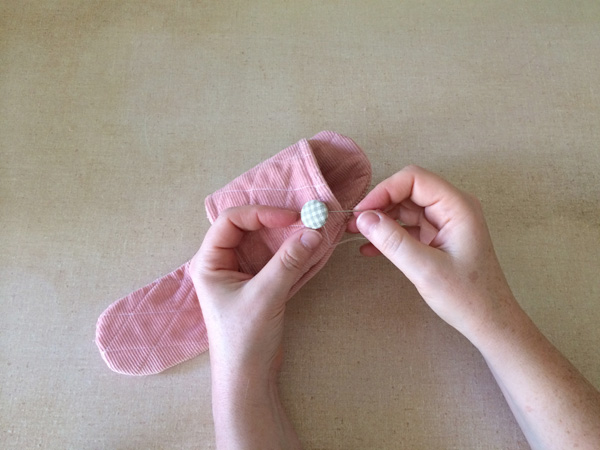
Step 22 (Option): Sew the buttons.
Entirely optional, though endlessly cute, I chose to sew a fabric covered button to either side of the slippers.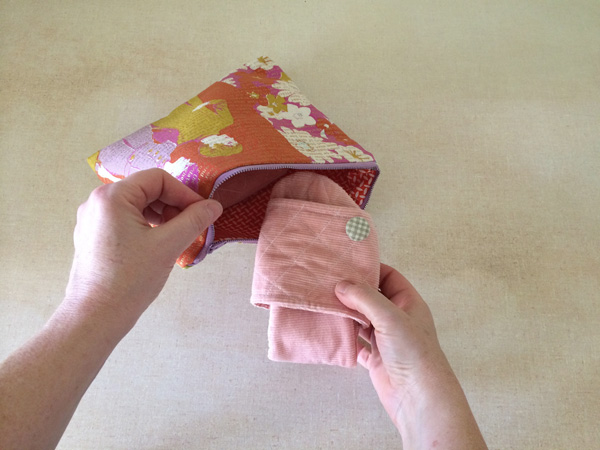
Step 23: Fold the slippers.
Want to use yours for travel? Fold the slipper and tuck the length into the slipper band. Store them in a zipper pouch and toss in your luggage!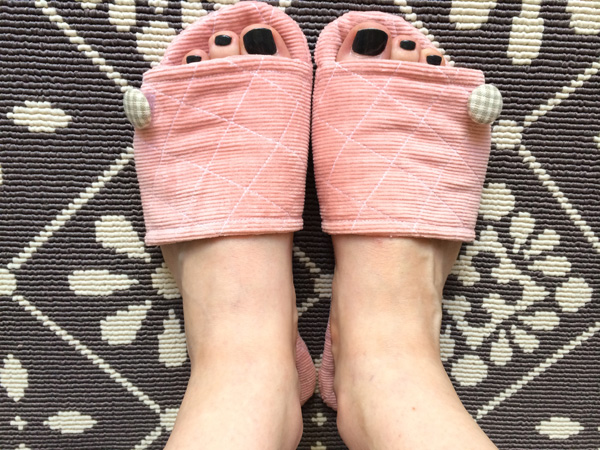 And that’s its! You’re now ready to travel in a whole lot more comfort!
Share tips, start a discussion or ask one of our experts or other students a question.
No Responses to “Home Away From Home: How to Sew Travel Slippers”