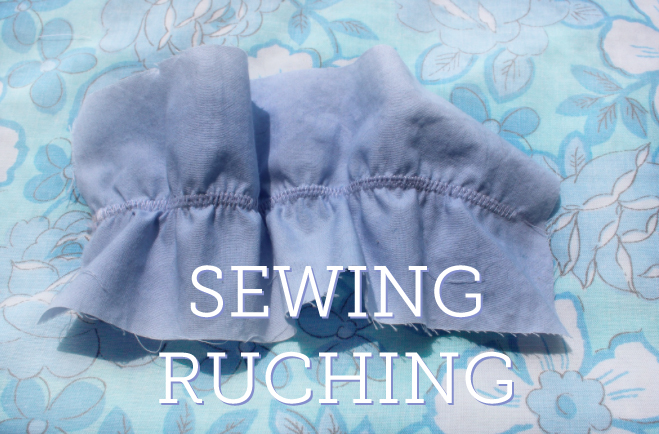
Ruching is one way of gathering fabric. You’ll see it pop up on the side seams of maternity shirts quite often as it’s a great way to deal with the extra fabric needed to cover a pregnant belly. But ruching isn’t just for a mama-to-be; it’s a nice addition on anything from the sleeves of a top to the bodice of a dress, so learning how to sew ruching is a skill you’ll reach for again and again when sewing your own clothes.
Here’s how to sew ruching:
First, get your fabric and some elastic. I used 3/8” but your choice will depend on the fabric you are using; a lightweight fabric will call for a thinner elastic, but somewhere in the area of 1/4” to 1/2” should work.
If you are not following a specific pattern, you’ll want to cut your elastic to whatever length you would like the end result to be. Your fabric can and should be quite a bit longer, though how much longer is up to you (the greater the difference between the fabric and the elastic, the more gathered the end result will be). Just make sure your elastic is capable of stretching the entire length of the fabric, otherwise you’ll end up with a failed attempt.
On your sewing machine, straight stitch the elastic to the fabric for a few stitches, back tacking a few times to make sure the elastic is secure.
Then, switch to a zigzag stitch. The longer the stitch length, the more the fabric will be gathered (so you might want to play around with this before going to work on your actual garment). At this point, you will want to stretch the elastic as you guide the fabric through the machine. This can be a little tricky at first. You can pin the elastic to the fabric to make sure everything will line up correctly, but you might find it easier to sew without pinning. It’s helpful to stretch the elastic from the front and back as you guide it through the machine.
Once you get to the end of your elastic, switch back to a straight stitch. Again, take a few stitches and back tack a few times to secure the elastic to the fabric.
Turn your garment right side out and you should have a nice, even gather. If you’re just learning how to sew ruching, be sure to give it a few practice runs.
Looking for more ways to add texture to your sewing projects? Check out Bluprint’s Sewing Texture online class and learn how to pleat, ruffle and gather fabric.
Have you added ruching to any of your sewing projects before? Please share in the comments! Then come back to the Bluprint blog on Friday for a beautiful free sewing pattern.

Share tips, start a discussion or ask one of our experts or other students a question.
No Responses to “How to Sew Ruching”