
Handmade kitchen accessories, like oven mitts and hot pads, make great housewarming gifts. But, we bet you could use a new pair for your own kitchen! Stitch a simple hot pad that’s extra-large for grabbing big casserole dishes and makes a great weekend sewing project.
This tutorial will teach you how to sew the perfect pot holder.
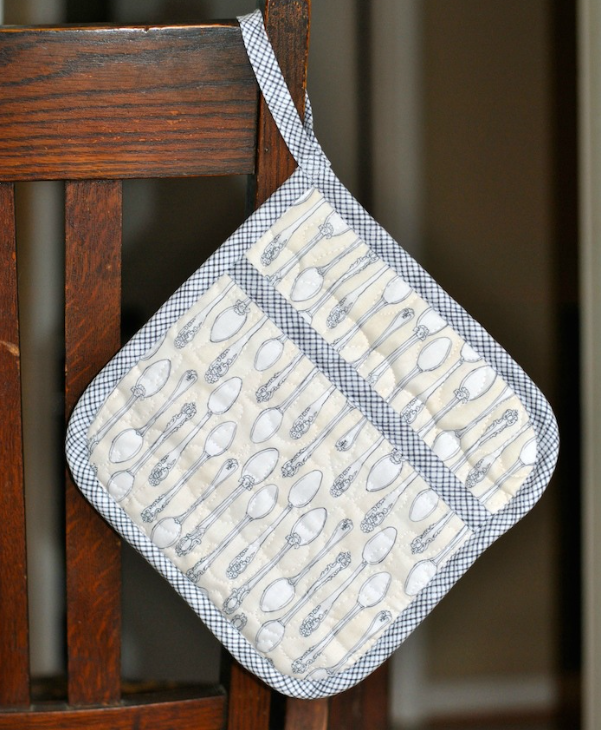
Finished size: 10″ x 10″
Fabric: Tea Garden by Molly Hatch for Blend Fabrics
Time requirement: 1-2 hours, depending on experience
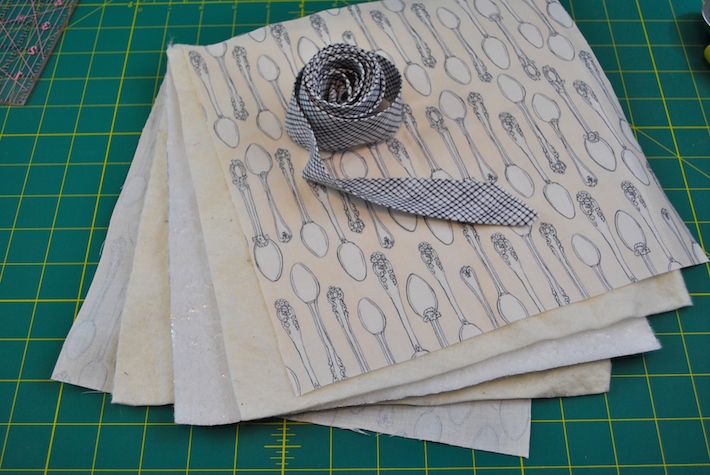
Materials (for 1 pot holder):
- Main fabric (spoons): (2) 10 1/2″ squares, (2) 10 1/2″ x 7″ rectangles
- Binding fabric (crosshatch): bias cut fabric strips to make 1-2/3″ yards of 2 1/2″-wide double fold quilt binding
- Insulated batting: (1) 10 1/2″ square Insul-Fleece
- Quilt batting scraps: (2) 10 1/2″ squares, (1) 10 1/2″ x 7″ rectangle
- Rotary cutter and drinking glass to round corners
Instructions:
Assemble the five 10 1/2″ squares as follows: Bottom: Main fabric right side down; Middle: Batting, then insulated batting, then another layer of batting; Top: Main fabric right side up.
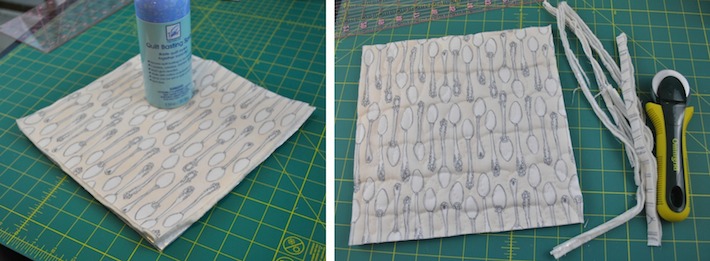
2. Baste as desired (spray basting works great) and quilt the layers together. I used a free-motion looping pattern. Trim the main panel to a 10″ x 10″ square.

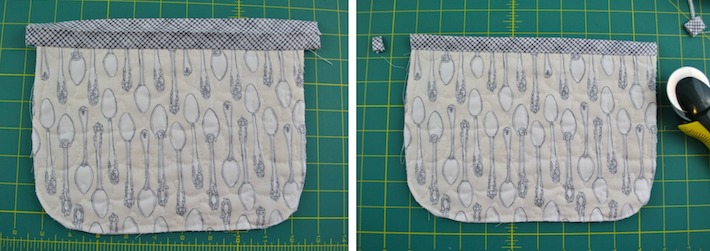
3. Round three corners of the main panel using a rotary cutter and drinking glass. Repeat steps 1-3 with the three 10 1/2″ x 7″ pieces, with two exceptions: You’ll only have one layer of batting in the center and you’ll round only the bottom two corners of the pocket panel.
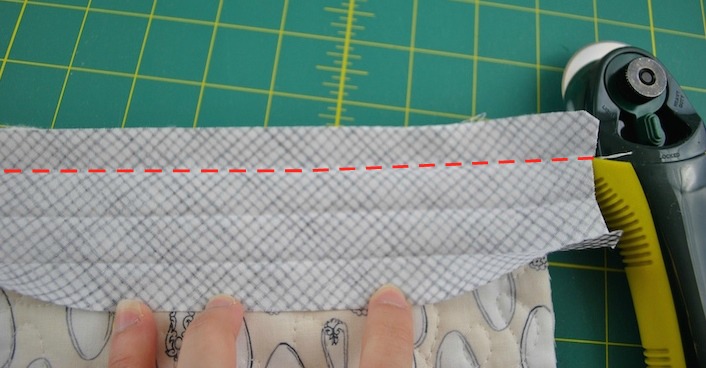
4. Starting with the straight edge of the rectangular pocket panel, apply a 10 1/2″ strip of double fold bias tape. Open up the tape right side down and align the raw edge against the straight edge of the pocket panel. Stitch along the fold line marked in red. Tip: If you sew 1/8″ to the side of the fold nearest the raw edge, this will help your bias tape fold over more easily later.
5. Flip the bias tape up over the line you just stitched and fold it over to the back. Top stitch the bias tape in place and trim off the ends.
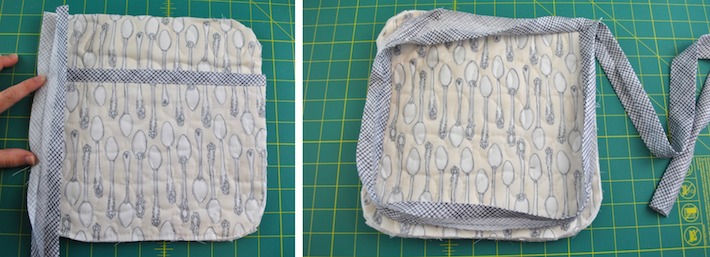
6. Stack the pocket panel on top of the main panel as pictured. Pin in place. Apply the remaining bias tape to the pot holder the same way you did earlier. Begin in the squared-off corner and ease the bias tape around the curves. When you reach your starting point, overlap the bias tape ends but don’t trim. (You’ll use the remainder for a hanging loop later.)
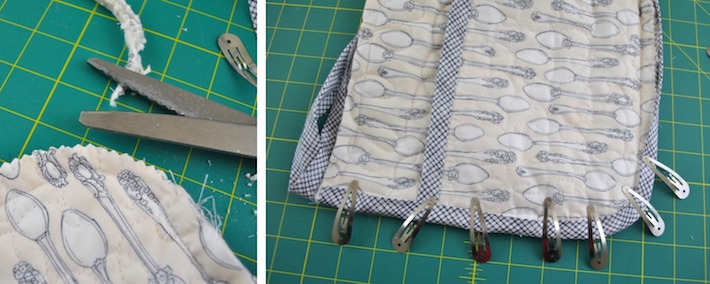
7. Trim the pot holder corners with pinking shears or notch them with scissors to reduce bulk in the seams. Use pinking shears on any other edges that seem too bulky. Fold over the bias tape to bind the raw edges and clip in place.
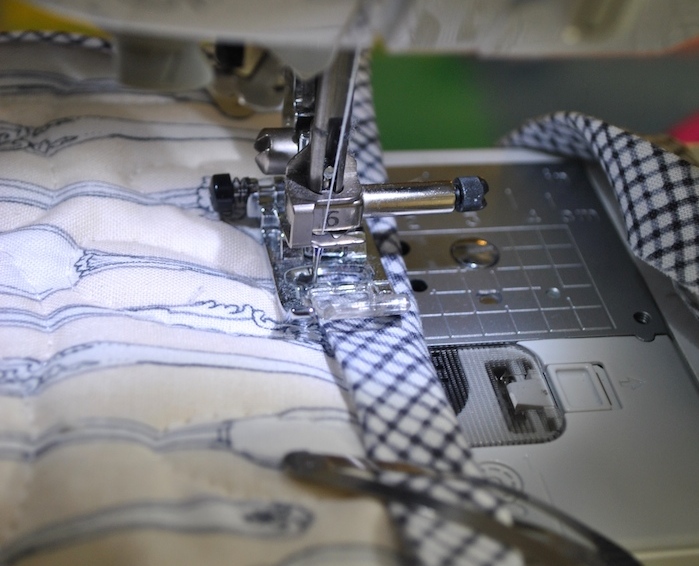
8. Top stitch the bias tape down 1/8″ from the edge to secure the binding.
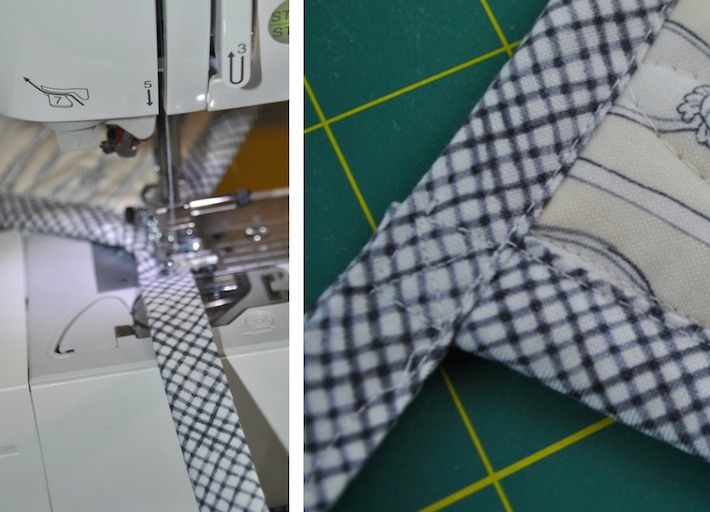
9. When you get to the place where the bias tape ends meet, continue topstitching the fabric to itself to seal the folded edges of loose bias tape together. Cut the fabric to your desired length, make a loop, and place the other raw edge at back of the pot holder. Stitch an “X” with a box through all layers to secure the loop.
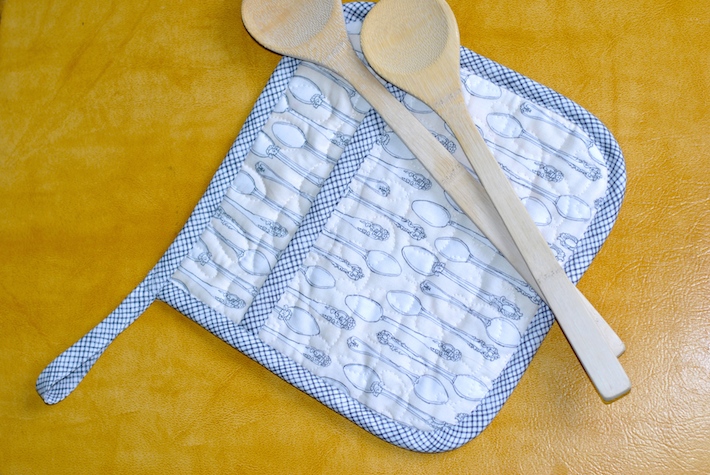
This extra-large, super-thick pot holder is my favorite size to sew, and is great at protecting your hands from hot dishes.
Share tips, start a discussion or ask one of our experts or other students a question.
Already a member? Sign in
No Responses to “How to Sew a Quilted Pot Holder”