
If you sew regularly, you are most likely in front of your ironing board just as much, if not more, than your sewing machine. Ironing board covers easily become scorched, stained and accidentally snipped with unwieldy shears, which makes them a real eyesore in your sewing space.
Instead of ignoring the problem or purchasing a boring new cover each season from a big box store, learn how to sew your own. It’s a quick project and the choices of fun fabrics are endless! Use busy prints to help disguise future scorches and marks, or use the opportunity to spruce up your decor with classic colors and patterns.
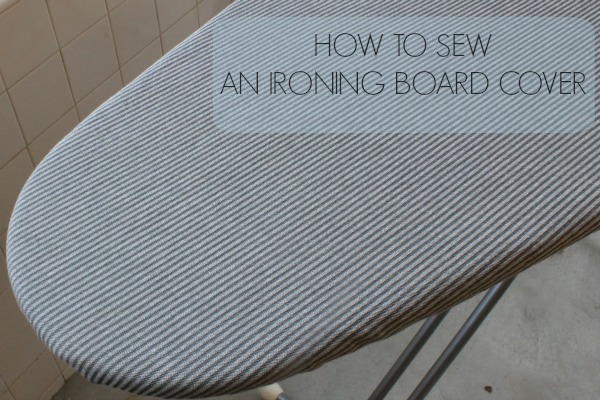
Follow along for a tutorial on how to sew an ironing board cover.
Materials needed:
- Existing ironing board cover. You will use it as your pattern.
- 1.5 yards of cotton fabric. You can use quilting weight cotton or heavier canvas or upholstery weight fabric. Cotton fabrics breathe better than synthetics and won’t trap the moisture of the steam from your iron.
- 2 packages (6 yards) of extra wide double fold bias tape, or enough bias tape to fit around the perimeter of your ironing board. If you make your own bias tape, make sure the finished width is at least 1/2″, so the strips need to be cut 2 inches wide to start. The tape won’t be seen, so color isn’t that important — you can even mix and match different colors of bias tape to get the length needed.
- 3 – 4 yards of drawstring cord with a plastic stopper. You can reuse it from your old ironing board cover if it has one.
- Sewing machine, thread, and an iron
Step 1:
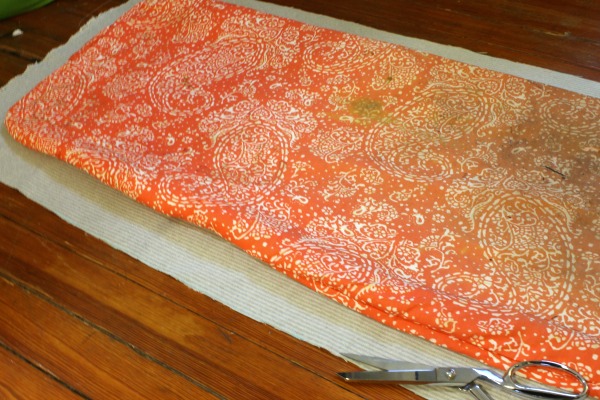
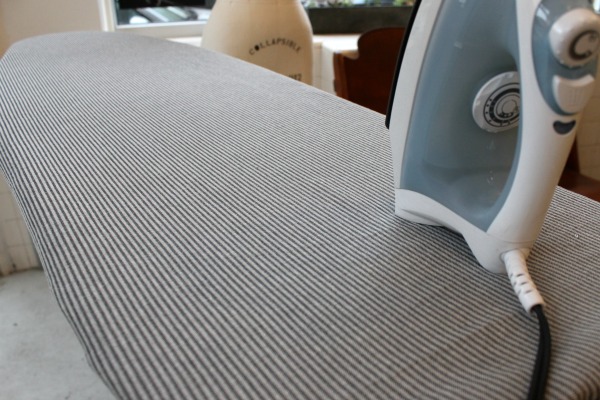
Before removing your old ironing board cover, iron the wrinkles out of your new fabric. Lay your fabric in a single layer on your cutting surface. Remove the old cover and place on top of your fabric. Hold in place with pins or weights if needed.
Step 2:
Trace around the perimeter of the cover, adding 2 inches of allowance to the outer border. This excess will later be folded under the ironing board and pulled taut with drawstring to keep it in place. Cut along your traced line.
Step 3:
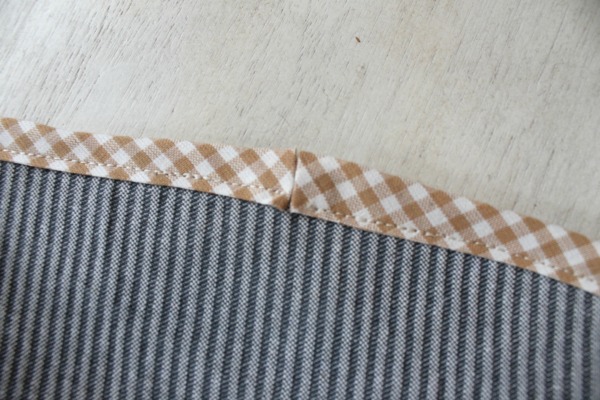
To create a casing for the cord, attach the binding to the new cover all the way around, sandwiching the raw edge completely. Sew in place along the folded edge of the binding, making sure to catch both sides of the binding.

At the narrowest end of your ironing board cover, abut the two ends to create an opening so the drawstring has room to weave out. Fold in the ends and sew across the bottom. Again, this won’t be seen by anyone so don’t worry about perfection.
Step 4:
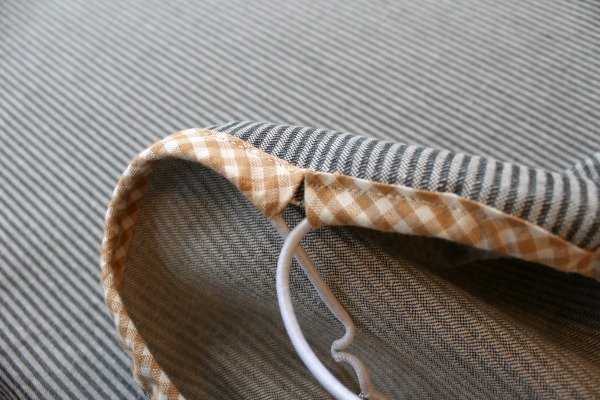
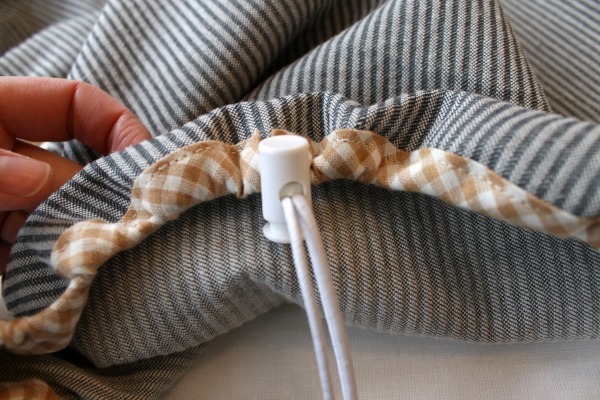
With a small safety pin or bodkin attached to one end of the drawstring, weave the whole length of the string through the casing created by the binding.
Step 5:
Place the cover on the ironing board and pull on the drawstring ends to cinch the edges until it’s a snug fit. Use the clip to secure the drawstring.
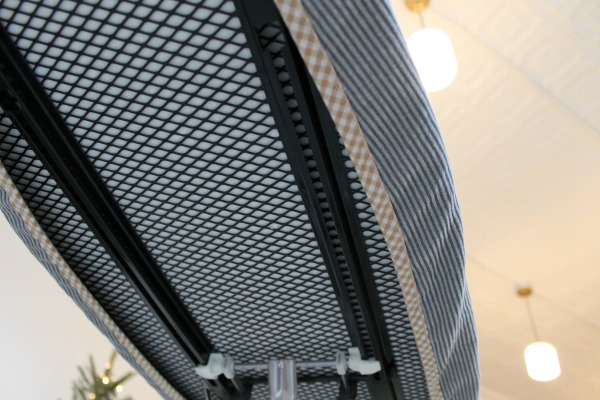
Throw out that gross old ironing board cover and get pressing!
Share tips, start a discussion or ask one of our experts or other students a question.
No Responses to “Pressed to Perfection: How to Sew an Ironing Board Cover”