
If you’re lucky enough to travel somewhere that requires a passport, then good for you! I love handing my passport to the customs people with a fancy cover on it. It gets a smile about 75% of the time, which is pretty good for such a serious group of employees.
This sewing project couldn’t be easier or quicker, so even if you’re leaving on a jet plane tomorrow, you have time to make this tonight!

Step 1: Gather your tools.

Here’s what you’ll need:
- Clear ruler
- Pins
- Medium weight fabric for the outer and the inner
- Lightweight woven fusible interfacing
- Paper to draft the pattern
- Point turner
- Pencil
- Scissors
- Thread
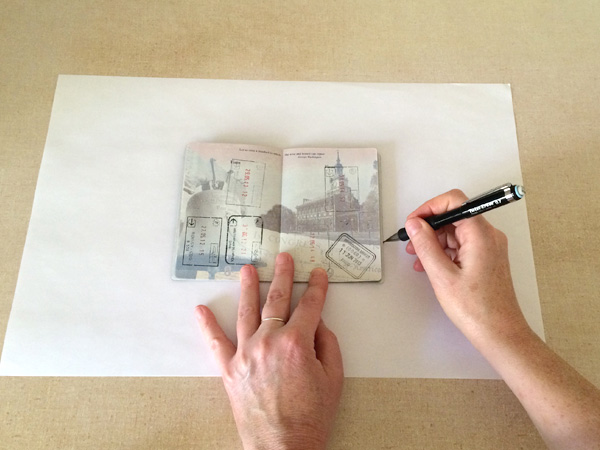
Step 2: Make the pattern.
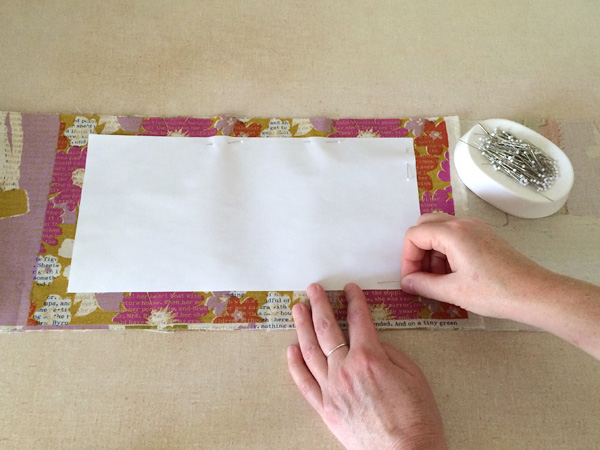
Trace the outside of your passport onto a piece of paper. I used an 11″ x 17″ sheet of paper because the pattern will not fit onto a standard sized sheet, so if you have something larger laying around, use that. If not, tape two regular sized sheets together to make it longer.
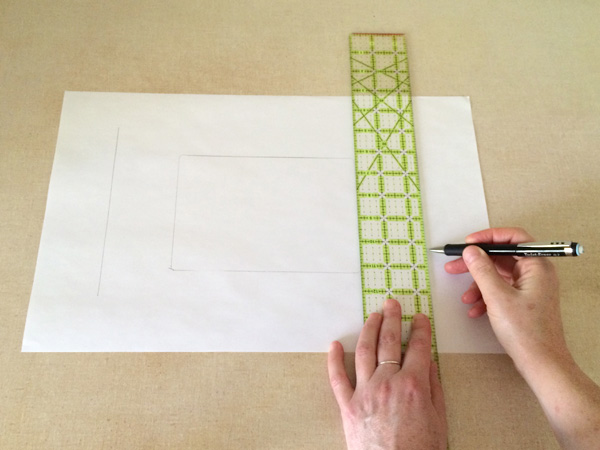
Add 2″ plus the seam allowance on both of the short ends. I used a 1/4″ seam allowance, so my sides are 2 1/4″ larger than the passport.
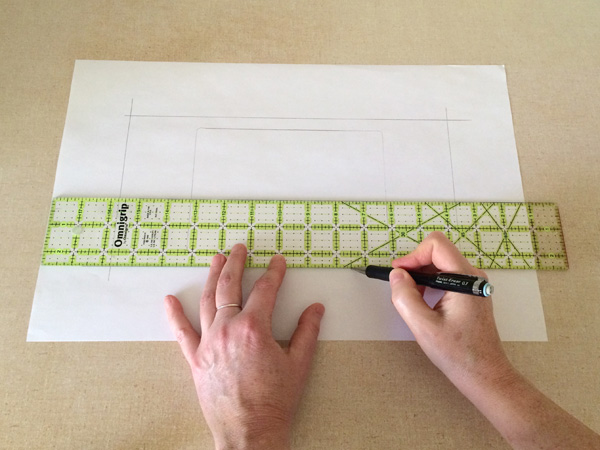
Add the seam allowance to the top and bottom along the long sides.
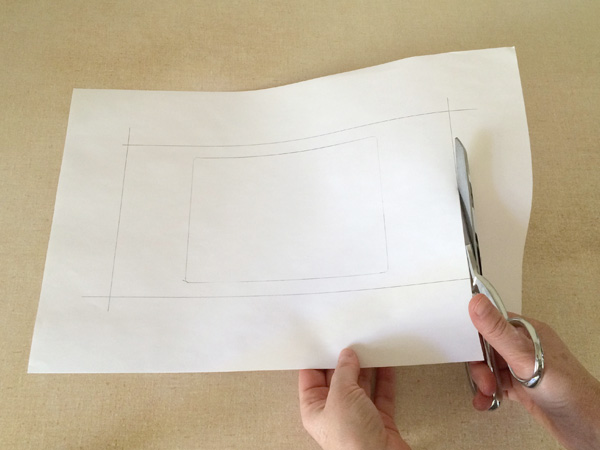
Using your paper scissors, cut out the pattern around the outside lines.
Step 3: Prepare the fabric.
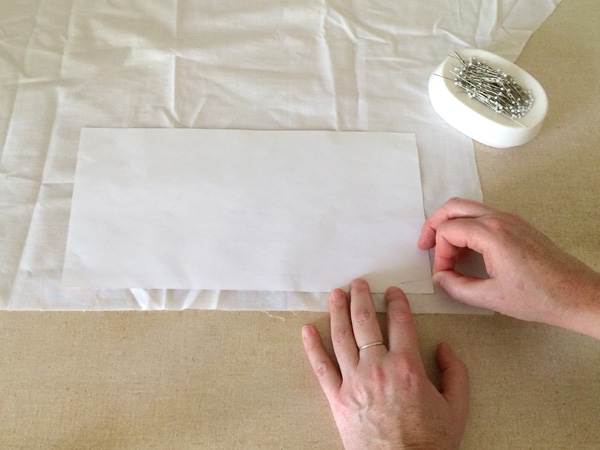
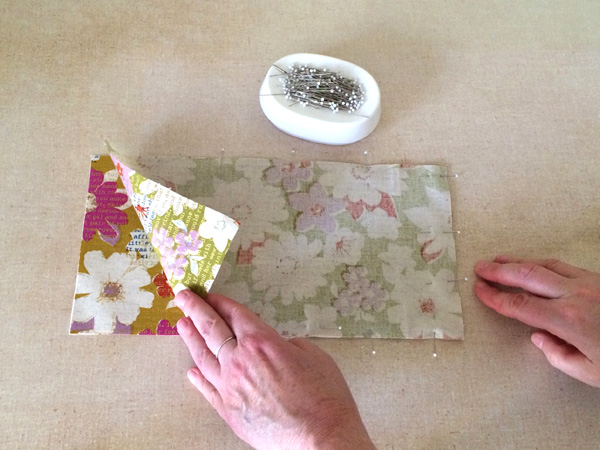
Pin the pattern to the fabric, making sure to keep one of the sides, either the long or the short side, in line with the grain of the fabric.
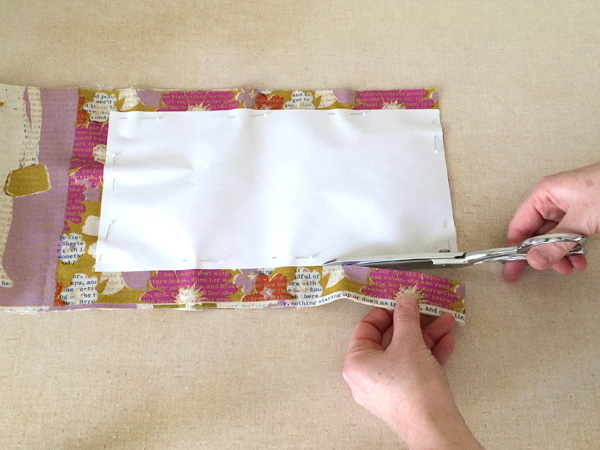
Cut all the way around the fabric. Repeat to cut another piece so you have two piece of the same size. I used a medium-weight cotton and linen blend canvas for mine, and I would suggest sticking to something that weight or only slightly lighter.
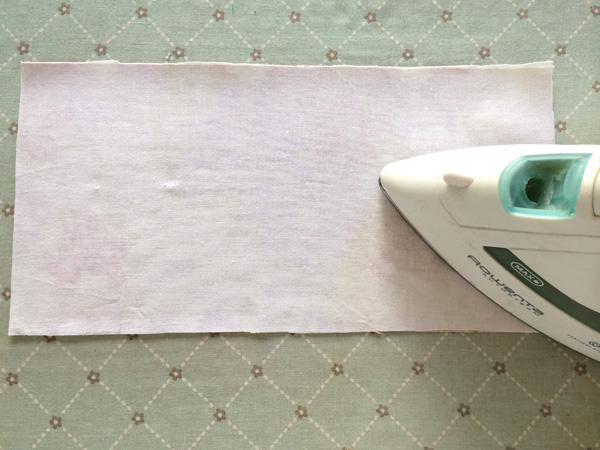
Lay the pattern piece onto lightweight woven fusible interfacing. Pin and cut out one piece.
Step 4: Assemble the pieces.
Fuse the interfacing to the outer layer of the fabric with the glue side of the interfacing facing the wrong side of the fabric.
Place the two layers of fabric right sides together. Pin around the entire piece leaving a section about 2″ wide marked to be left unsewn for turning the piece right sides out.
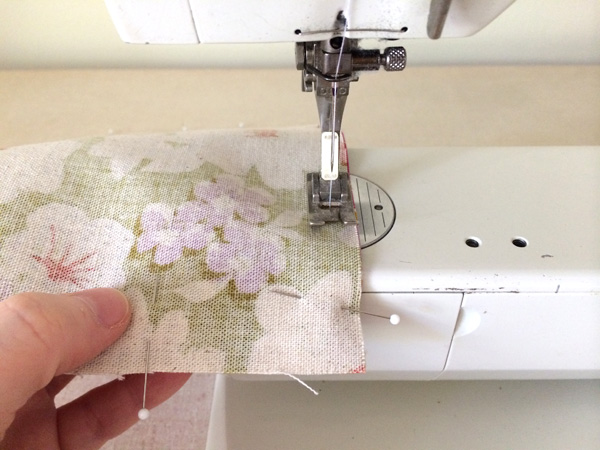
Sew around the perimeter of the piece on the seam allowance you included in the pattern. Pivot when you reach each corner.
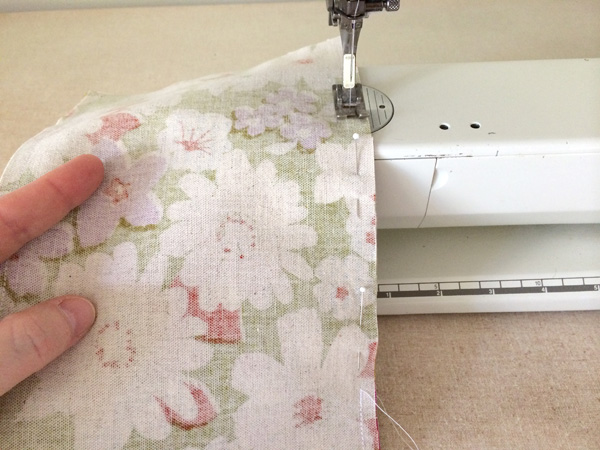
Start and stop on either side of the opening left in the piece used for turning it right side out.
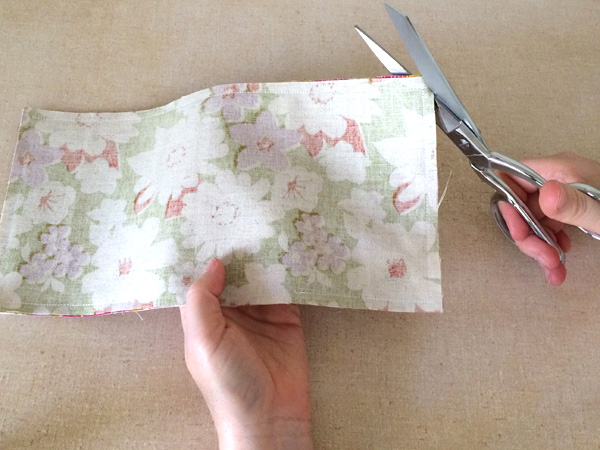
Trim the corners to reduce bulk. I trimmed at a 45-degree angle and also shaved off a little bit on either side of the corner to create nice corners.
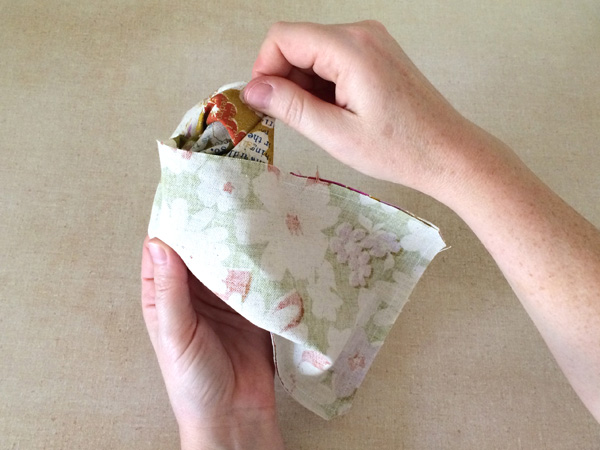
Carefully turn the entire piece right sides out through the opening left in the bottom. Use a point turner to form nice corners after turning right side out.
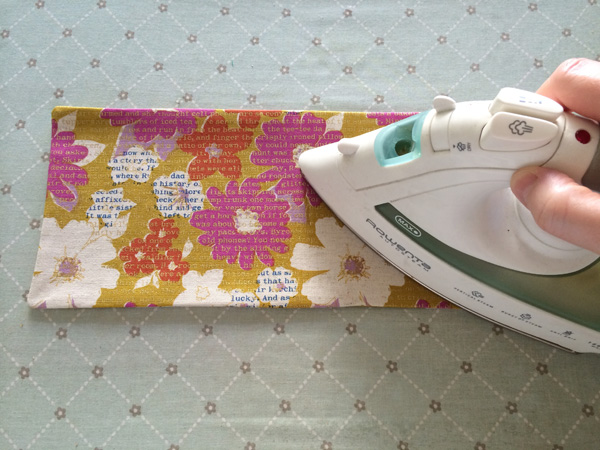
Fold the seam allowance into the opening left in the bottom of the fabric and press the entire piece.
Step 5: Finishing
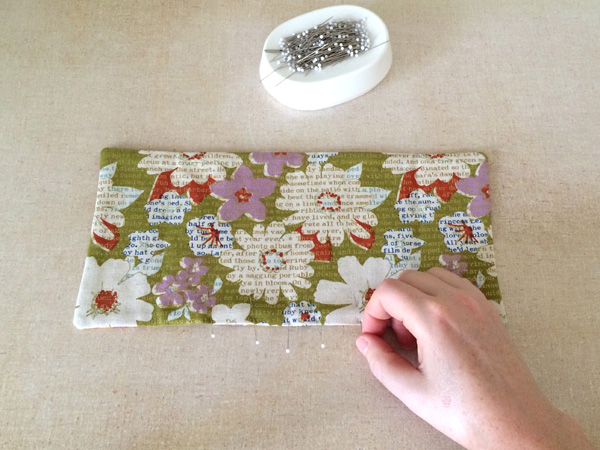
Pin the opening at the bottom of the fabric, making sure the front and back edges are lined up and the seam allowance is inside the opening.
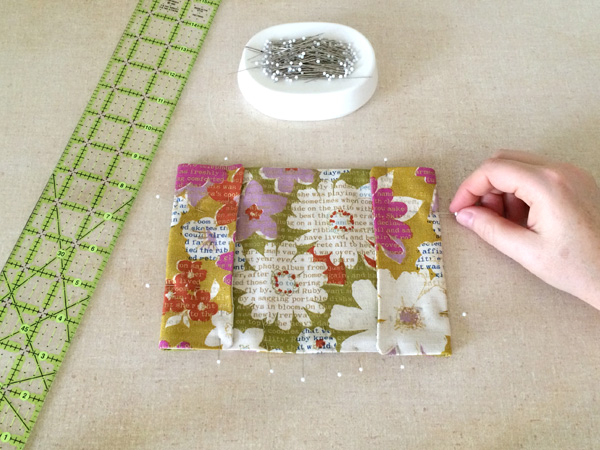
Measure and fold each end of the fabric 2″ into the inside. Pin in place all the way around the entire piece.
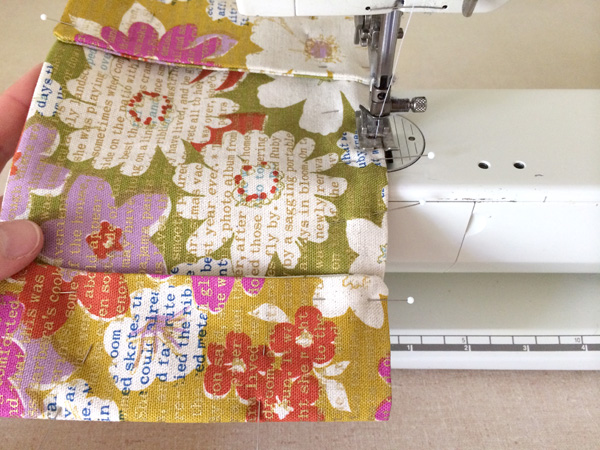
Edge stitch the hole closed and the flaps in place all at the same time by stitching the perimeter of the piece at 1/8″ seam allowance. Be sure to pivot at each corner. Press the entire piece after sewing.
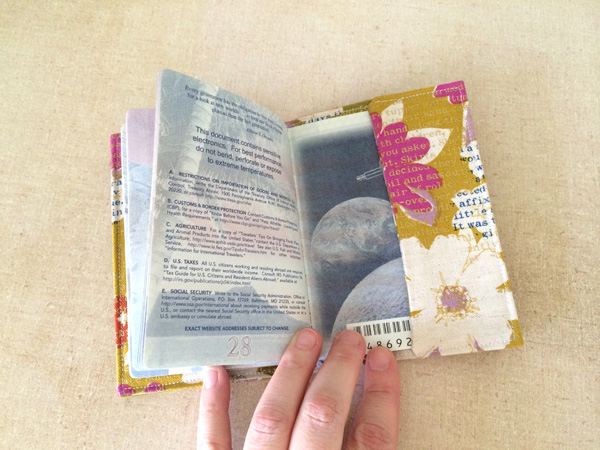
Slip each end of your passport into the end flaps, and you’re ready to go!
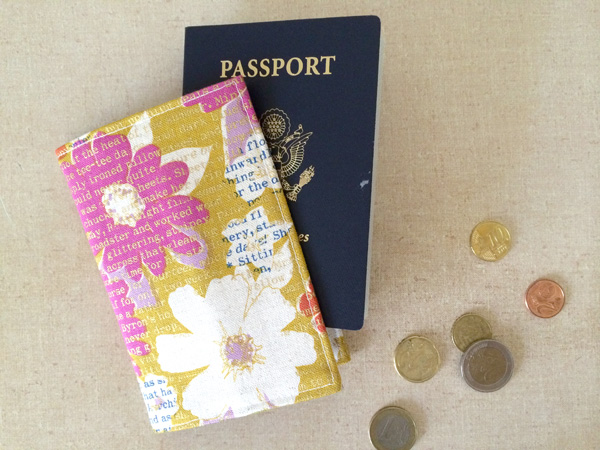
Super easy! This makes an amazing going away present as well as a quick and simple project to get excited for your next holiday. Perhaps find some fabric that is themed for the place you’re going! Have fun with it!
Keep the stylish travel accessory trend going! Check out the online Craftsy class Sew Sturdy: Travel Organizers and learn how to make your own boutique-worthy travel bags no matter where you go!
Share tips, start a discussion or ask one of our experts or other students a question.
No Responses to “Home Away from Home: How to Sew a Passport Cover”