
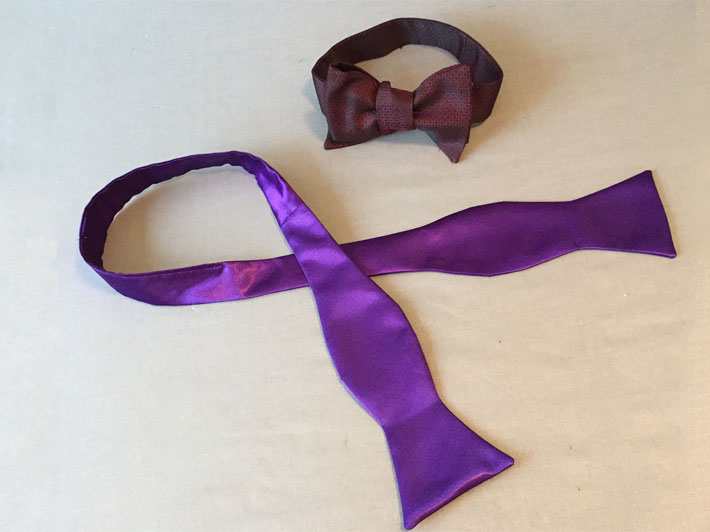
Whether you want matching bow ties for a wedding party or a way to dress up your special someone, learning how to sew a bow tie is very easy. Tying that bow tie is a different story!
Here are the steps to learn how to sew a bow tie from most any fabric.
There are lots of patterns for bow ties on Bluprint. I used this one, and I would recommend it for this tutorial.
Step 1: Cut out pattern pieces
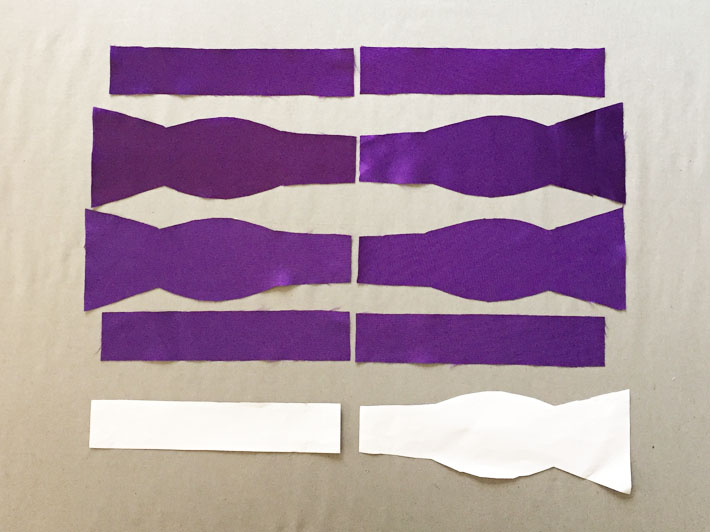
A bow tie consists of the bow and the neckband, which are stitched together to make a long tie.
Cut out four of the bow pattern piece (the one that looks a bit like a fish) and four of the band part (a long rectangle). I added a ¼” seam allowance on the pattern pieces. The pattern also has markings for the neck size, similar to a men’s shirt neck measurement.
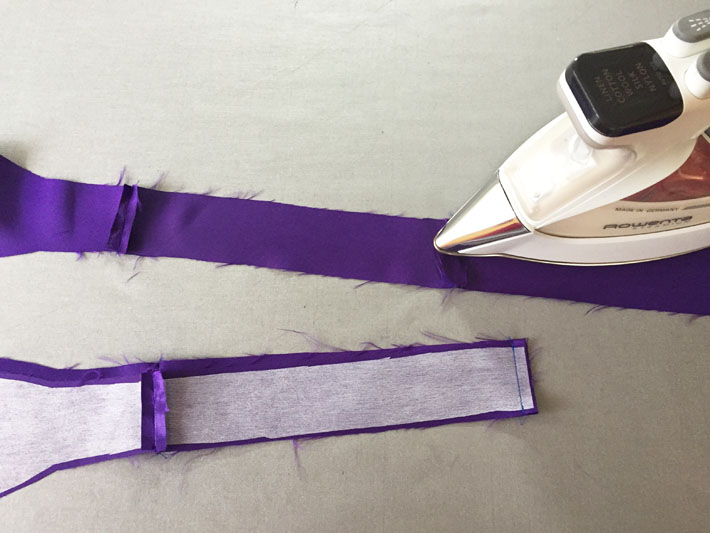
Step 2: Apply interfacing
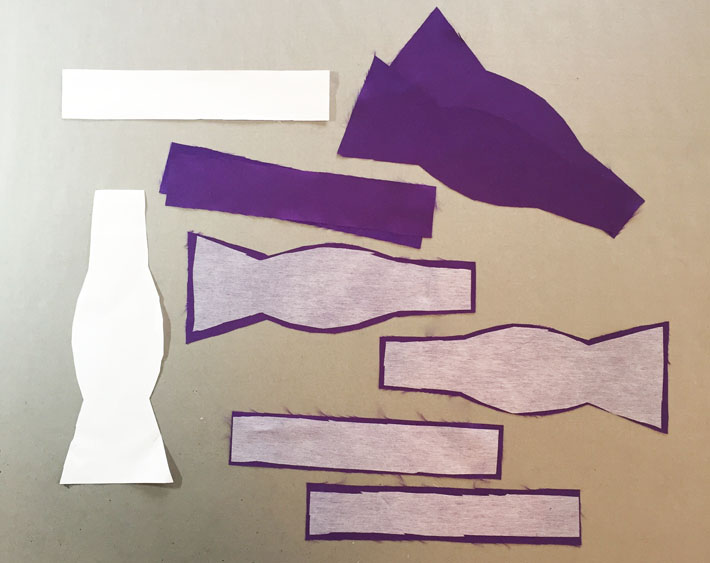
Apply interfacing to two of the bow pattern pieces and two of the neckband pieces. Since I used a polyester satin fabric, I chose a non-woven lightweight interfacing.
You want something to give your fabric some structure so that it keeps the bow shape when tied. It helps to test some interfacing on scraps of fabric to get a good combination of fabric and interfacing for your own bow tie.
The interfacing is trimmed slightly smaller than the pattern pieces — it’s no fun to get small bits of fusible interfacing on your ironing board!
Step 3: Sew together pattern pieces
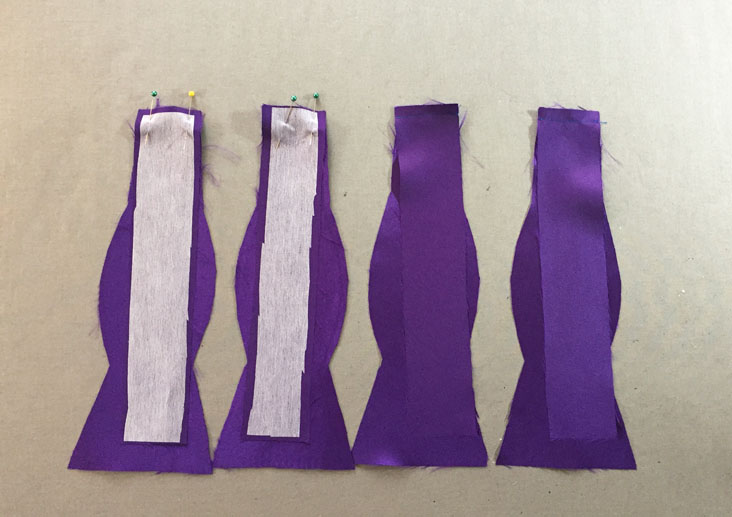
Sew the bow tie pieces right sides together. Match each bow piece to a neckband piece, sewing the interfaced pieces together and then the ones without interfacing, so you have four long sections.
Step 4: Stitch together and press
Place the interfaced pieces right sides together and stitch together across the narrow portion to make one long piece. Do the same for the ones without interfacing. Press all the seams open.
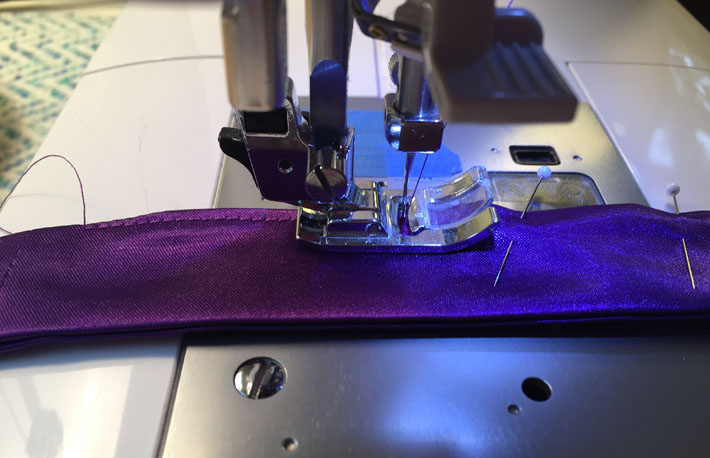
Step 5: Sew bow tie leaving opening

Place the two long pieces right sides together and stitch all around the edge, leaving an opening about 3″ long at the back. This opening allows you to pull the ends through and turn your tie right-side out. Be sure and sew accurately to keep the bow shape at either end.
Step 5: Trim and clip seam allowance
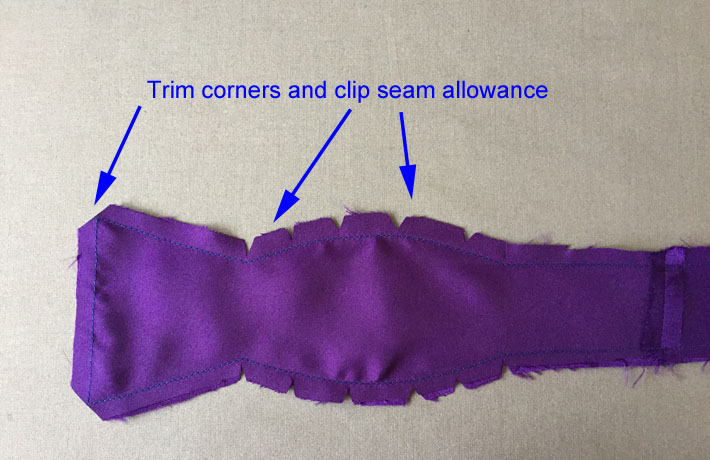
To create a crisp edge on the bow tie, clip the corners as shown and clip the seam allowance around the rounded section. If your fabric is very thick, clip small V-shape clips as sewn, being careful not to clip through the stitching.
Step 6: Turn right side out
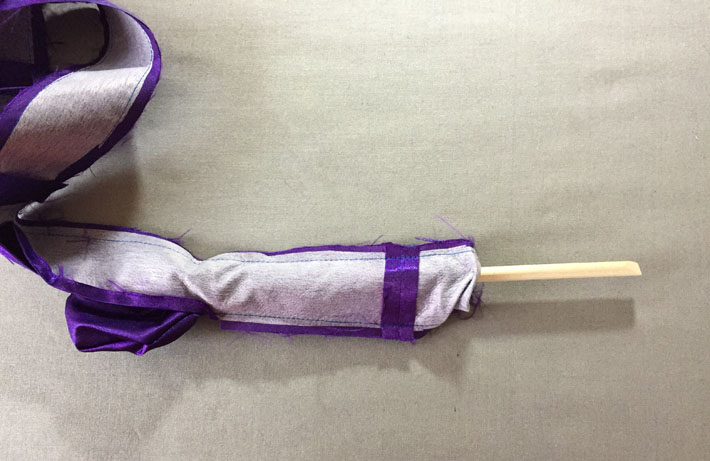
Now turn your bow tie right side out. I find the handle end of wooden spoon or a wooden dowel to work well for pushing the fabric through the opening. Once you get the end of the bow tie through the opening then you can just pull the rest through.
Step 7: Press the tie
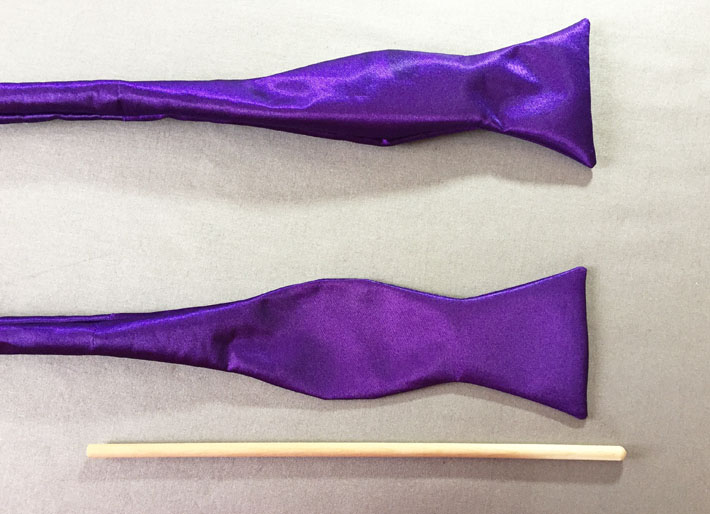
Press your bow tie with a crisp edge. Here it is just partially pressed and compared to the unpressed one it is starting to look ready for prime time! Be sure to tuck the seam allowances along the opening inside as they will be sewn in the next step.
Step 8: Stitch the opening closed
Stitch the opening closed with matching thread or by hand. Usually this part of the bow tie will not show when worn, so you can machine stitch it and call it done. Someone is ready to dress to impress!

Find more bow tie patterns!
On Bluprint, you can find hundreds of patterns from the world’s independent pattern designers. Go ahead, start exploring!
Hi you blueprint for the bow tie link is broken