
When taking portraits of clients, it’s the photographer’s job to make them look their best. Often times, that includes removing or minimizing wrinkles and blemishes. While you don’t want to over-edit (after all, perfectly smooth skin just isn’t natural), many clients appreciate a little touching up. When I edit a portrait, one of the first things I do is deal with wrinkles and skin blemishes.
When it comes to editing portraits, you can easily address unwanted wrinkles and blemishes with a few simple tools in Photoshop.
Here are a few tutorials for how to remove wrinkles in Photoshop.
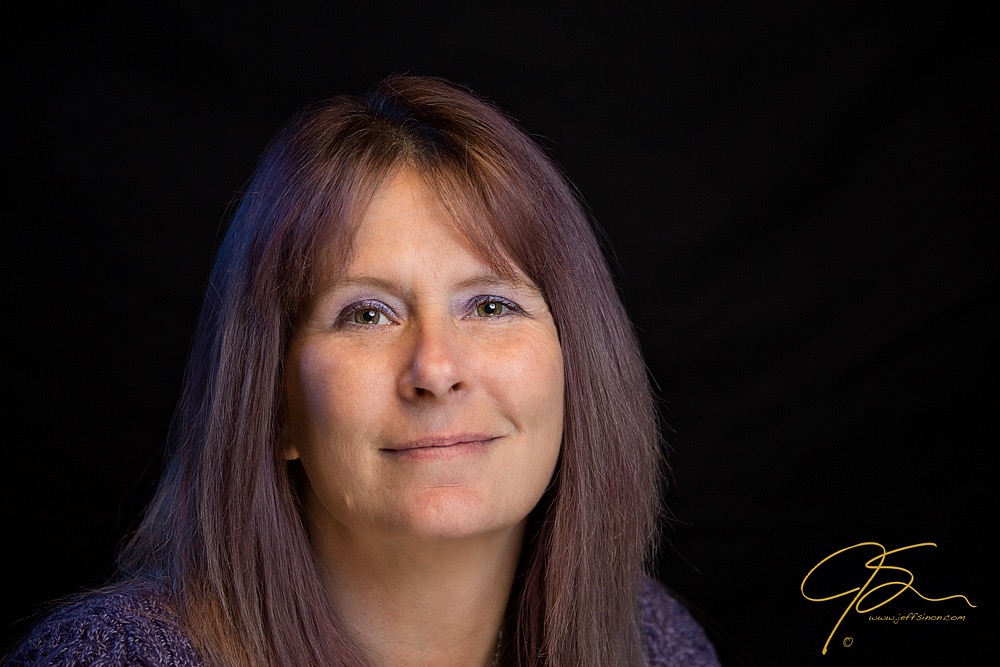
The photo below is the “before” — pretty much straight out of the camera. As you can, see there are a few very minor skin blemishes as well as a few wrinkles.

Tip: Normally when dealing with either wrinkles or blemishes, I find it best to discuss with the client beforehand just how much “fixing” they want done.
Getting into Photoshop
The first thing we’re going to do is open the photo in Photoshop. If you’re a Lightroom user, from the Develop module right click on your photo, then select Edit In > Edit In Adobe Photoshop.
Once in Photoshop, create a duplicate layer. Select Layer > Duplicate Layer and name it Blemishes. I usually correct blemishes on one layer and then create a second layer to deal with wrinkles. This way, if I make a mistake, I can delete that layer and start over without losing all of the work I’ve done up to that point. You can either create a second Duplicate Layer and name it Wrinkles now or later on.
Removing blemishes
Zoom in close to better see the blemish you’d like to hide. Then select the Spot Healing Brush tool (keyboard shortcut J). Adjust the size of the tool with the right and left bracket keys — you want the brush to be slightly larger than the blemish.
Next, either simply click or click and drag to “paint” over the blemish and let Photoshop work its magic.
The photo below is a closeup of the Spot Healing Brush in action. Note the dark spot painted over the spot: As you’re using the tool, it shows a dark gray over the area being corrected. As soon as you release the mouse the gray disappears, replaced by now blemish-free skin.
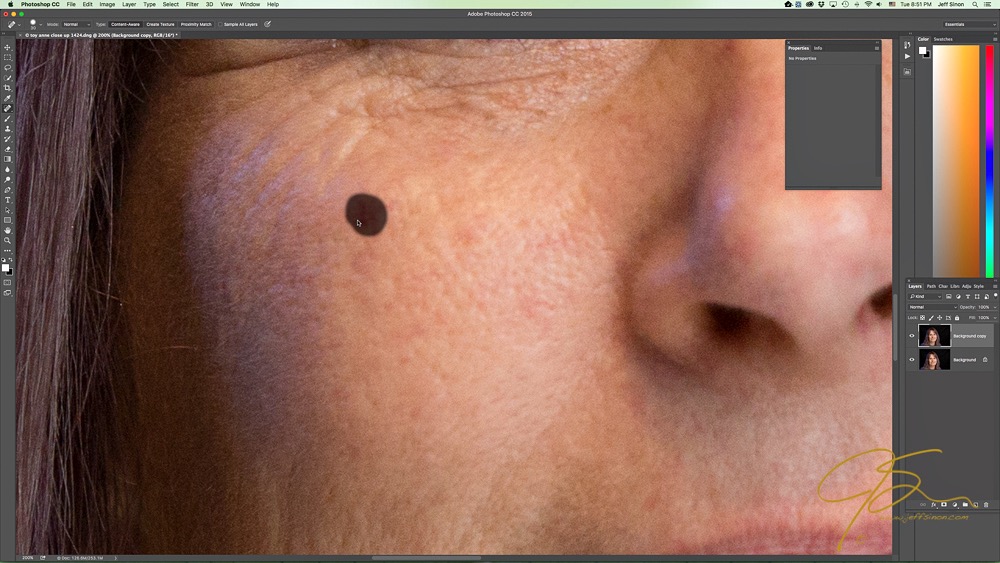
Repeat using the Spot Healing Brush as needed to remove any unwanted imperfections.
Minimizing wrinkles
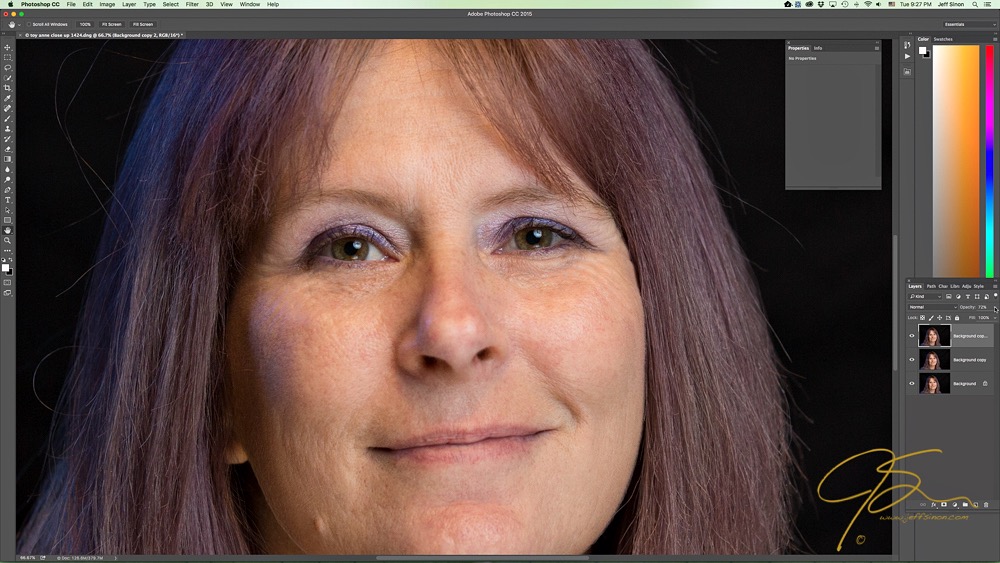
If you haven’t already, create a Duplicate Layer to edit the wrinkles. Again using the Spot Healing Brush, set the brush size to just wider than the wrinkle you’re trying to remove. Paint over all of the wrinkles you wish to remove, one at a time, until you’re satisfied.
Next comes the trick that keeps your portraits looking more natural and less “Photoshopped.” In the Layers palette on the right, select the Wrinkles layer. Then, use the opacity slider to make the layer slightly transparent — this actually brings back some of the wrinkles. This gives you a great looking portrait without it being obviously over processed.
Finishing up
Finally, go to Layers > Flatten Image. Save the file to your hard drive or continue editing as you see fit. You now have a blemish-free portrait with just the right amount of wrinkles!
Share tips, start a discussion or ask one of our experts or other students a question.
No Responses to “How to Remove Wrinkles in Photoshop (Without Over-Editing)”