
The majestic and tumultuous energy of the ocean’s waves has captured the attention of artists’ canvases for centuries. But, drawing water is tricky, and capturing the movement and beauty of water in motion can be even more difficult. Don’t be intimidated. With a few notes and guidance, you can learn how to paint vibrant and expressive waves.

How to render ocean waves in mixed media
Supplies you will need:
- Sketching paper
- Watercolor paper
- Masking fluid (optional)
- Graphite pencil and eraser
- Watercolor paint and brushes
- Color pencils
- White acrylic paint and liner brush
Step 1:
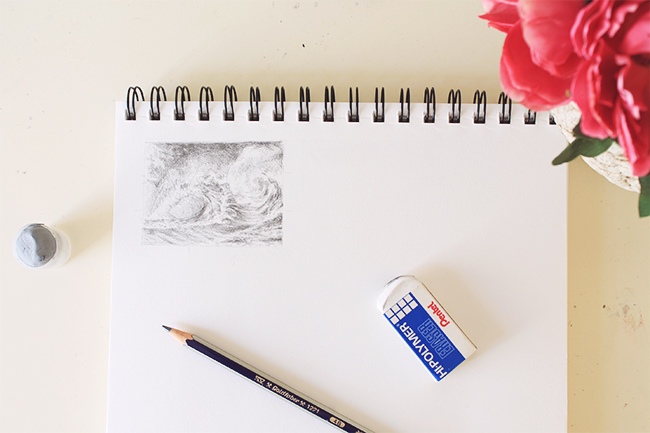
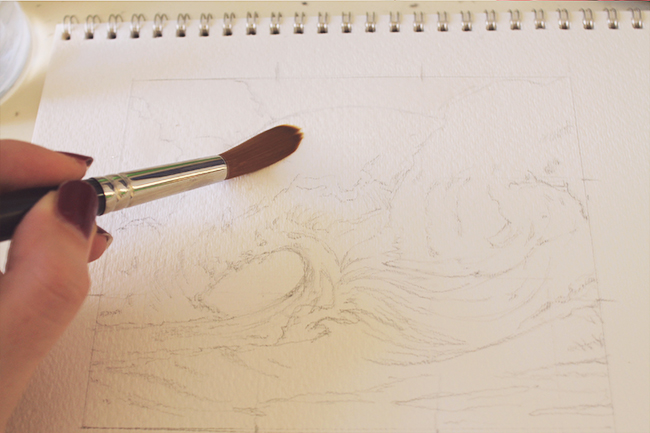
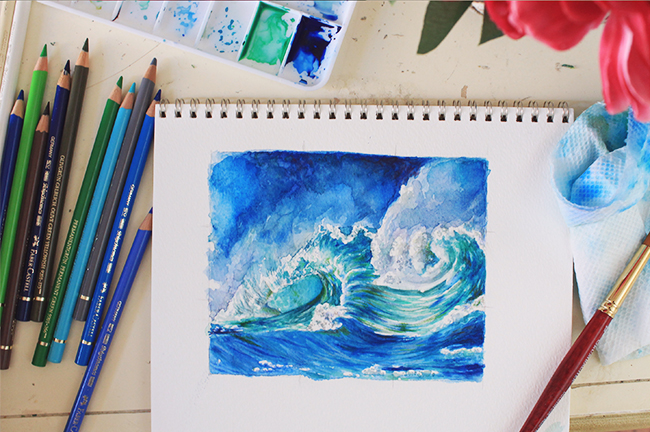
As usual, I like to begin with a thumbnail sketch of the painting. Make a small rectangle with the same proportions as the final paper you will be creating your artwork on. Take this opportunity to study the values of your subject and your painting’s composition.
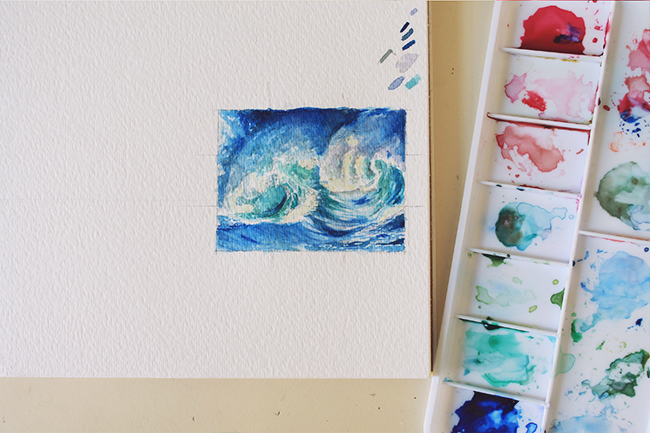
If you want to explore your subject a bit further, it is also very useful to create a quick watercolor thumbnail. Doing so will help you determine the colors you need to mix for your painting and it will also serve as quick practice of the techniques and brushstrokes you will need to lay down on your final piece.
Step 2:
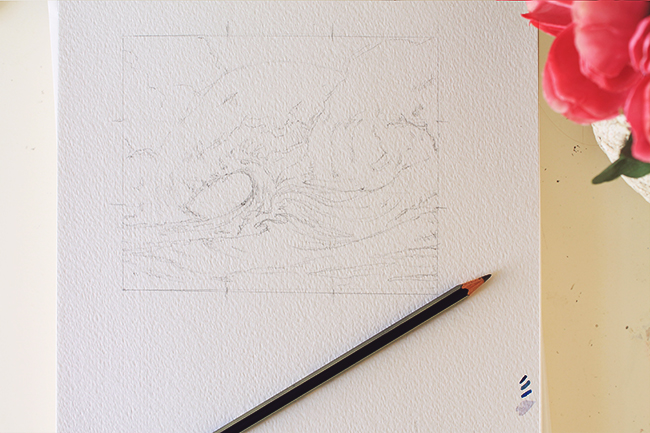
Next, we need to draw the waves on watercolor paper. To position your subject on the page, you can use the rule of thirds. To do so, divide the page horizontally into three and then divide it again in three vertically. Now draw the outlines of the waves and different areas of colors in each of the sections. This method is great for transferring the composition you chose on the previous step, and it also assures you the proportions remain the same.
Step 3:
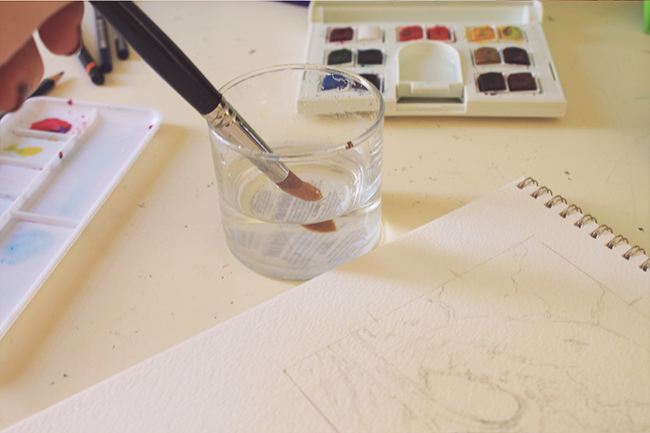
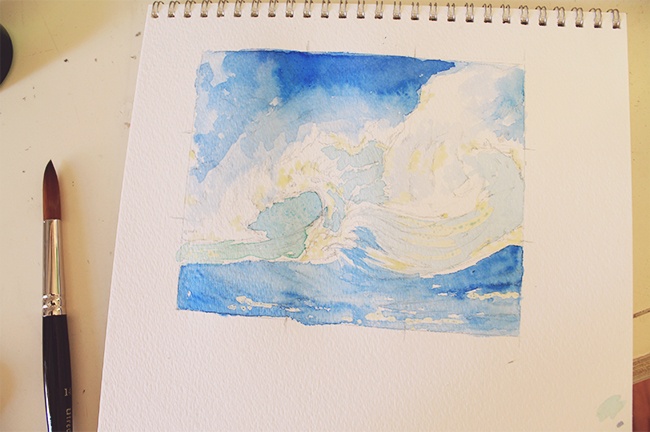
Now the fun part starts! We’ll kick things off with will a wet-on-wet watercolor technique. With a clean brush and fresh water, wet the top area of the paper.
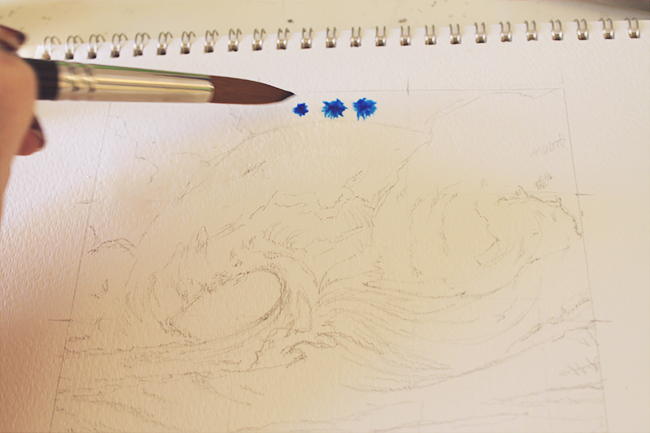
Pick up some blue watercolor paint (I used pthalo blue) and place it on top of the wet area of the paper. The pigment will begin to spread outward. Use your brush to guide it around this area as you paint. Here, you can also begin to incorporate other colors and experiment a little.
While you wait for this area to dry you can use masking fluid to cover up any white areas that will represent the foam of the waves. Those are the yellow bits you can see in this photograph. The masking fluid will protect these areas from any paint you place over it.
Step 4:
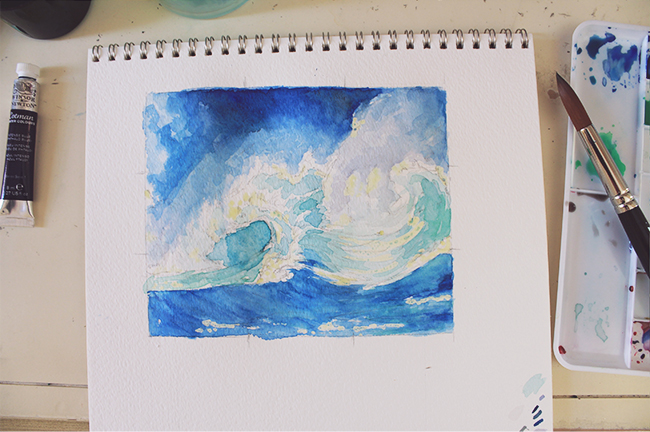
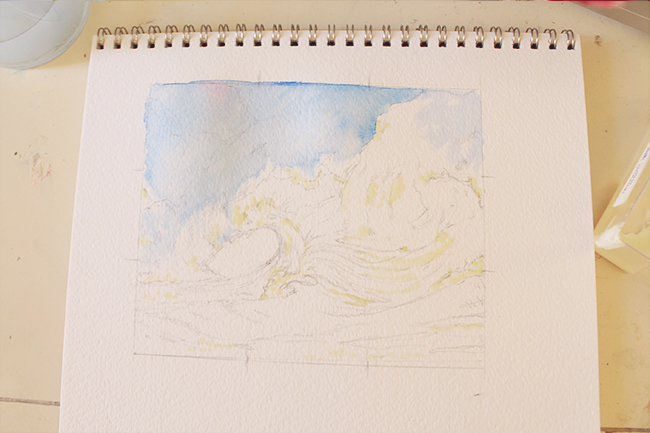
Continue to build up the colors and shapes with broad strokes. Let the brushstrokes find the curves of the waves and guide the shapes.
Step 5:
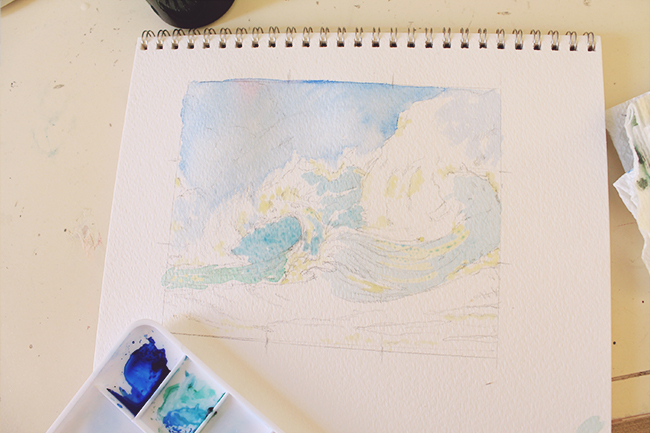
After the previous layers have dried, begin to add darker colors to keep building up the shadows, depth and vibrancy of the painting.
Step 6:
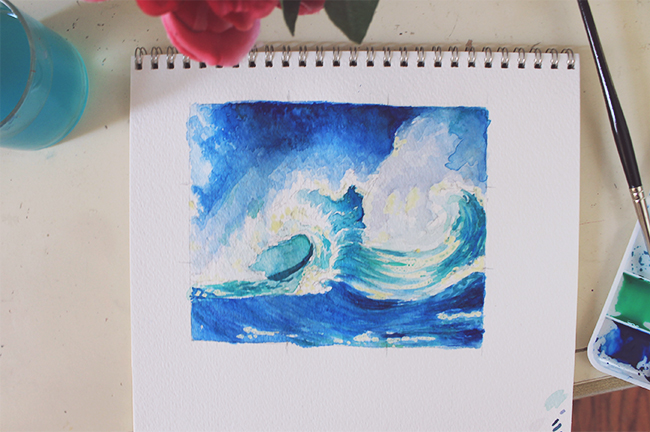
Once you are happy with the watercolors you’ve added so far, wait for the painting to dry and carefully rub off the masking fluid from all the white areas we cover earlier.
Step 7:

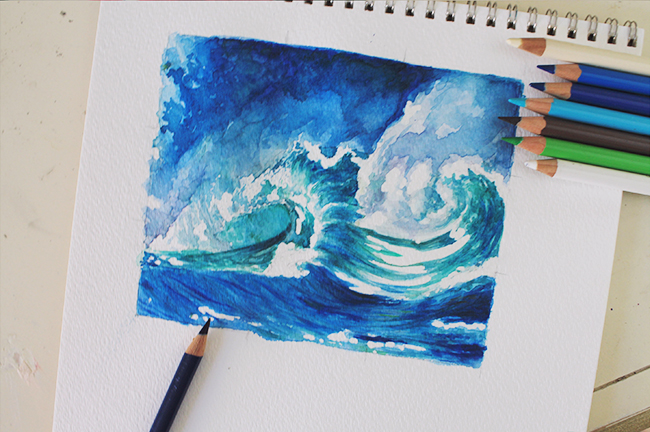
Reach for your color pencils and start adding in small details, like individual shadows on the water or bubbly shadows on the foam of the crashing waves.
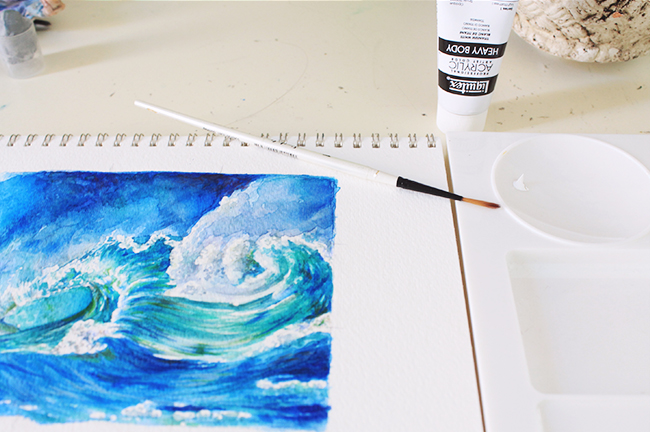
Step 8:
This is a great moment to remind you to always step back from your artwork for a while and take a small break. Get some tea, go for a walk or focus on any other task to get your mind off of it for a few minutes and then return with fresh eyes.
Step 9:
Now for the final touches. With a liner brush and white acrylics, paint small dots around the foam and crashing waves to accentuate their splashing and movement.
And… that’s it!
Masterful inspiration
Many painting masters, like William Turner, Ivan Aivazovsky and Vincent Van Gogh, all drew inspiration from these energetic bodies of water. And now, you can too!
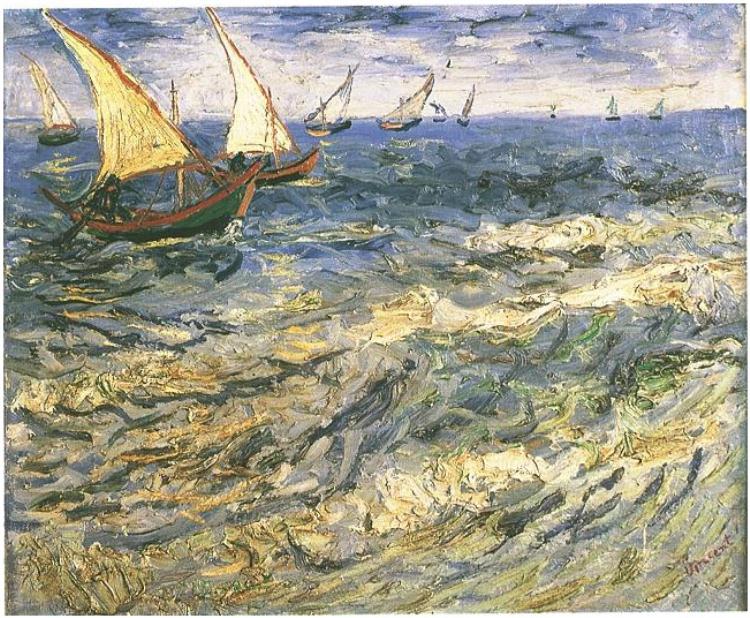
“Seascape at Saintes-Maries” by Vincent Van Gogh via Wikimedia Commons
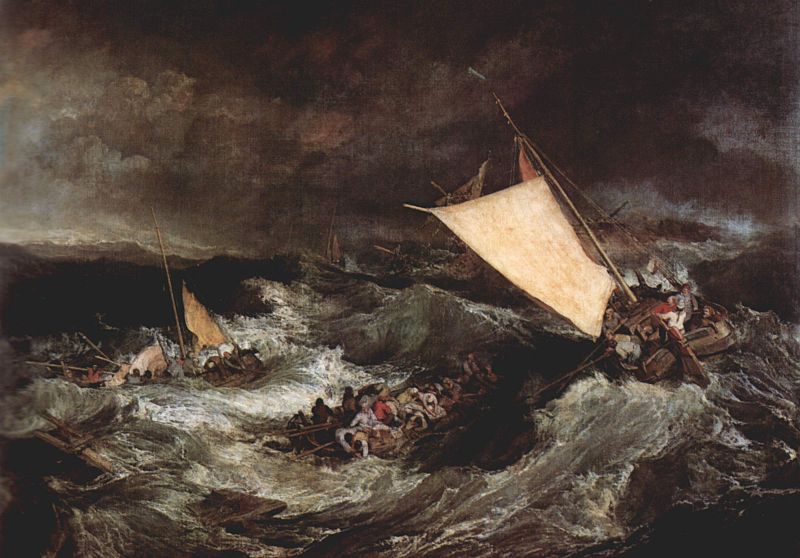
“The Shipwreck” by William Turner. Image via Wikimedia Commons
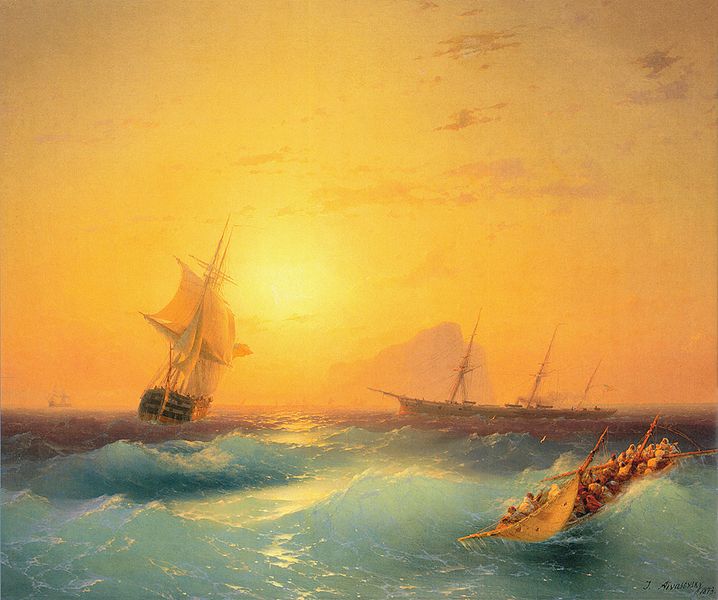
“American Shipping off the Rock of Gibraltar” by Ivan Aivazovsky via Wikimedia Commons
Share tips, start a discussion or ask one of our experts or other students a question.
No Responses to “Create Crashing Waves With This Step-by-Step Mixed Media Tutorial”