
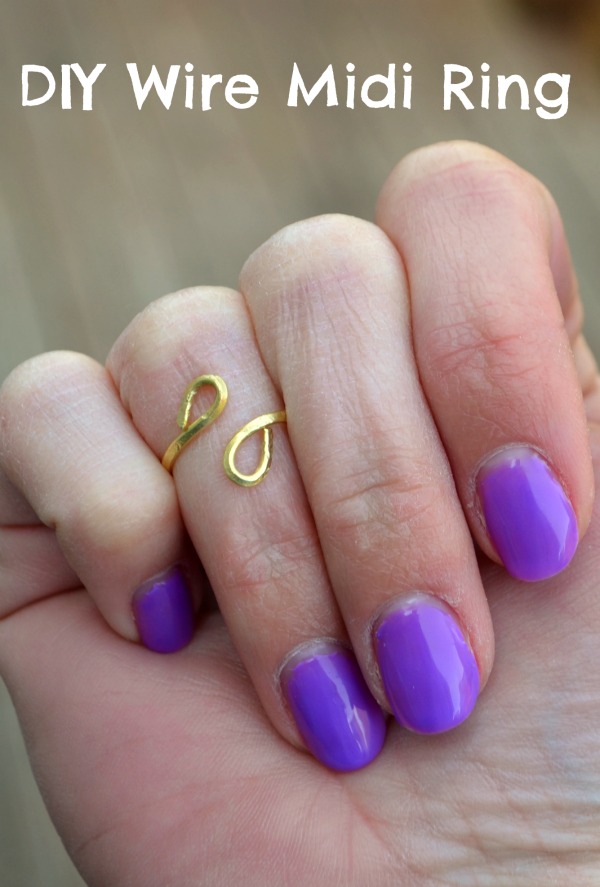
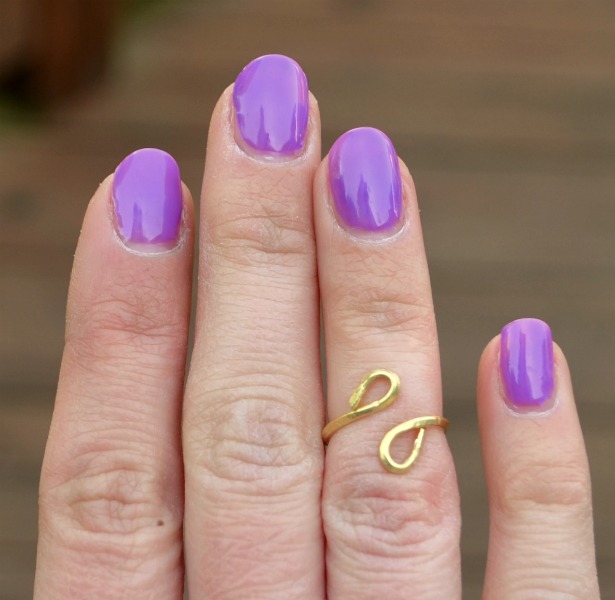
Have you ever wondered how to make wire rings? Here are some easy step by step instructions for creating a simple, adjustable ring using just wire and a few basic tools. I chose to make a midi ring, but these same steps will work no matter what size ring you want.
Let’s get started!
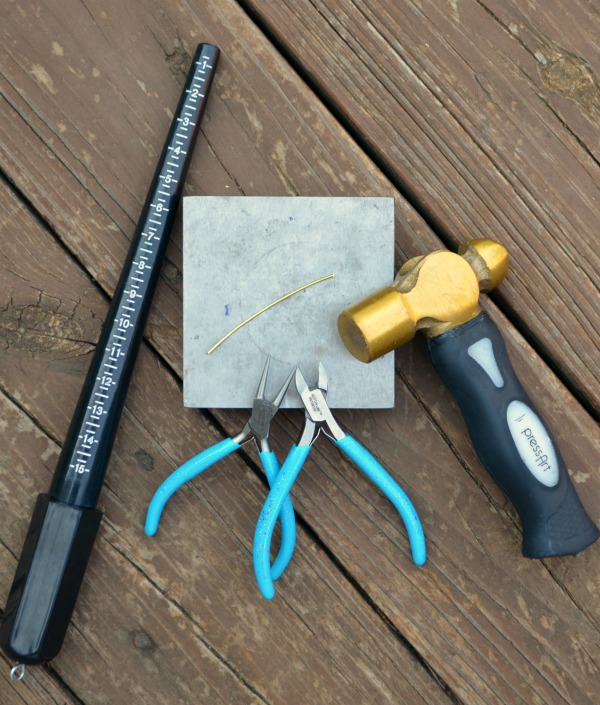
Materials:
- 16-gauge wire (your choice of metal)
- Hammer
- Steel block or other very hard surface
- Ring mandrel
- Needle-nose pliers
- Wire cutters
Instructions
Step 1:
Cut your wire so that it’s about half-inch longer than what you need to wrap around your finger. A good way to figure out how much you need is to wrap a piece of string around your finger first, then measure it and add 1/2″.
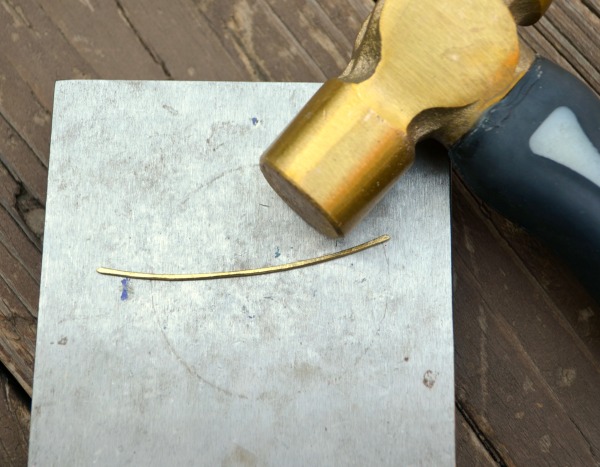
Step 2:
Hammer the wire to flatten it and add texture.
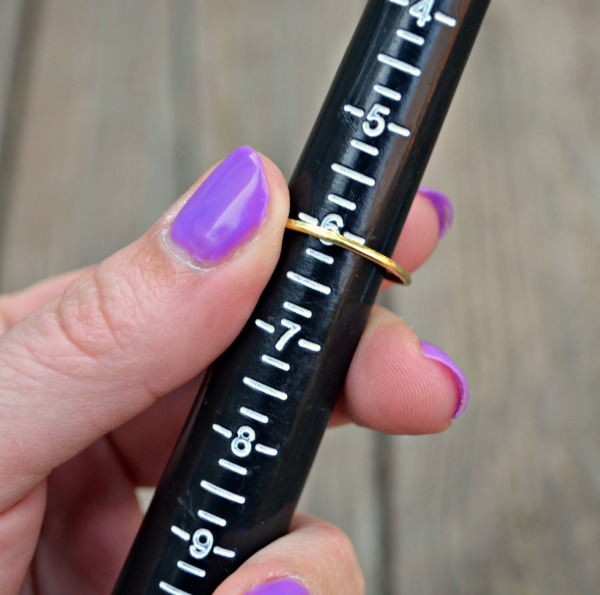
Step 3:
Wrap the wire around your ring mandrel to shape and size it.
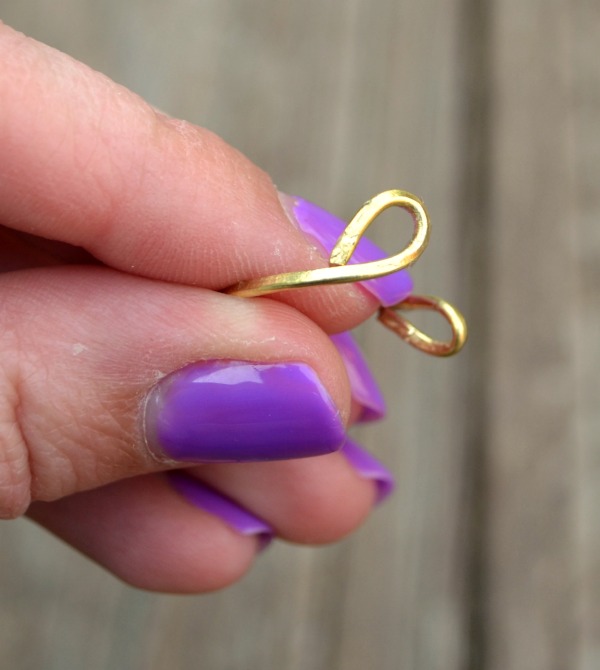
Step 4:
Use your needle-nose pliers to form a decorative loop on each end of the wire. I like to make my loops go in opposite directions, away from one another.
That’s all there is to it! Your ring is ready to wear. It can be easily adjusted by gently pulling the ends apart and/or pushing them toward each other.
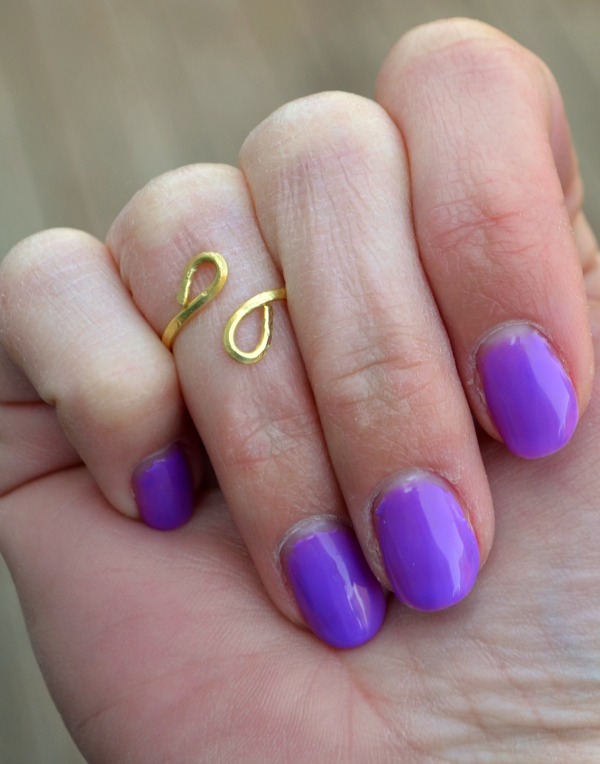
This project is quick and easy, even if you’ve never worked with wire or tried to make your own jewelry before. Once you’ve gotten the hang of the technique, there are lots of variations you can create, like using a thicker wire (12- or 14-gauge) or using a different metal.
You can make midi rings, standard rings or even toe rings by varying the length of the wire piece you use. Play around and see what you can create!
Share tips, start a discussion or ask one of our experts or other students a question.
No Responses to “4 Steps to Wire Ring Success”