
Have you ever had mochi, those cute, tiny squares of chewy goodness at your neighborhood frozen yogurt shop, and wondered how to make them at home? Well, it turns out it’s super easy!
Photos via Two Red Bowls
Traditionally, mochi is made by pounding sticky rice over and over until it reaches the chewy stickiness you know and love.
Traditional mochi is an endeavor to make. Cooked sticky rice is piled in a giant mortar and pounded with mallets, often by more than one person at once, until it becomes a chewy paste. I’ve never seen it made like this in person, but it sounds fun — and tiring. Luckily, there’s a much easier way! All you need are some regular pantry ingredients, coconut milk, and an Asian flour called sweet rice (or mochiko) flour.
Sweet rice flour, or glutinous rice flour, is the key to making homemade mochi the easy way.
Sweet rice flour, also known as glutinous rice flour or mochiko flour, isn’t actually “sweet” — it’s made from a special sticky rice that gives baked products that chewy, translucent quality that mochi has.
It’s the key ingredient to Chinese nian gao, Korean chapssalduk, and this homemade mochi, and its natural gluten-like stickiness also makes it a heavy hitter in gluten-free flour substitutes. Brand-wise, I like Koda Farms, which you can usually find at your nearest Asian supermarket, but you can also check the specialty flour aisle in your regular supermarkets for sweet rice flour by Bob’s Red Mill.
Here’s how to make it!
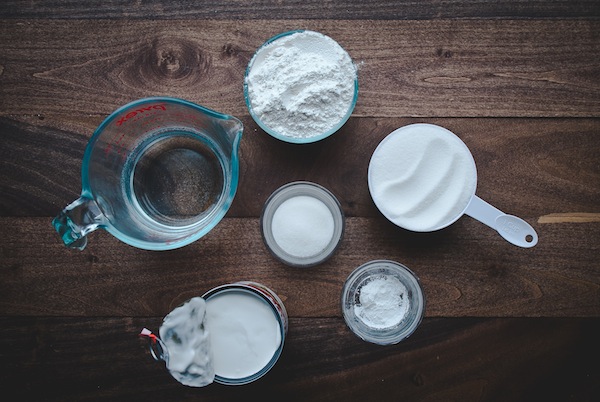
To make mochi in the style of frozen yogurt toppings, all you have to do is mix sweet rice flour with coconut milk, sugar, a touch of baking powder and the flavoring of your choice.
Bake it at very low heat, covered, for about an hour — it should be the consistency of a thick gel, very soft but able to hold its shape when touched.
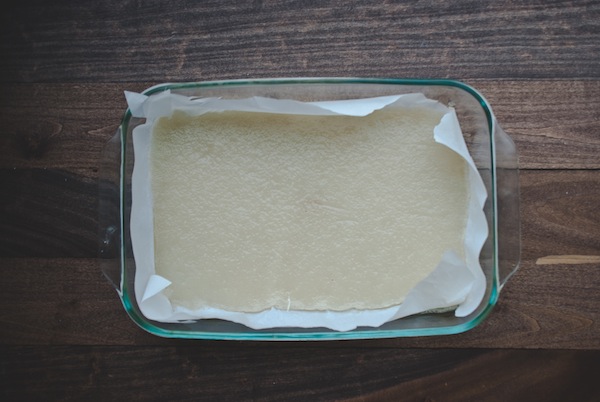
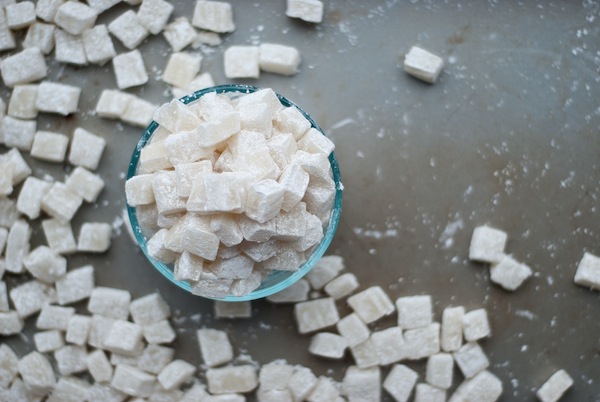
Let it cool extensively and completely (I usually go overnight) then dust with plenty of cornstarch, potato starch, or more mochiko flour. And what you get are perfectly pillowy, chewy soft morsels, perfect for mixing into your yogurt, frozen yogurt, or ice cream. Or for snacking on their own! Enjoy!
How to Make Homemade Mochi
This is only a basic mochi recipe, waiting to be dressed up however you like. You can add about a teaspoon of matcha powder to the dry ingredients to make green tea mochi, or 1/2 teaspoon of flavored extract of your choice to the wet ingredients to flavor it to your liking. I’ve often seen the plain version colored with a few drops of red food coloring, too, to turn it a dainty pink. Finally, you can use it to wrap around fillings, like red bean paste or ice cream.
Ingredients
- 1 cup sweet rice (mochiko) flour
- 1 cup sugar
- 1/2 tsp baking powder
- 1 cup water
- 3/4 cup full-fat coconut milk, or about half of a 13.5-ounce can
- Optional:
- 1 tsp matcha powder, for green tea mochi, or 1/2 tsp flavored extract of your choice (almond is one of my favorites)
- Sweet potato starch or regular cornstarch for dusting
Instructions
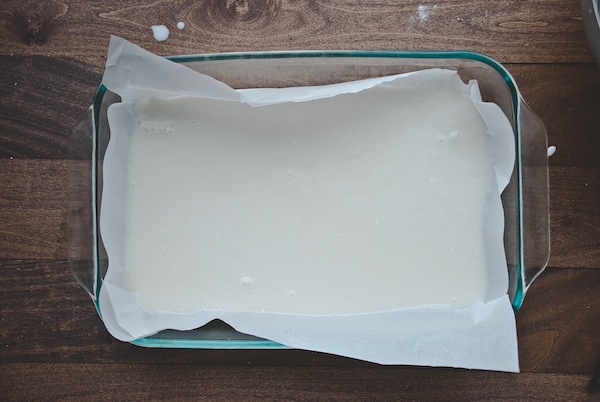
- Preheat oven to 275° F. Line a 9- by 13-inch glass baking dish with parchment paper. (Note: A 9- by 13-inch dish will yield a thin layer of mochi — like the mochi shown in the photos — only about 1/4-inch thick. For thicker mochi, use a 9- by 9-inch glass dish and bake for longer, about 90 minutes.)
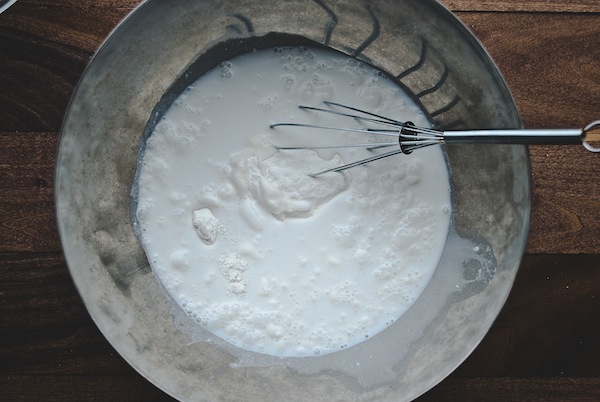
- In a large bowl, whisk together the mochiko, sugar, and baking powder. In a separate bowl, whisk together the water and coconut milk. (Note: Be sure to use full-fat coconut milk. You can usually find it in cans, and it should be quite thick.)
- Add the wet ingredients to the dry and whisk until the mixture is smooth and no lumps remain. Unlike most baking, you don’t need to worry about over-mixing the ingredients, since mochi is dense and chewy to begin with. So whisk away! Some recipes even call for mixing all the ingredients, dry and wet, in a food processor all at once, and call it a day.
- Pour the mixture into your lined baking dish. Cover with foil and bake for 60 minutes. The mochi is done when it is soft and gelatinous but holds its shape when touched. (Note: A few people have reported that their mochi did not set. Using low-fat coconut milk may result in a softer consistency. If all you have is low-fat coconut milk or regular milk, you can add another 1/4 cup mochiko flour to the dry ingredients, which should result in firmer mochi, but in my opinion, is a bit more “floury” or “pasty” in flavor.
- If you’ve already baked it for an hour and it doesn’t appear to be set, raise the temperature to 300° F and remove the foil. Bake for an additional 10-15 minutes, uncovered. Also, note that even if it’s soft and gel-like when it first comes out of the oven, the mochi will set as it cools.)
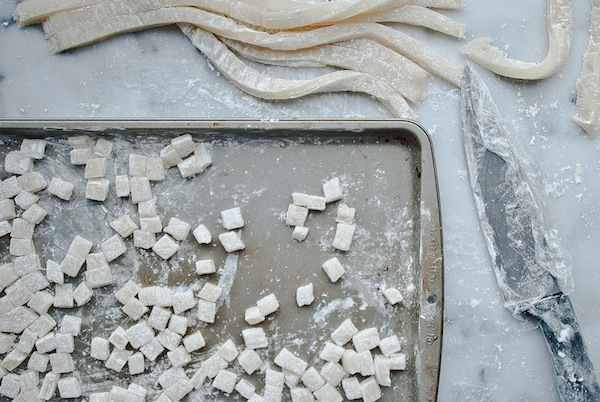
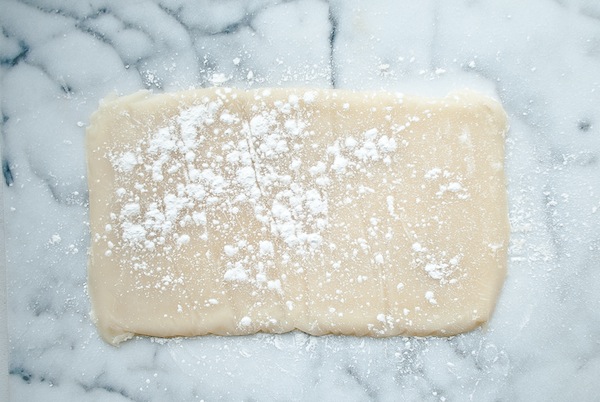
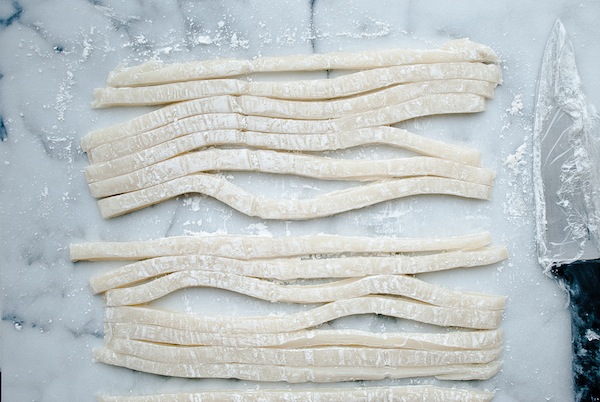
- Let cool completely or overnight. Dust a surface with your starch (alternatively, you can simply use more mochiko flour) and turn the mochi onto the surface.
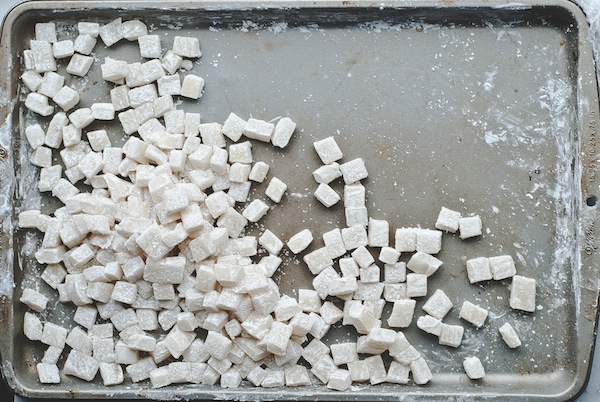
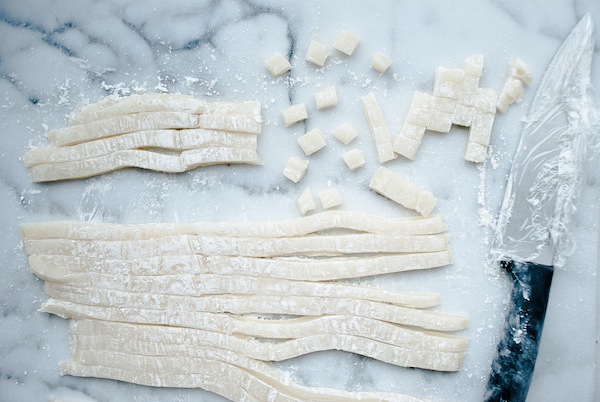
- Sprinkle starch over the mochi. Wrap a knife in Saran wrap to prevent the mochi sticking. Using the wrapped knife, cut the mochi into small pieces, then dust again with starch or flour, and serve!
The pdf link doesn't work.