
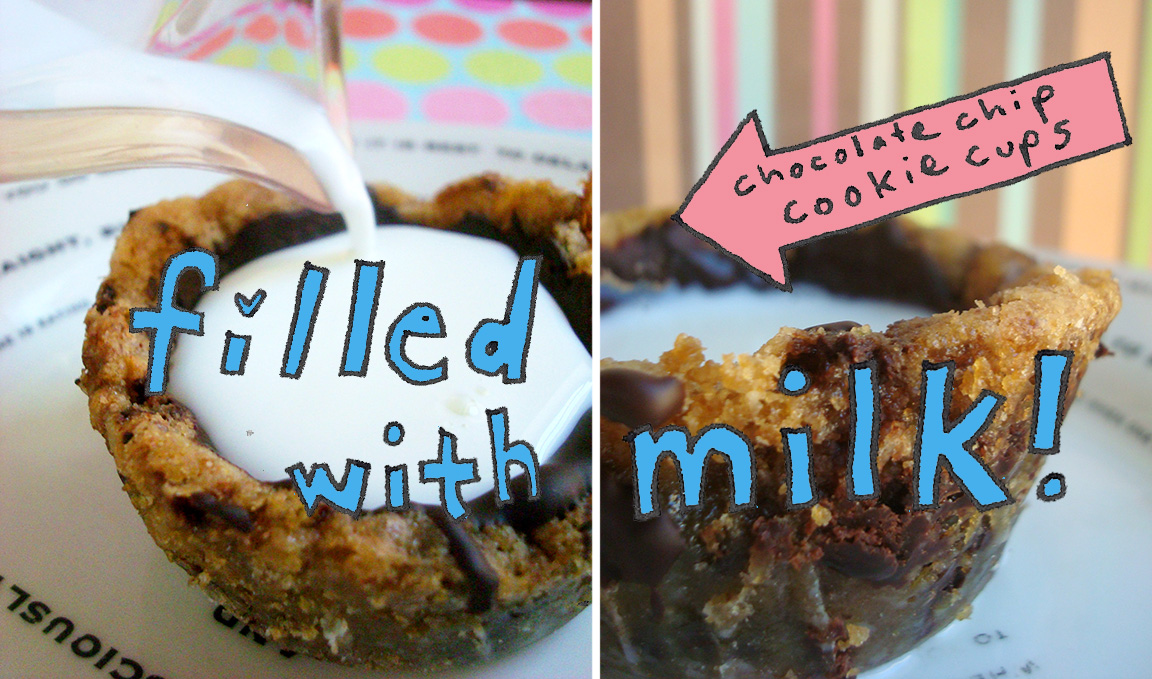
Why clean cups when you can drink your milk right from a chocolate chip cookie? You can do just that with chocolate chip cookie milk shooters.
This tutorial is inspired by a recent dessert hybrid dreamed up by Cronut® creator, Dominique Ansel. A chocolate chip cookie “milk shot” is comprised of a cup made from chocolate chip cookie which is served filled with milk, so it can be taken as a “shot” and devoured.
Although this invention never made it quite as big as the Cronut, it’s still a darned nifty idea. So we made our own version of the treat, with chocolate chip cookie cups enforced with melted chocolate. Once the chocolate firms, it creates enough of a “seal” to hold in milk for a short time— long enough to serve, take the “milk shot” and then devour the cookie. Best of all, this magic is easy to make happen in your home kitchen.
Notes
Look to the cookie (recipe, that is).
This tutorial was made based on this recipe for chocolate chip cookies. While I can’t see why any other favorite chocolate chip cookie recipe wouldn’t work, do use the temperature and bake times from that recipe when baking.
Cups or no cups?
You can make these cups by baking your cookie dough in cupcake liners or by generously greasing and flouring cupcake tins. The one key difference is that once baked, you’ll want to run a sharp knife around the perimeter of the cups to help the dough loosen from the sides of the tin, otherwise the dough will begin to stick to the sides and harden as it cools. The advantage of forgoing the liners is that you won’t have ridges on the side of your shooters, but this is purely aesthetic.
Chocolate Chip Cookie Milk Shooters
Makes 16 to 20 cookie cups.
- 1 batch Bluprint’s chocolate chip cookie dough
- 2 cupcake tins
- 10 ounces chocolate, coarsely chopped (or chocolate morsels)
- Milk, for serving
Note: International readers may enjoy our handy metric conversion guide.
Step 1:
Preheat the oven to 325 F. Either line the cupcake tins with 16 liners. You can always line more cups if you still have dough left after filling the original 16.
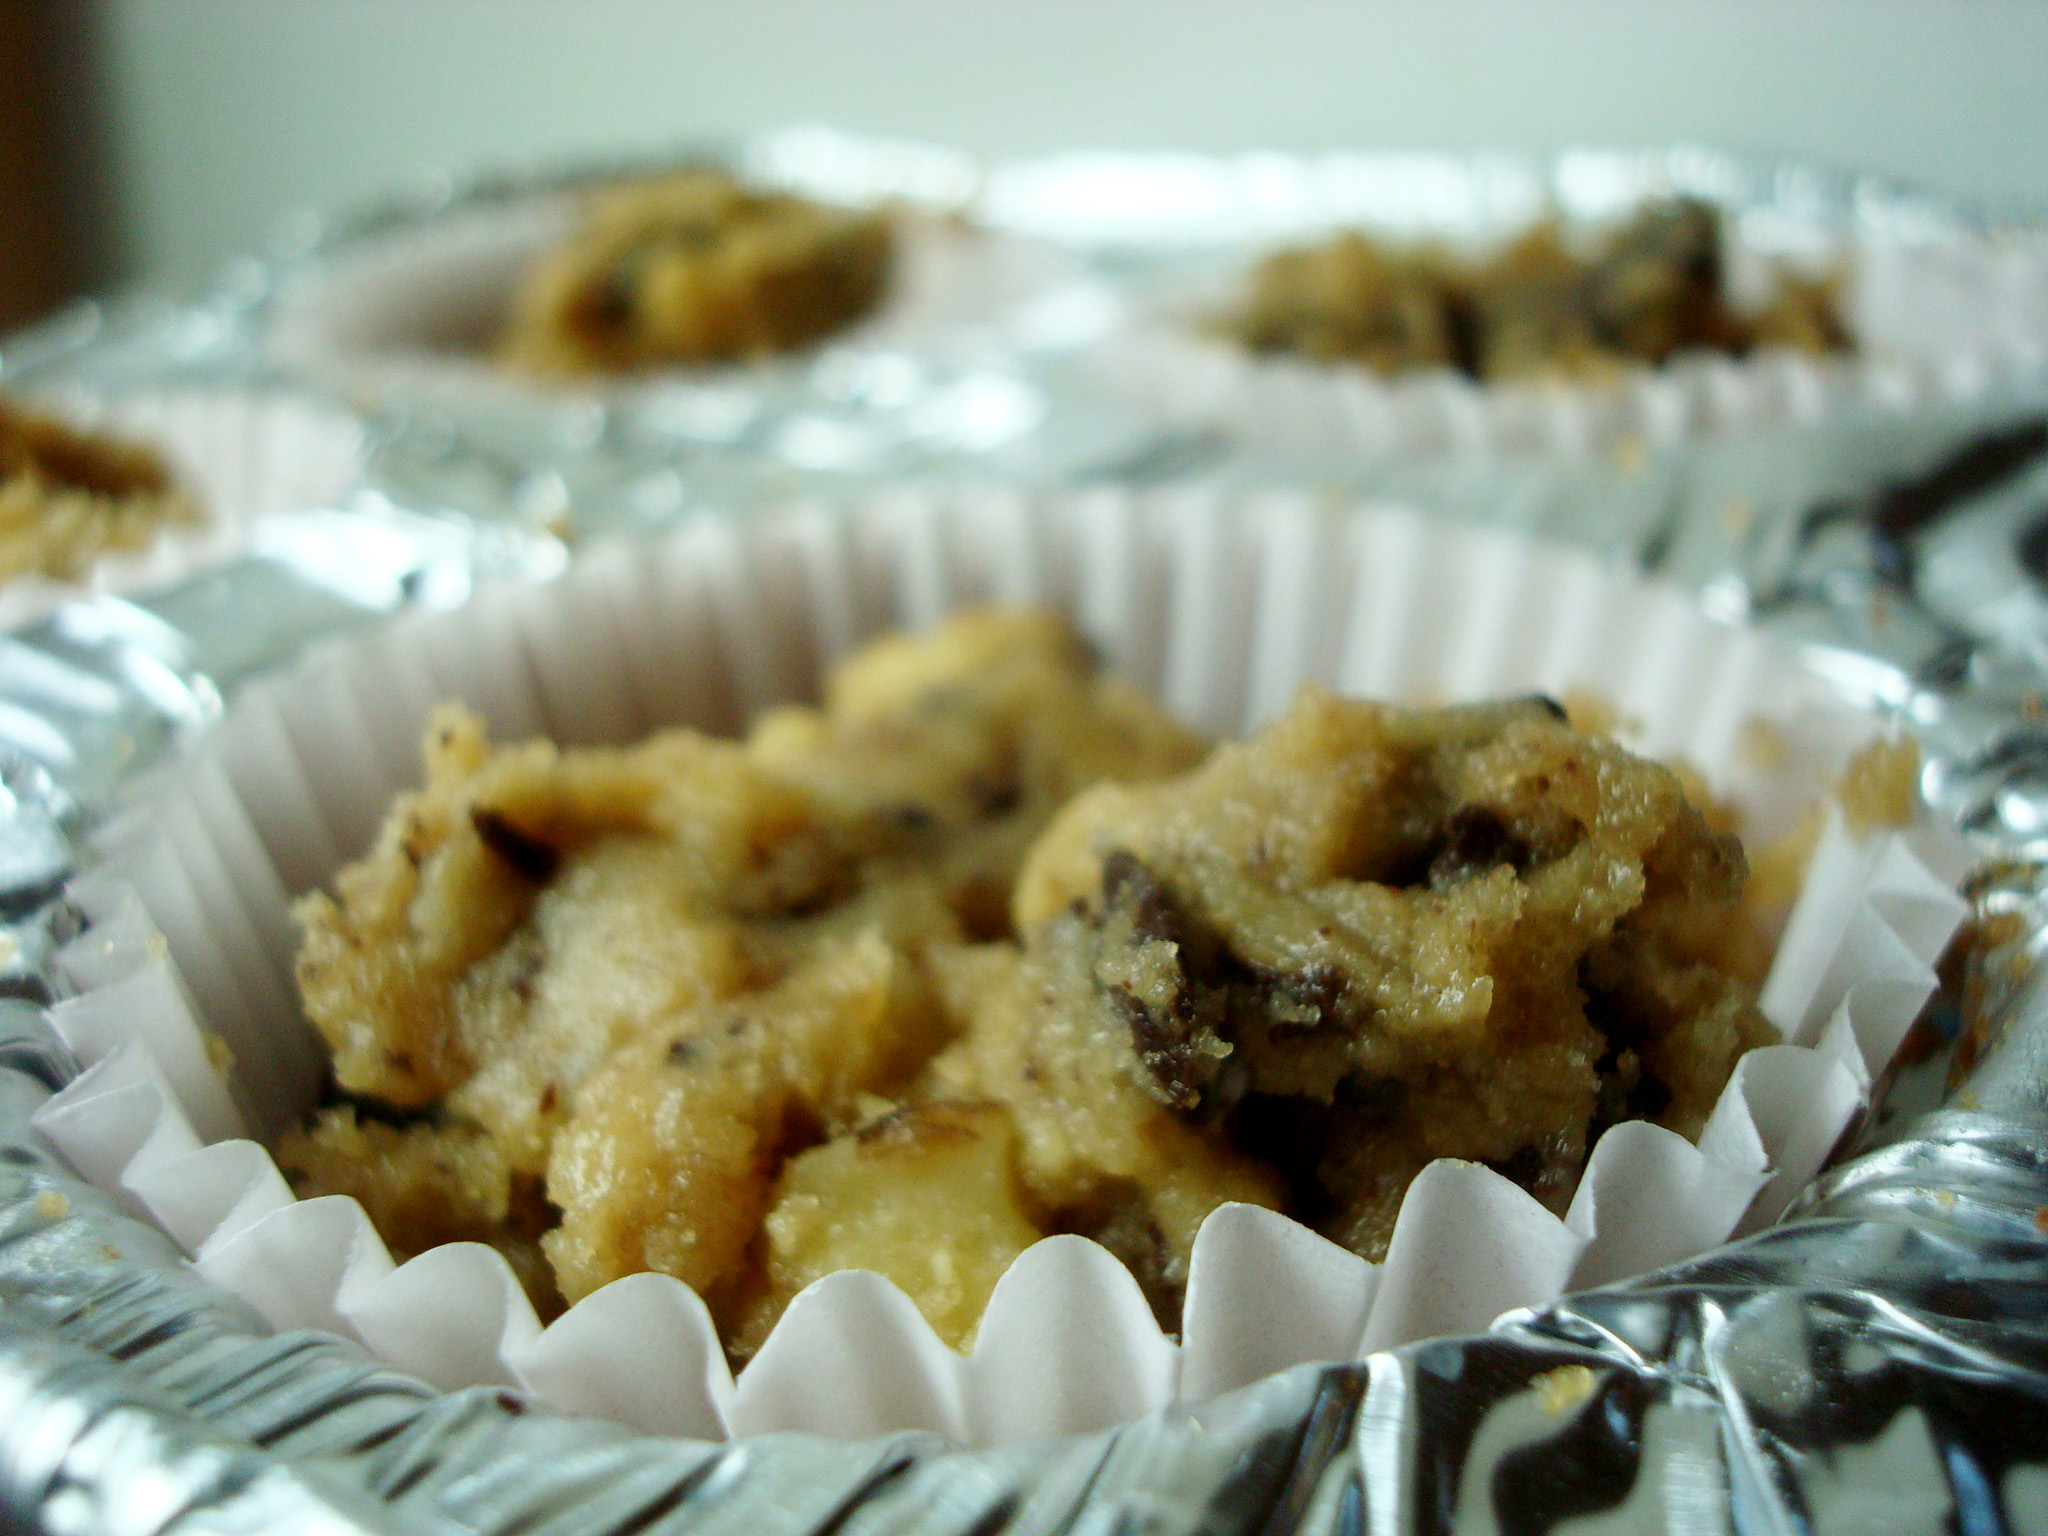
Step 2:
Place a heaping tablespoon of dough in the center of each cup. They should be about 3/4 full. Press a dent in the center.
Step 3:
Once all the cups are full, bake the cookie dough. The bake time will be about 2-5 minutes longer than the suggested time in your recipe since the dough is so tightly packed and thick in the cups. The cookie dough will puff up and become golden; wait until the centers look dull and slightly set before removing from the oven.
Step 4:
Once you remove the tins from the oven, the originally puffy cookie dough cups will start to deflate in a matter of minutes. This is actually a good thing for you.
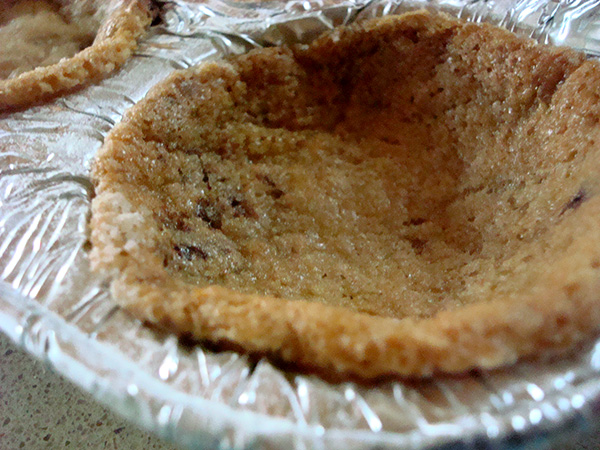
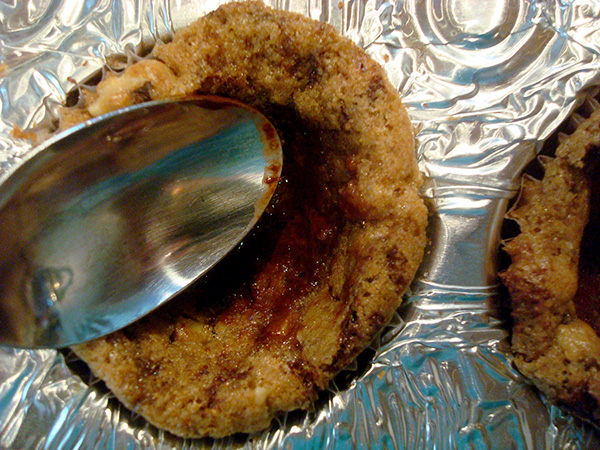
Step 5:
After about 5 minutes (while the cookie dough is still quite soft and malleable), approach the cooling cups with a spoon. Use the spoon to press the cookies into a more pronounced cup shape.
Step 6:
Let the cookies cool for about 30 minutes in the cups. Go ahead, put the cups in the fridge to hasten the process. You can remove the cookies from the cupcake liners at this point if you’d like, but it is not necessary.
Step 7:
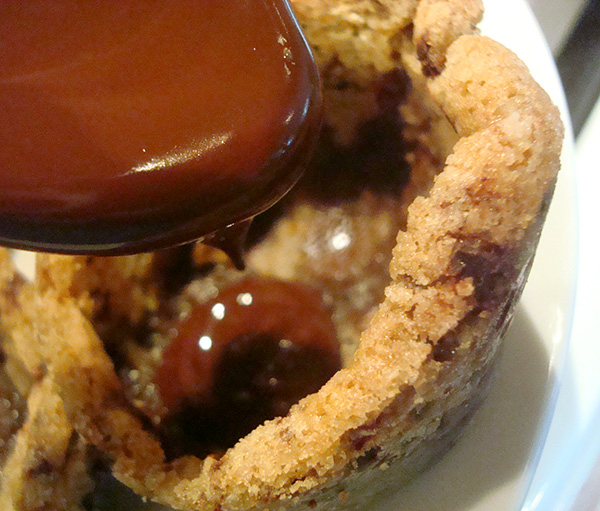
Now, melt the chocolate in the top of a double boiler. Once melted, spoon a small portion into each cup and spread it with a spoon so that it forms a thin but thorough coating on the inside of the cup. Don’t make it too thin or the milk will leak, but take care not to make it too thick because the chocolate will pool at the bottom of the cup and then you won’t have anywhere to pour your milk.
Step 8:
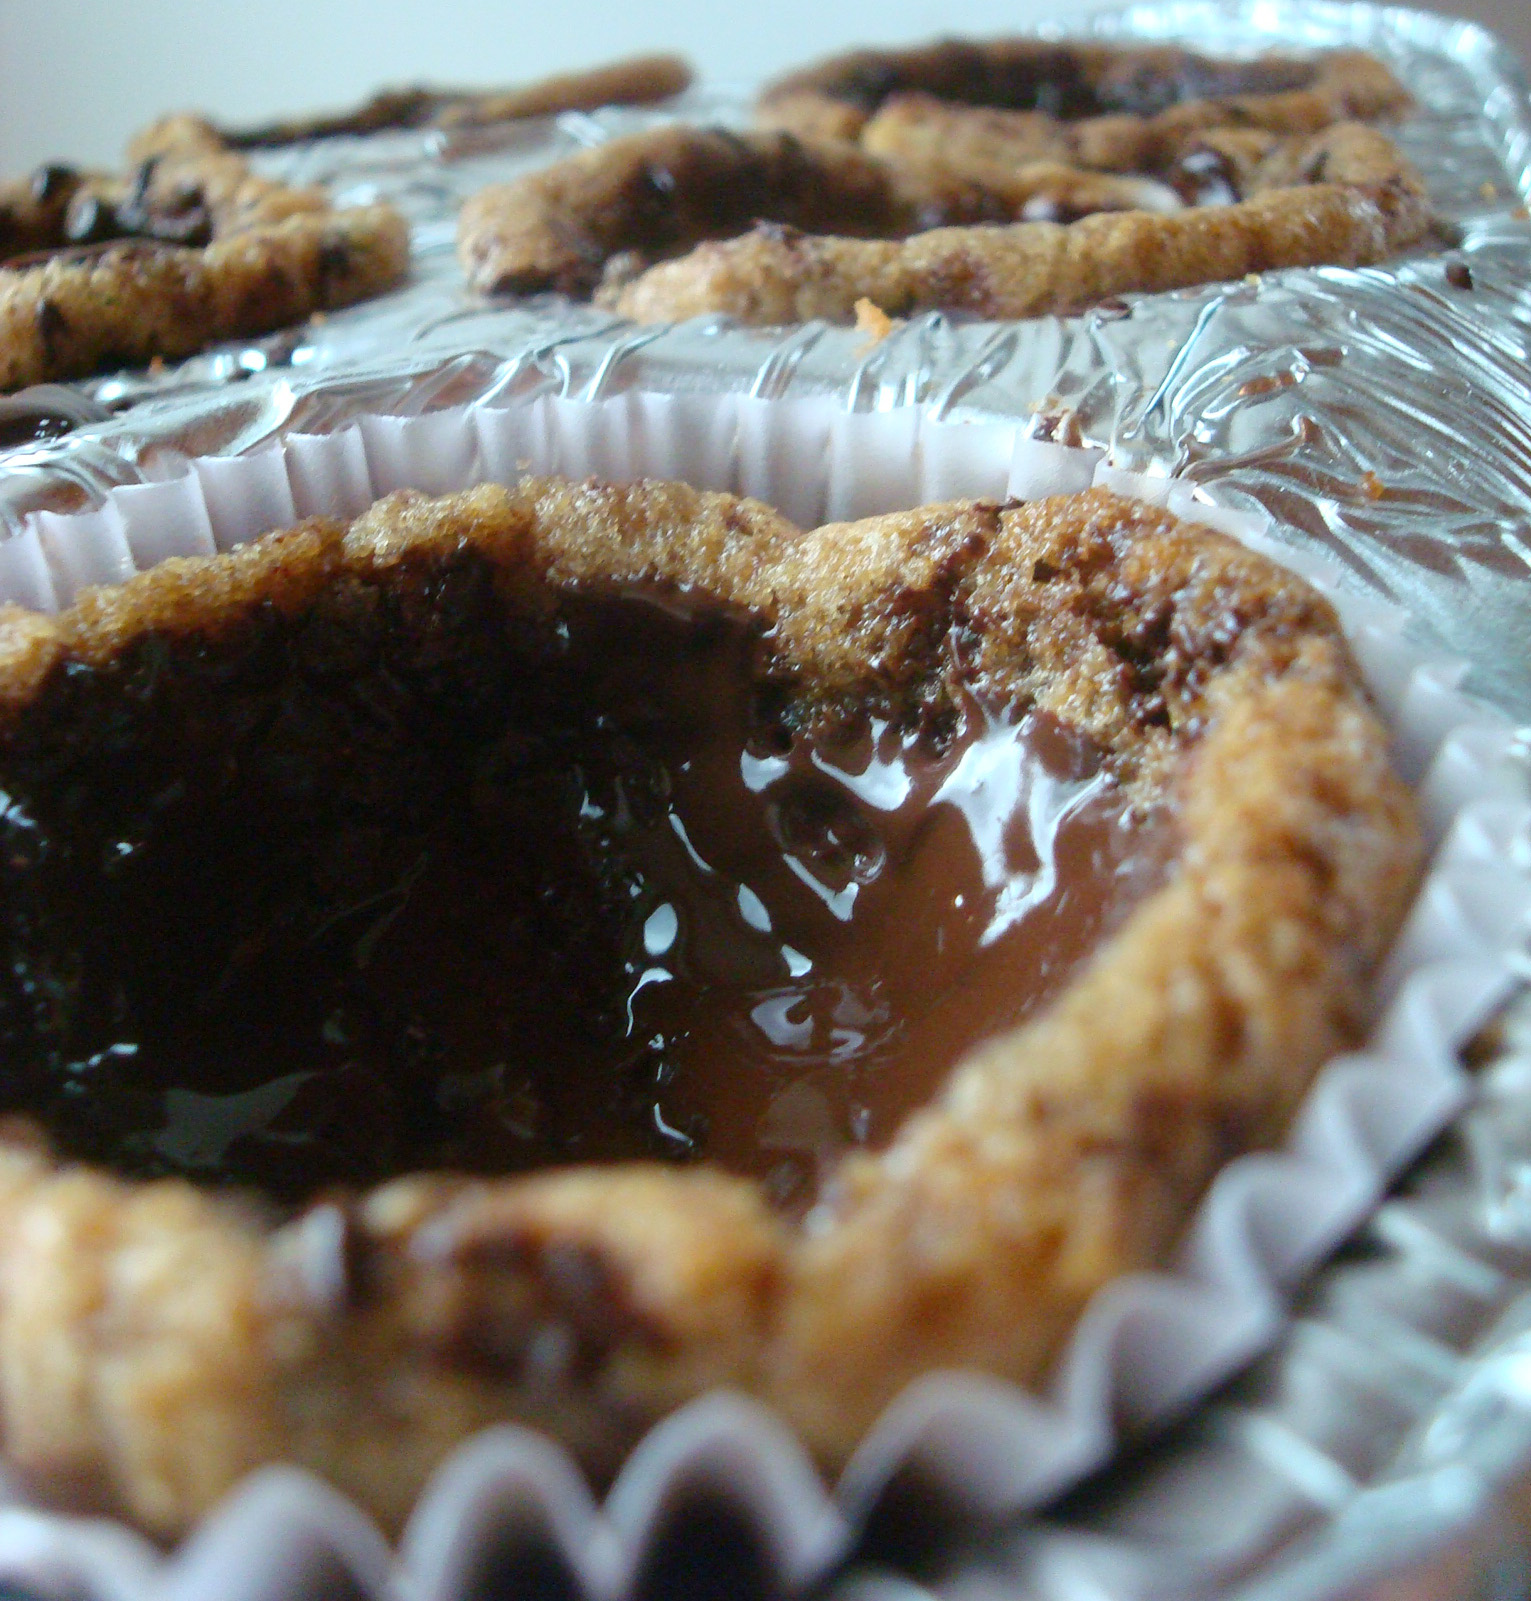
Let the cookie cups set again, this time for 2 hours or so, until the chocolate has become firm. Don’t put them in deep chill this time because the chocolate could “bloom” unattractively.
Step 9:
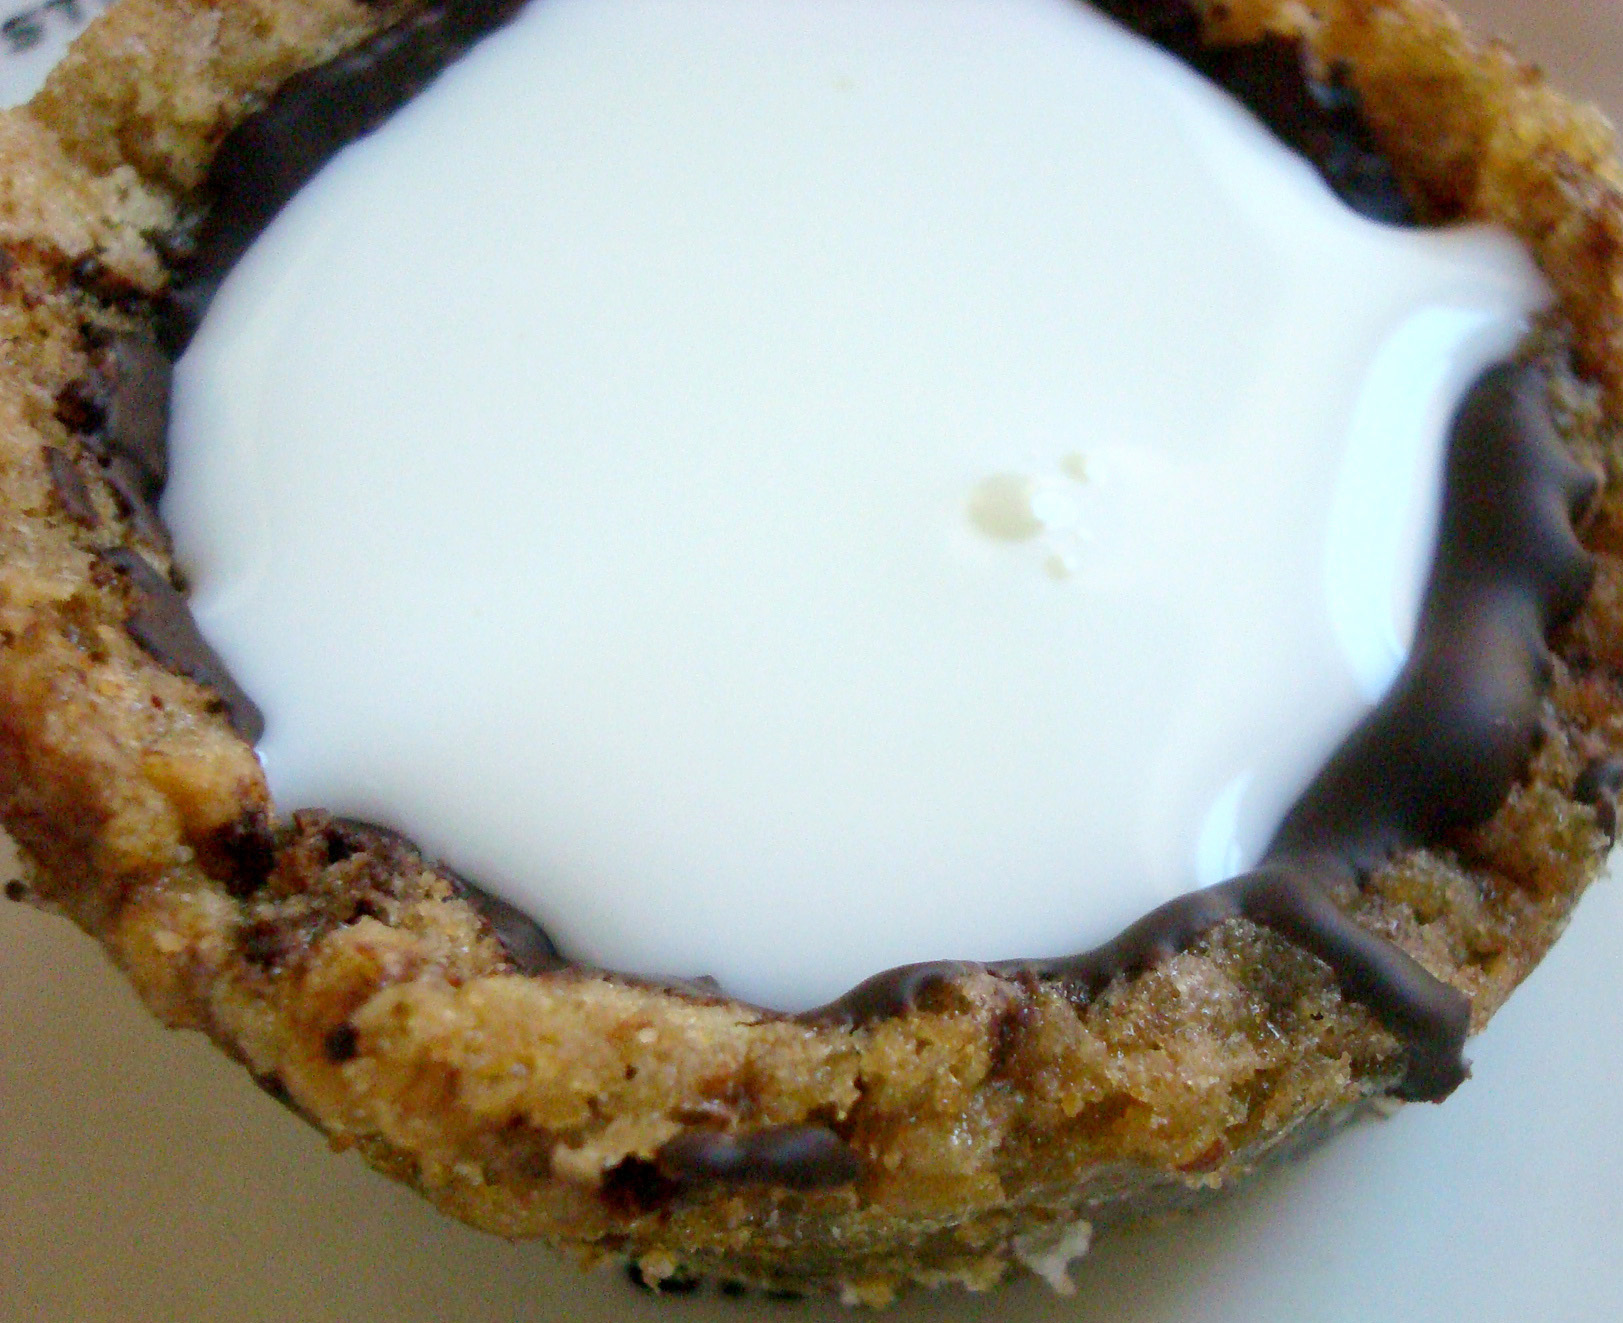
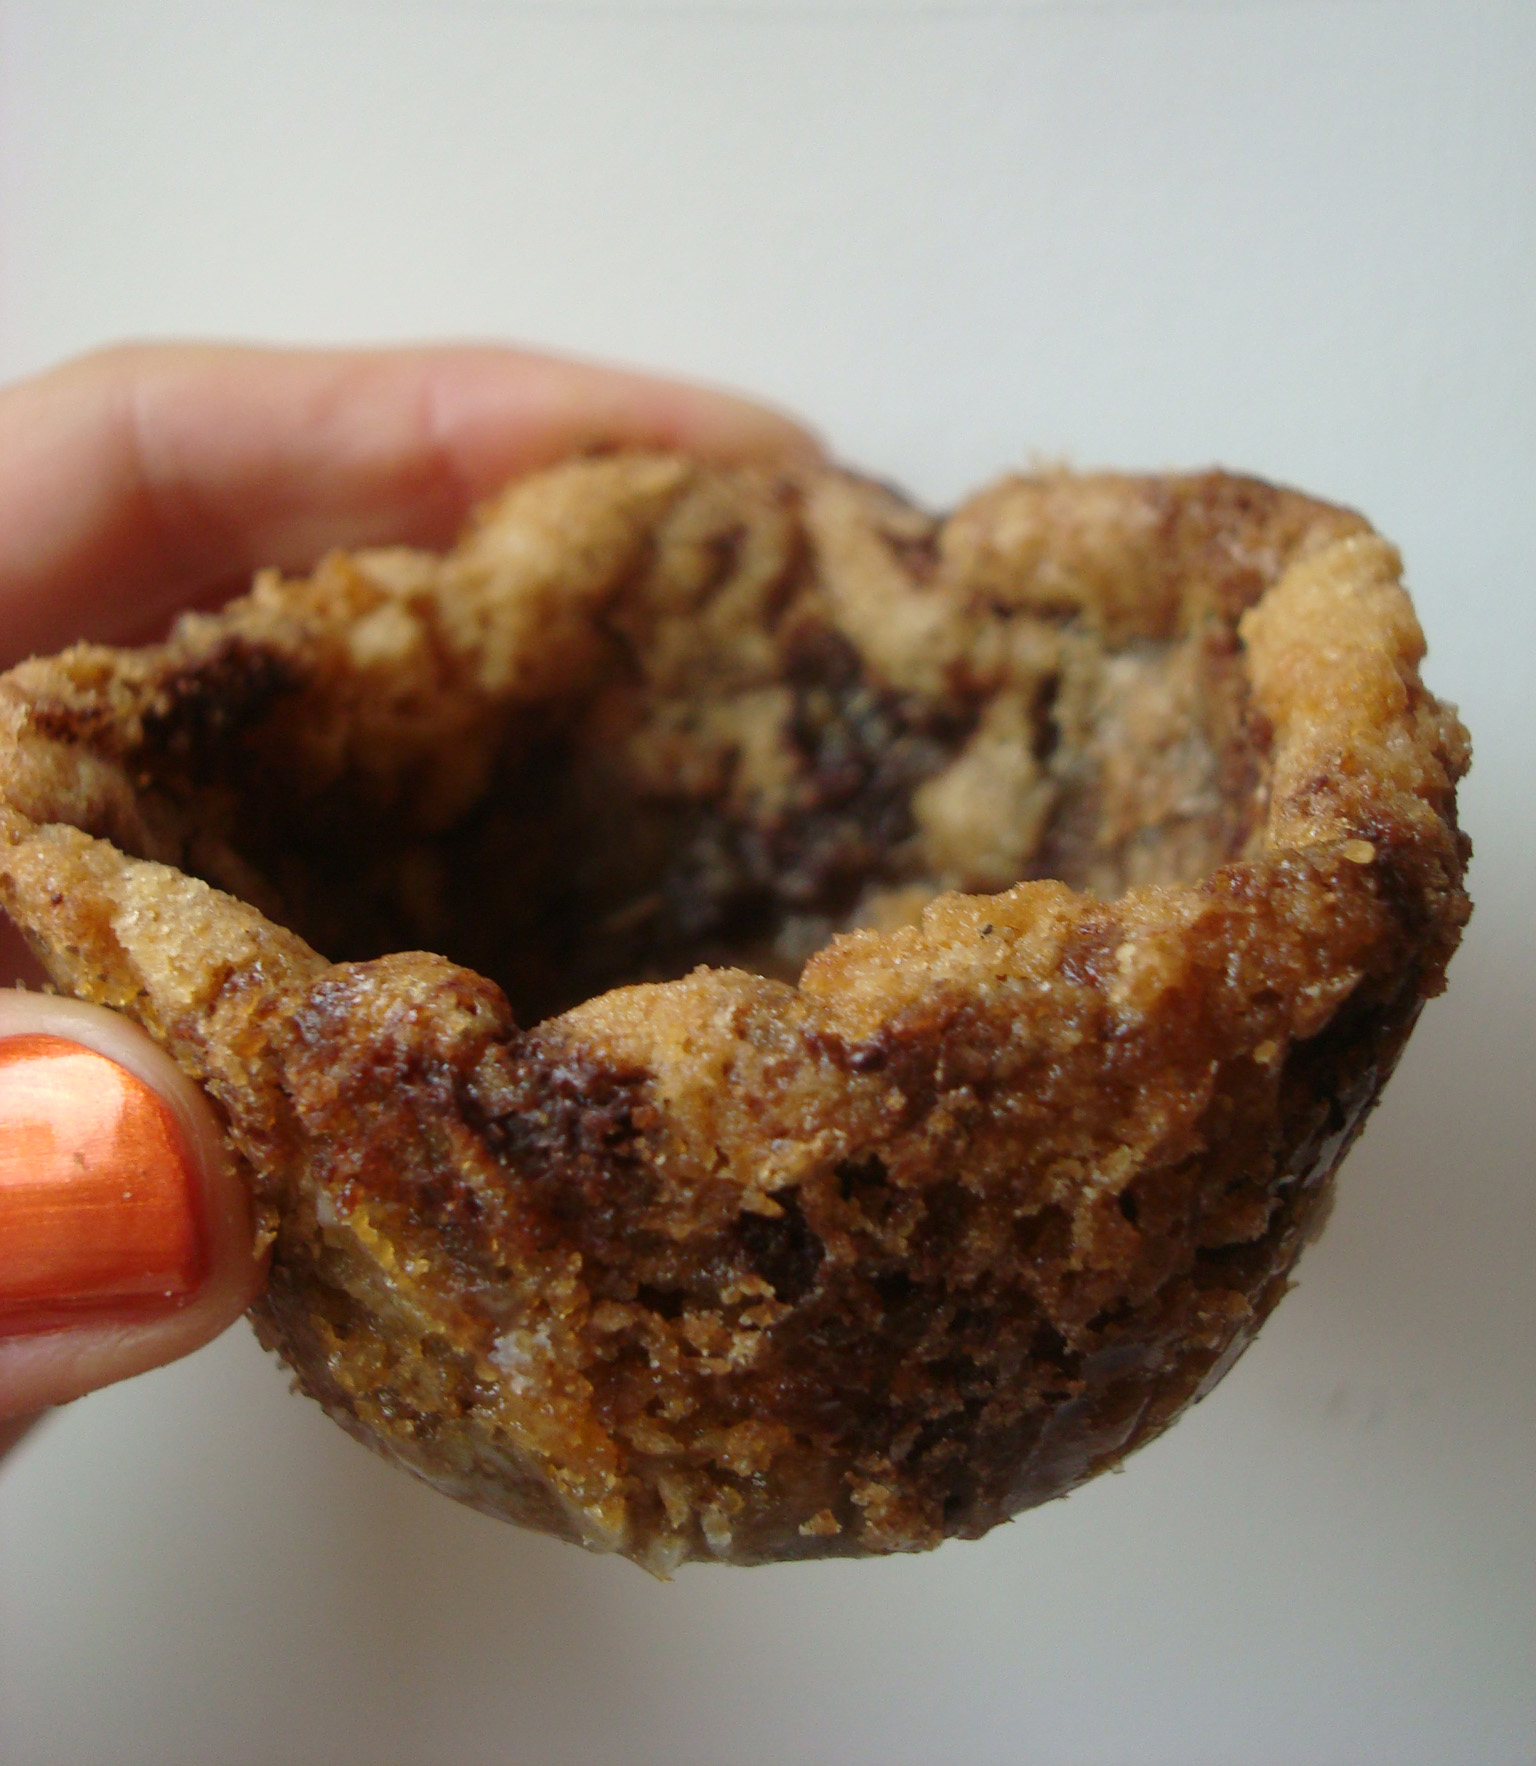
Once the chocolate is firm, you’re ready to serve! Remove the cups from the cupcake liners, if you haven’t already. Place each serving on a plate or in a shallow bowl (just nicer in case the milk seeps out). Fill each cup with milk, just pour it right in. Serve immediately!
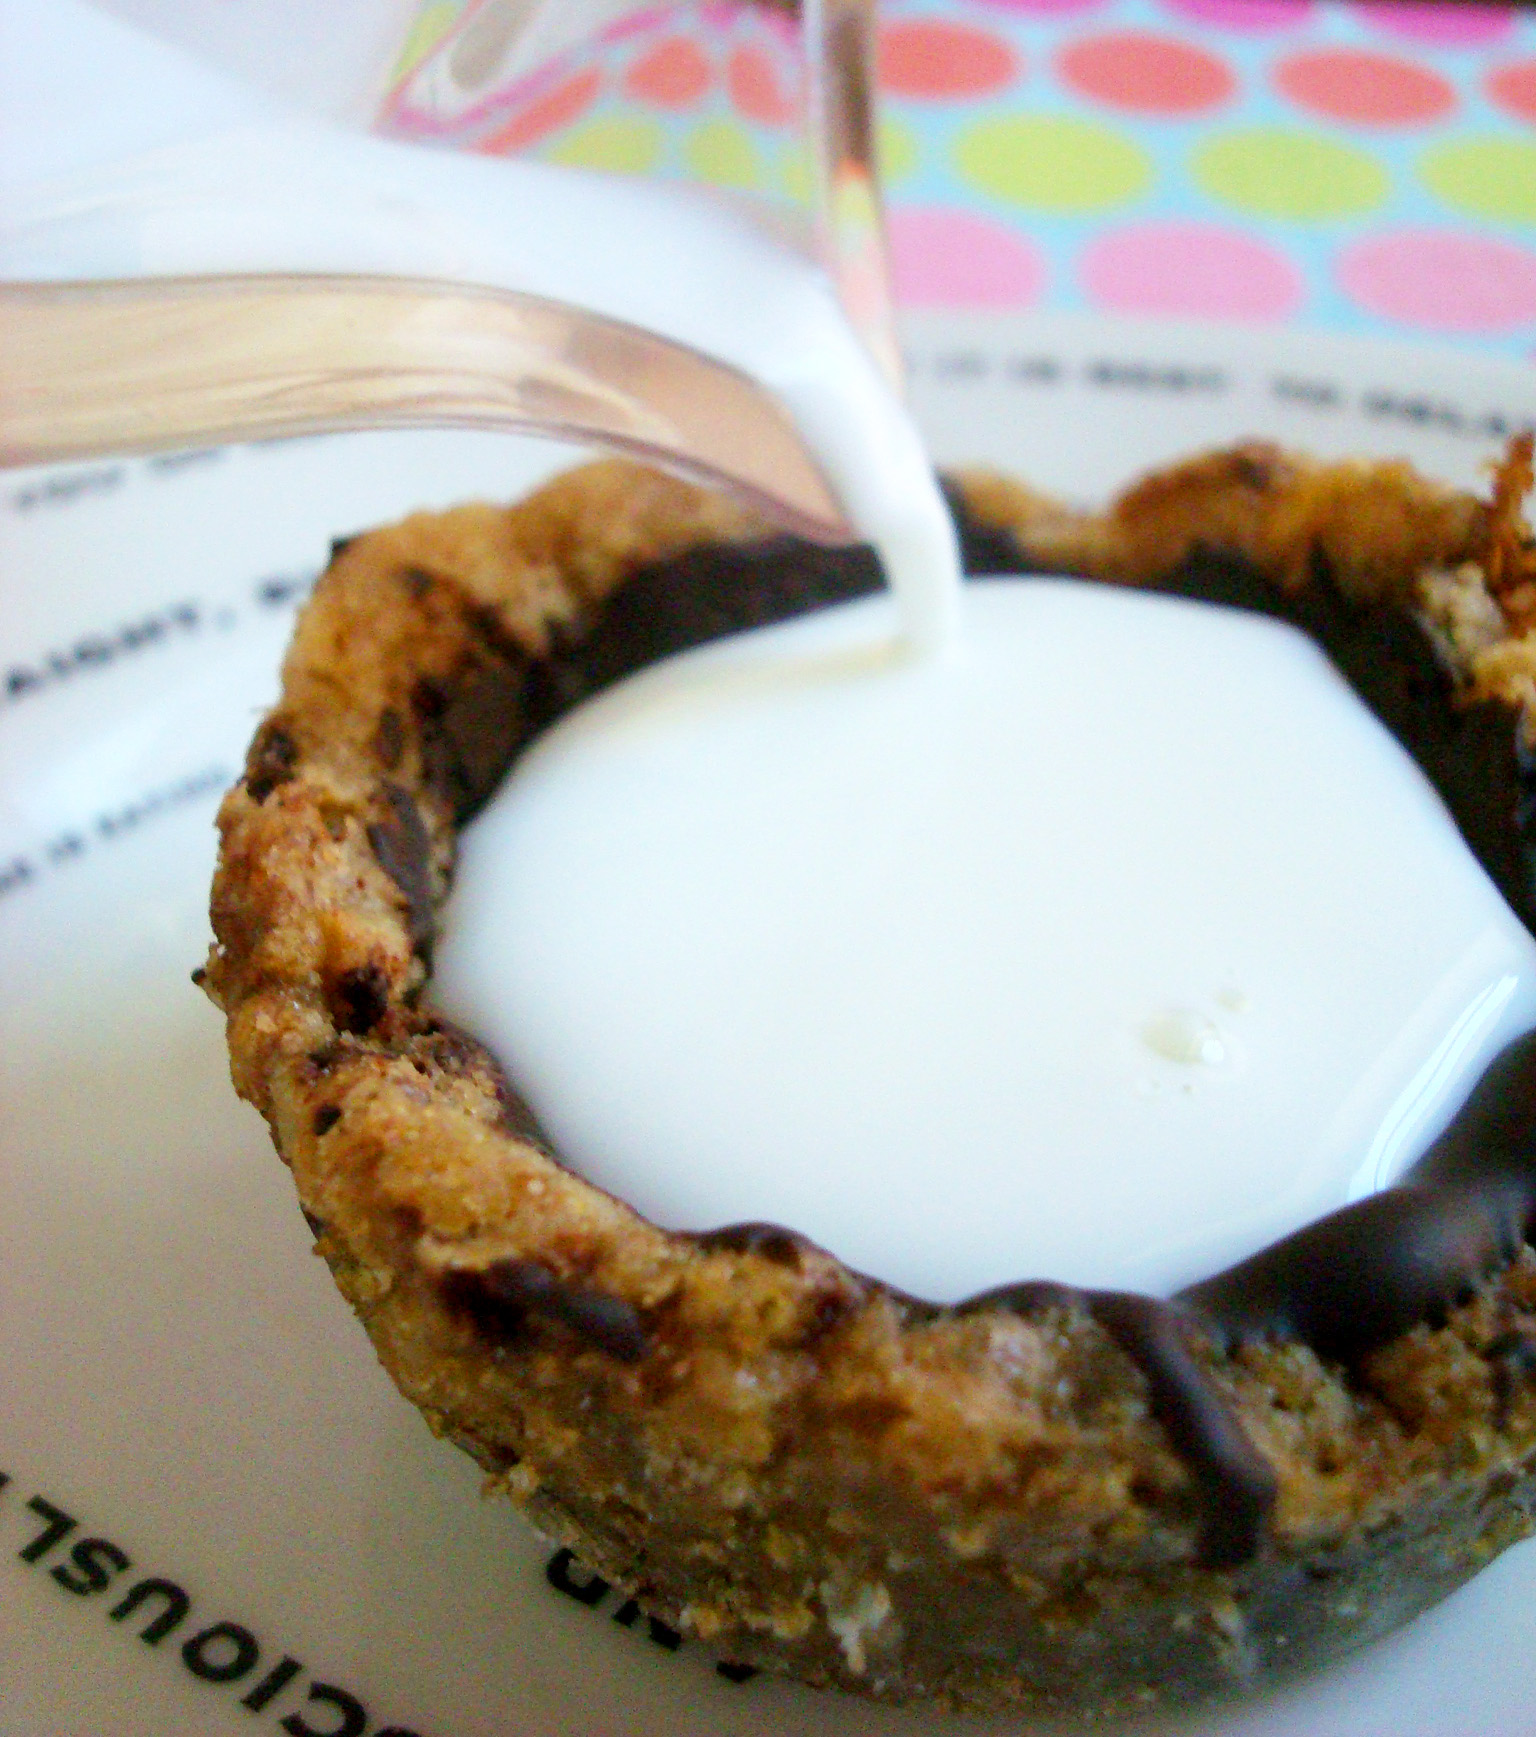
I made them, me and my family LOVED them.