
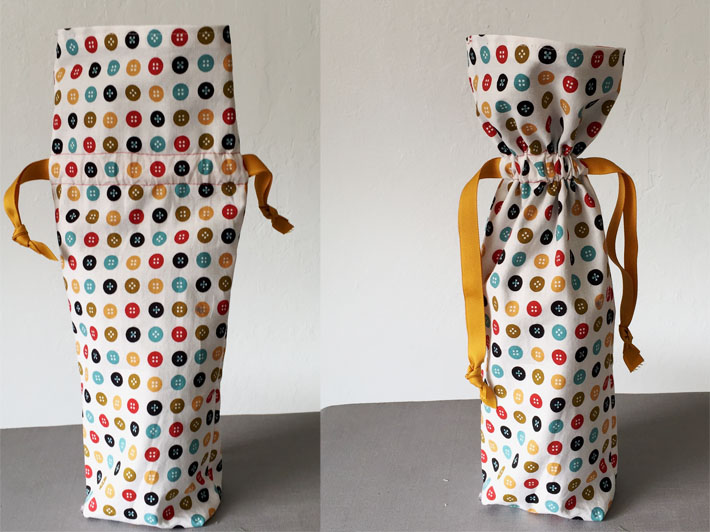
How to make a wine bag
Step 1: Cut out the fabric
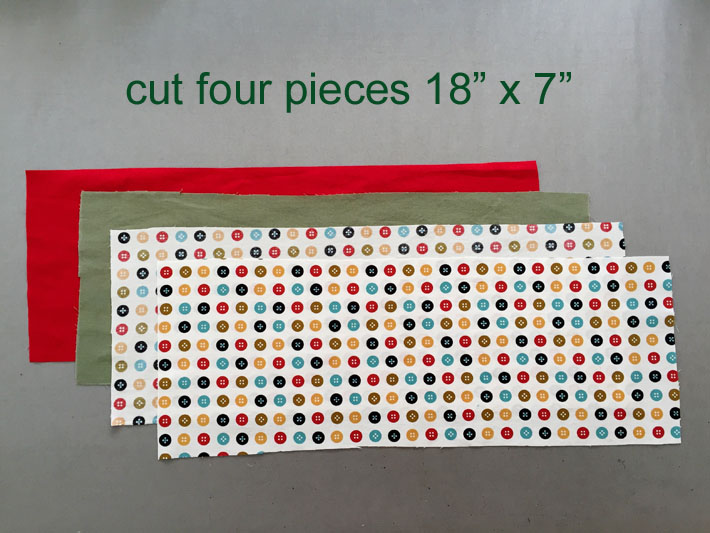 Cut four pieces of fabric 18″ x 7″. They can be all the same fabric, or a variety of fabrics. This method will end up with a bag that is completely reversible, so you could use solids on one side and print or holiday theme fabric on the other. Any fabric will do — even upholstery fabric or denim. Have fun with the mixture of fabrics.
Step 2: Sew fabric bags
 Here we are using a 1⁄4” seam allowance to create a generous sized bag. If your fabrics are smaller, then you can create a shorter bag. Just measure some wine bottles — to reach the neck of the bottle is typically about 10″. The bag below the drawstring needs to be about 1.5″ longer than that, as we will be creating a box shape at the bottom and cutting off some length.
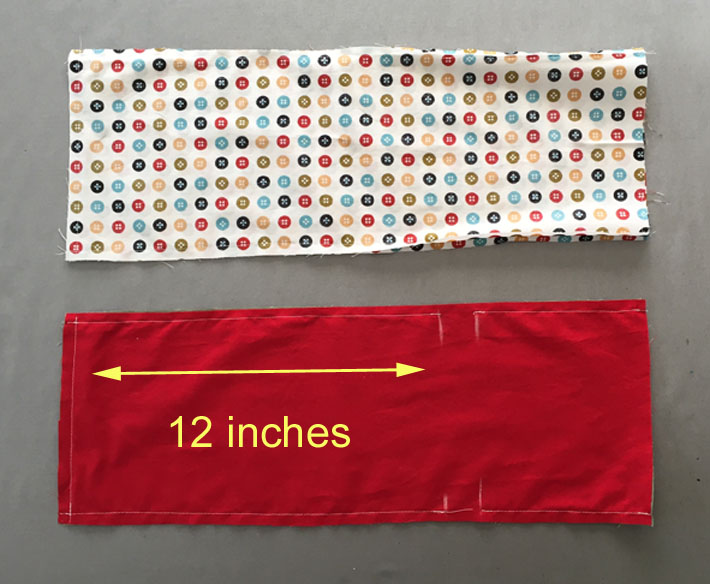
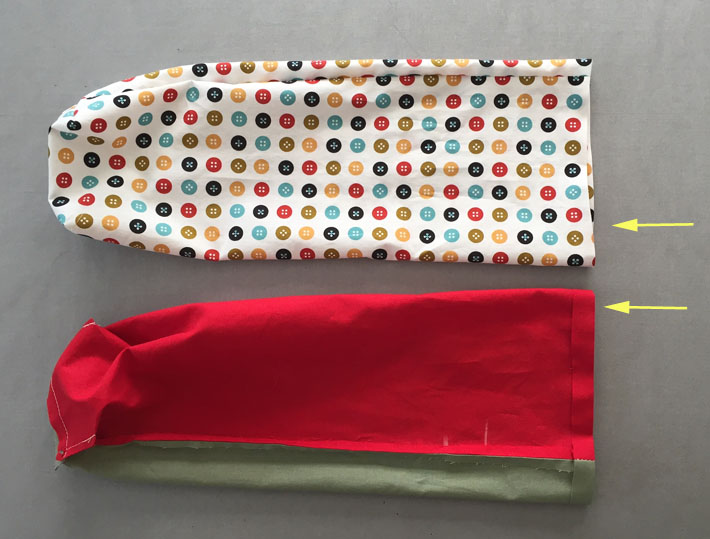
Mark an opening 1″ wide about 12″ up from the bottom and break the stitching at that point, as that is where the drawstring will go. Backstitch at those openings so the seam is secure. Sew both bags as shown.
Step 3: Stitch and trim corners to make bag shape
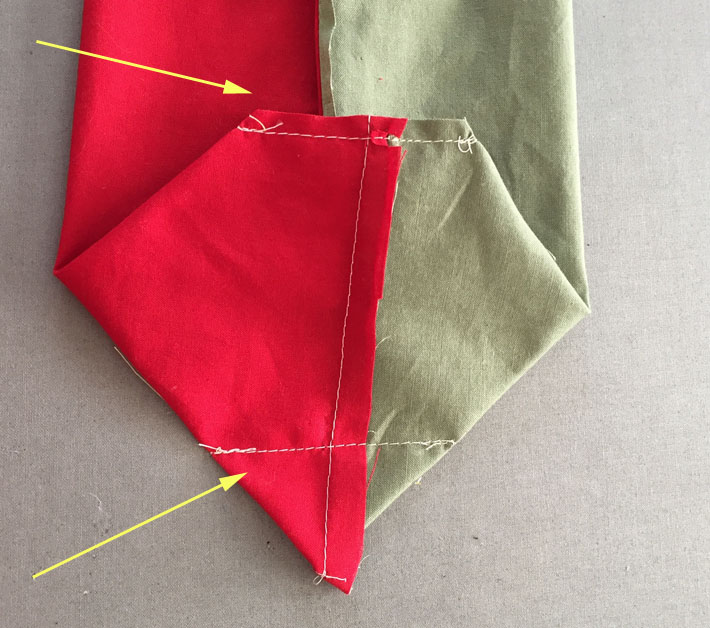 Pin the side seam and bottom seam together to make a triangle and mark a horizontal line 1.5″ from the point. Stitch across this line. This will create a box shape at the bottom of the bag. Repeat for the other side and then also on both corners of second fabric bag.
Trim the excess part off as shown to reduce bulk and create a flat bottom surface. I find if you leave the bulk in the bottom of the bag, then a wine bottle won’t have a flat surface to rest on and may tip over when you put it down.
Step 4: Press top edges
 Press the top edges of both fabric bags over toward the wrong side, about 1⁄2“. Insert one bag into the other, wrong sides together, and line up the seams and drawstring openings.
Step 5: Pin and stitch channel for drawstring
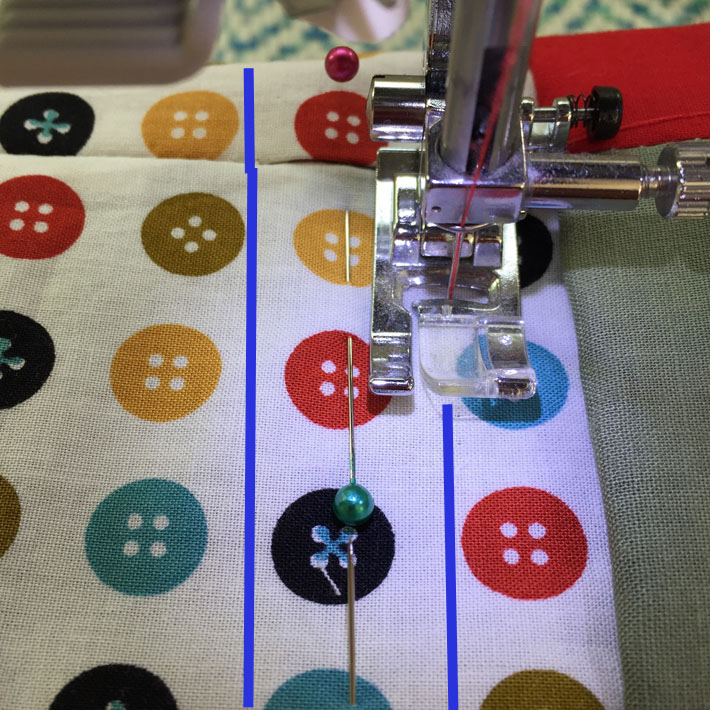 To mark the channel for stitching, pin the two bags together along the mid-point of where the channel will be. Then stitch 1⁄2” either side of the row of pins, eliminating the need for any markings.
Here the stitching line is indicated by the blue lines in the image. Note how the stitching is at either end of the drawstring opening — be sure not to stitch it closed. If your sewing machine has a removable extension table, you can remove it so you can slip the bag over the surface to sew. If not, you can put the pins on the inside of the bag and stitch around the inside, as that is easier than trying to fold the fabric away to stitch. It also helps to roll the top edge down a bit to shorten the distance from the channel to your presser foot.
Step 6: Sew top edge
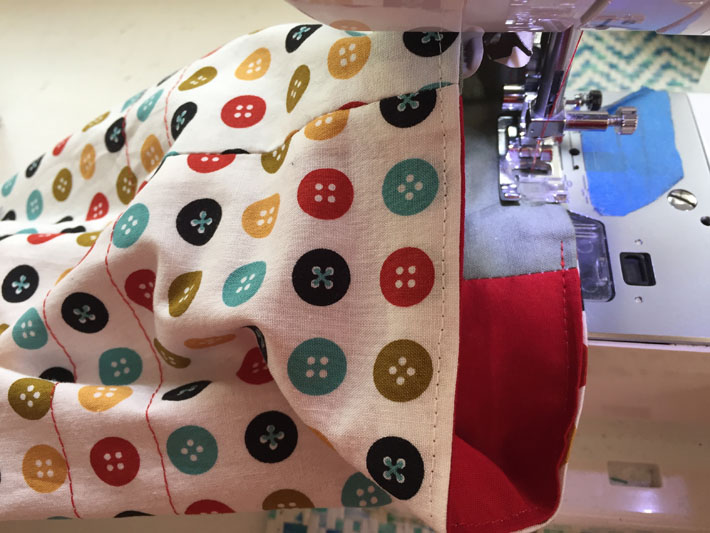 Sew the top edges of the bag together. This is a spot where you can easily add embellishment like ribbon, ricrac or other trims.
Step 7: Insert the drawstring into the channel
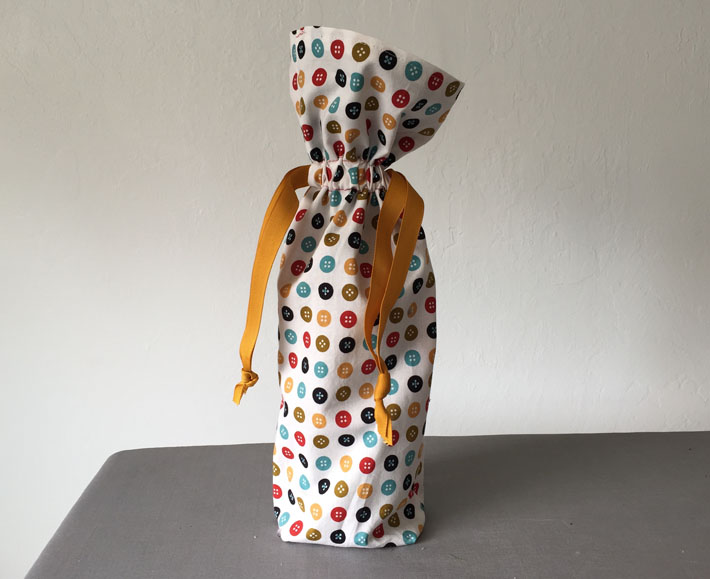
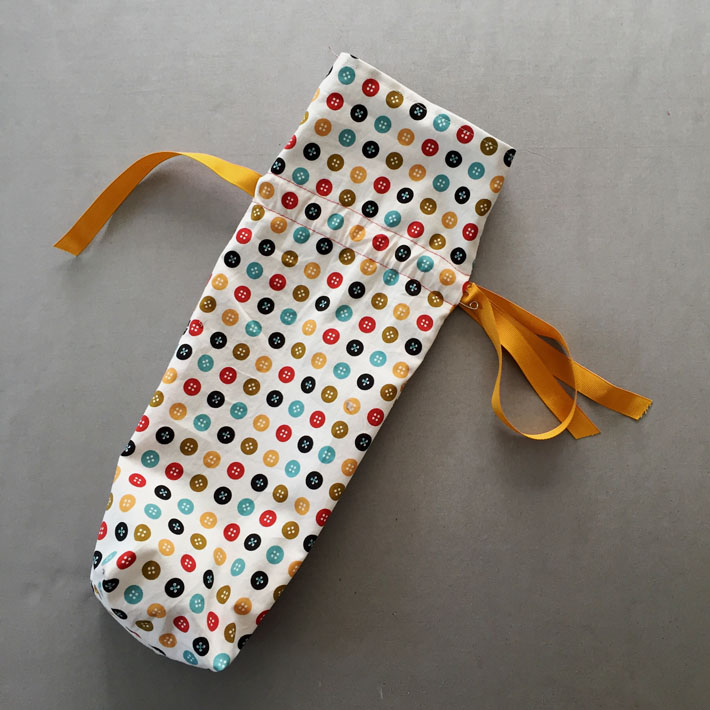 Cut two pieces of ribbon, each about 24″ long. Use a big safety pin to thread the ribbon all the way around the bag. Starting at the opposite side, repeat with the second ribbon. Tie off the ends and now when you pull the ribbon, it gathers the bag around the neck of the wine bottle.
Sew up a few of these wine bottle bags, and you will be ready to be a gracious guest at the next festive gathering.
 You might also enjoy our roundup of 11 free gift bag patterns to sew and our post on how to wrap gifts with fabric.
Free Online Bag Making Class

I want to learn to stich different bags
Your a darning needle to pull ribbon through channel of the wine bag.
Your a darning needle to pull ribbon through the path for the wine bag.
I just struggle with the drawstring into the channel. on alot of patterns, not just yours
Need a gift
Me gustaría saber más como hacer bolsas
look forward to sewing the bag
I found this to be a fiddley little project. It turned out but I didn't check the size of my wine bottle I buy and it was too skinny and didn't fit. I used a piece of the fabric I was hoarding with grapes on it and of course I don't have any more. I guess it will make a nice Christmas present for one of my friends. Very disappointed.</strong>
Link to 11 free gift bags is still not working
Links for 11 free gift bag patterns and how to wrap gifts with fabric do not work.