
The last time we met, we embroidered the front of the Fiesta Fob with stitching techniques and materials that help create a dimensional, textured surface.
Today, we’re going to embroider the back of the fob and put it together. Remember, you can use whatever threads and materials you have on hand in your stash for this project. Below, I’ll be outlining what I used, but feel free to substitute threads, fabric, specialty materials and stitches!
See Steps 1-5 of our scissor fob tutorial here.
Step 6: Setting up and adding felt padding
The second side of the Fiesta Fob is set up exactly as the front side was. The second circle in from the outside line is stitched in backstitch, just like the front.
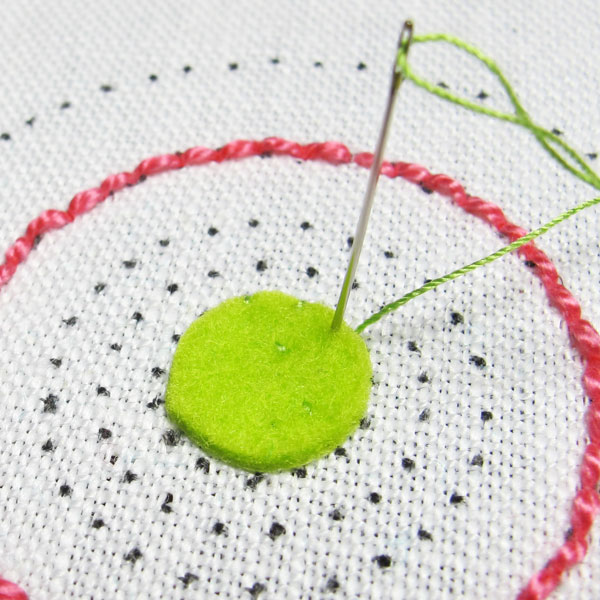
After the set-up, cut a small circle of wool felt to fit the inside of the inner circle. Appliqué the felt to the fabric, using a matching color of thread, and stitching evenly around the circle with tiny stitches. For these tacking stitches, come up in the linen ground fabric just outside the felt circle, and take the needle down into the felt, about 1/8″ inch.
Step 7: Buttonholed chain stitch outline
Using a perle cotton #5, I chain stitched around the felt circle.
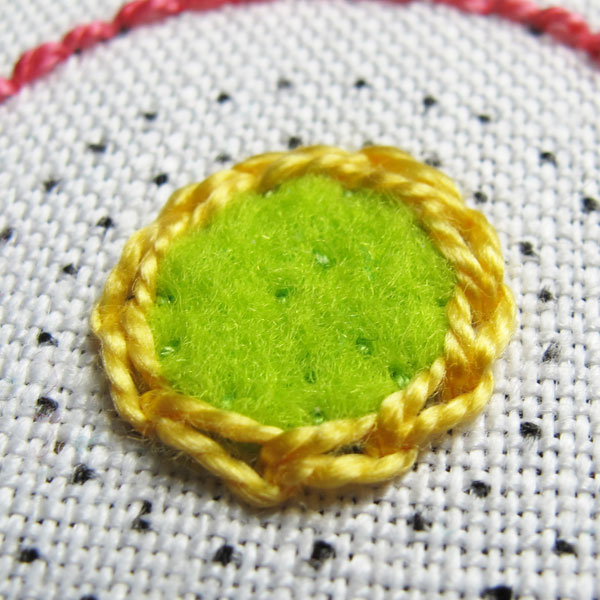
The chain stitches should be somewhat large, but not loose. They should follow around the circle smoothly.
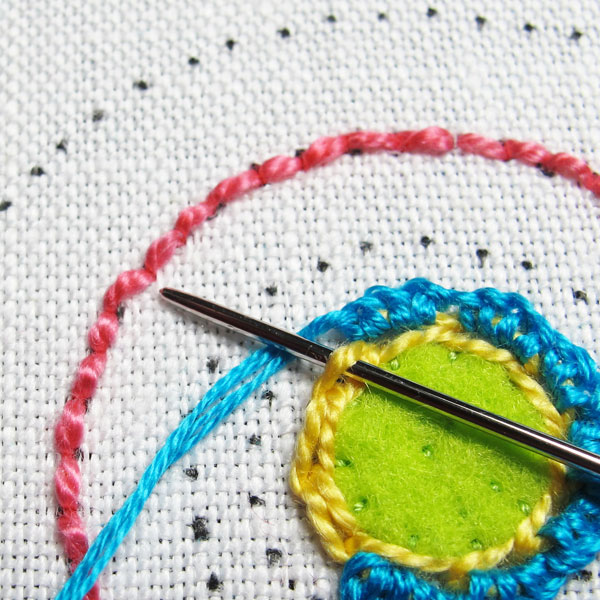
Using four strands of cotton floss with a tapestry needle, I worked the buttonhole stitch over the outer loops of the chain stitch.
On each chain stitch loop, I worked approximately four buttonhole stitches before moving on to the next chain stitch loop.
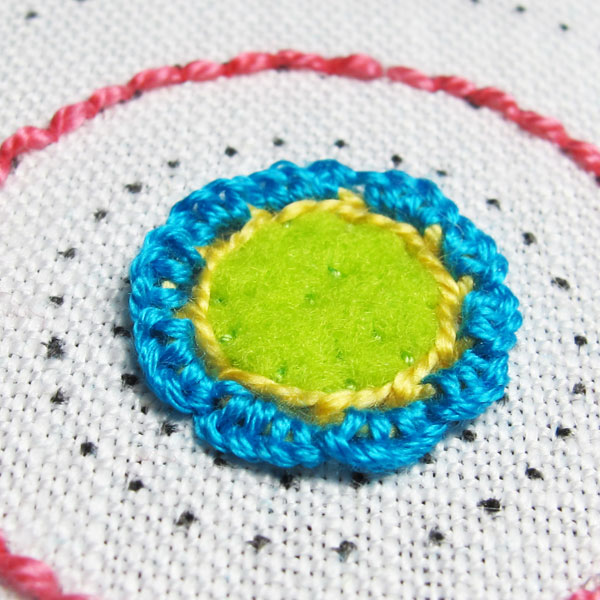
The buttonholed chain stitch is complete, but the inside loops on the chain stitch need a little dressing up!
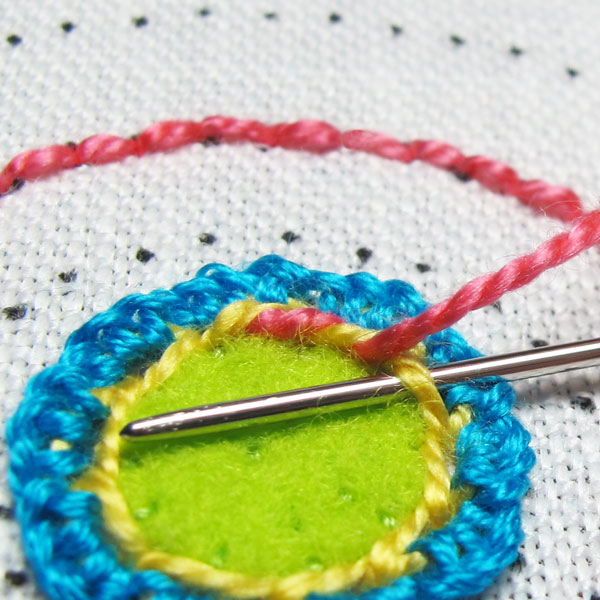
Using a contrasting color of thread (in this case, pink perle cotton #5) and a tapestry needle, I whipped the inside loops of the chain stitch outline.
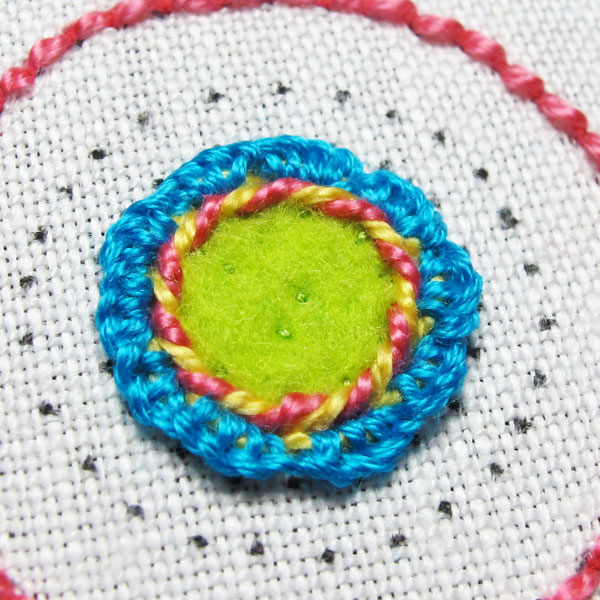
This is the completed buttonholed chain stitch outline, with the inside loops of the chain stitch whipped.
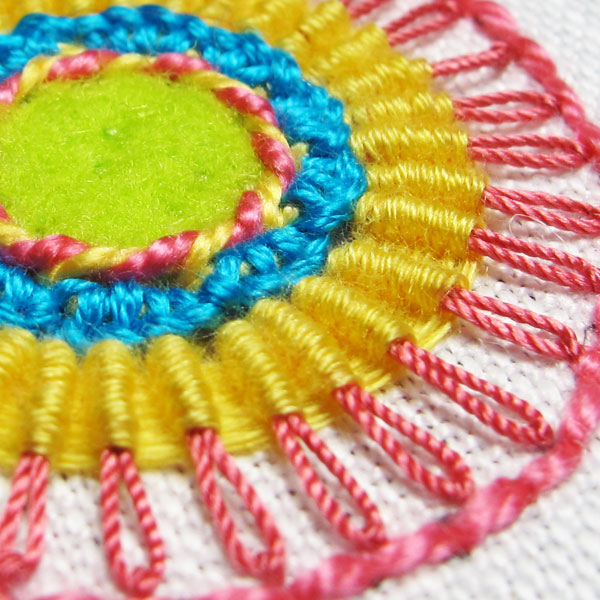
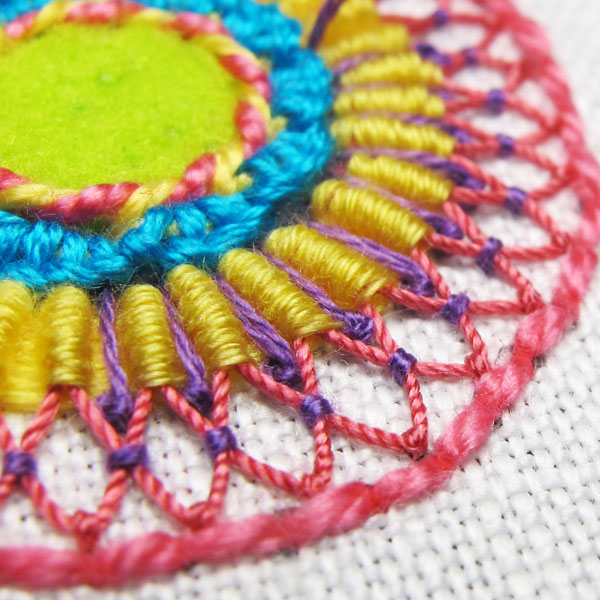
Step 8: Long radiating daisy stitches and ribbed spider web filling
Using a buttonhole weight silk, I worked very long daisy stitches radiating out from the center.
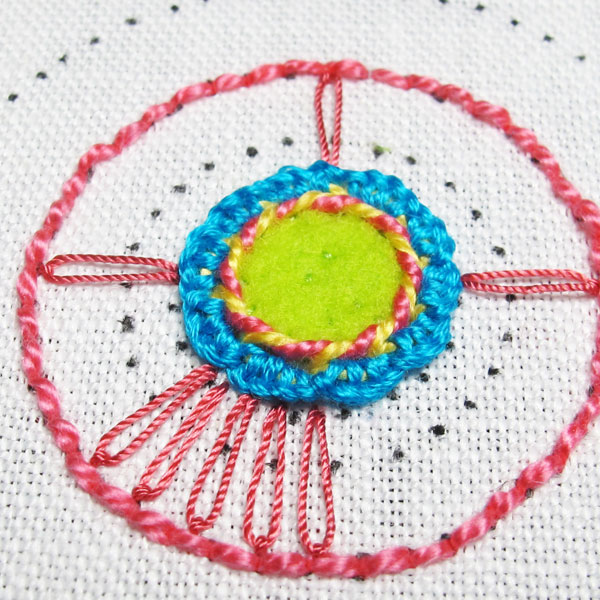
To ensure that the stitches are more or less evenly spaced, first stitch four daisy stitches north, south, east and west. Then, split each quarter of the circle in half with a long daisy stitch, and then work three daisy stitches inside half of the quarter, as shown above.

Continue around the circle, until the whole circle is filled with daisy stitches radiating from the center and as evenly spaced as possible.
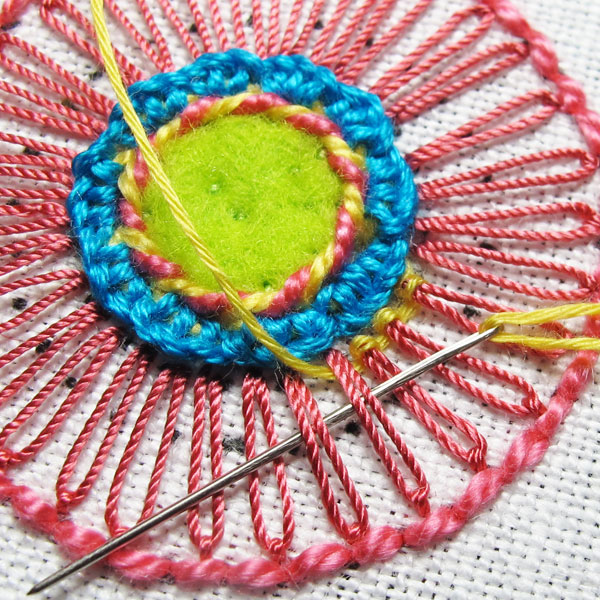
Using a tapestry needle and one strand of floche, I worked the ribbed spider web stitch around the center, over the daisy stitches, until the area was filled to the last dotted line inside the fob pattern.
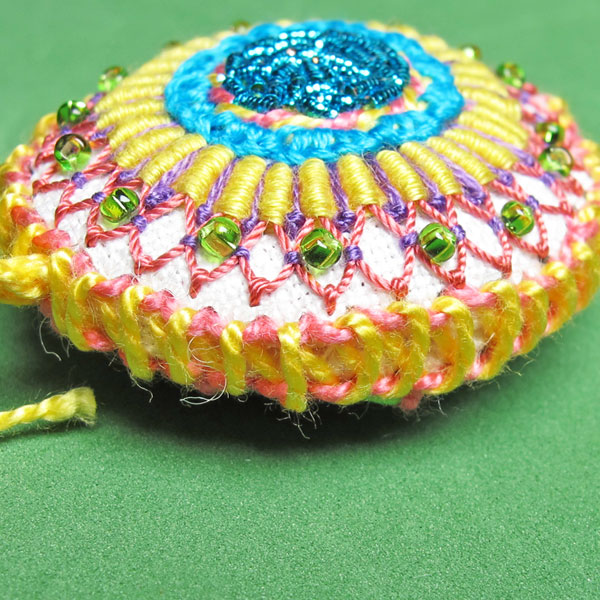
This is the completed ribbed spider web stitch.
Step 9: Opening up the petals with small couching stitches
With the ribbed filling finished, now it’s time to open up the petals!
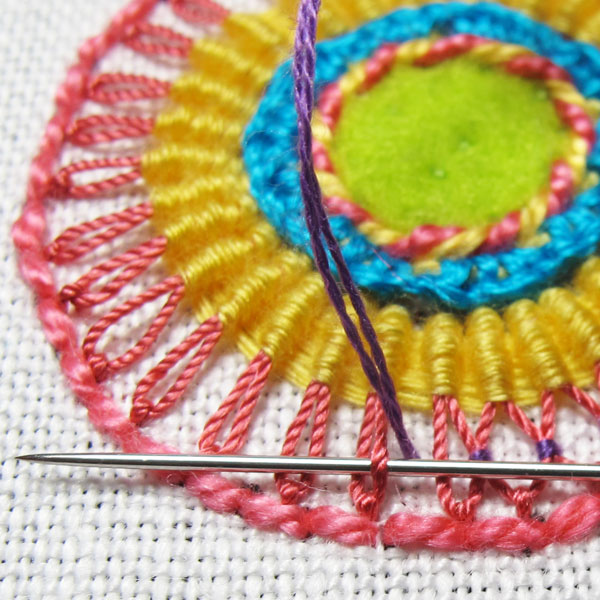
Using two strands of cotton floss in dark purple and a regular crewel needle, I tacked the petals on the long daisy stitches open.
To do this, bring the needle and thread to the front, halfway between two daisy stitches. Take the needle under one side of one daisy stitch…
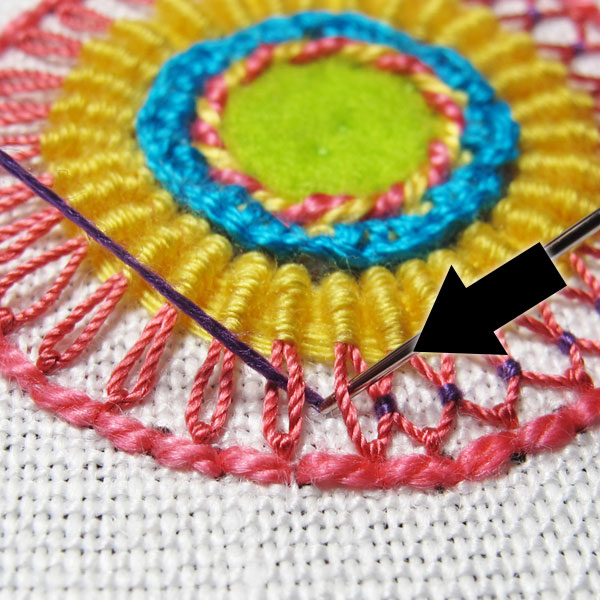
…and then take the needle under one side of the daisy stitch on the other side of the working thread, and take the needle back down into the fabric where it first emerged to take the stitch.
This will result in a tight little couching stitch that will pull half of two daisy stitches toward each other.
Continue around the whole circle, working this couching stitch between all the daisy stitches until the are open.
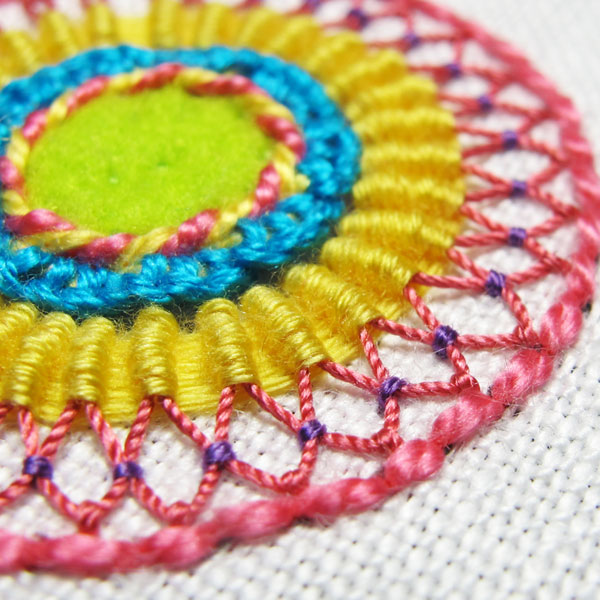
Step 10: Adding pistol stitch
Using two strands of floss in dark purple, I added a pistol stitch between each rib of the ribbed spider filling.
The pistol stitches begin under the blue ruffle from the buttonholed chain stitch, and they end with a tiny French knot just over the edge of the ribbed spider web filling, and inside the little triangles formed by the opened daisy stitches.
Step 11: Add some beads!
Using small seed beads, I filled every other open daisy stitch.
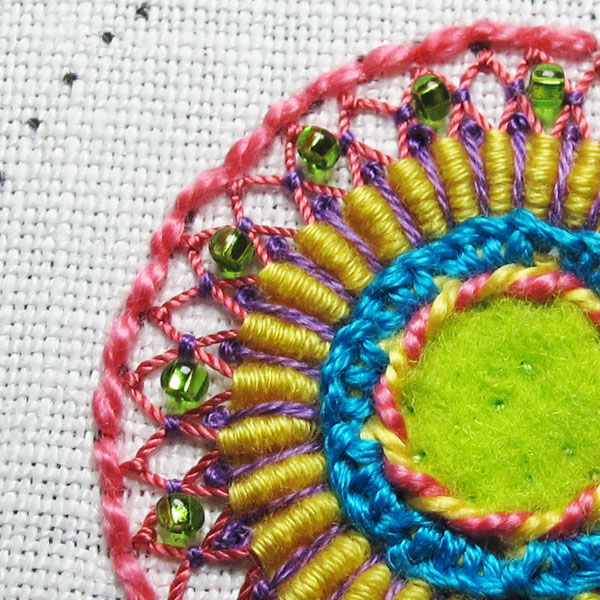
The beads are stitched in place so that they stand up on their sides.
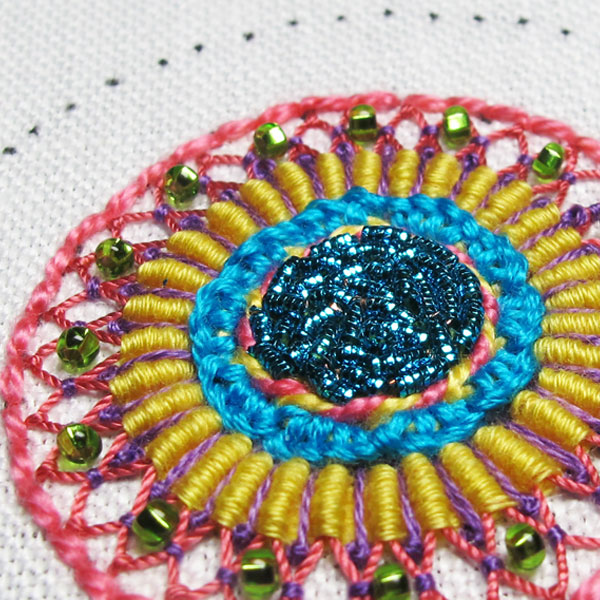
Finally, I filled the felt padded area in the center with a real metal thread. See the instructions for the Fiesta Fob, Part 1, for filling an area with chips of real metal threads.
Step 12: Assembling the fob
Cut both sides of the fob out from the ground fabric, cutting along the outer line, which is about 3/8″ away from the backstitched outline.
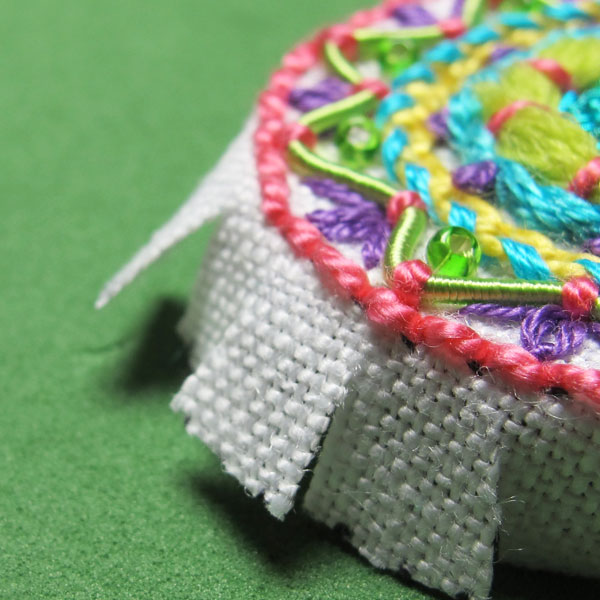
Snip little cuts into the fabric all around the circle, cutting towards the backstitch outline, but stopping several threads of fabric away from the backstitch outline.
These snips should be about 3/8″ apart, all around the circle.
Finger press the resulting tabs of fabric along the backstitch line, pressing them in and under the back of the fob.
At this point, you’ll need to add a cord or ribbon for the fob.
How to make a cord by hand
I made my cord from perle cotton #5. This is how:
- Cut a 24″ piece of perle cotton.
- Fold it in half.
- Put one finger in the fold, and hold onto the cut ends.
- Turn the finger in the fold, twisting the perle cotton until it is tight around the finger.
- Grab the center of the tightly twisted perle cotton (I do this with my teeth).
- Bring the two ends together and hold onto them and allow the perle cotton to twist itself up.
- Then smooth out the twist with one hand while still holding the ends with the other.
- Knot the unfolded end, to hold the twist.
- Fold the resulting twisted cord in half. The resulting loop should be about 3.5″ – 4″ long.
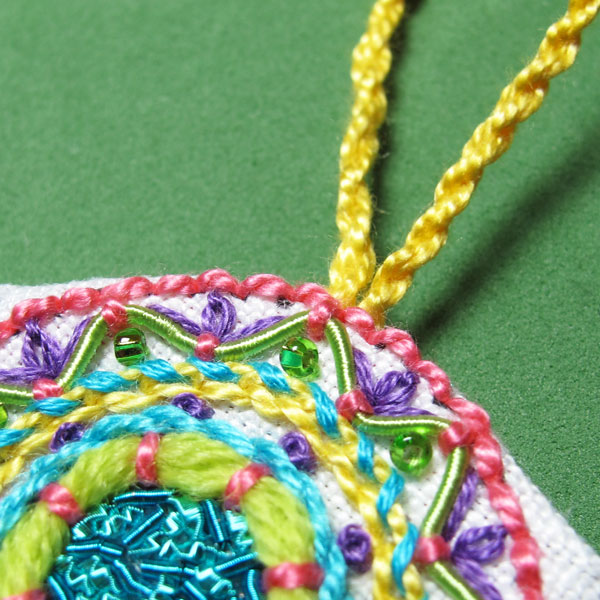
Place the two ends of the cord or a ribbon behind the folded edge of the fob. I lined my cord up with the zigzag Memory Thread on the front of the fob.
Tack the cord in place on the back of the fob.
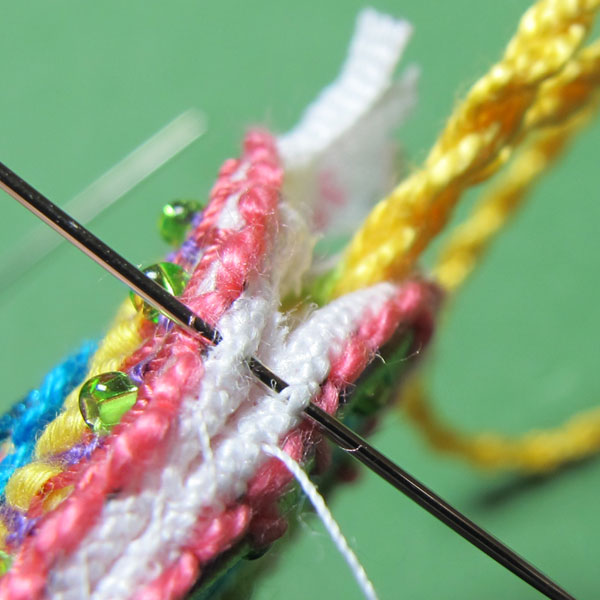
Using regular sewing thread that matches your ground fabric, whip stitch the two sides of the fob together most of the way around (with wrong sides together and right sides facing out).
Use small stitches and pick up only the folded fabric just outside the backstitch lines.
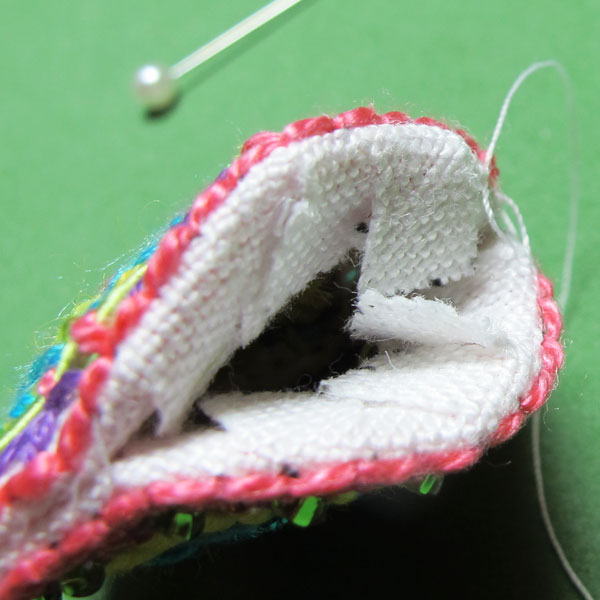
If you want a rounded, plump fob, leave a gaping mouth and stuff in some fiber fill. If you want a flat fob, don’t stuff it.
Finish whip stitching the mouth closed.
Using perle cotton #5 again, I worked a ladder stitch over both backstitch outlines.
Essentially, this ladder stitching results in parallel stitches whipped through both backstitch lines.
Step 13: The final step!
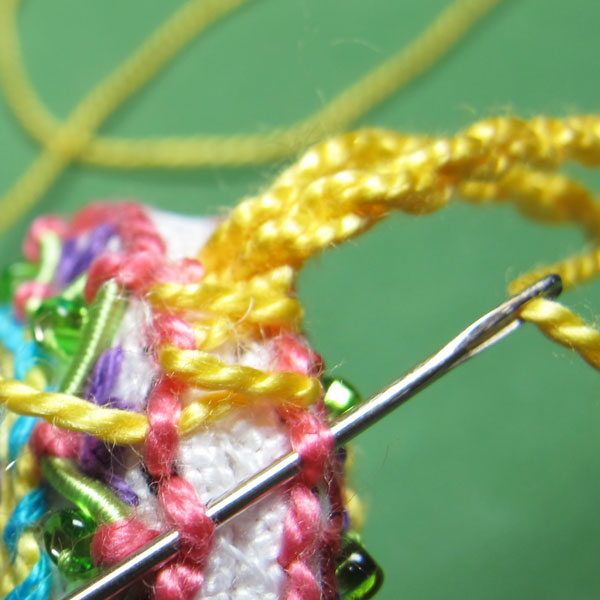
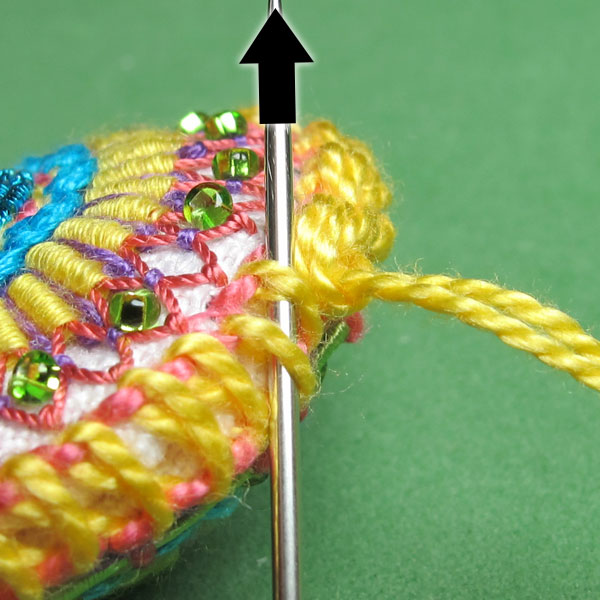
Using two strands of perle cotton #5 in the needle at once, and using a #18 tapestry needle, I worked the decorative stitching around the outside of the fob.
Starting from the top of the fob at the cord or ribbon, I worked a raised chain stitch, using the parallel stitches around the fob as the foundation stitches for the raised chain stitch band.
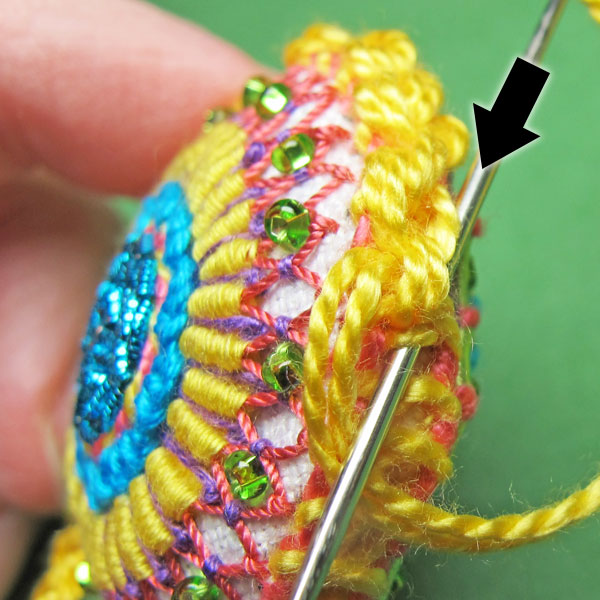
I worked over two parallel stitches at a time, so that the decorative raised chain stitch stayed loose and attractive.

And this is the resulting raised chain stitch edging.
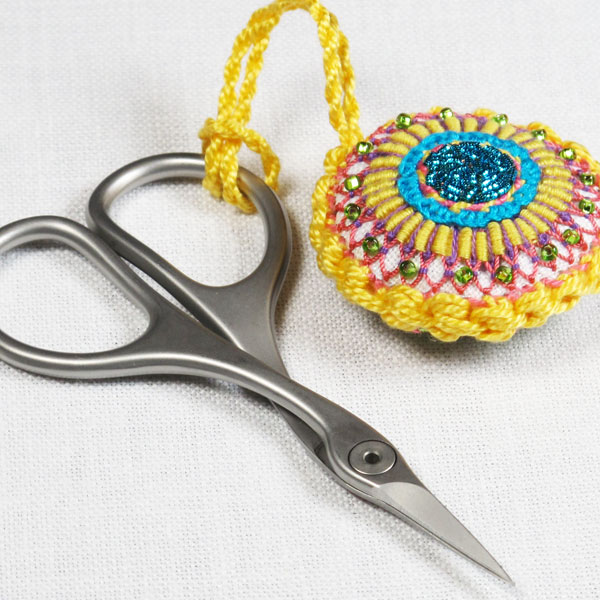
Loop your fob onto your scissors, and they’re all dressed up and ready to go!
Tying it all up
This project takes around 4 or 5 hours to work, making it a perfect little weekend project. You can use the same concept to create ornaments, key fobs and any number of little ornamental thingamabobs!
The key to really having fun with this type of project is playing around and experimenting with stitches, threads and embellishments to create your own unique little work of art.
Share tips, start a discussion or ask one of our experts or other students a question.
No Responses to “How to Make a Scissor Fob, Part 2”