
Learning how to make a rubber stamp at home revolutionized my arsenal of crafting supplies. Once I understood the process, there was literally nothing that I could not dream up, stamp, and create!
I’m thrilled to share this fun tutorial on how to make a rubber stamp with you today. The stamps are particularly fun to use on both paper and fabrics. You can even use them on the walls to brighten up a bland paint job! I love the idea of personalizing my invitations, stationary and wrapping paper — with a simple rubber stamp I can totally make that happen!
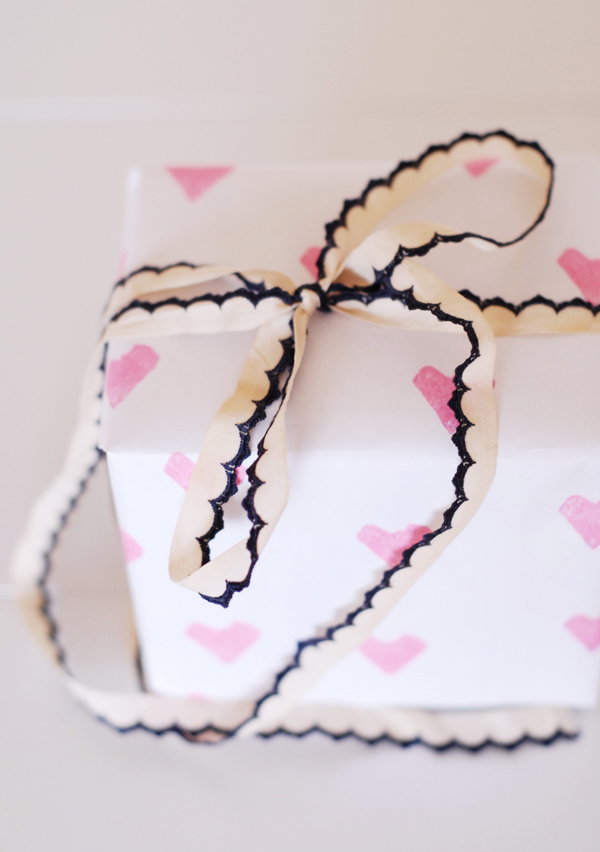
I’ve used my homemade rubber stamps for everything from creating art for the house to wrapping presents. And making one is way simpler than you would imagine. I found the easiest way to make a rubber stamp is with a basic school eraser and thick, sturdy piece of wood.
How to make a rubber stamp
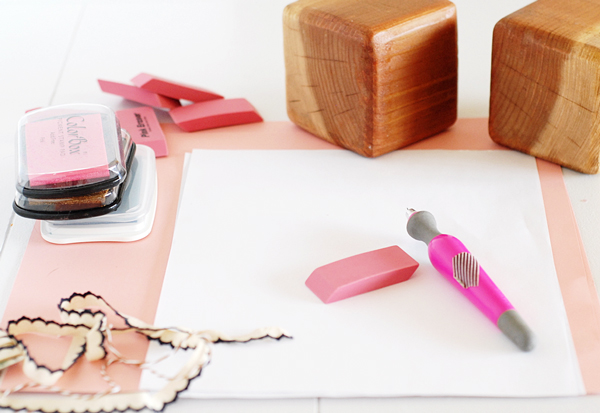
Supplies you will need:
- Thick school erasers
- X-Acto knife
- Piece of wood (I like to use thick blocks, but any type of wood will work)
- Hot glue or Gorilla glue
- Stamp pads
- Paper

Step 1:
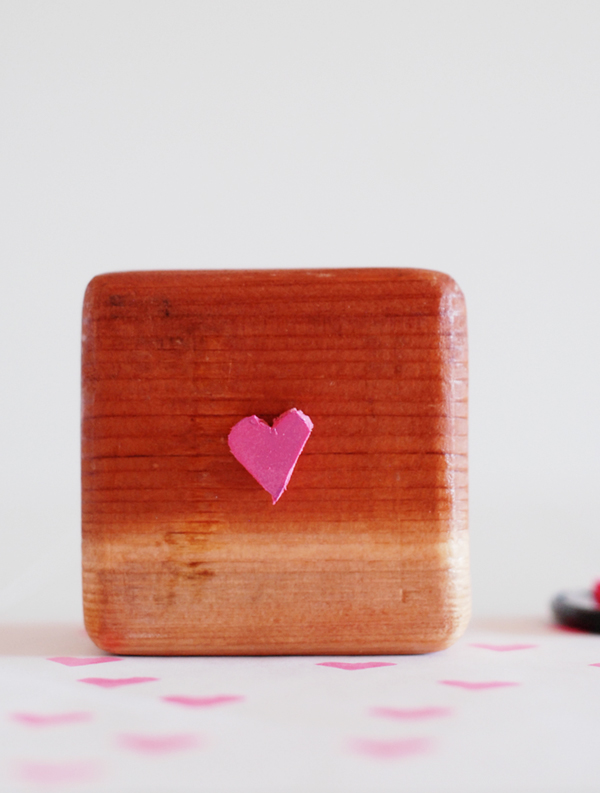
To make the rubber stamps, start by drawing out your template on the rubber eraser. Freehand a design, or print out a template and trace with pencil. The simpler the design you start with the easier the process will be. My favorite stamps are basic and graphic, like a heart or a star.
Step 2:
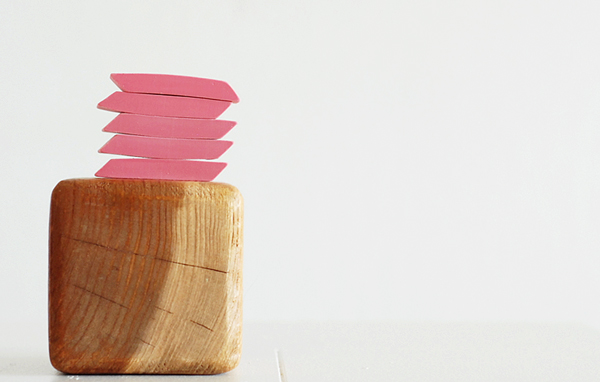
Once you’ve traced, or drawn the design out, begin cutting it out with an X-Acto knife. One tip I’ve learned is to be sure to hold the knife at the correct angle while cutting. If you hold the knife straight down the edges will not cut evenly. When you cut, be careful to make it all the way through the rubber for clean and easy sides. Continue all the way around your design so that you are left with one rubber cutout of the stamp shape.
Step 3:
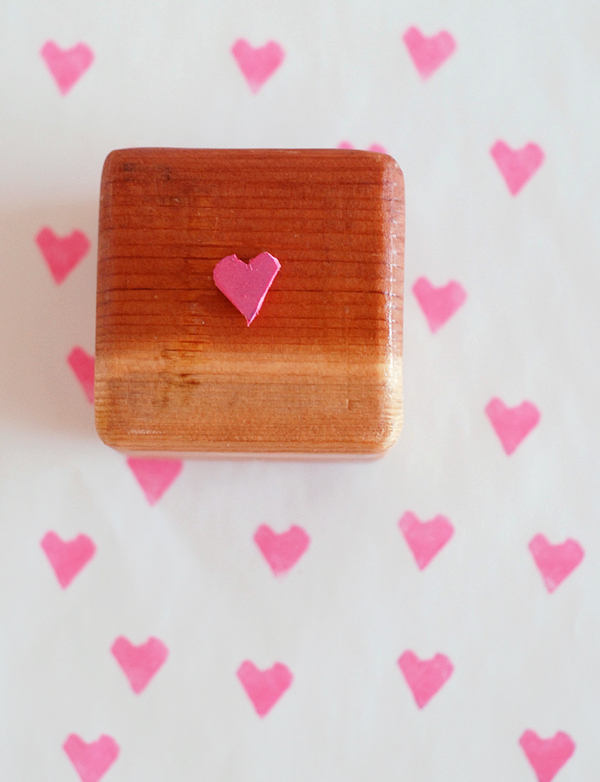
After the rubber is cut, the next step is to glue it into the wooden piece you will use to stamp. I love using my big wooden blocks for projects like these, however, even a small piece of wood will work for creating the stamp. Use hot glue or Gorilla glue to hold the stamp firmly into place.
All that is left now is to choose a color and stamp away. Turn your eraser into a wrapping work of art by stamping a basic white sheet of paper. Stamp a poster board and frame it for a one-of-a-kind masterpiece. Or use the tutorial and fabric paint to have a go at updating your wardrobe this spring. There are so many possibilities once you have this simple tutorial for making rubber stamps down.
Share tips, start a discussion or ask one of our experts or other students a question.
No Responses to “How to Make a Rubber Stamp That's Uniquely Yours”