
Not only is it important to create a wonderful quilt center, but the finishing of the edges and the final finishing of the quilt itself can mean many years of enjoyment of your quilt. Knowing a few simple quilting techniques and tips can help you finish a quilt edge so it will be sturdy, durable and beautiful.
Photos via A Quilting Life
Here are some tips for achieving a professional finish to the edges of your quilts.
Quilt top preparation:
Before beginning the finishing techniques of your quilt edge, be sure to prepare the edges of your quilt.
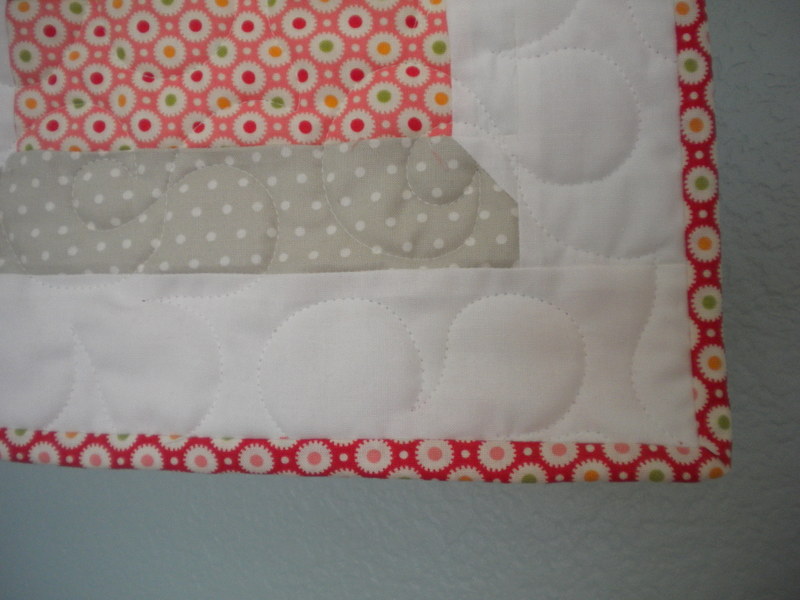
Step 1: You will first want to be sure that your quilt top lays flat. Check the corners to be sure they are 90 degree angles. Quilt top edges should be as flat as possible.
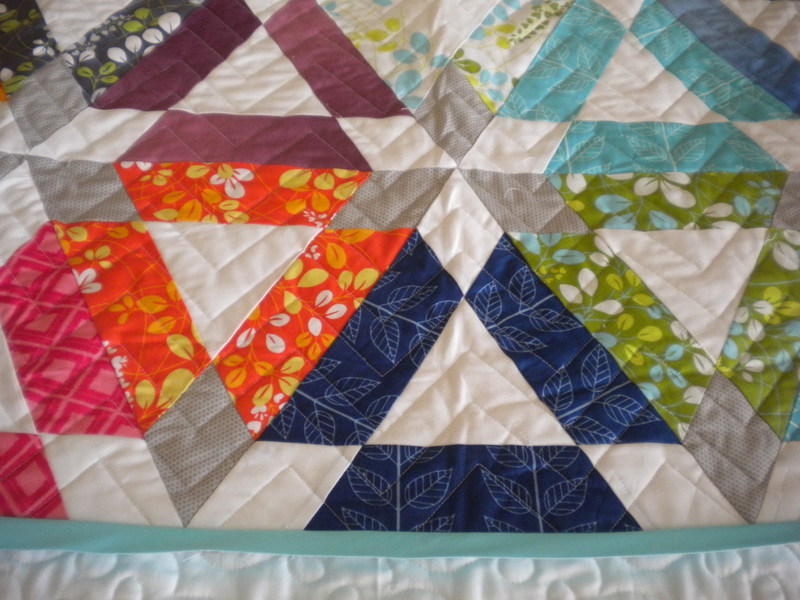
Step 2: If you have sewn a quilt with a pieced border, you will first want to sew a “stay-stitch” all around the outside edges of the quilt. A “stay stitch” is a straight stitch sewn just 1/8” from the edge of the fabric. This stitch will keep the outer seams from coming apart and will also prevent stretching and fraying of the outer edges.
Step 3: Finally, you will want to baste the outer edges of your quilt top to the backing and batting to ensure the top doesn’t get stretched or distorted during quilting. If you are having a longarm quilter do your quilting, the quilter will generally take care of this basting step for you.
Edge finishes:
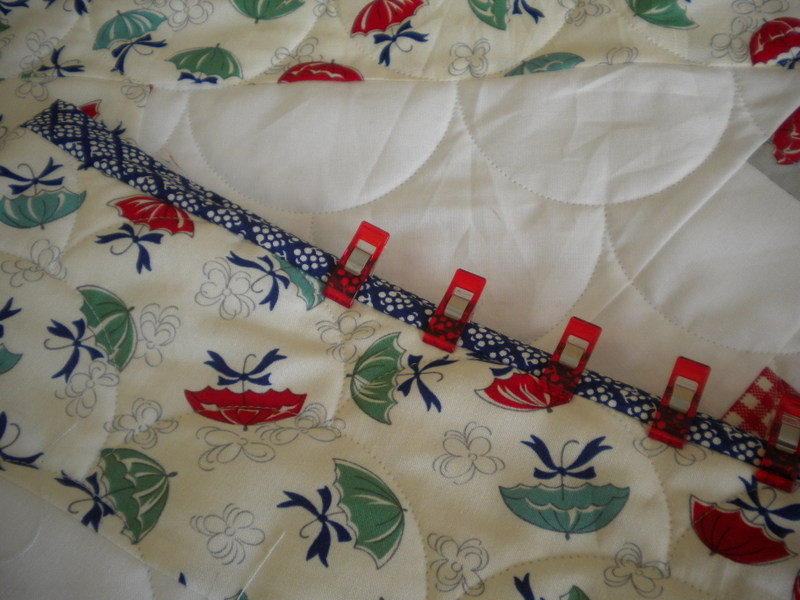
There are a variety of choices for finishing your completed quilt top or quilted project. Finishing your quilt edge with a binding is the most common choice.
A binding is created by encasing the edges of a quilt with a piece of fabric usually sewn to the front, then folded over and stitched to the back of the quilt. For quilts that are going to be used on a regular basis, a binding is the most practical way to finish the edge of your quilt.
When choosing binding to finish a quilt edge, you again have several options. You can choose a premade, ready-to-sew bias binding, or you can make your own binding cut on the bias or on the straight of grain. Folded bindings are the strongest and most durable choice.
For more information on bindings, see also Quilt Bindings: Framing Your Quilt and Bias Quilt Binding: Three Ways.
Decorative finishes:
If your quilted project is a wall hanging or another quilted item that won’t get frequent use, you have some other options for finishing the edge. Using rickrack, piping, ruffles or even pompoms can be a fun and whimsical way to finish decorative items.
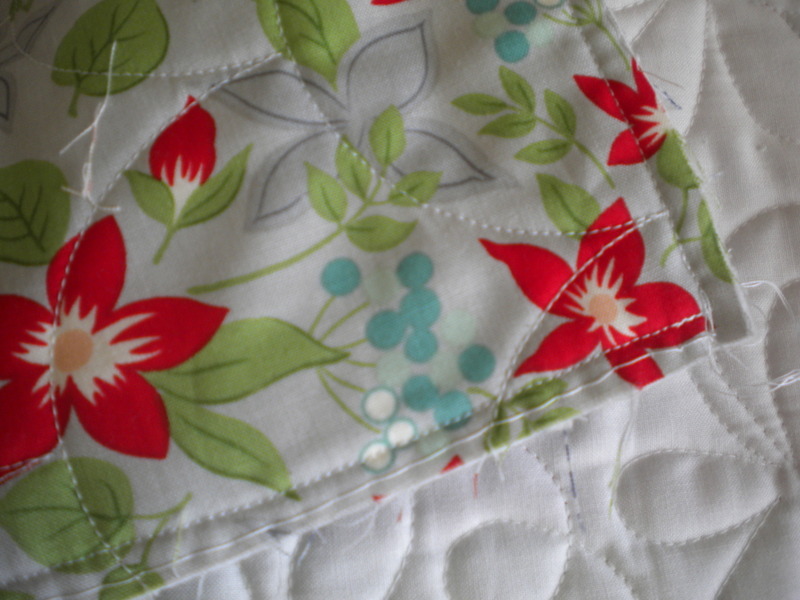
Another option for finishing a quilt that won’t get heavy use is to finish the edges using a “knife edge.”
Step 1: To create a knife edge, you will trim your batting so it’s a little smaller than your finished top.
Step 2: Turn under the edges of your quilt top back 1/4” to 1/2” and baste the layers together.
Step 3: Once you have completed the basting, use a blind stitch to sew the front and back together.
Step 4: After your blind stitch is complete, you can remove the basting stitches.
Share tips, start a discussion or ask one of our experts or other students a question.
No Responses to “How to Finish a Quilt Edge”