
Even a beginner can learn how to render the surface of wood. You can create beautiful images by studying the rugged surface solely or by setting up a still life with a wooden object.
Follow the tutorial and read the tips for how to draw realistic wood!
Step 1:
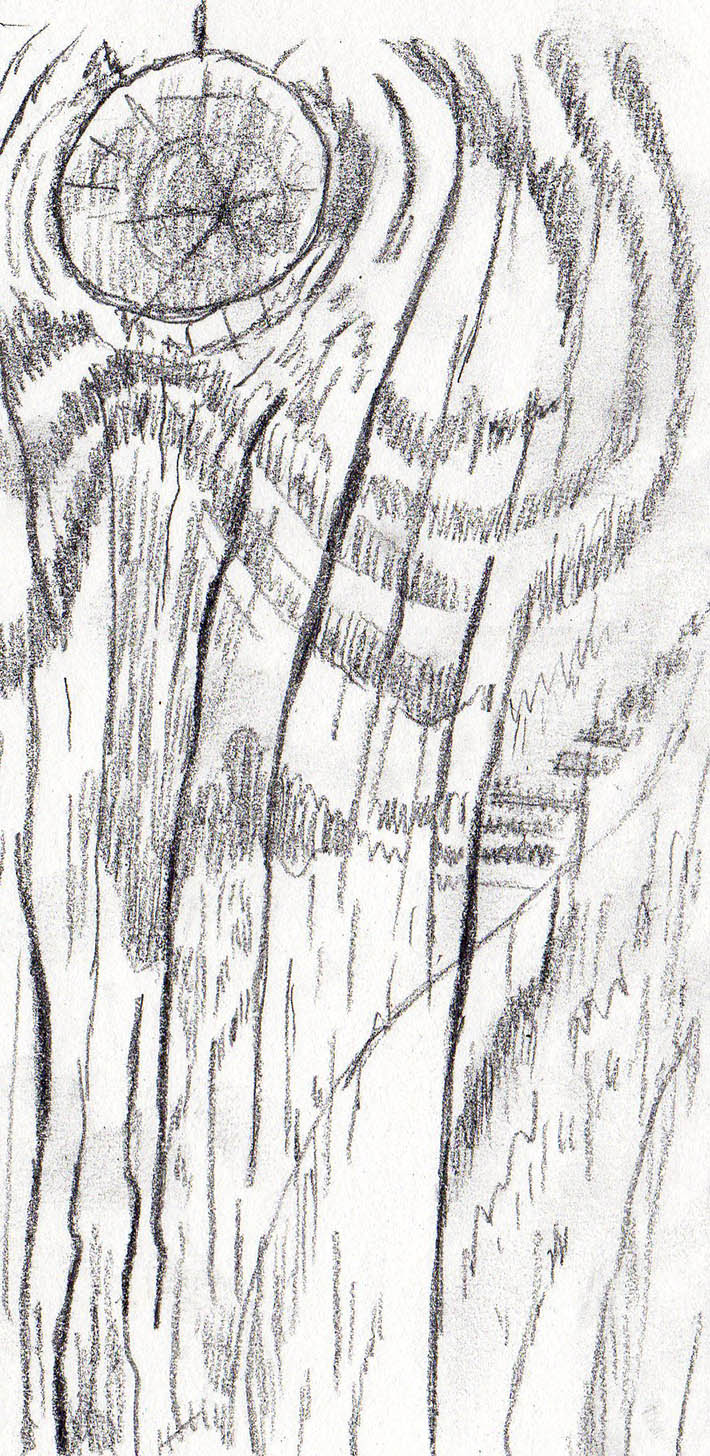
Study the pattern of the wood. Look at overall direction of lines, the sharpness or softness of the edges and if the overall pattern changes around a knot. Mark the most prominent lines with a soft 4 to 6B graphite pencil. Don’t copy everything that you see; rather focus your attention on a few major vertical lines running across the wood strip. Lines don’t repeat themselves, so avoid the exact repetition of strokes.
Step 2:
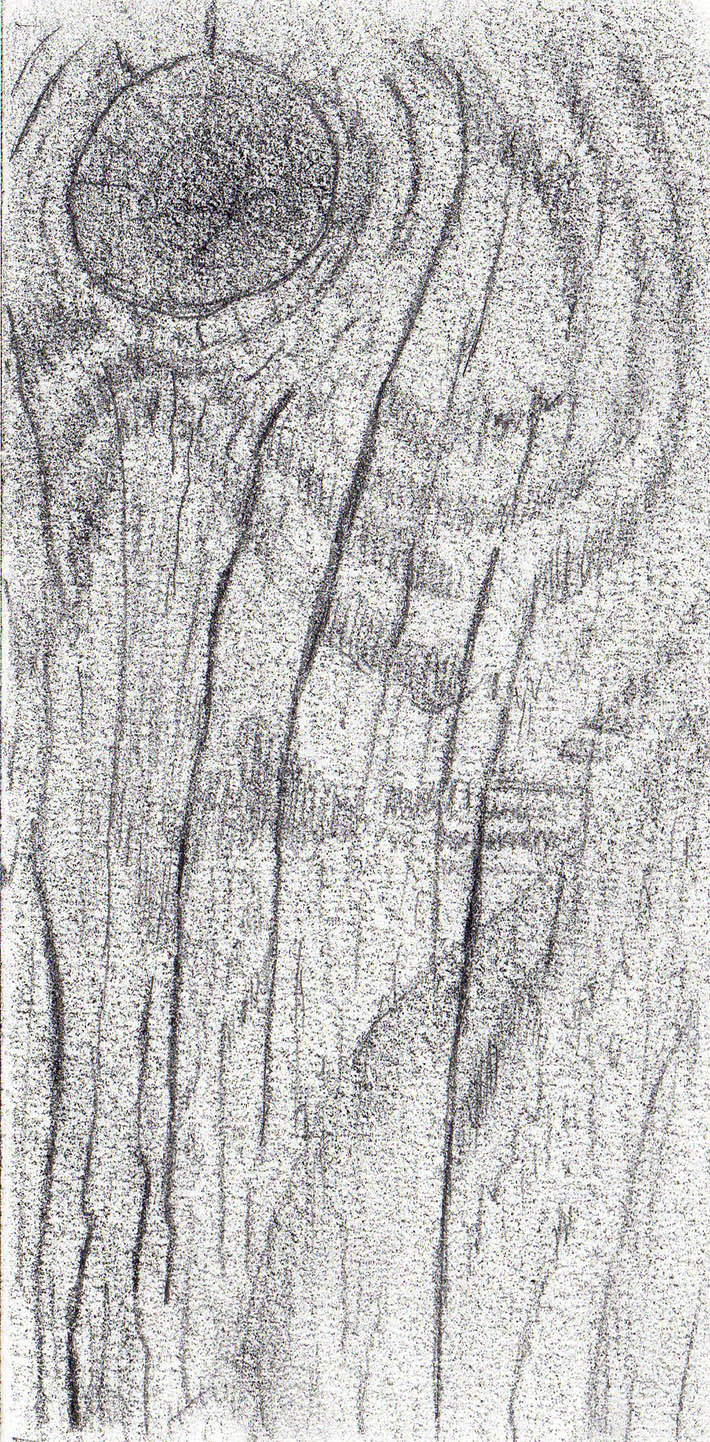
Now shade the entire drawing with soft and even, parallel strokes using the side of a 2-4B graphite pencil. The goal is to shade the entire surface. The tone depends on the color of your wood. Is it light or dark? It’s a medium tone in my sketch. Notice how the paper’s tooth creates overall texture. This is the basic structure of the wood.
Step 3:
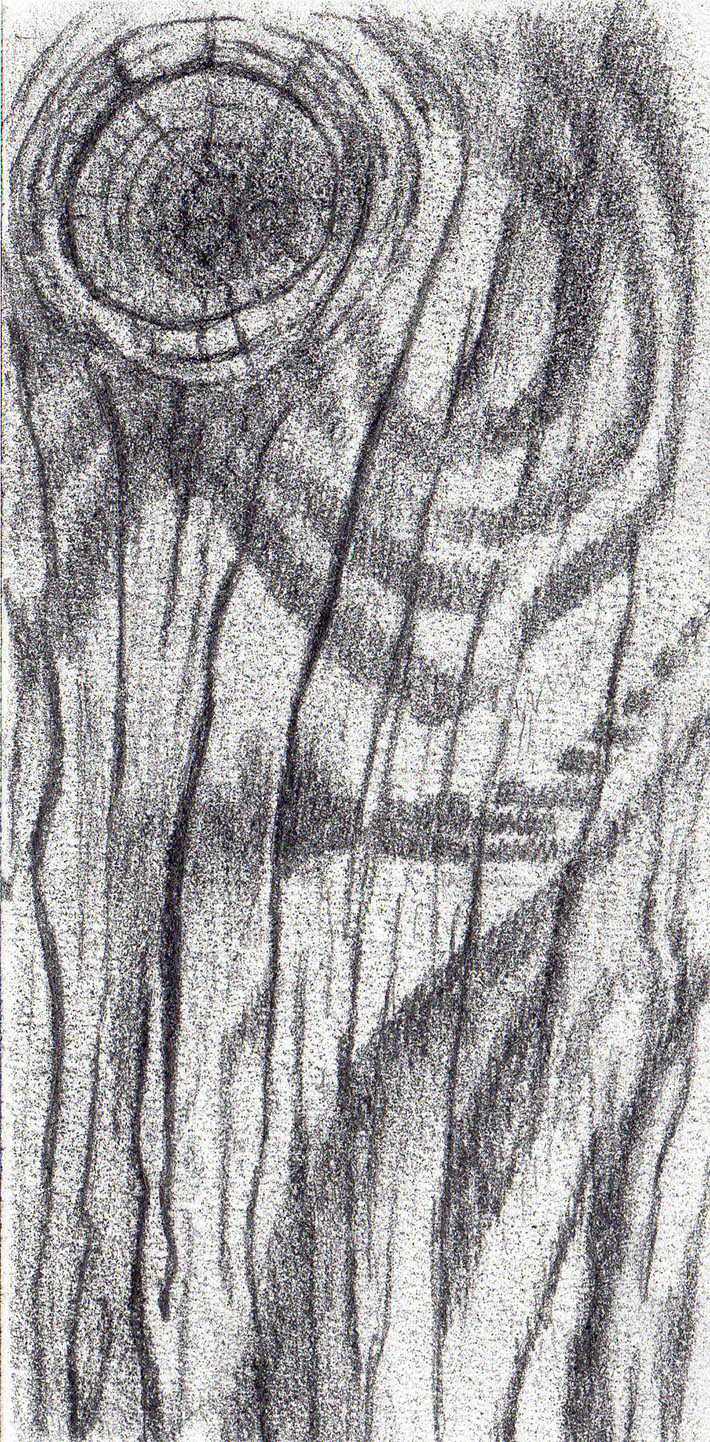
Deepen the darks and make sure that the lines are curving and uneven. They must have varied length and strength to appear natural. If your lines are too straight or parallel to each other, the wood would look like a striped mattress.
If your wood has a knot (which looks like a ring with many cracks), outline it here. You can try short, random strokes to describe its rugged texture. Next, use upward strokes to render the wood grain.
Blend everything with a piece of felt. If you blend too much and values become similar, re-apply the darkest strokes. You should have at least five tones (values) in any picture you create volume.
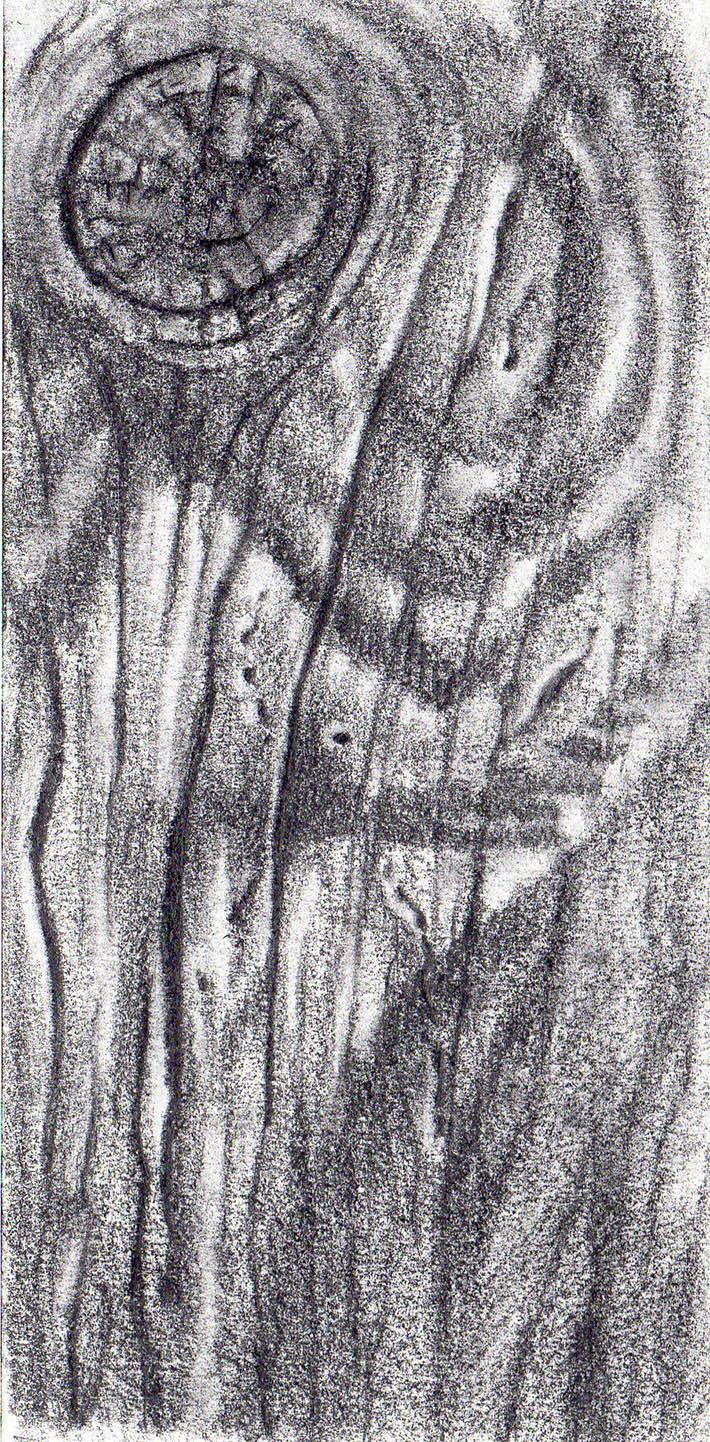
Step 4:
In this final step, study the light direction to create the illusion of cracks and pits. Around each crack or pit, you basically see three values: the darkest area is the pit itself (which I drew with a soft pencil); the lightest value is the edge around the pit where the light catches; the midtone is the overall value of the wood itself.
Tips for drawing wood
If you do a study of wood only, it makes sense to draw on a somewhat textural paper, so you have an additional texture coming from the paper itself. When you rub your pencil over it, the textured paper gives you the unevenness and the rugged feel you need to convey the wood’s overall surface. Hot-press watercolor paper and heavier-weight drawing papers give you slight texture and the flexibility to erase and apply layers of graphite.
If there is a branch or something else sticking out of the wood, this object would cast a shadow under it onto the wood. That shadow must be captured for a realistic effect.
By using graphite pencils of various softness and hardness, you can easily build texture and value. In the final step use shorter, descriptive strokes over the established tone and avoid blending/ smudging. You don’t really need to blend much, but if it gets too uneven, use a paper stump, a piece of felt or sketch paper to even out the tones. I use a kneaded eraser to pull out highlights when necessary.
When you’re nearly finished, step back to look at your drawing from a distance to final check contrast and values. Make any minor adjustments and use a spray varnish outdoors to fix your drawing against the smudges and UV light.
Learn to draw more nature-inspired subjects!

Bring a garden of beautiful flowers to life in mixed media by following 5 free tutorials in this downloadable guide.
Share tips, start a discussion or ask one of our experts or other students a question.
No Responses to “Draw More Realistic Wood in 4 Steps”