
Block letters may look difficult to draw, but in truth, they’re one of the simplest feats of artistic wizardry you’ll ever master.
Photos and illustrations via CakeSpy
If you can draw lines and letters, then you pretty much already know how to draw block letters. They can be created in different ways depending on your style and aesthetic, so that you can have letters that are stylized and freehand or precise and typographically consistent.
Learn two ways to draw block letters, and how to apply the methods.
Freehand Method
This is an easy way of creating block letters that showcase your unique handwriting.
Step 1:
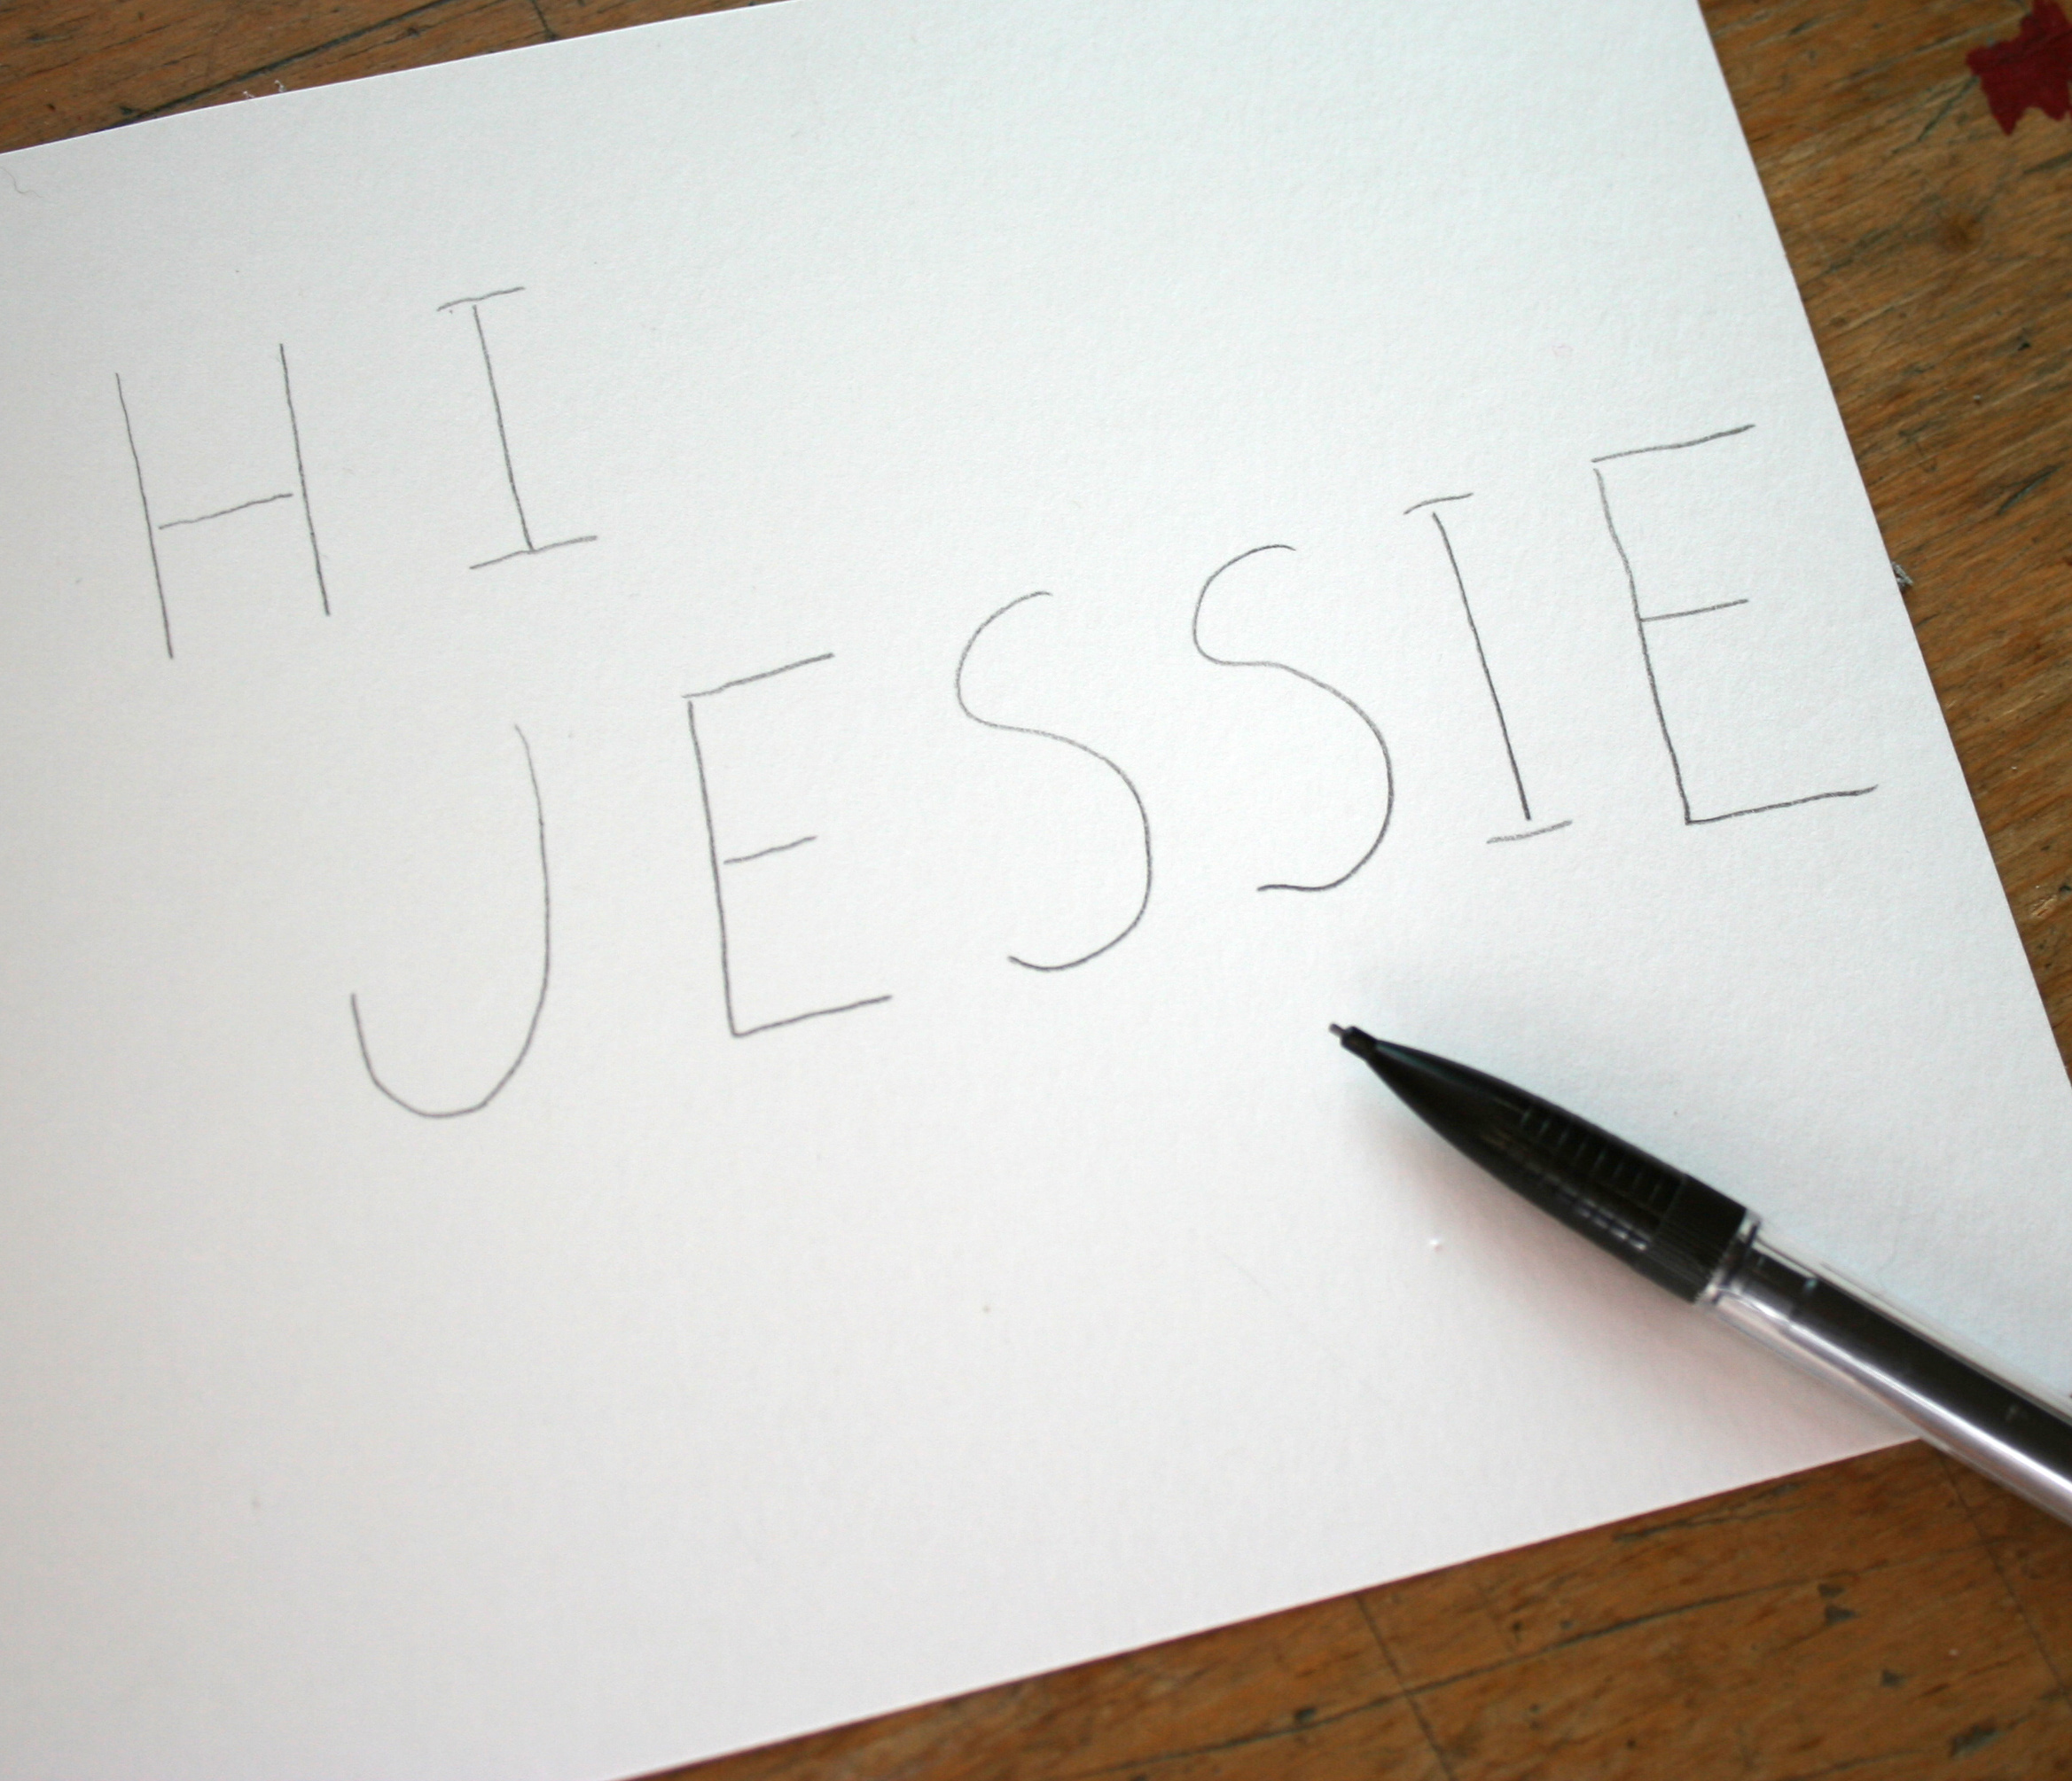
Sketch a few letters or a phrase in pencil. How about your name? Be sure to make the letters a little shorter than you’d like the final height to be, and leave a little extra space around each letter so that you have room to block-ify them. You can make the letters upper or lowercase, depending on your preference.
Step 2:
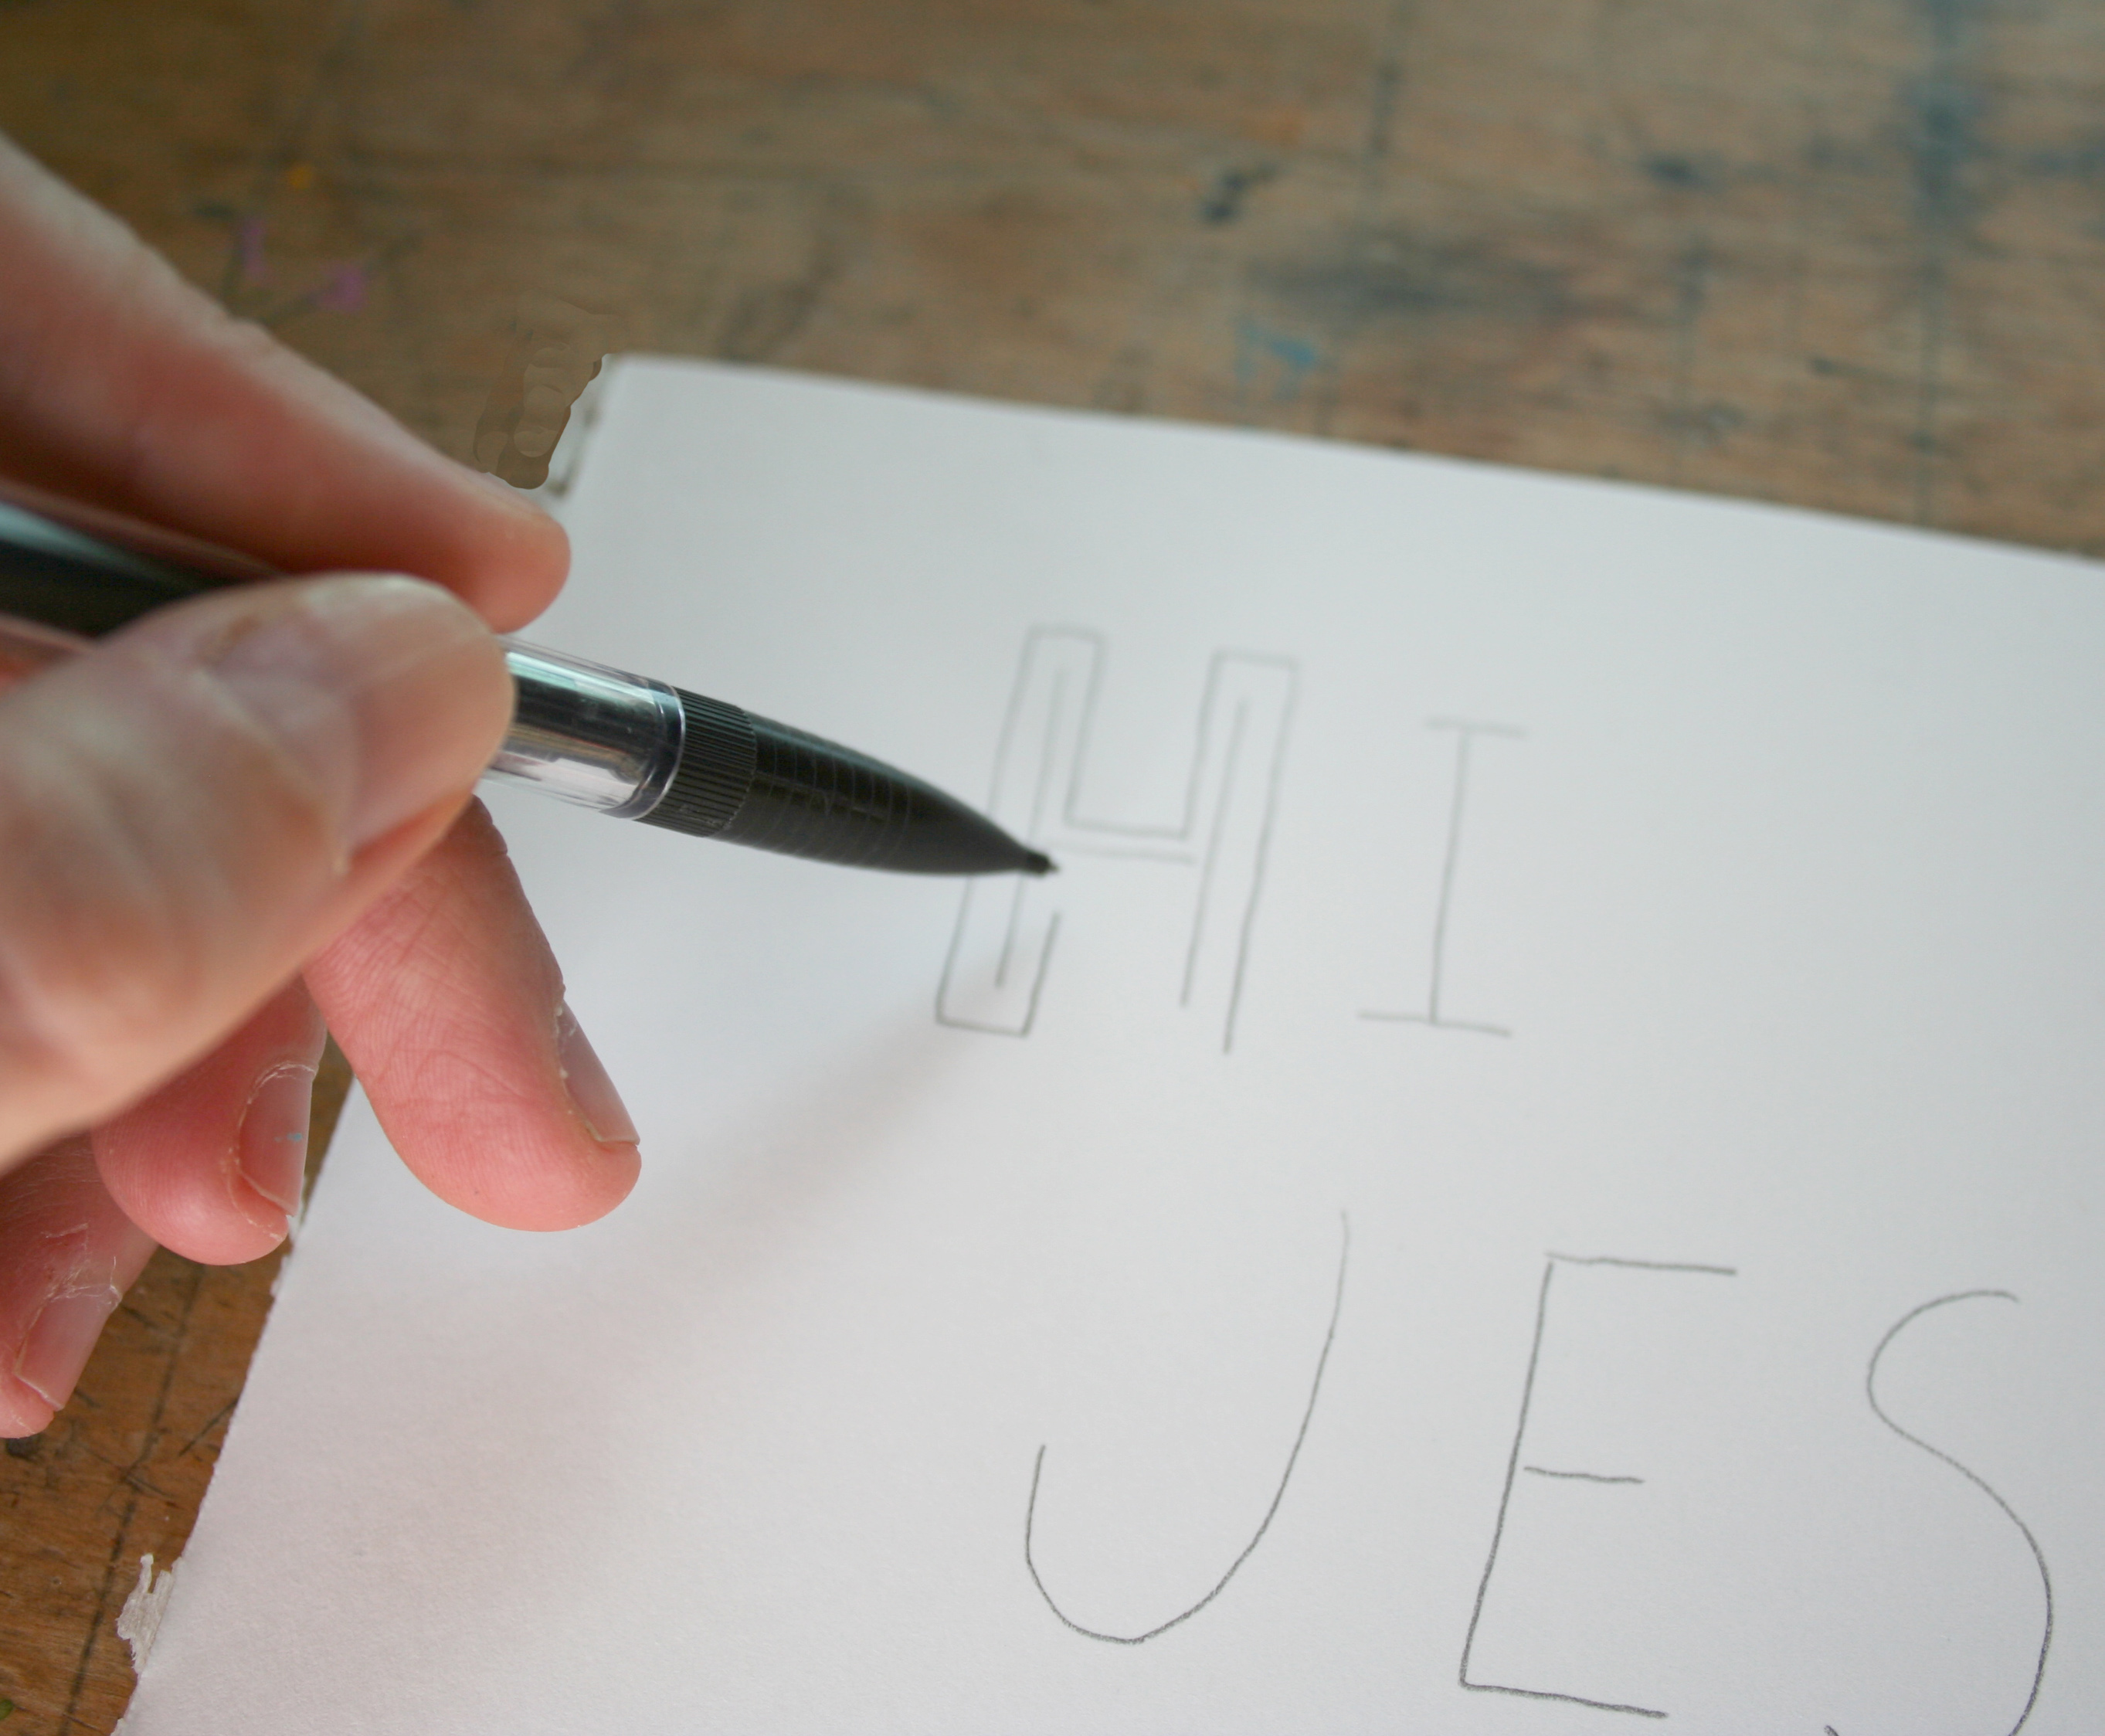
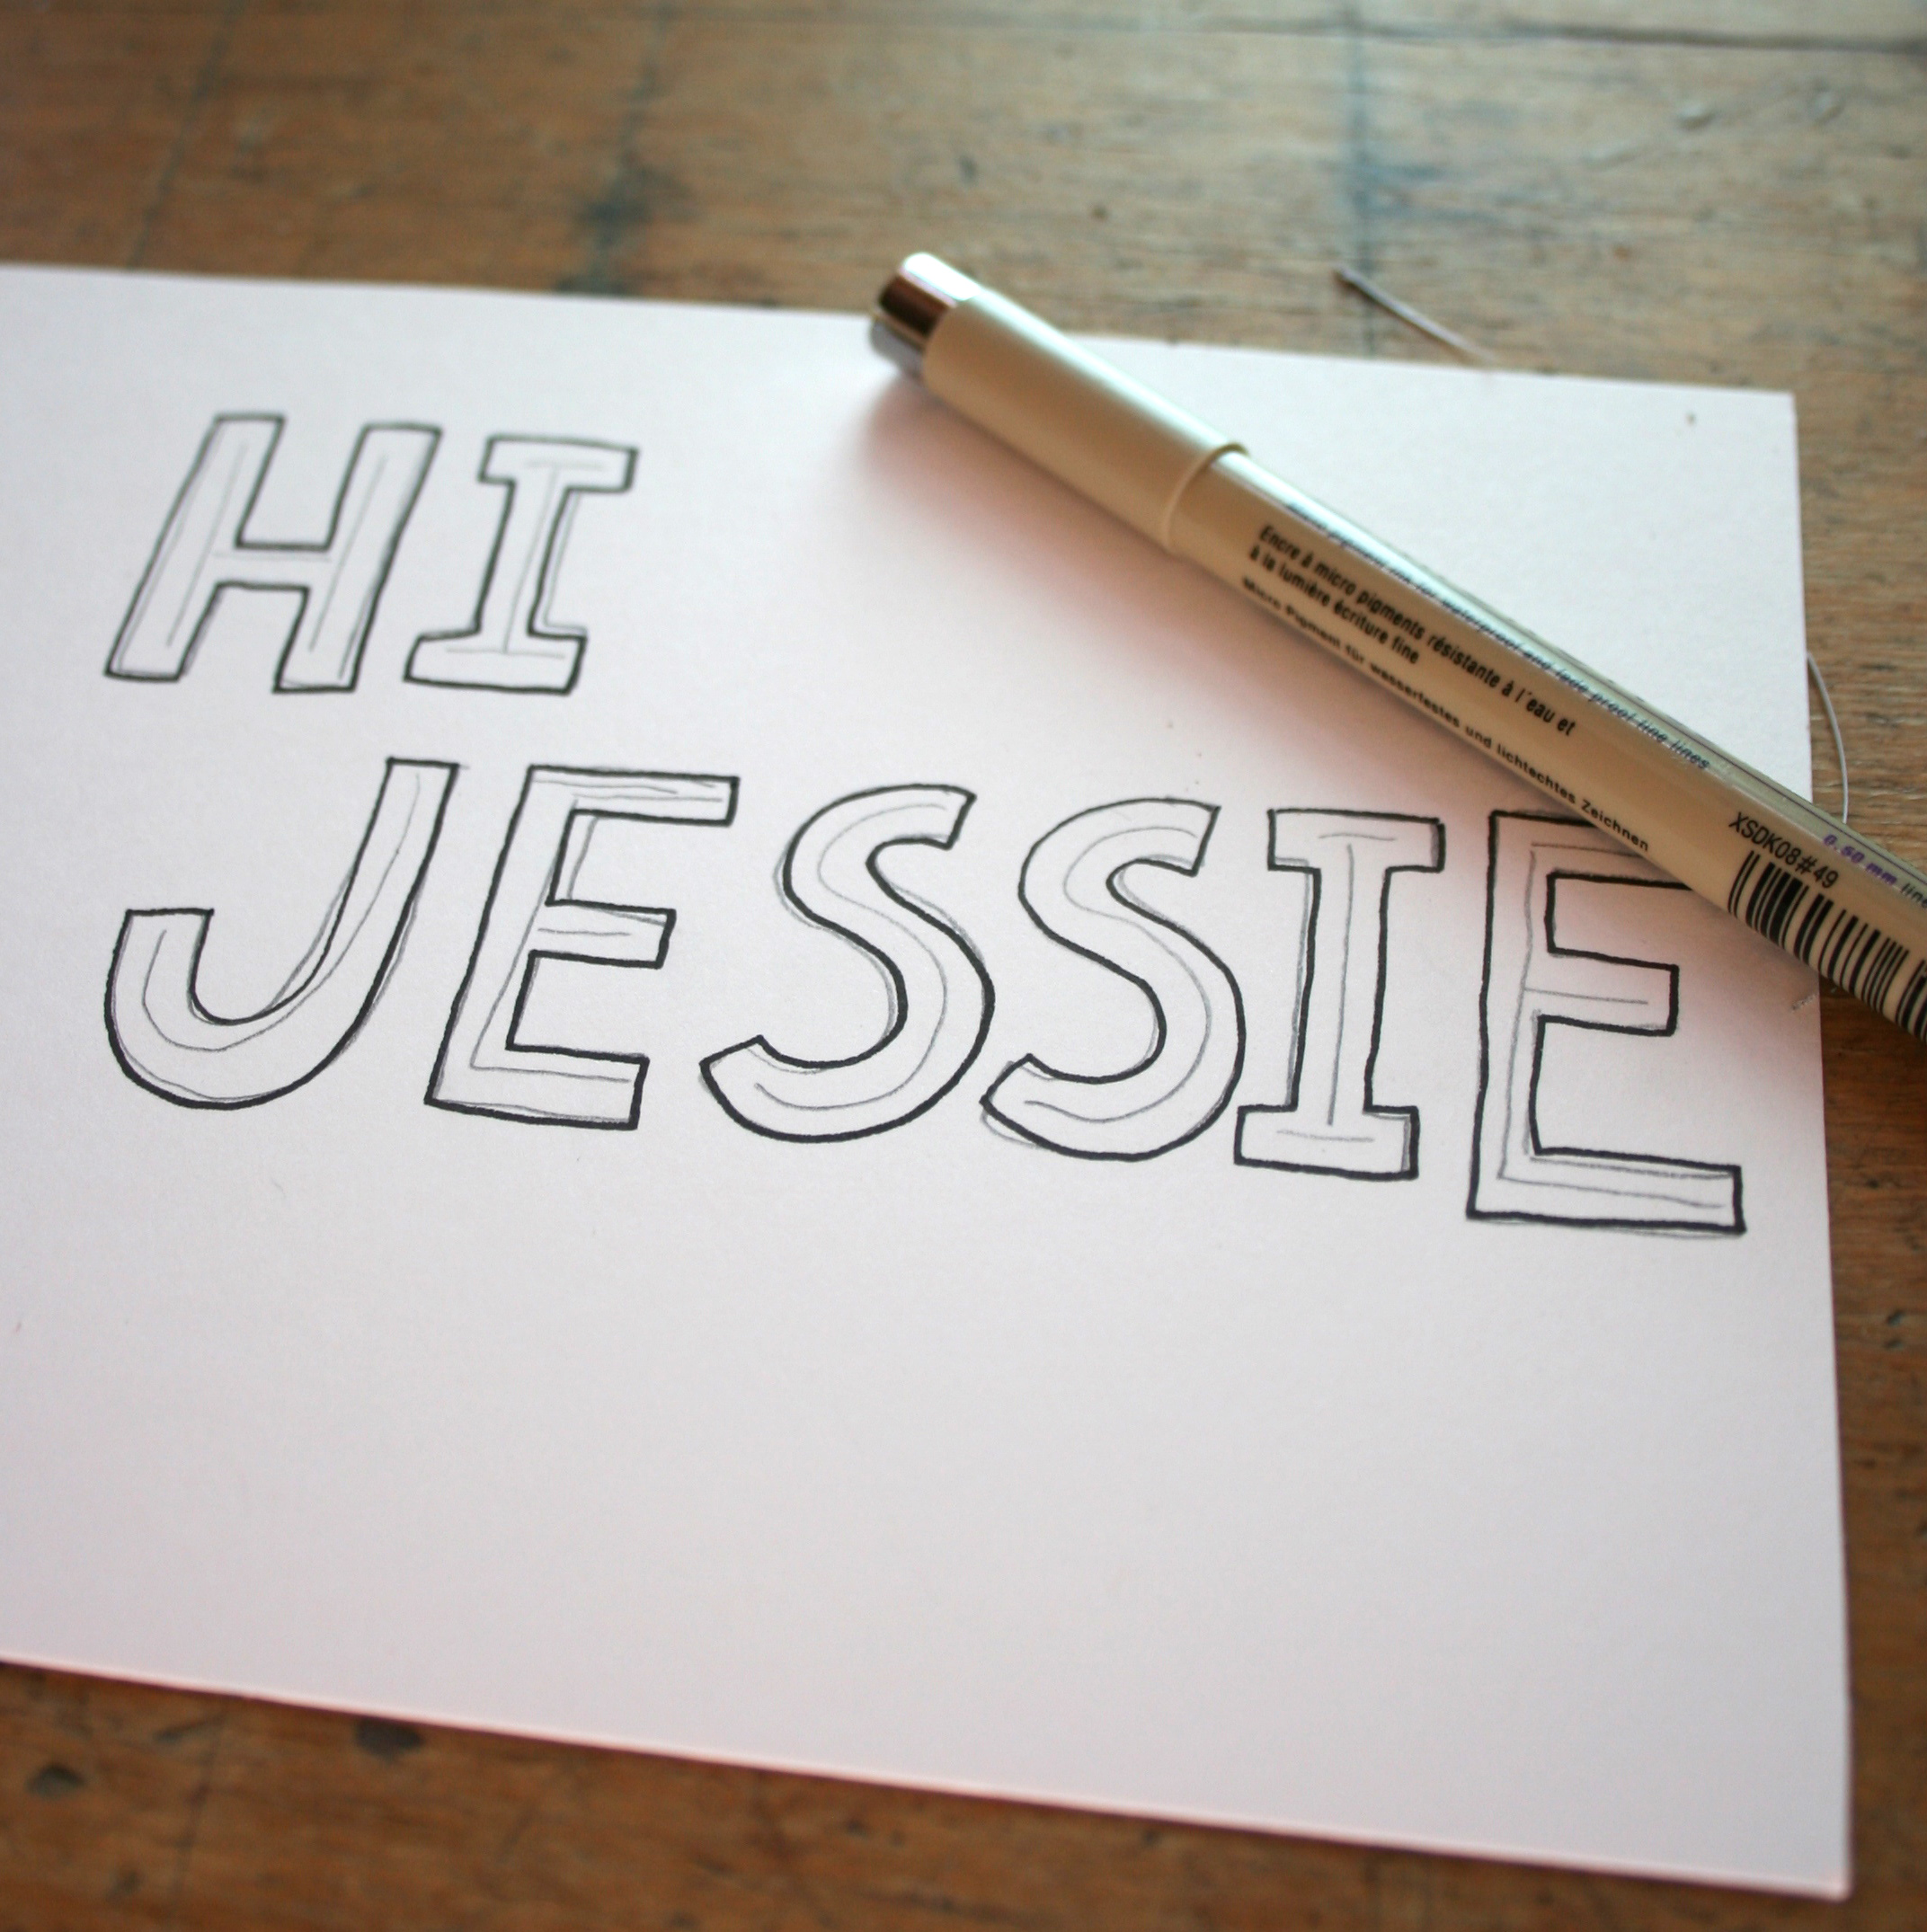
“Insulate” the letter. Using the line letters as a guide, create a block shape around it, as if you are insulating the lines of the letter. You can make the edges blunt (true block letters) or rounded for the block letter’s cousin, the bubble letter.
Step 3:
Your pencil sketch is done at this point. Continue with the piece as you would with any other pencil sketch. You can add ink, color them in with paint or whatever you prefer.
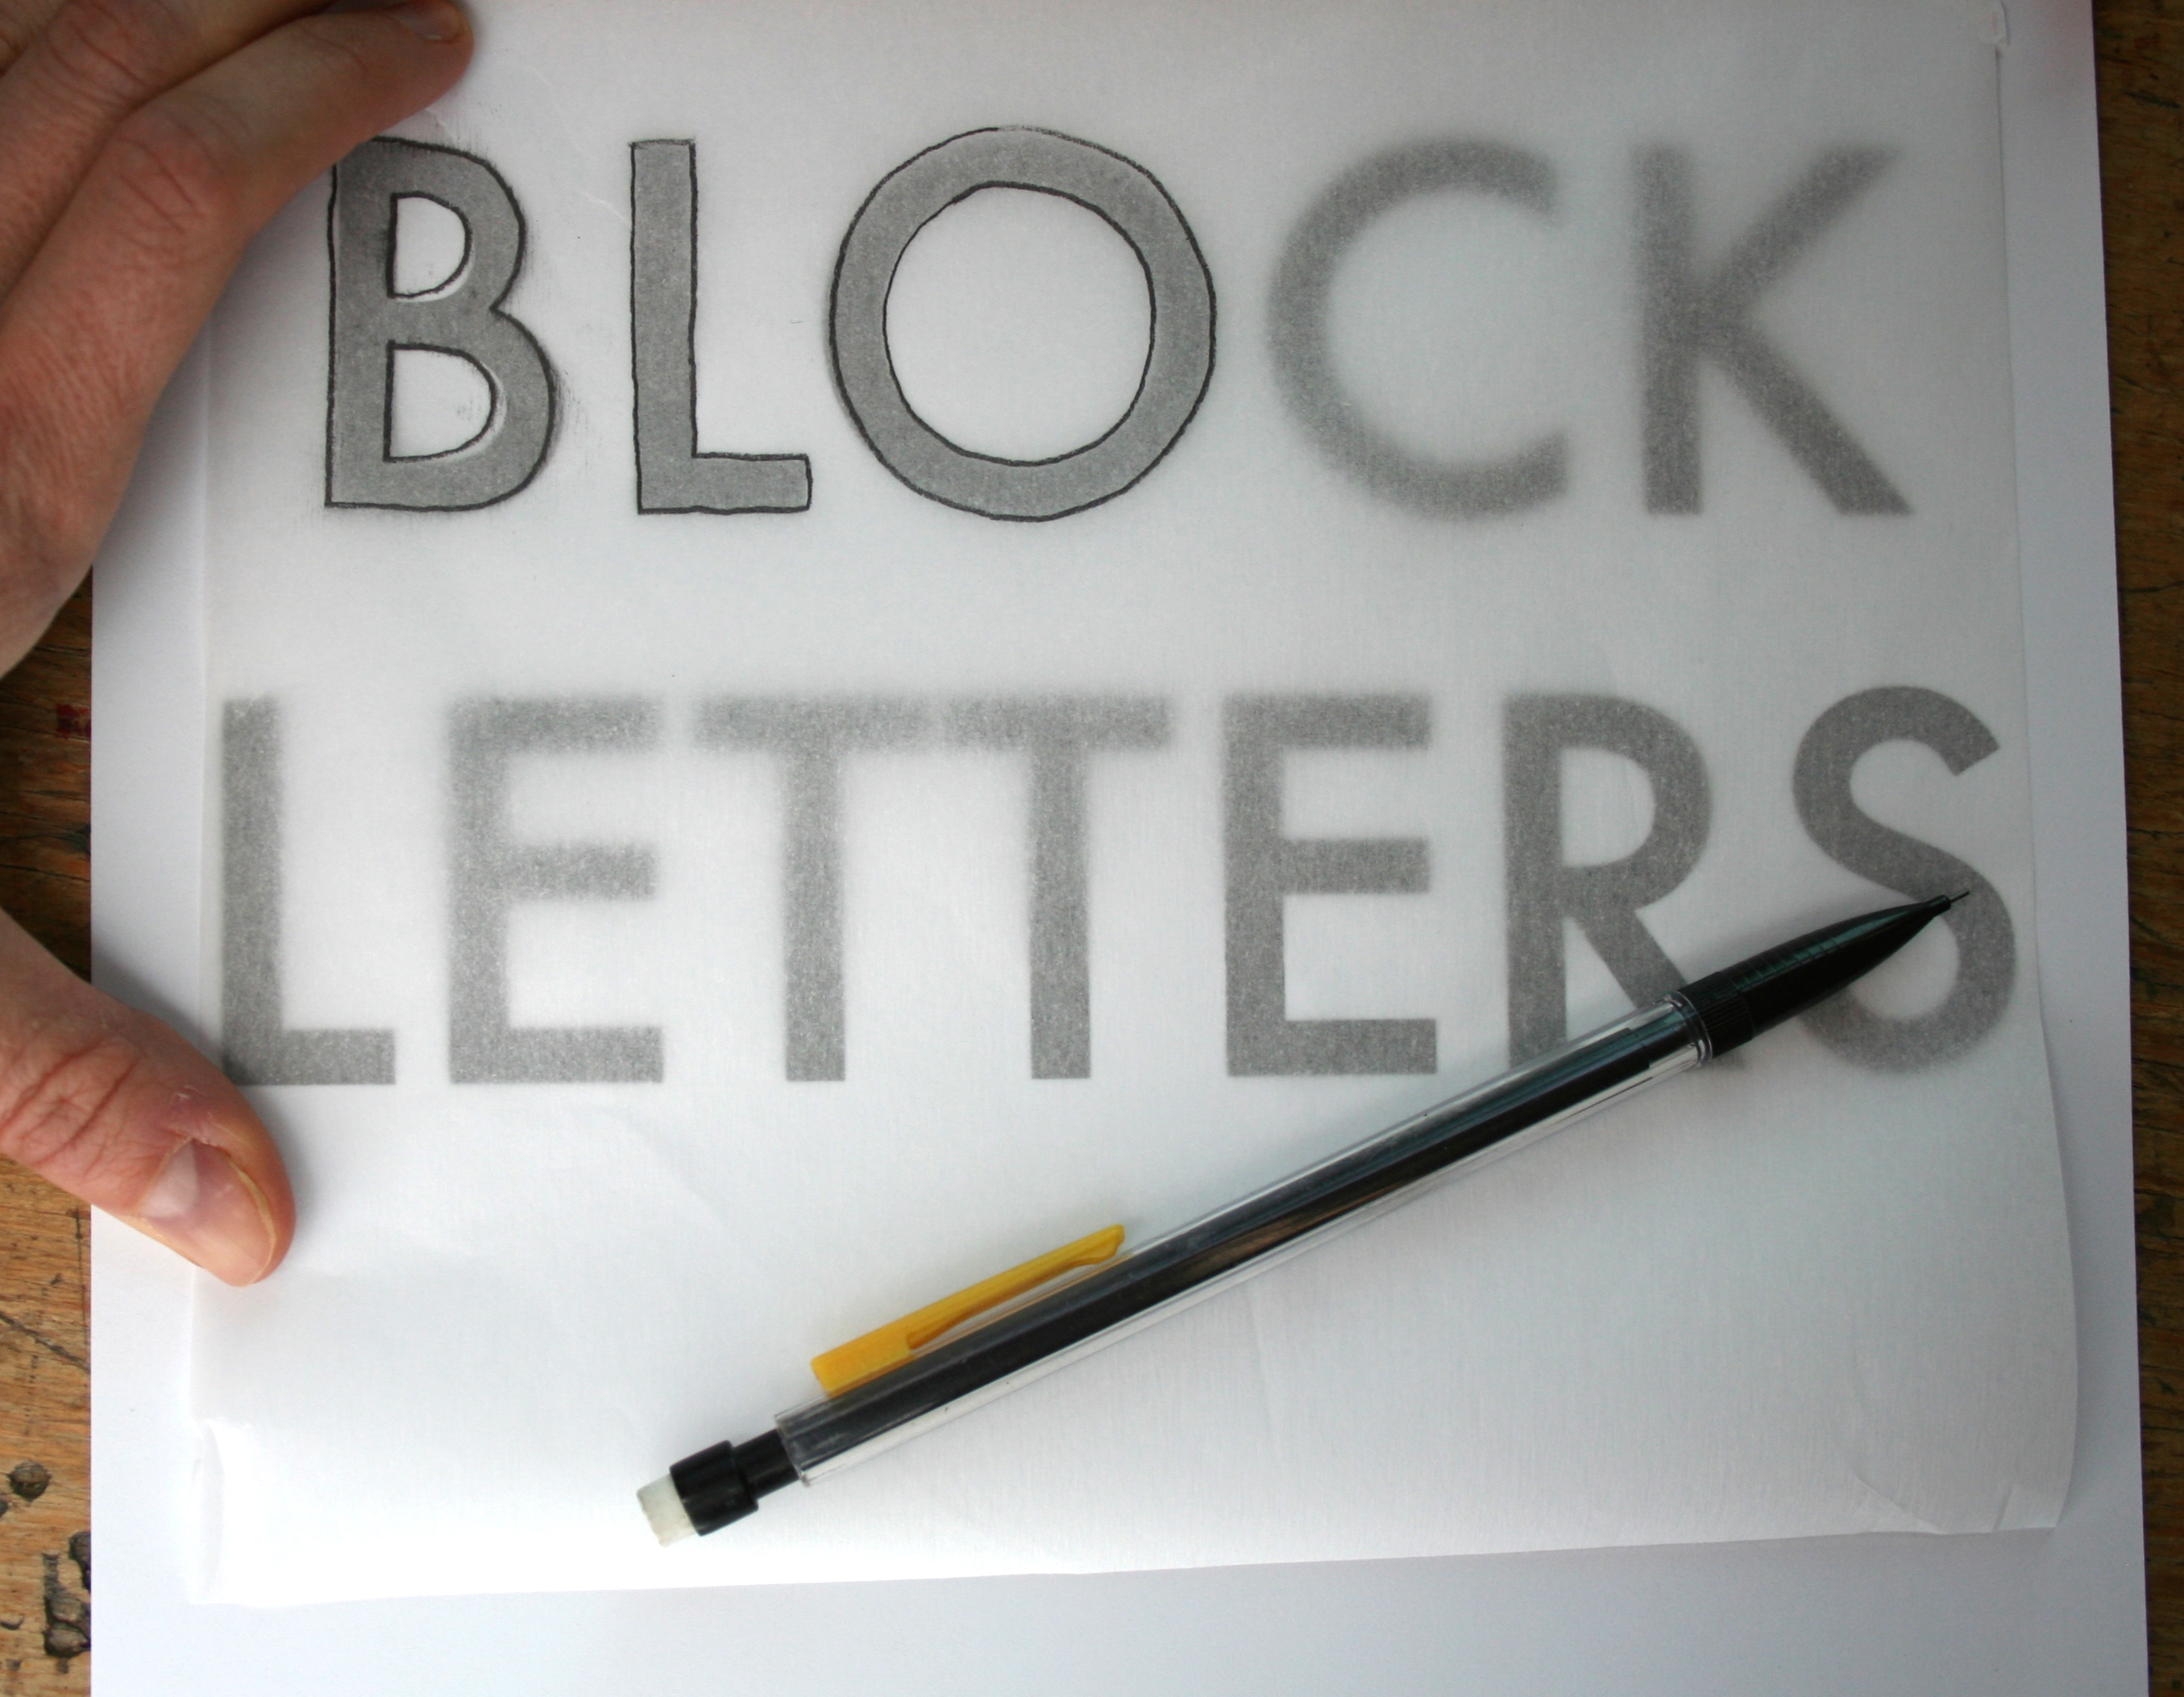
Tracing method
If the freehand method seems a bit above your current level, no worries. You can learn block letters by tracing, too.
Step 1:
First, find a typestyle that you like. Choose one with bold, thick letters. Type (in the case and spacing you’d like) the phrase you want to render in block letters. Print it out in the size you’d like. For instance:

Step 2:
Using tracing paper, trace over the letters, but only tracing the outline of the letters. Just like that, you’ve got easy and precise block letters. You can transfer the letters to your finished piece using transfer paper.
Step 3:
Proceed with your piece as you normally would.
Notes:
If you decide you really love a font, keep a printout of every letter of that typestyle handy so that you can trace individual letters on the go.
If the letters you’re using are fairly large, you can even create cutouts of each letter so that you can trace them as needed.
How to apply block letters in your art
Now that you’ve got the basic idea, let’s talk about how to draw block letters in a way that can be applied directly to a piece of artwork.
Step 1:
Determine where you will be putting the lettering, and what you’ll want the area to say.
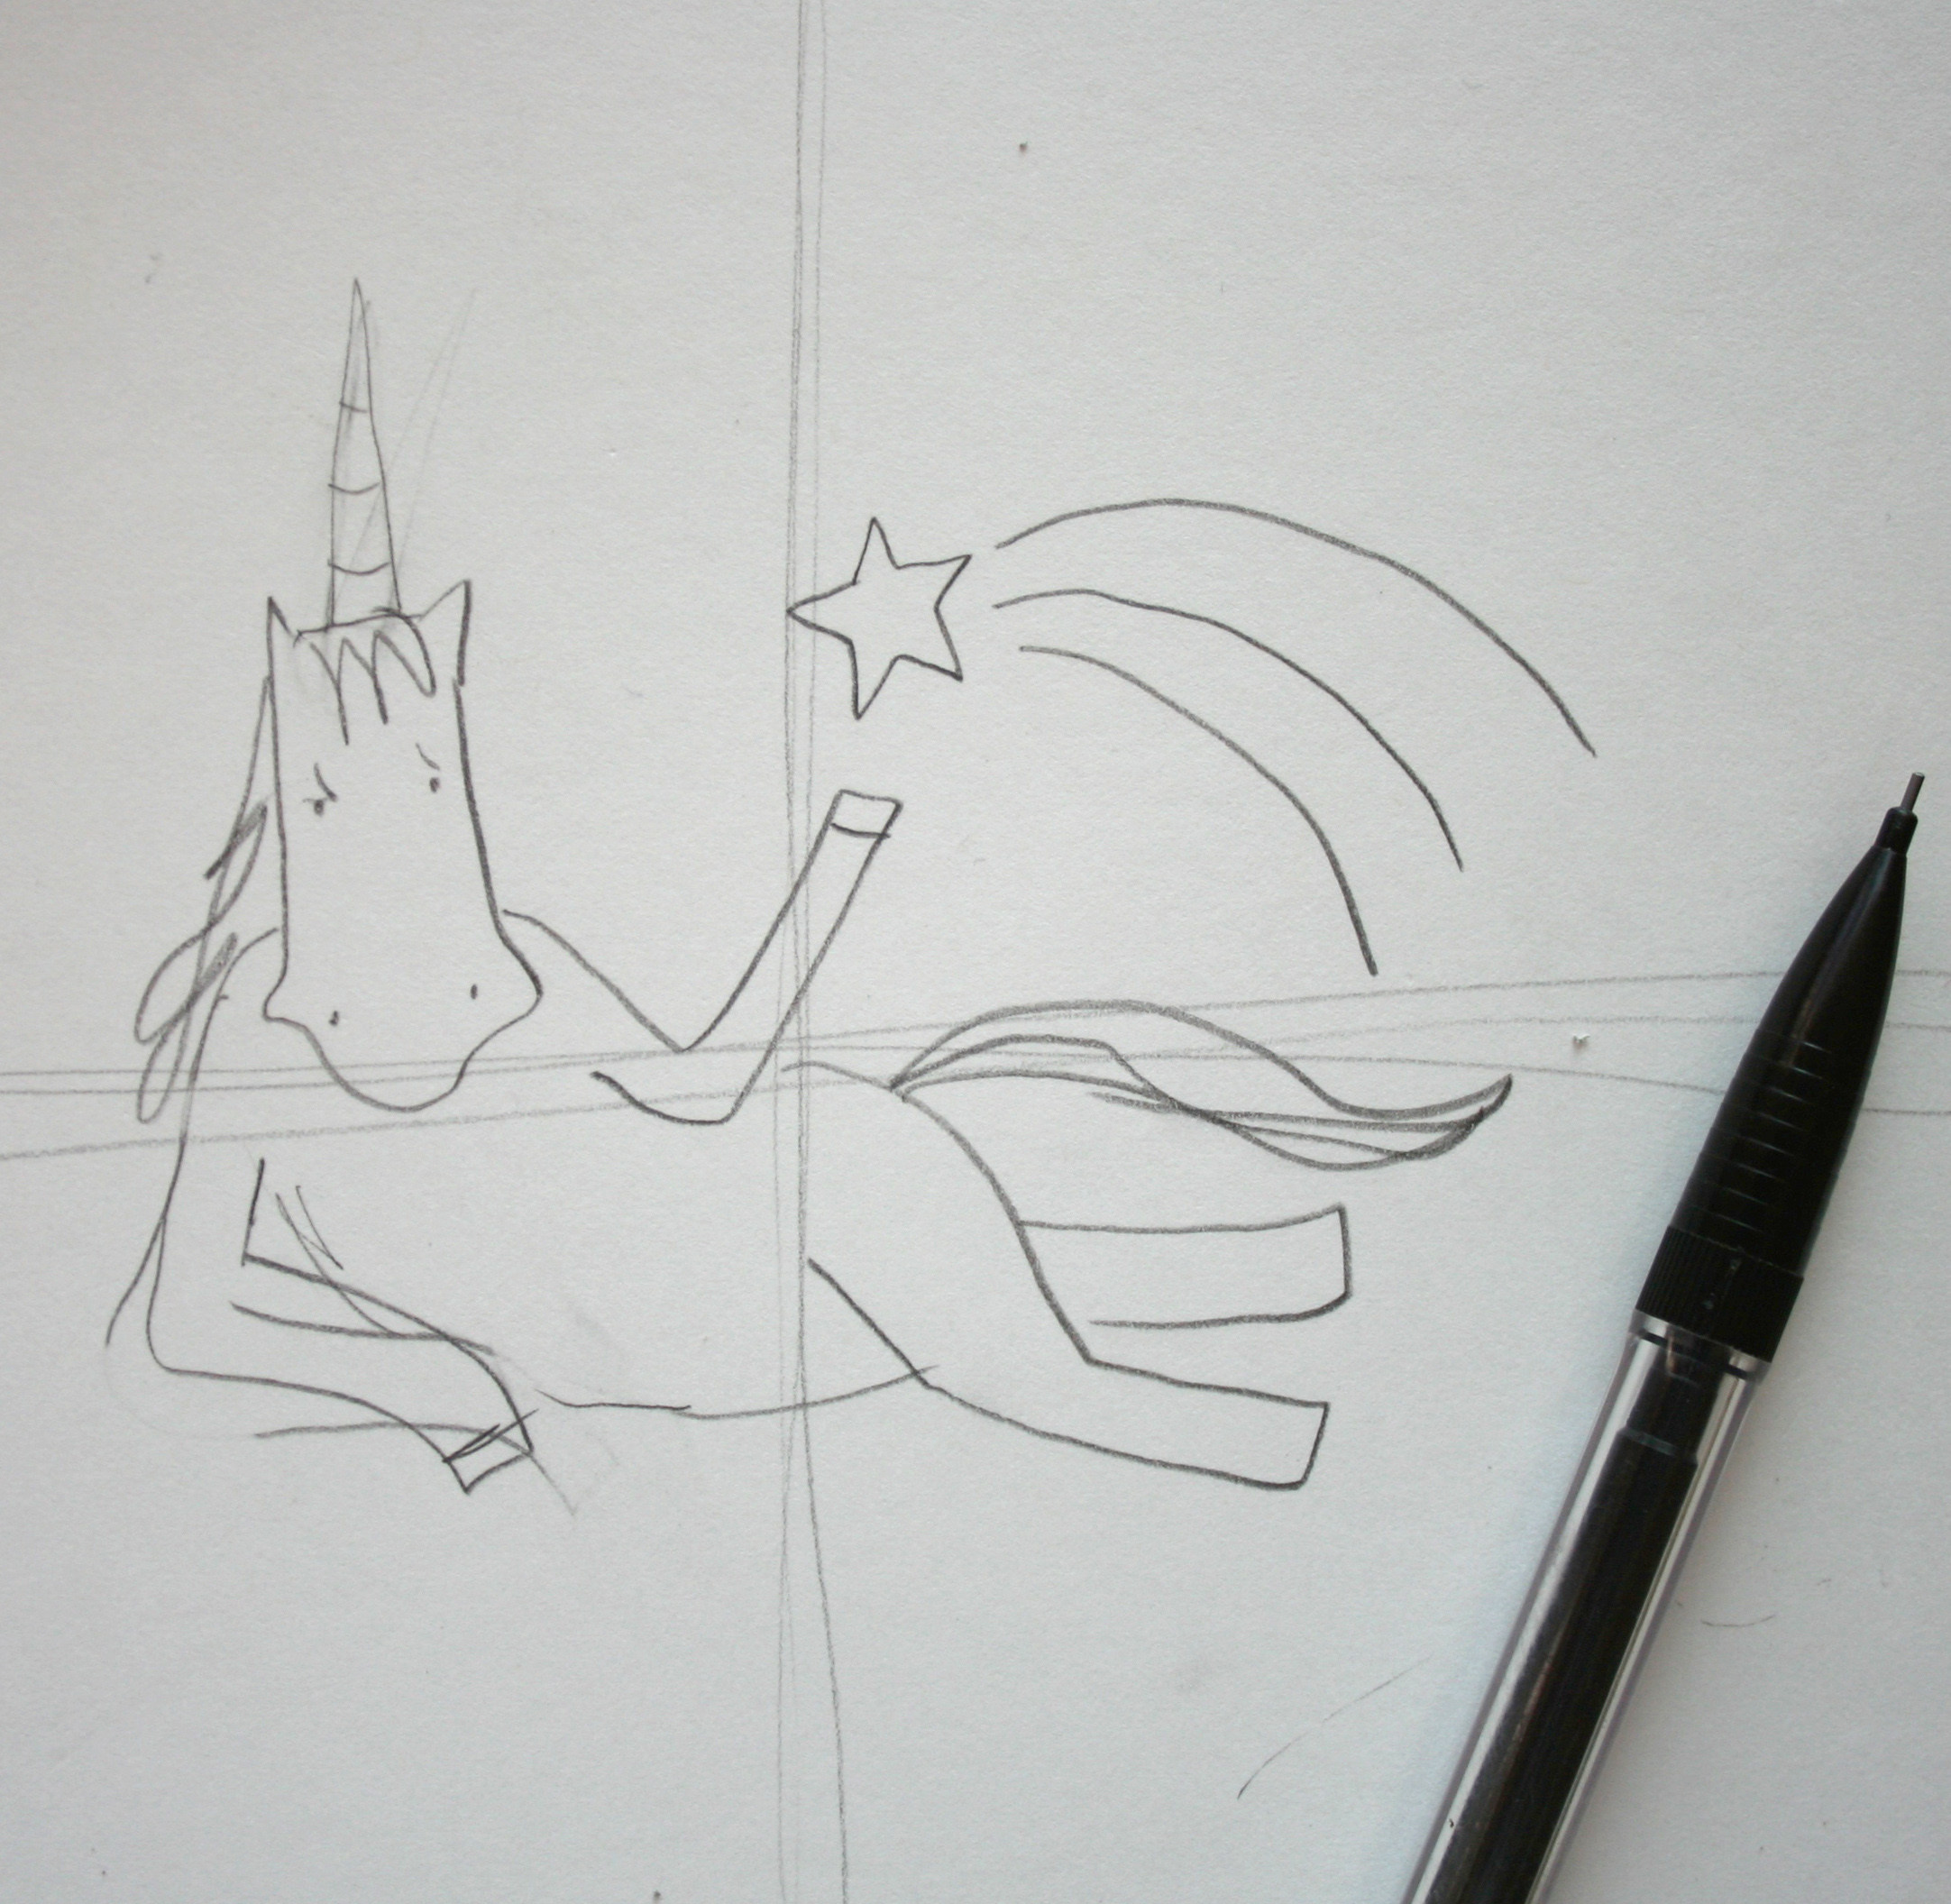
Step 2:
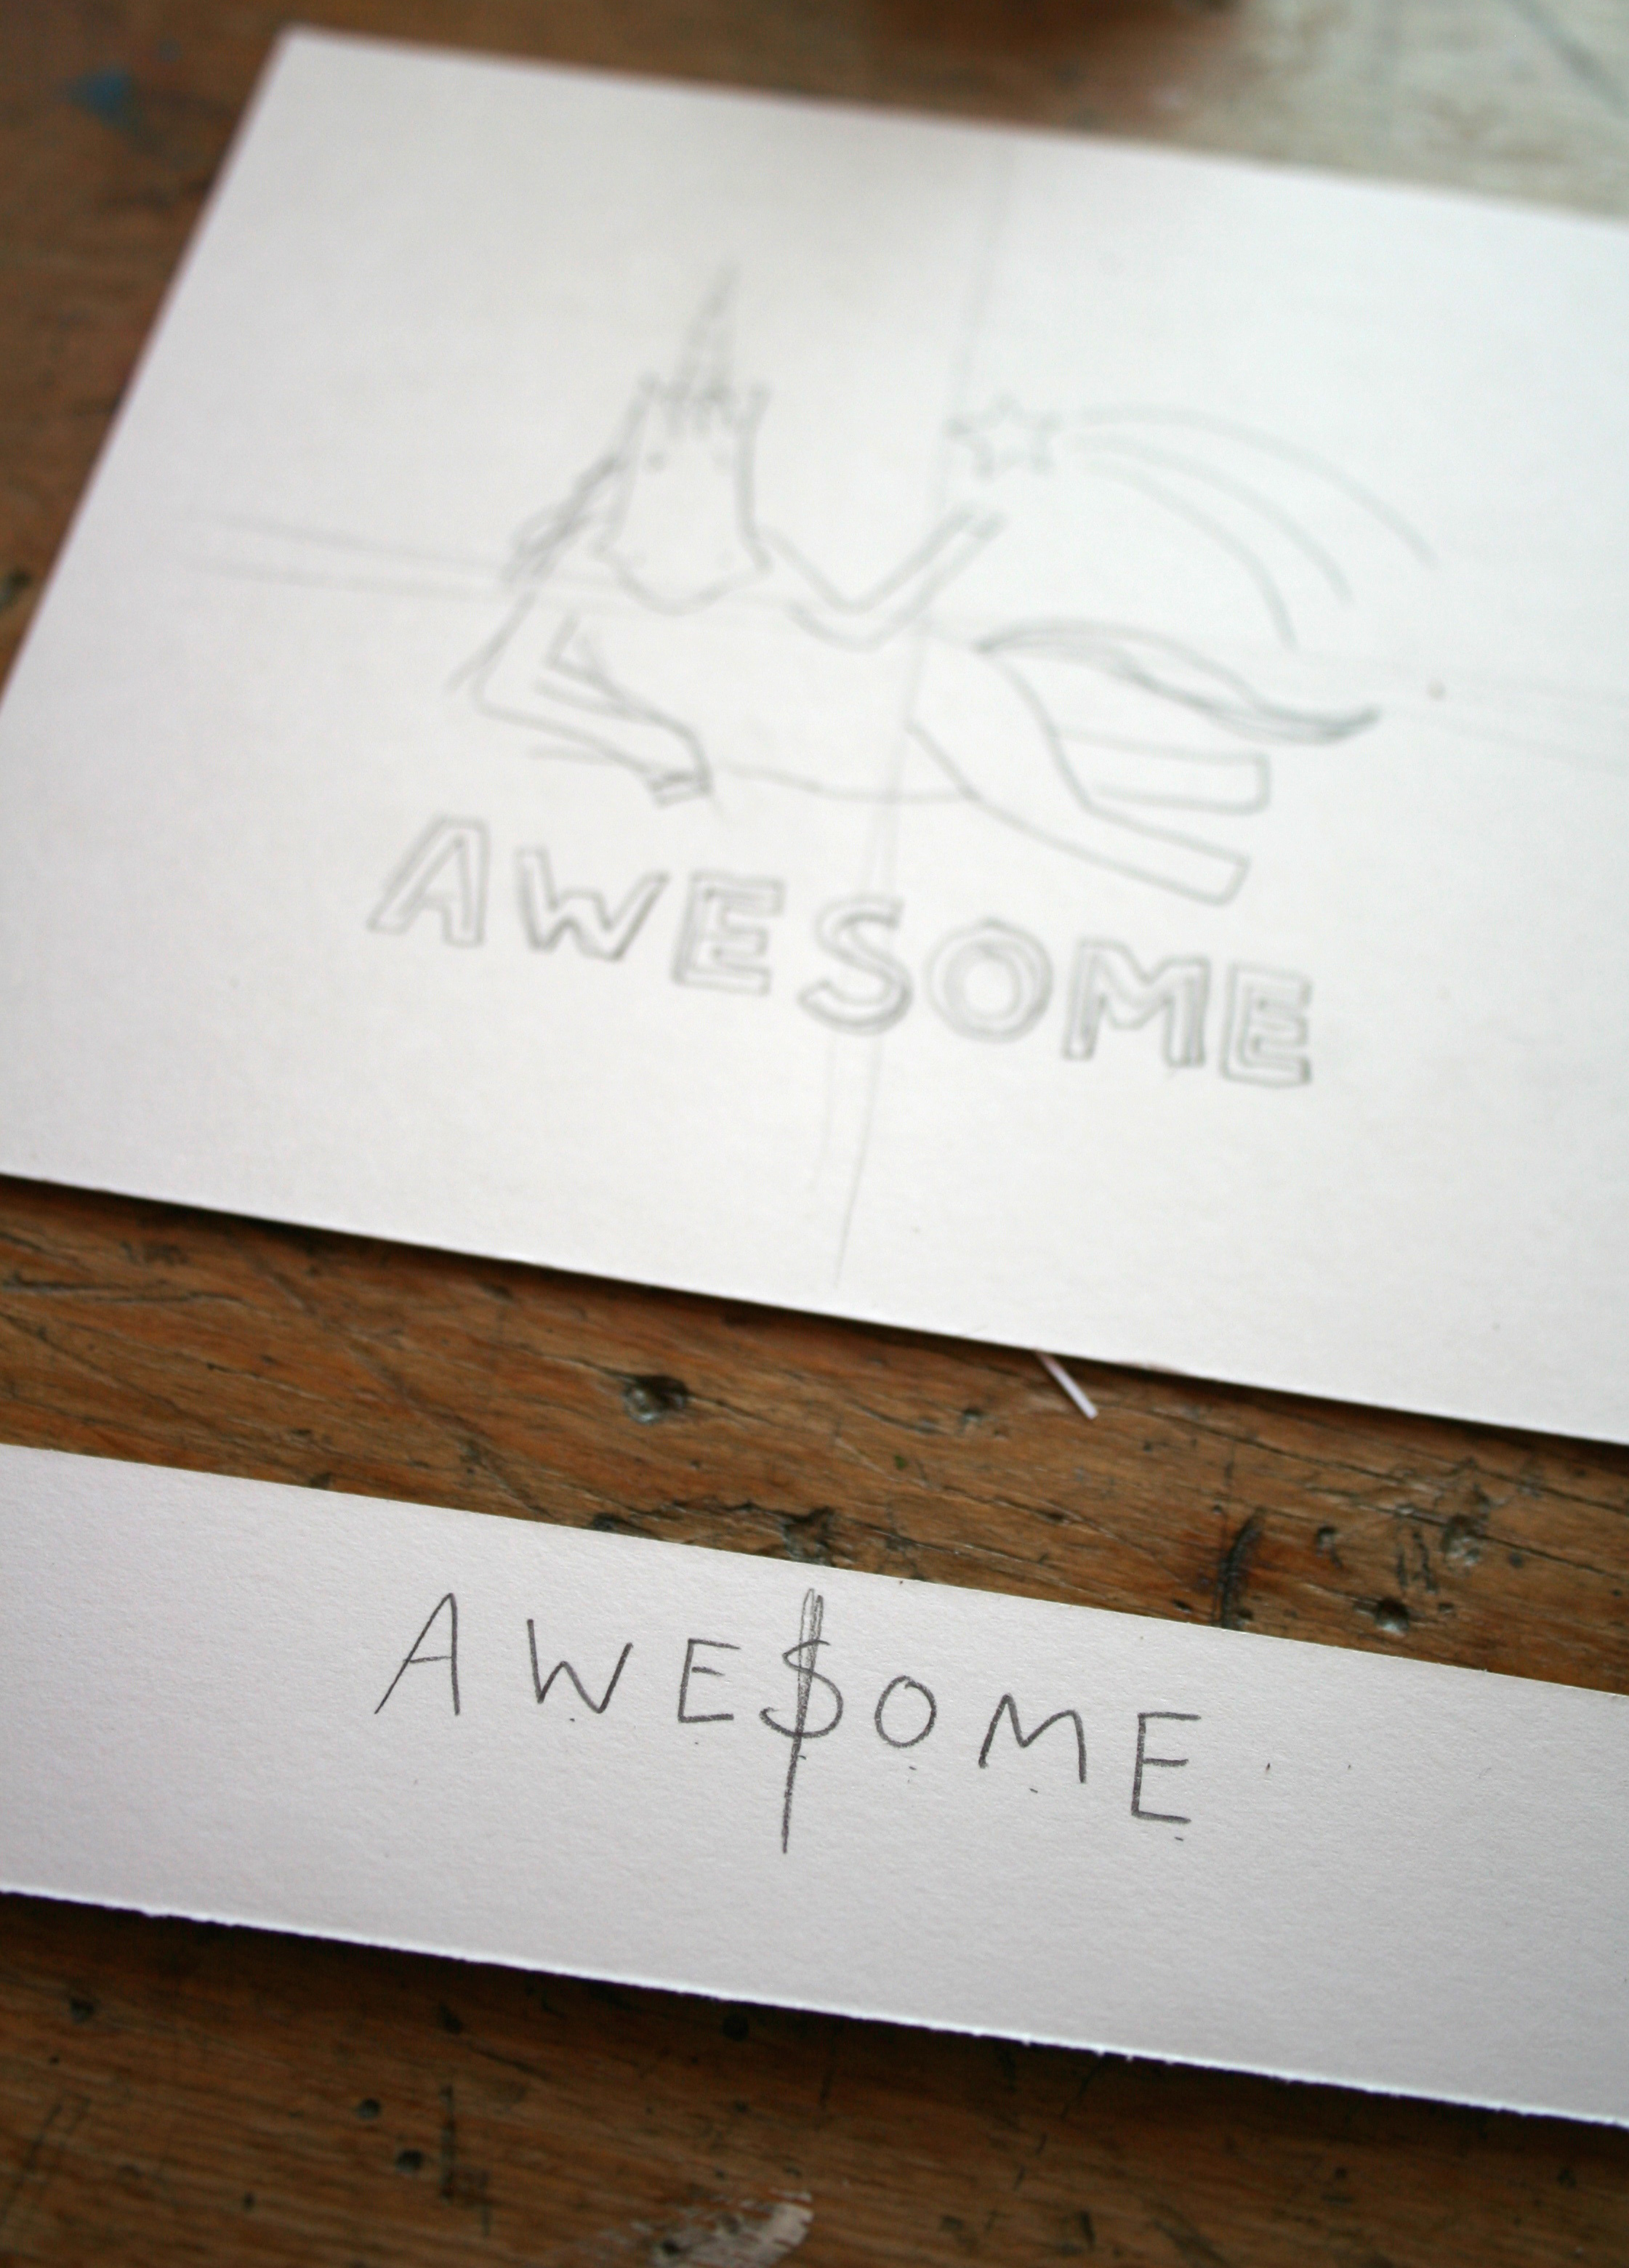
Write the word or phrase on a piece of scrap paper to determine sizing and placement.
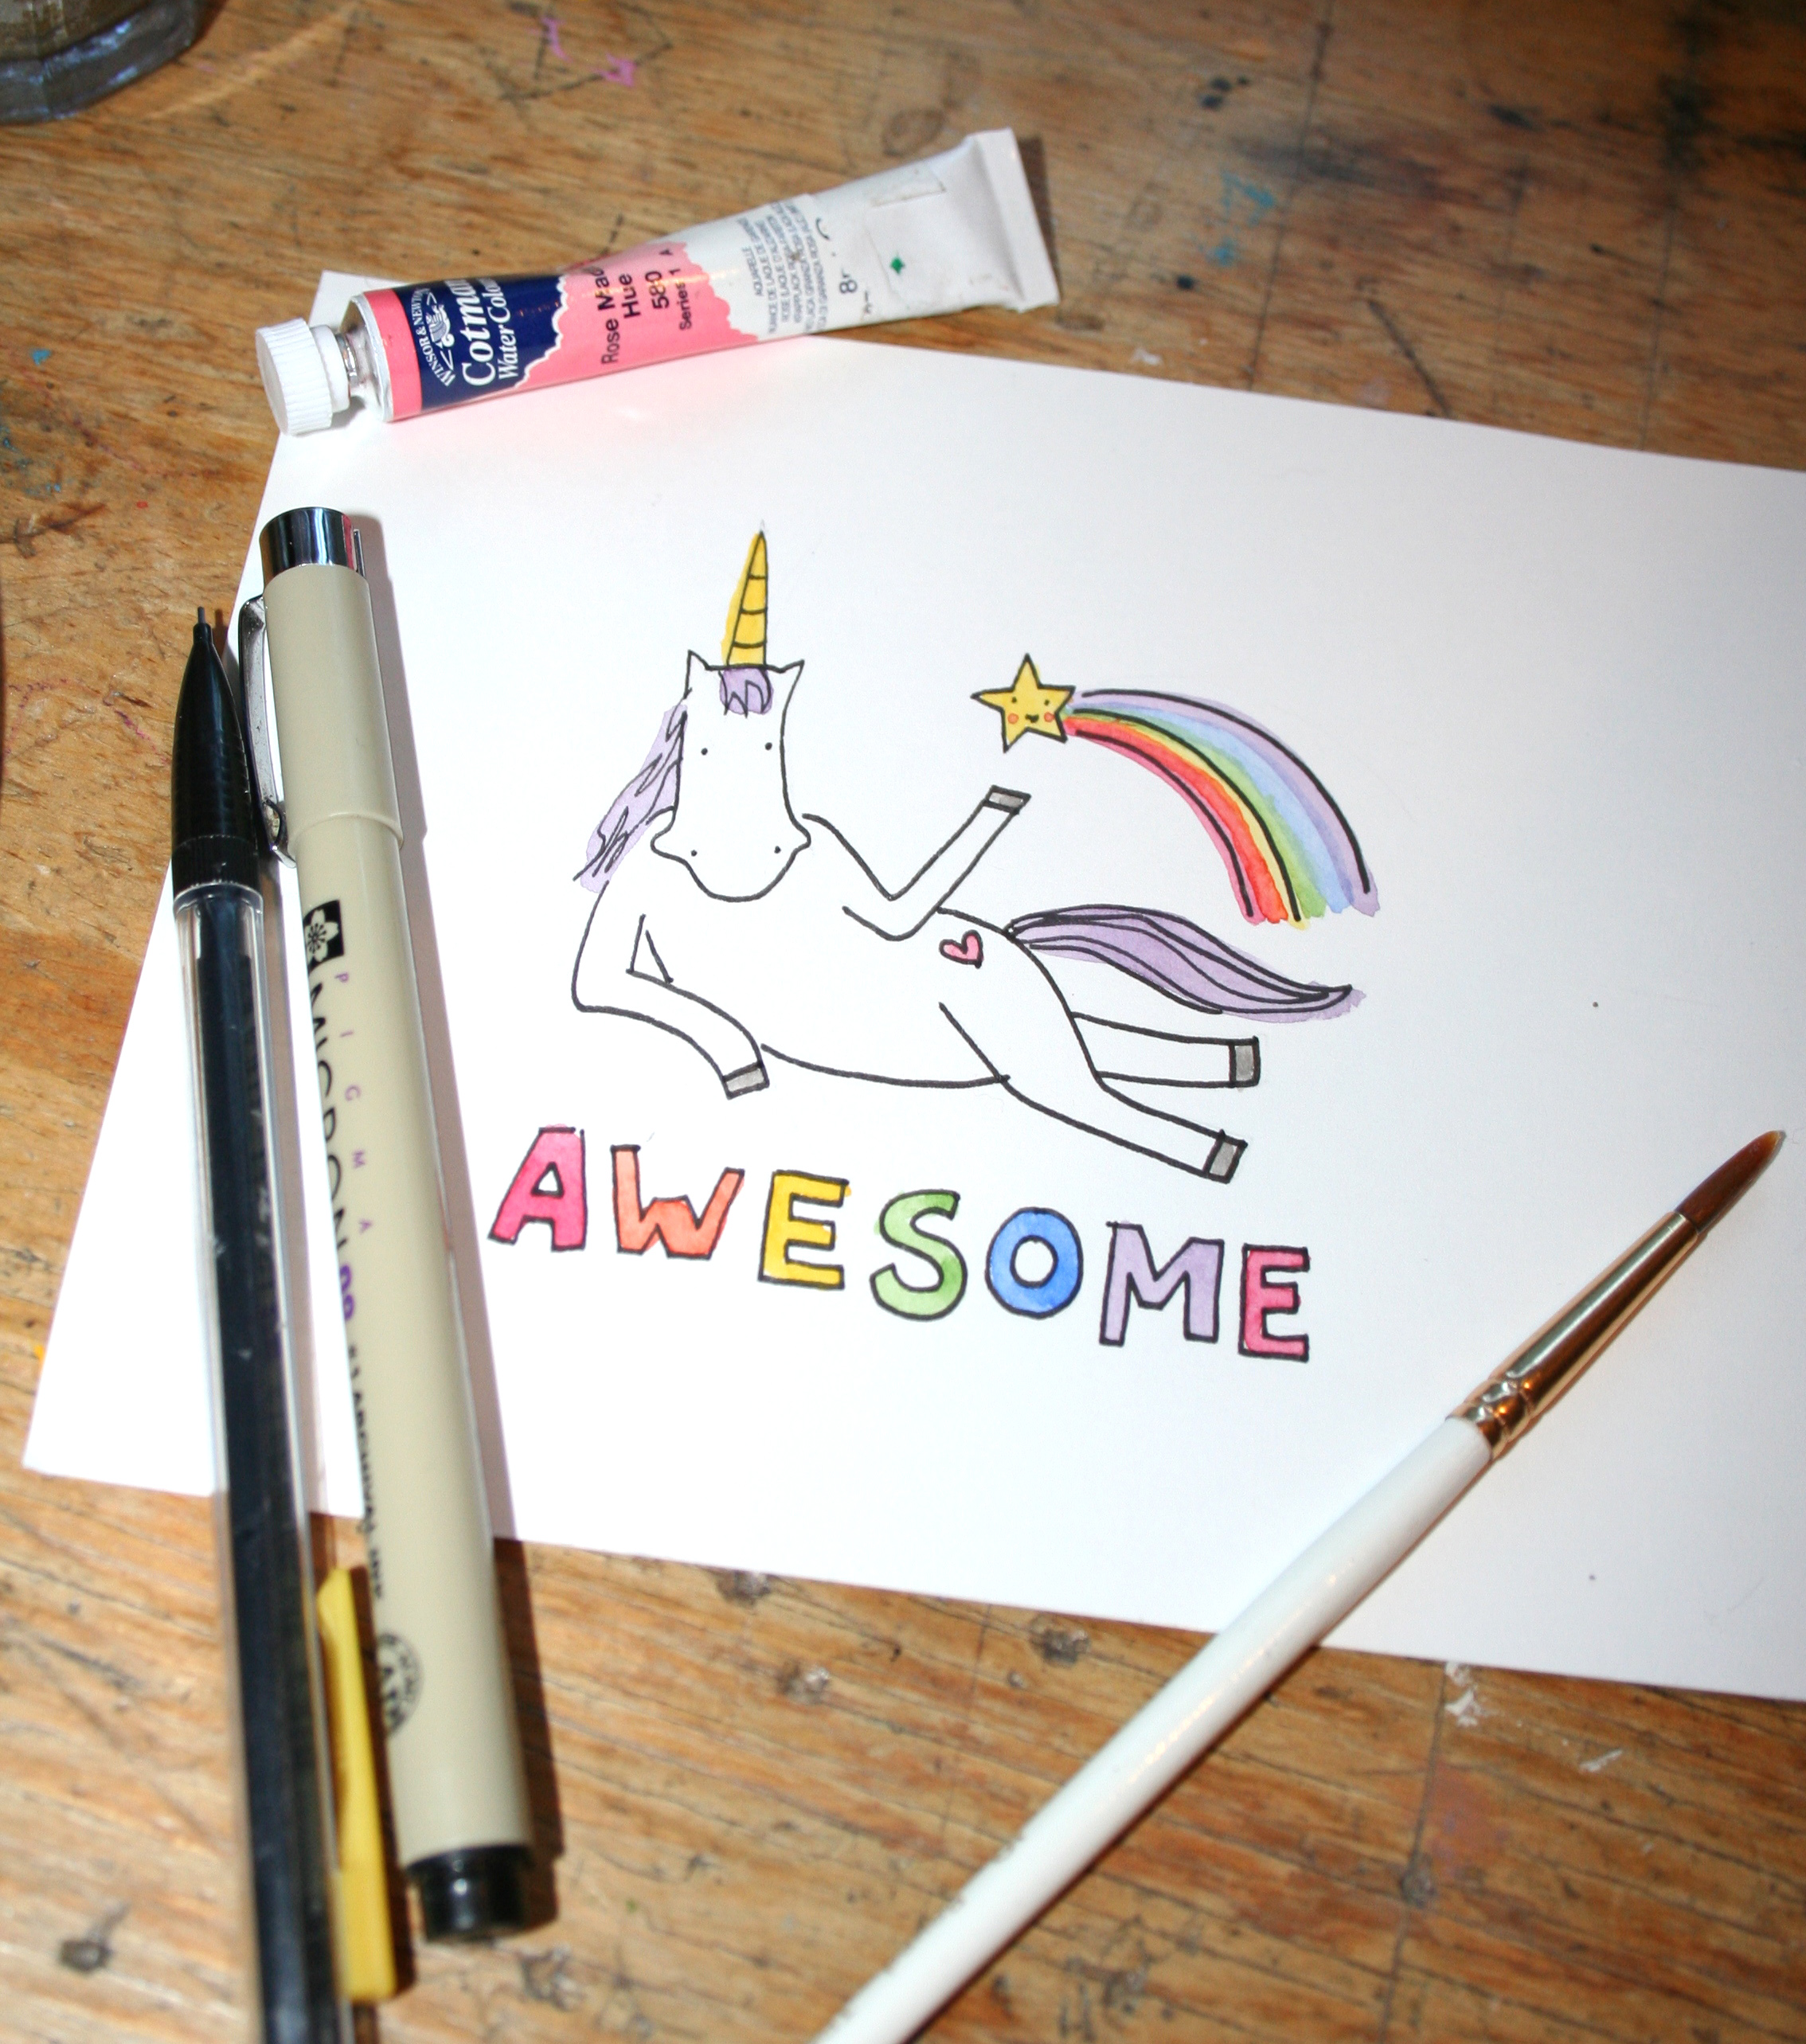
Count how many characters the word or phrase has, including spaces if applicable. Find the exact midpoint. For instance, on the word “awesome”, which has seven letters, the fourth letter, s, is the midpoint.
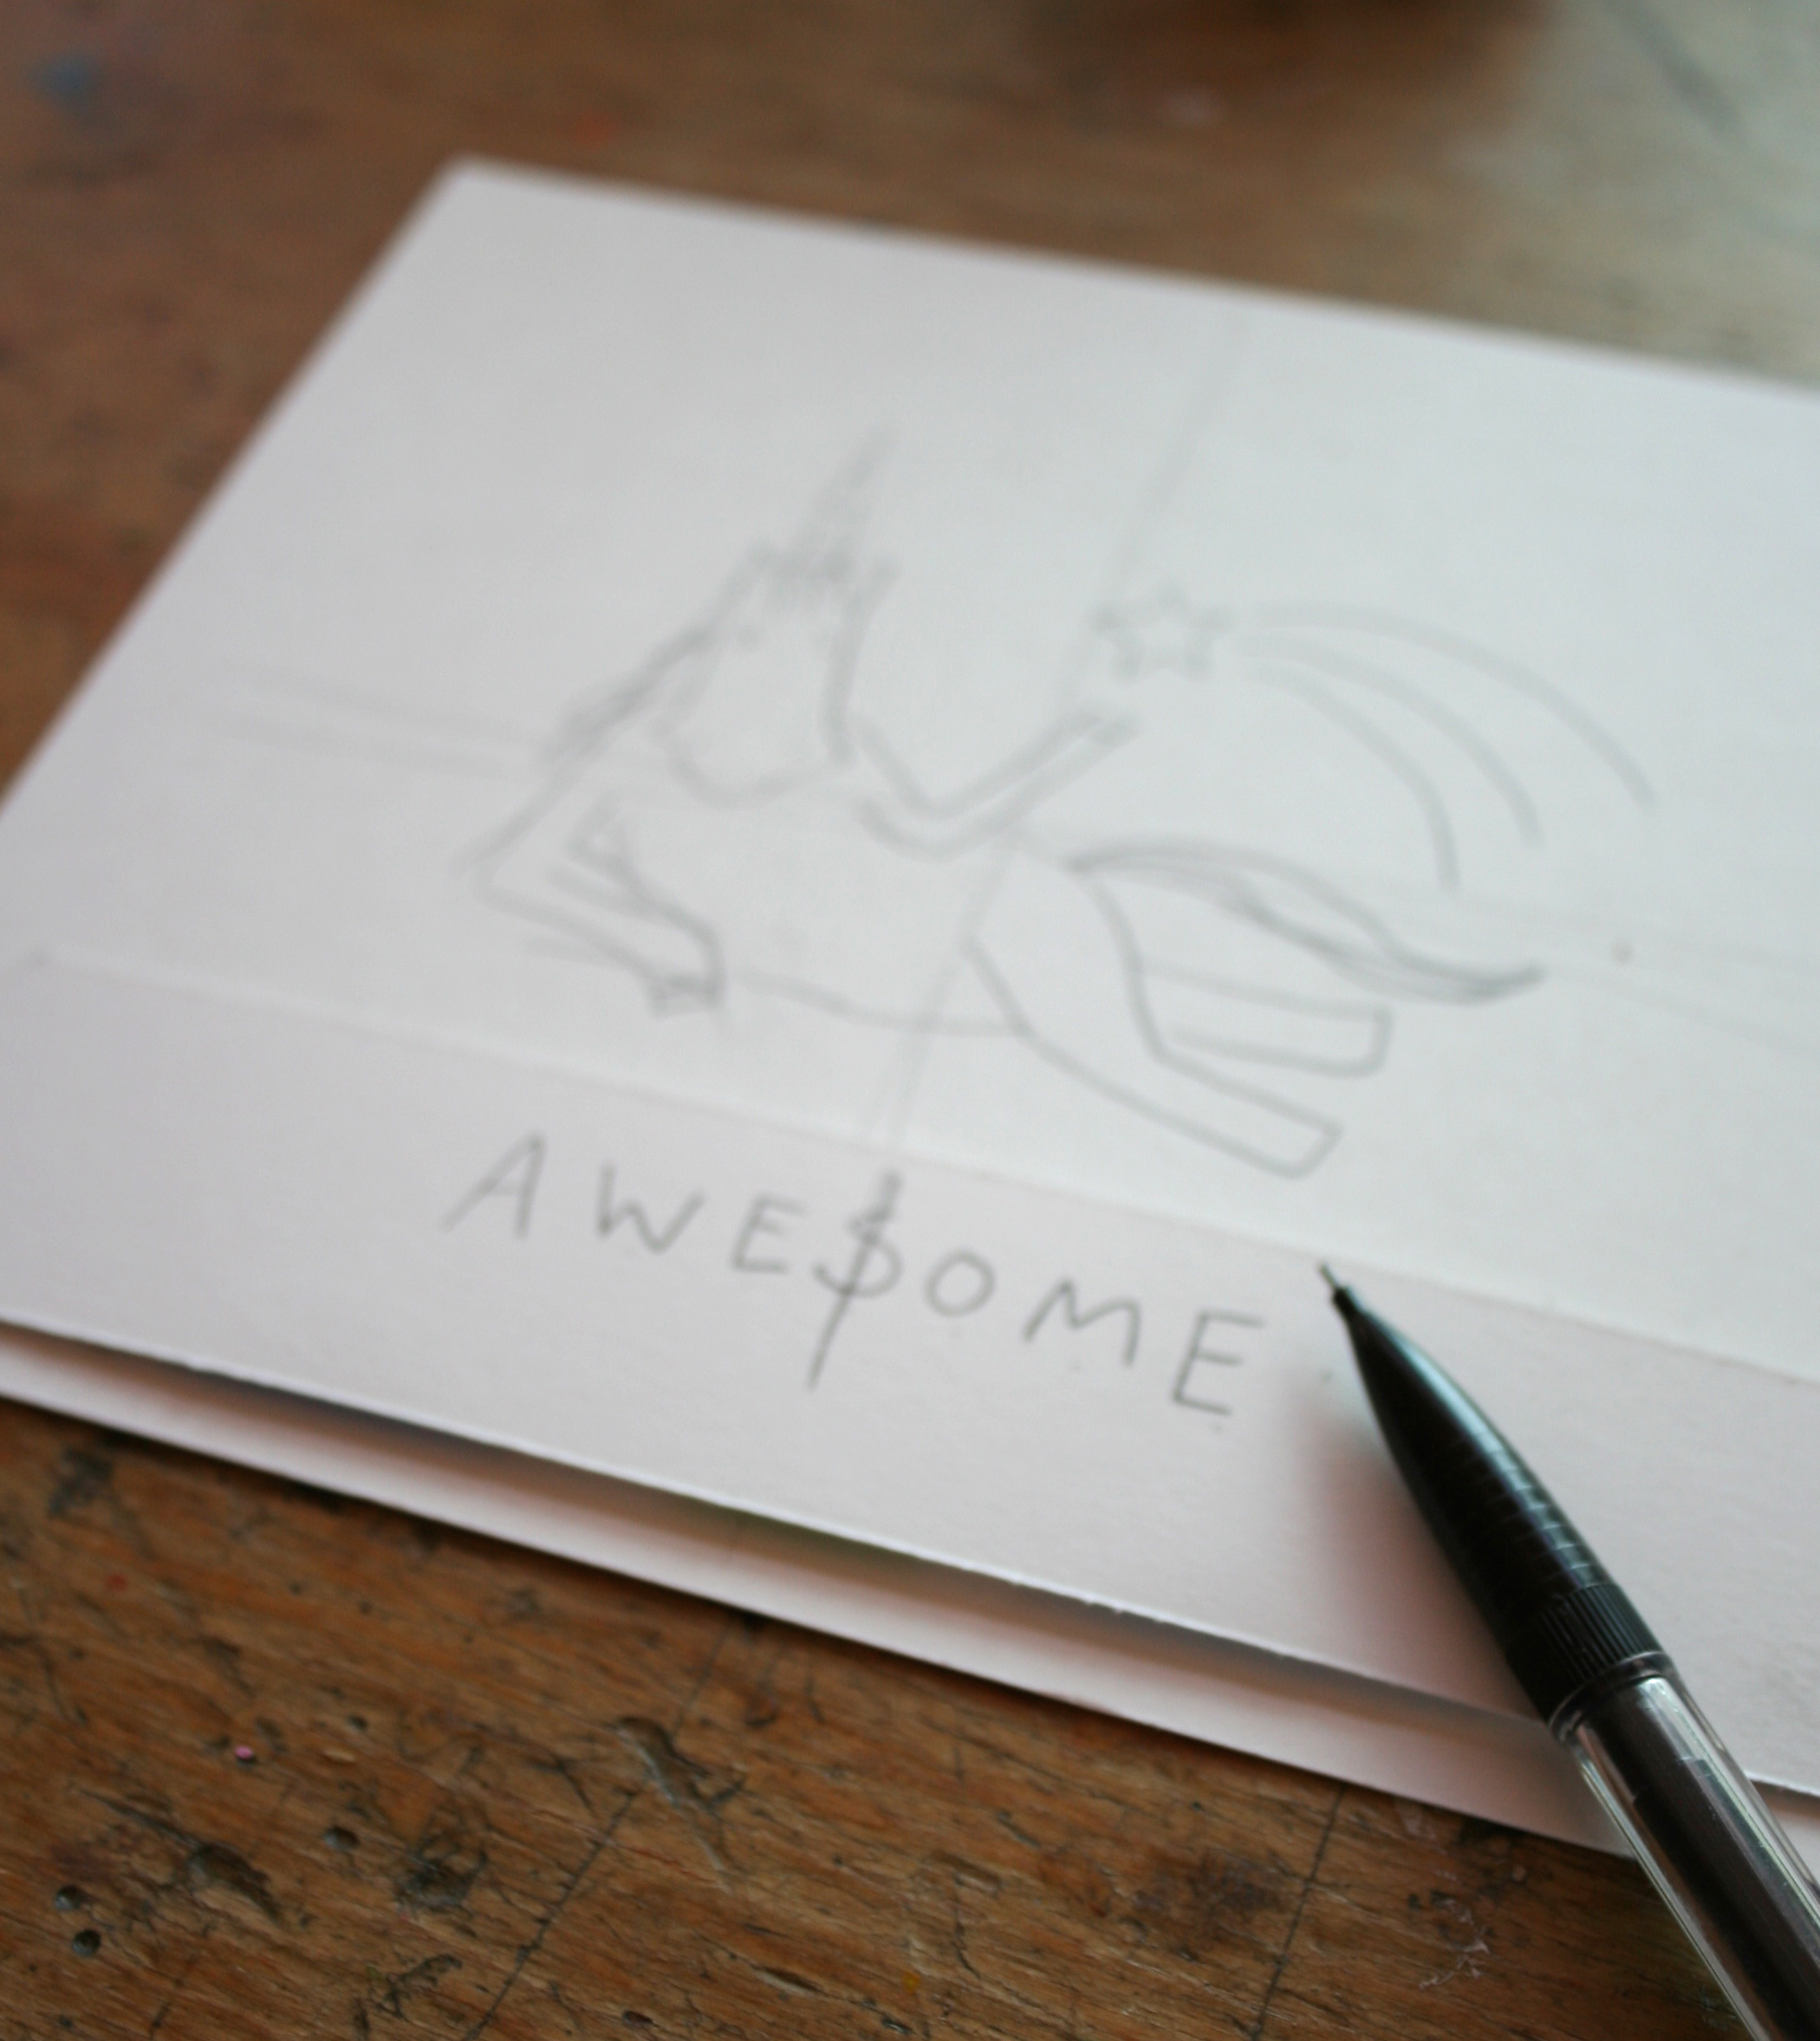
Step 3:
Draw the central character where you’d like the center of the text to be. Work outward on either side, and your word or phrase will be perfectly centered. Or, if you’re tracing, you can simply place the image where you’d like it.
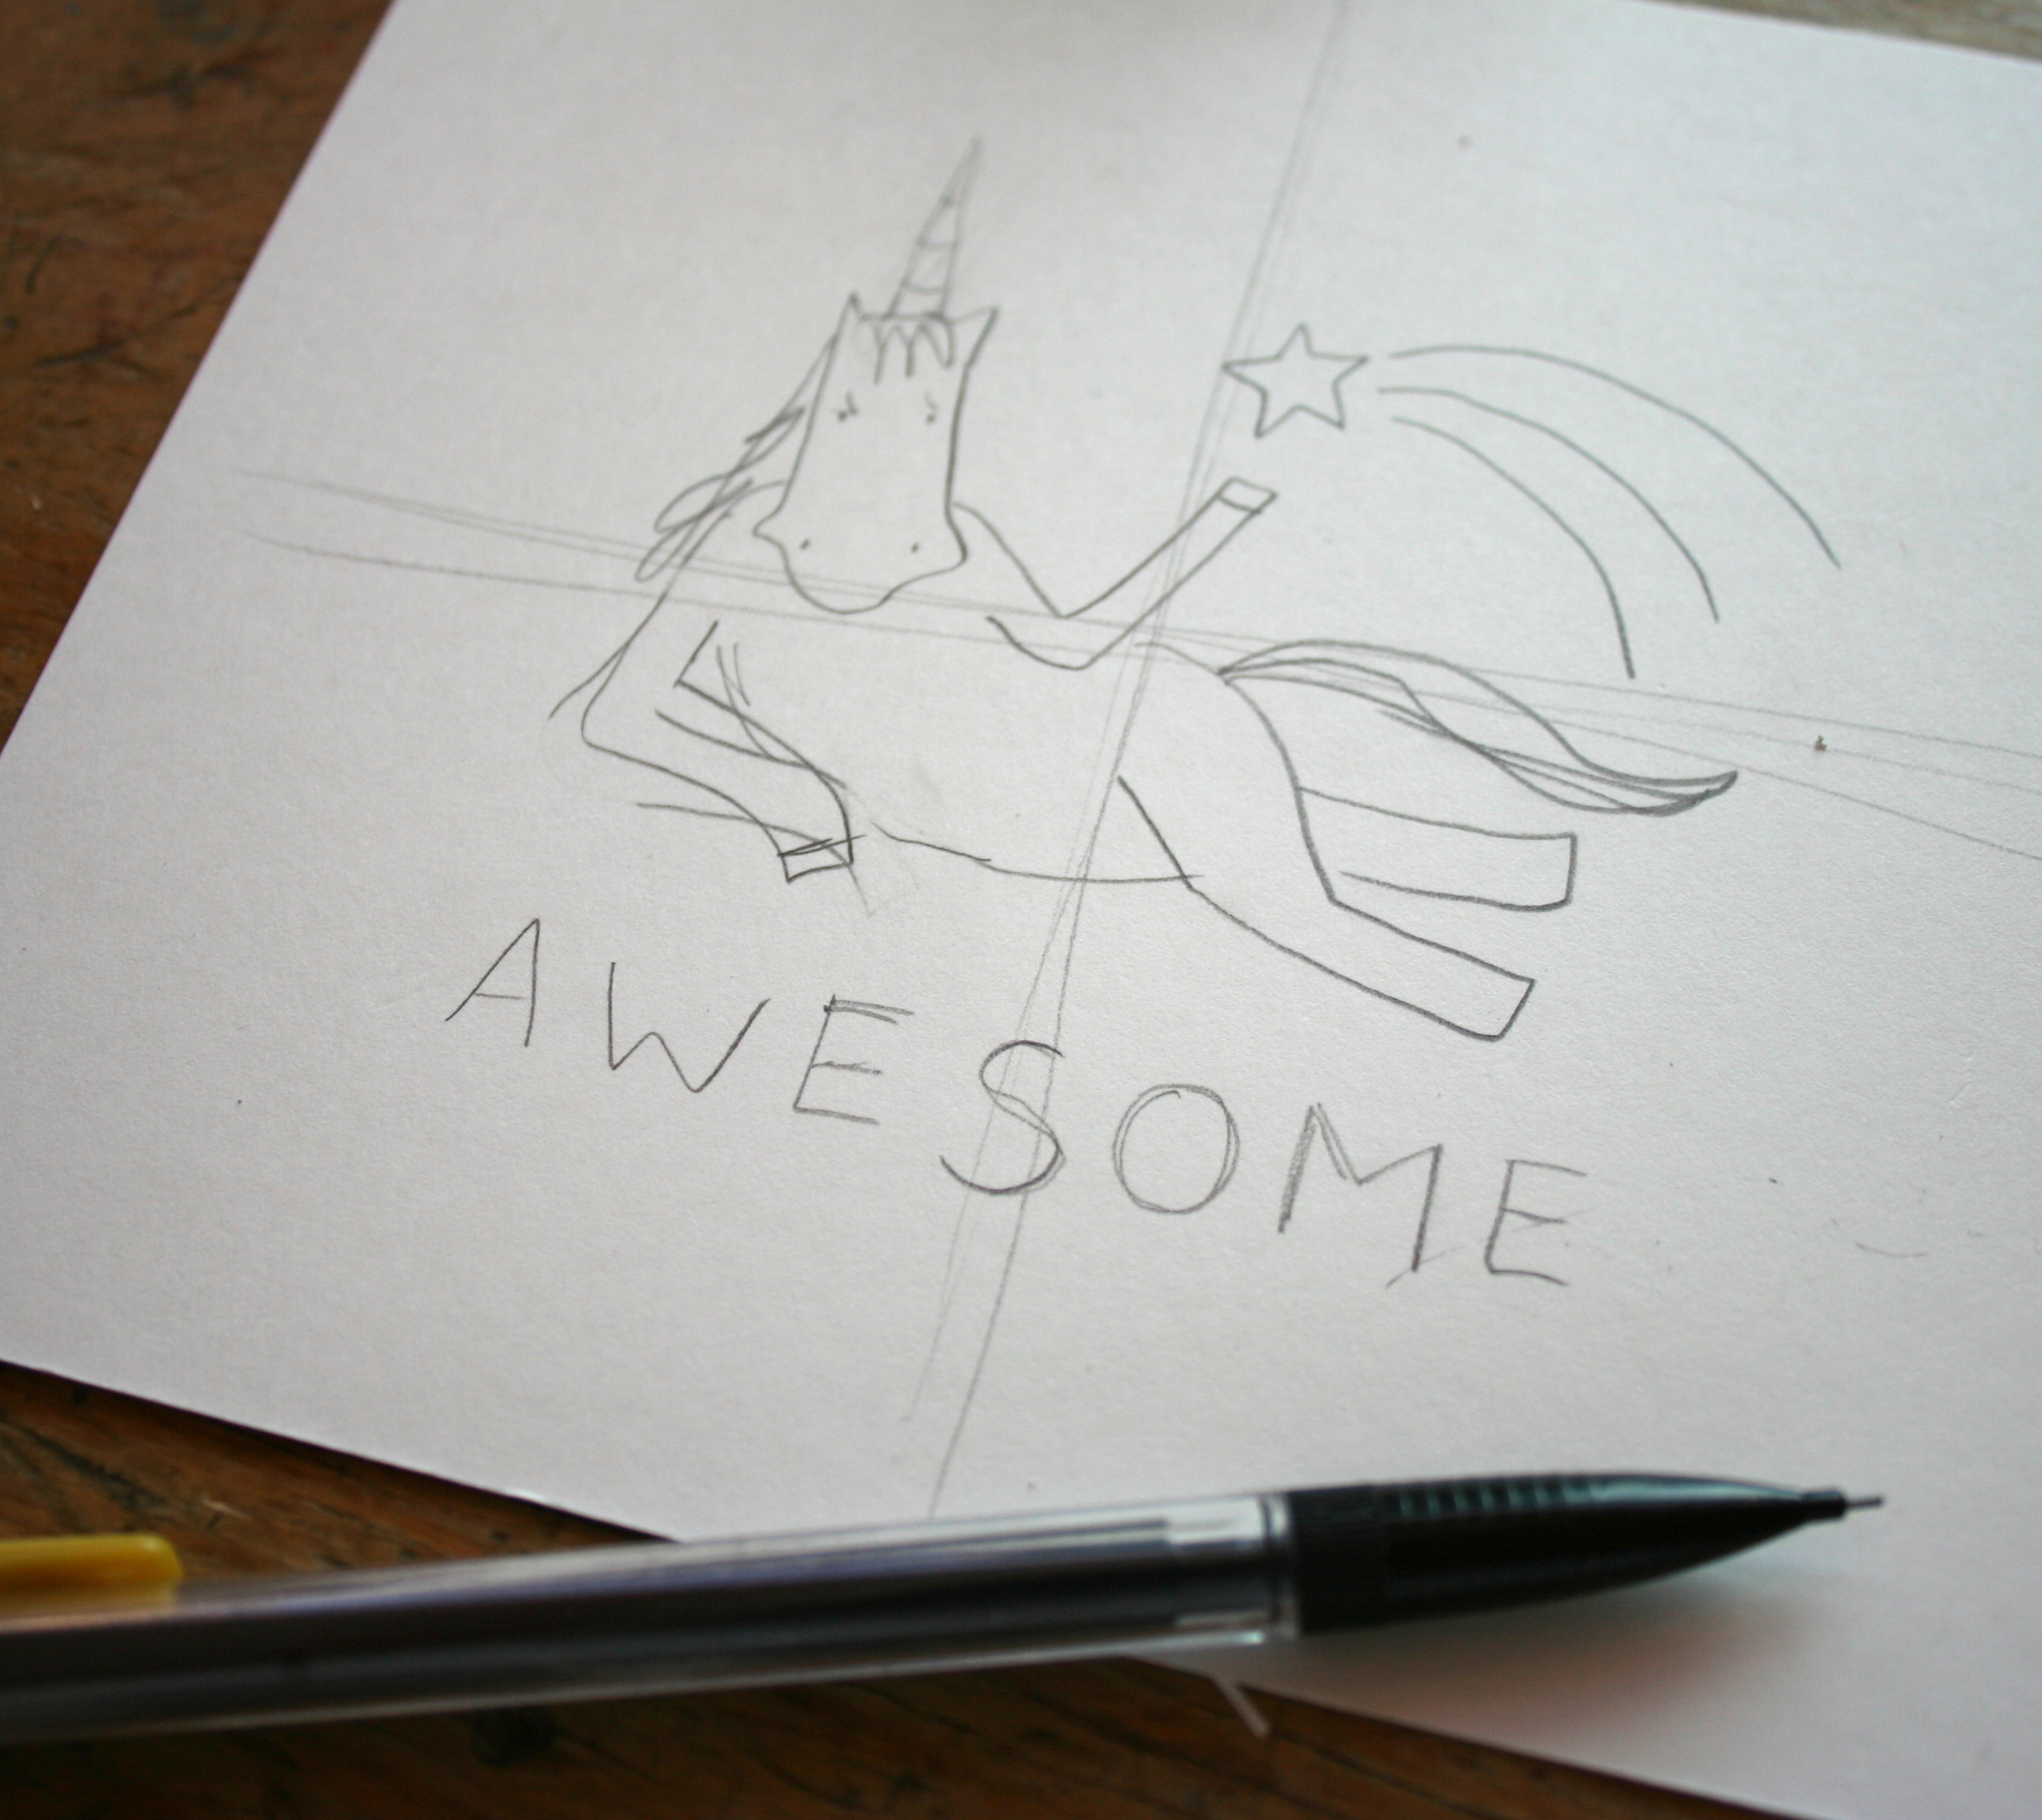
Step 4:
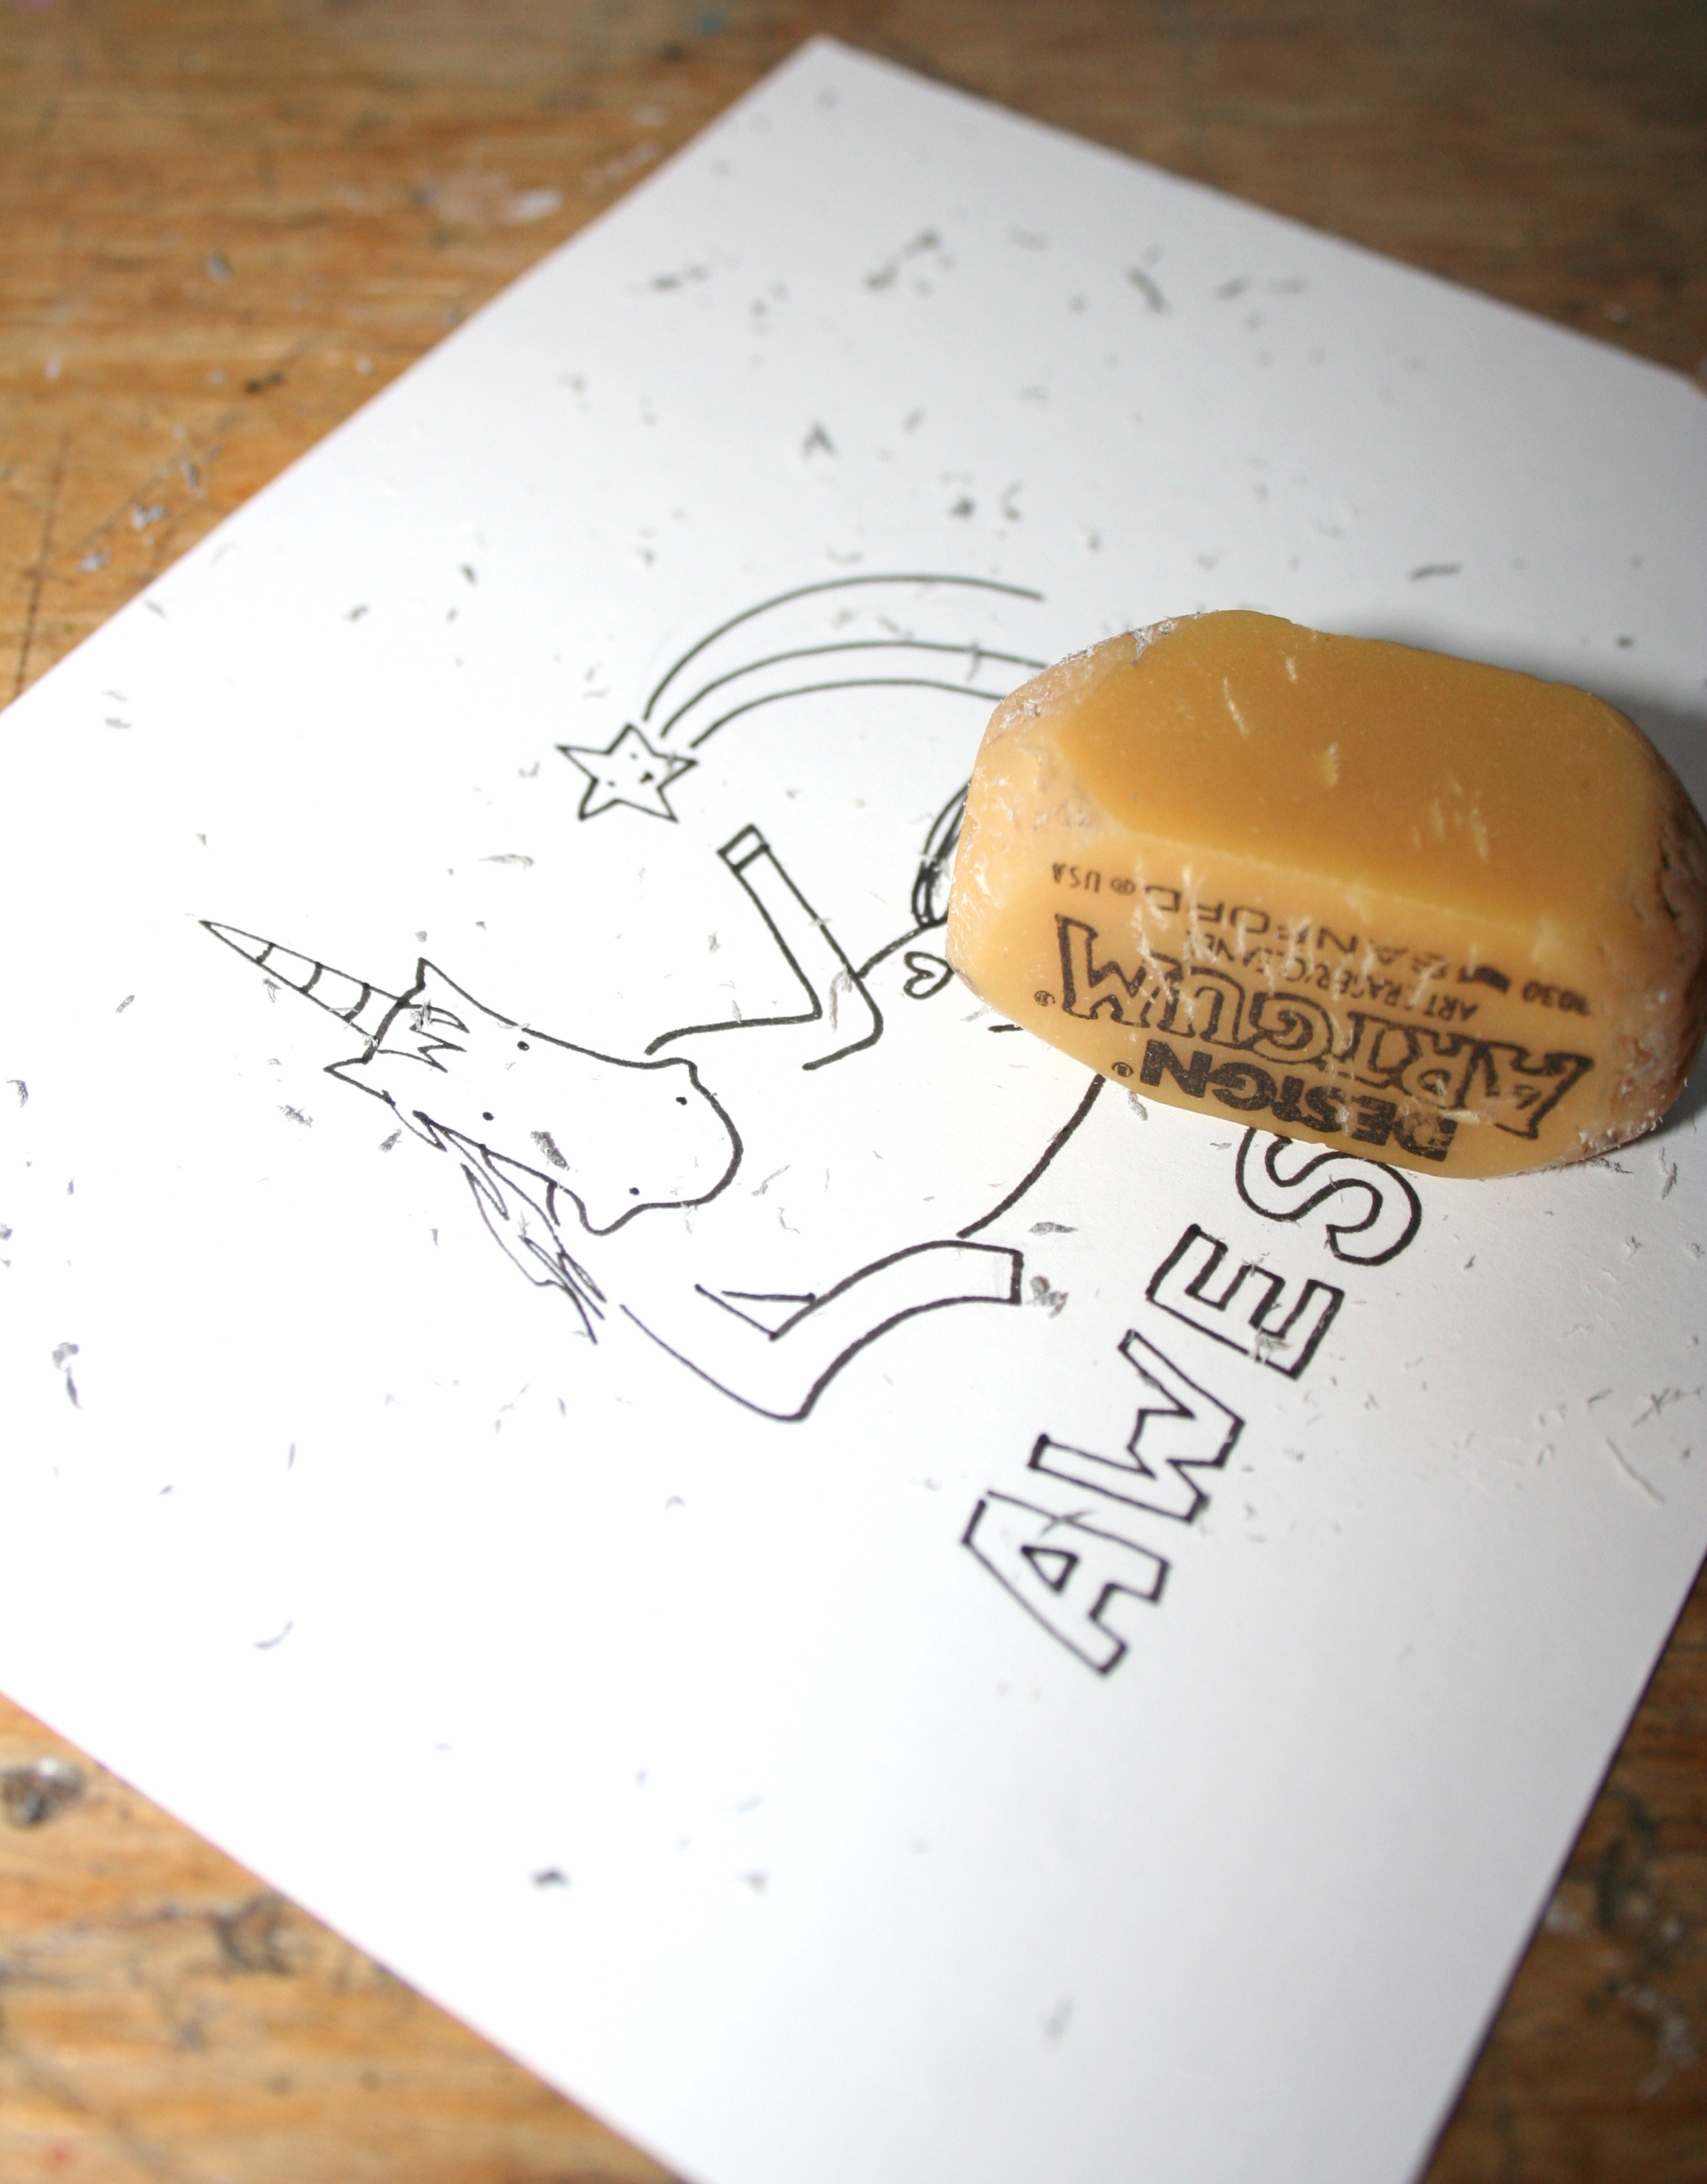
“Insulate” your letters if using the freehand method, or if tracing, use transfer paper to draw an imprint of the text where you’d like it.
Step 5:
Color in or dress up the outline however you’d like.
Proceed with your piece of art.

I tried it it’s pretty easy.
huh?????