
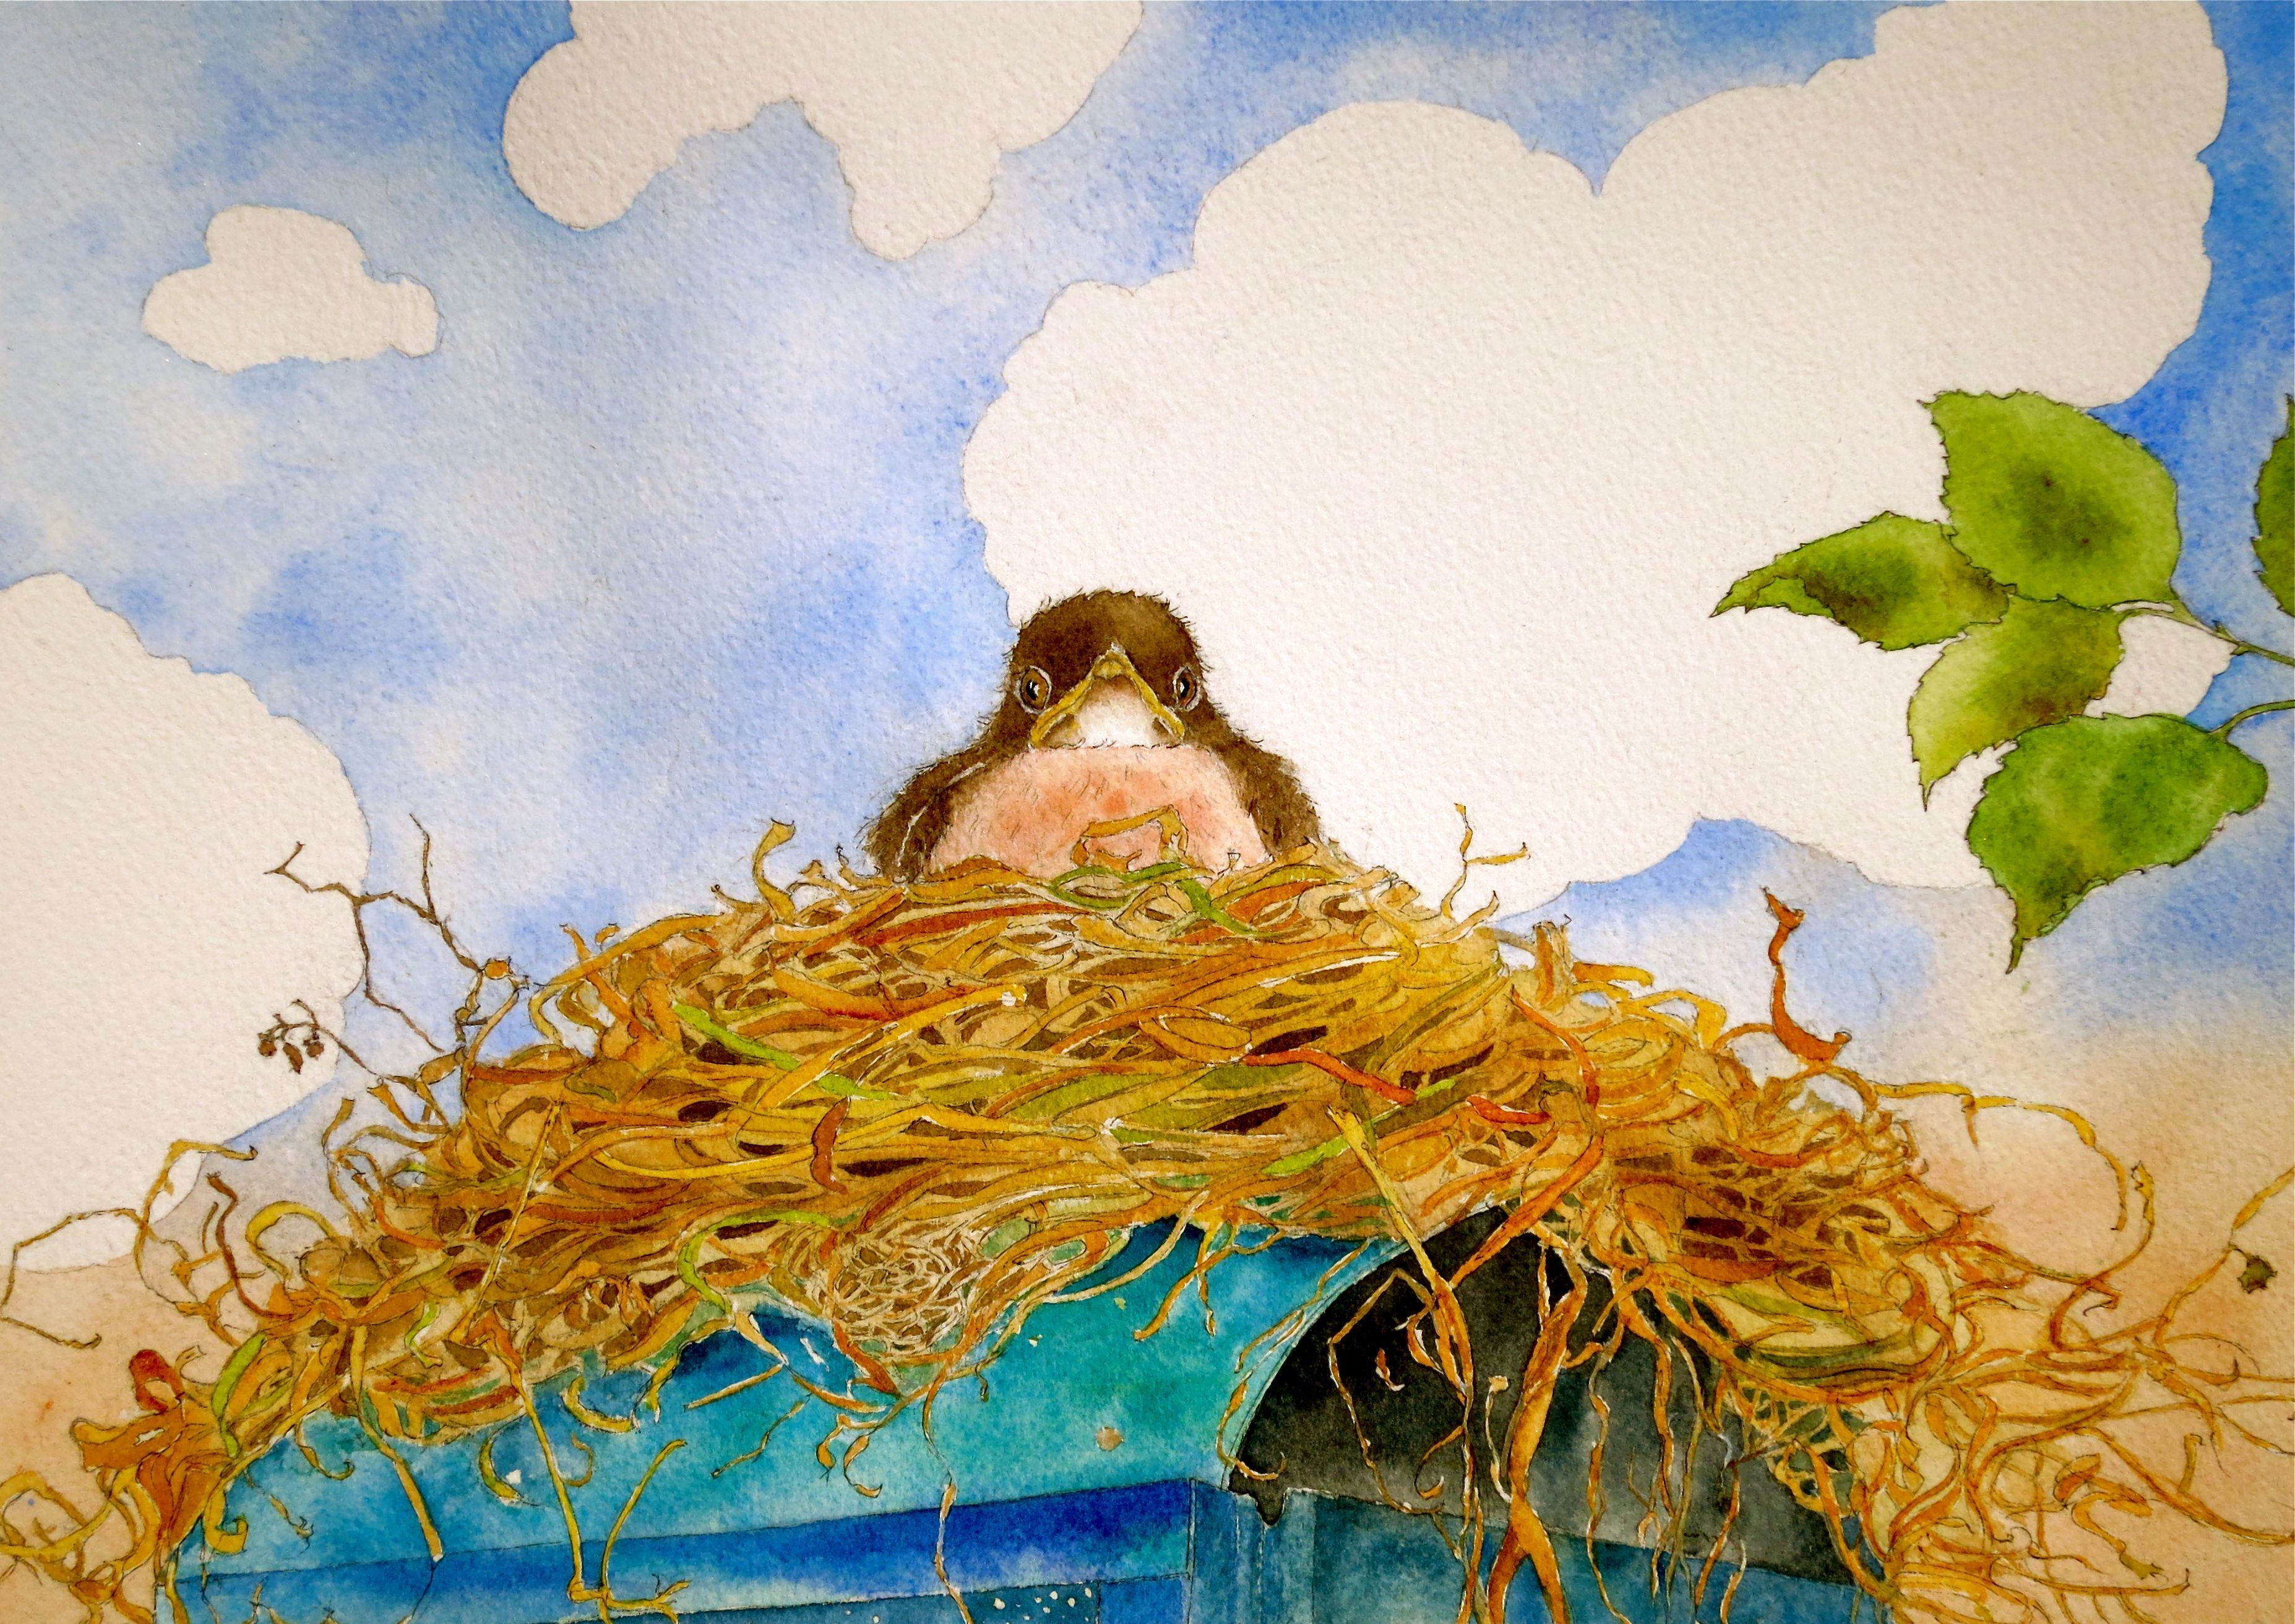
Follow along to learn how to draw a bird’s nest:
Step 1.
Decide what size you want your nest to be, the angle you want to sketch it from and how detailed you want your work to be. A tight and detailed nest is more work, a loosely formed nest with little detail is, of course, less work. Both ways will have a good outcome.Step 2.
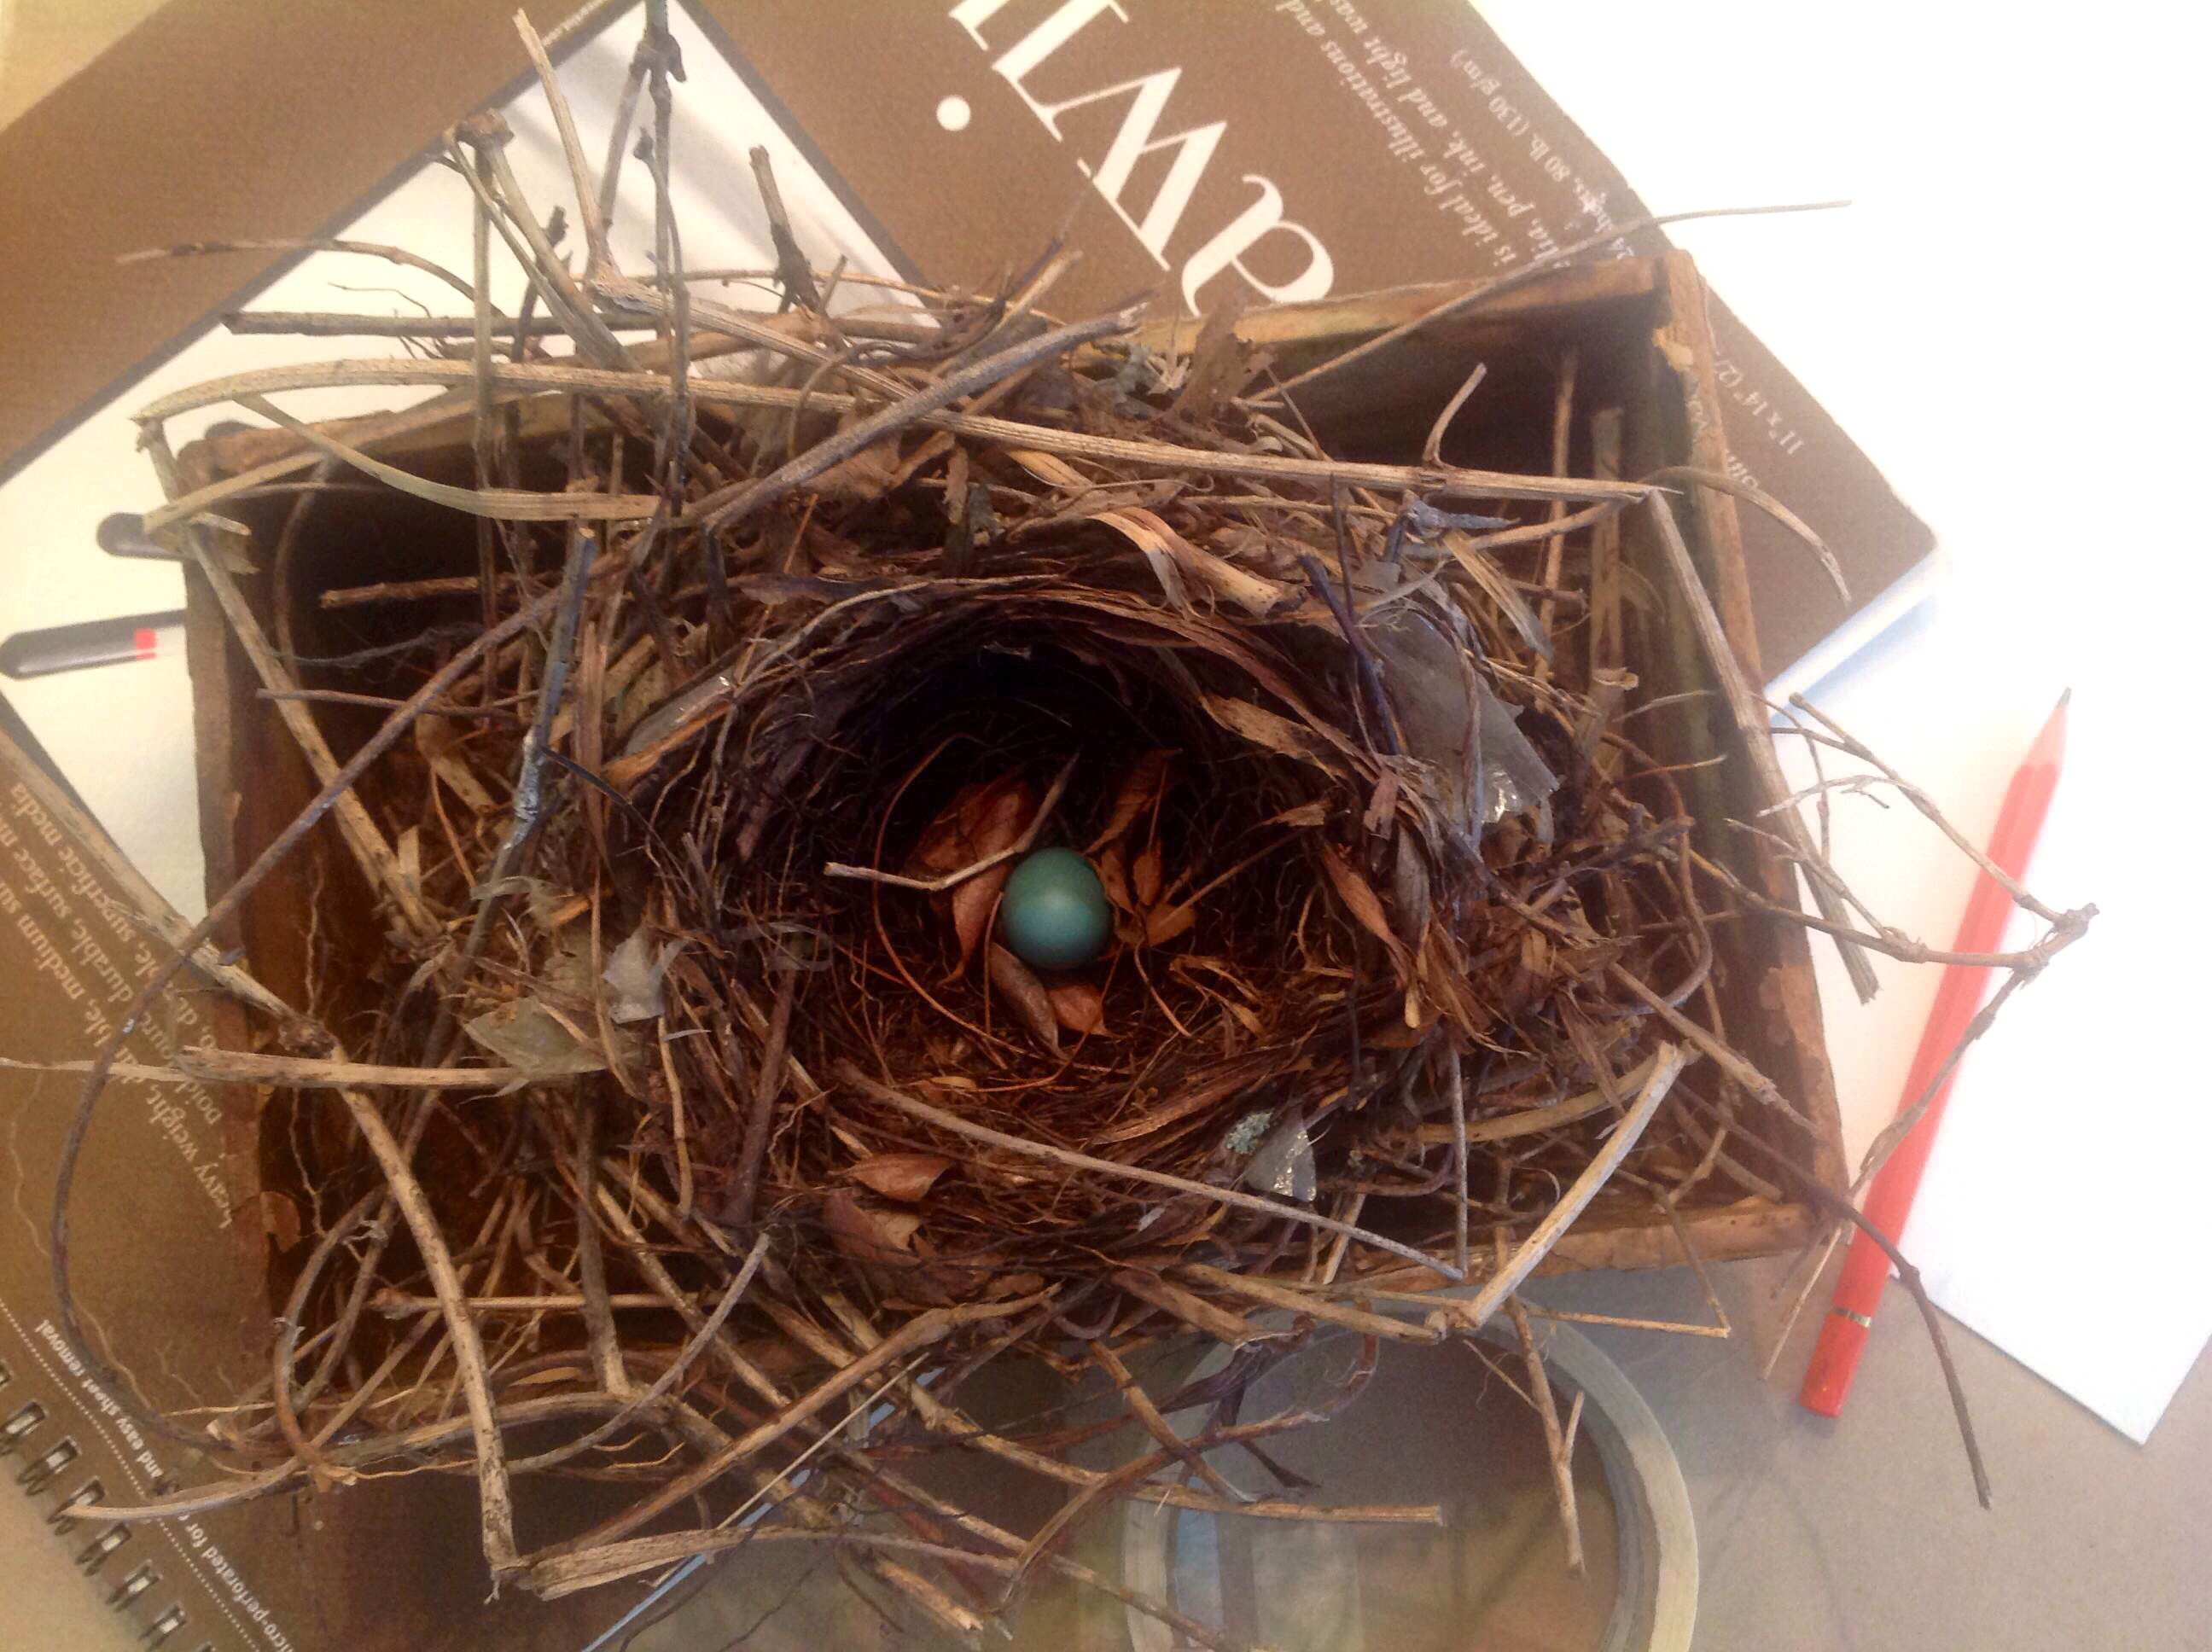
Gather your reference from life, books, photos or even just use your imagination. It can be an enjoyable part of the project to collect some interesting twigs, vines, leaves or dried or live flowers to incorporate into your composition.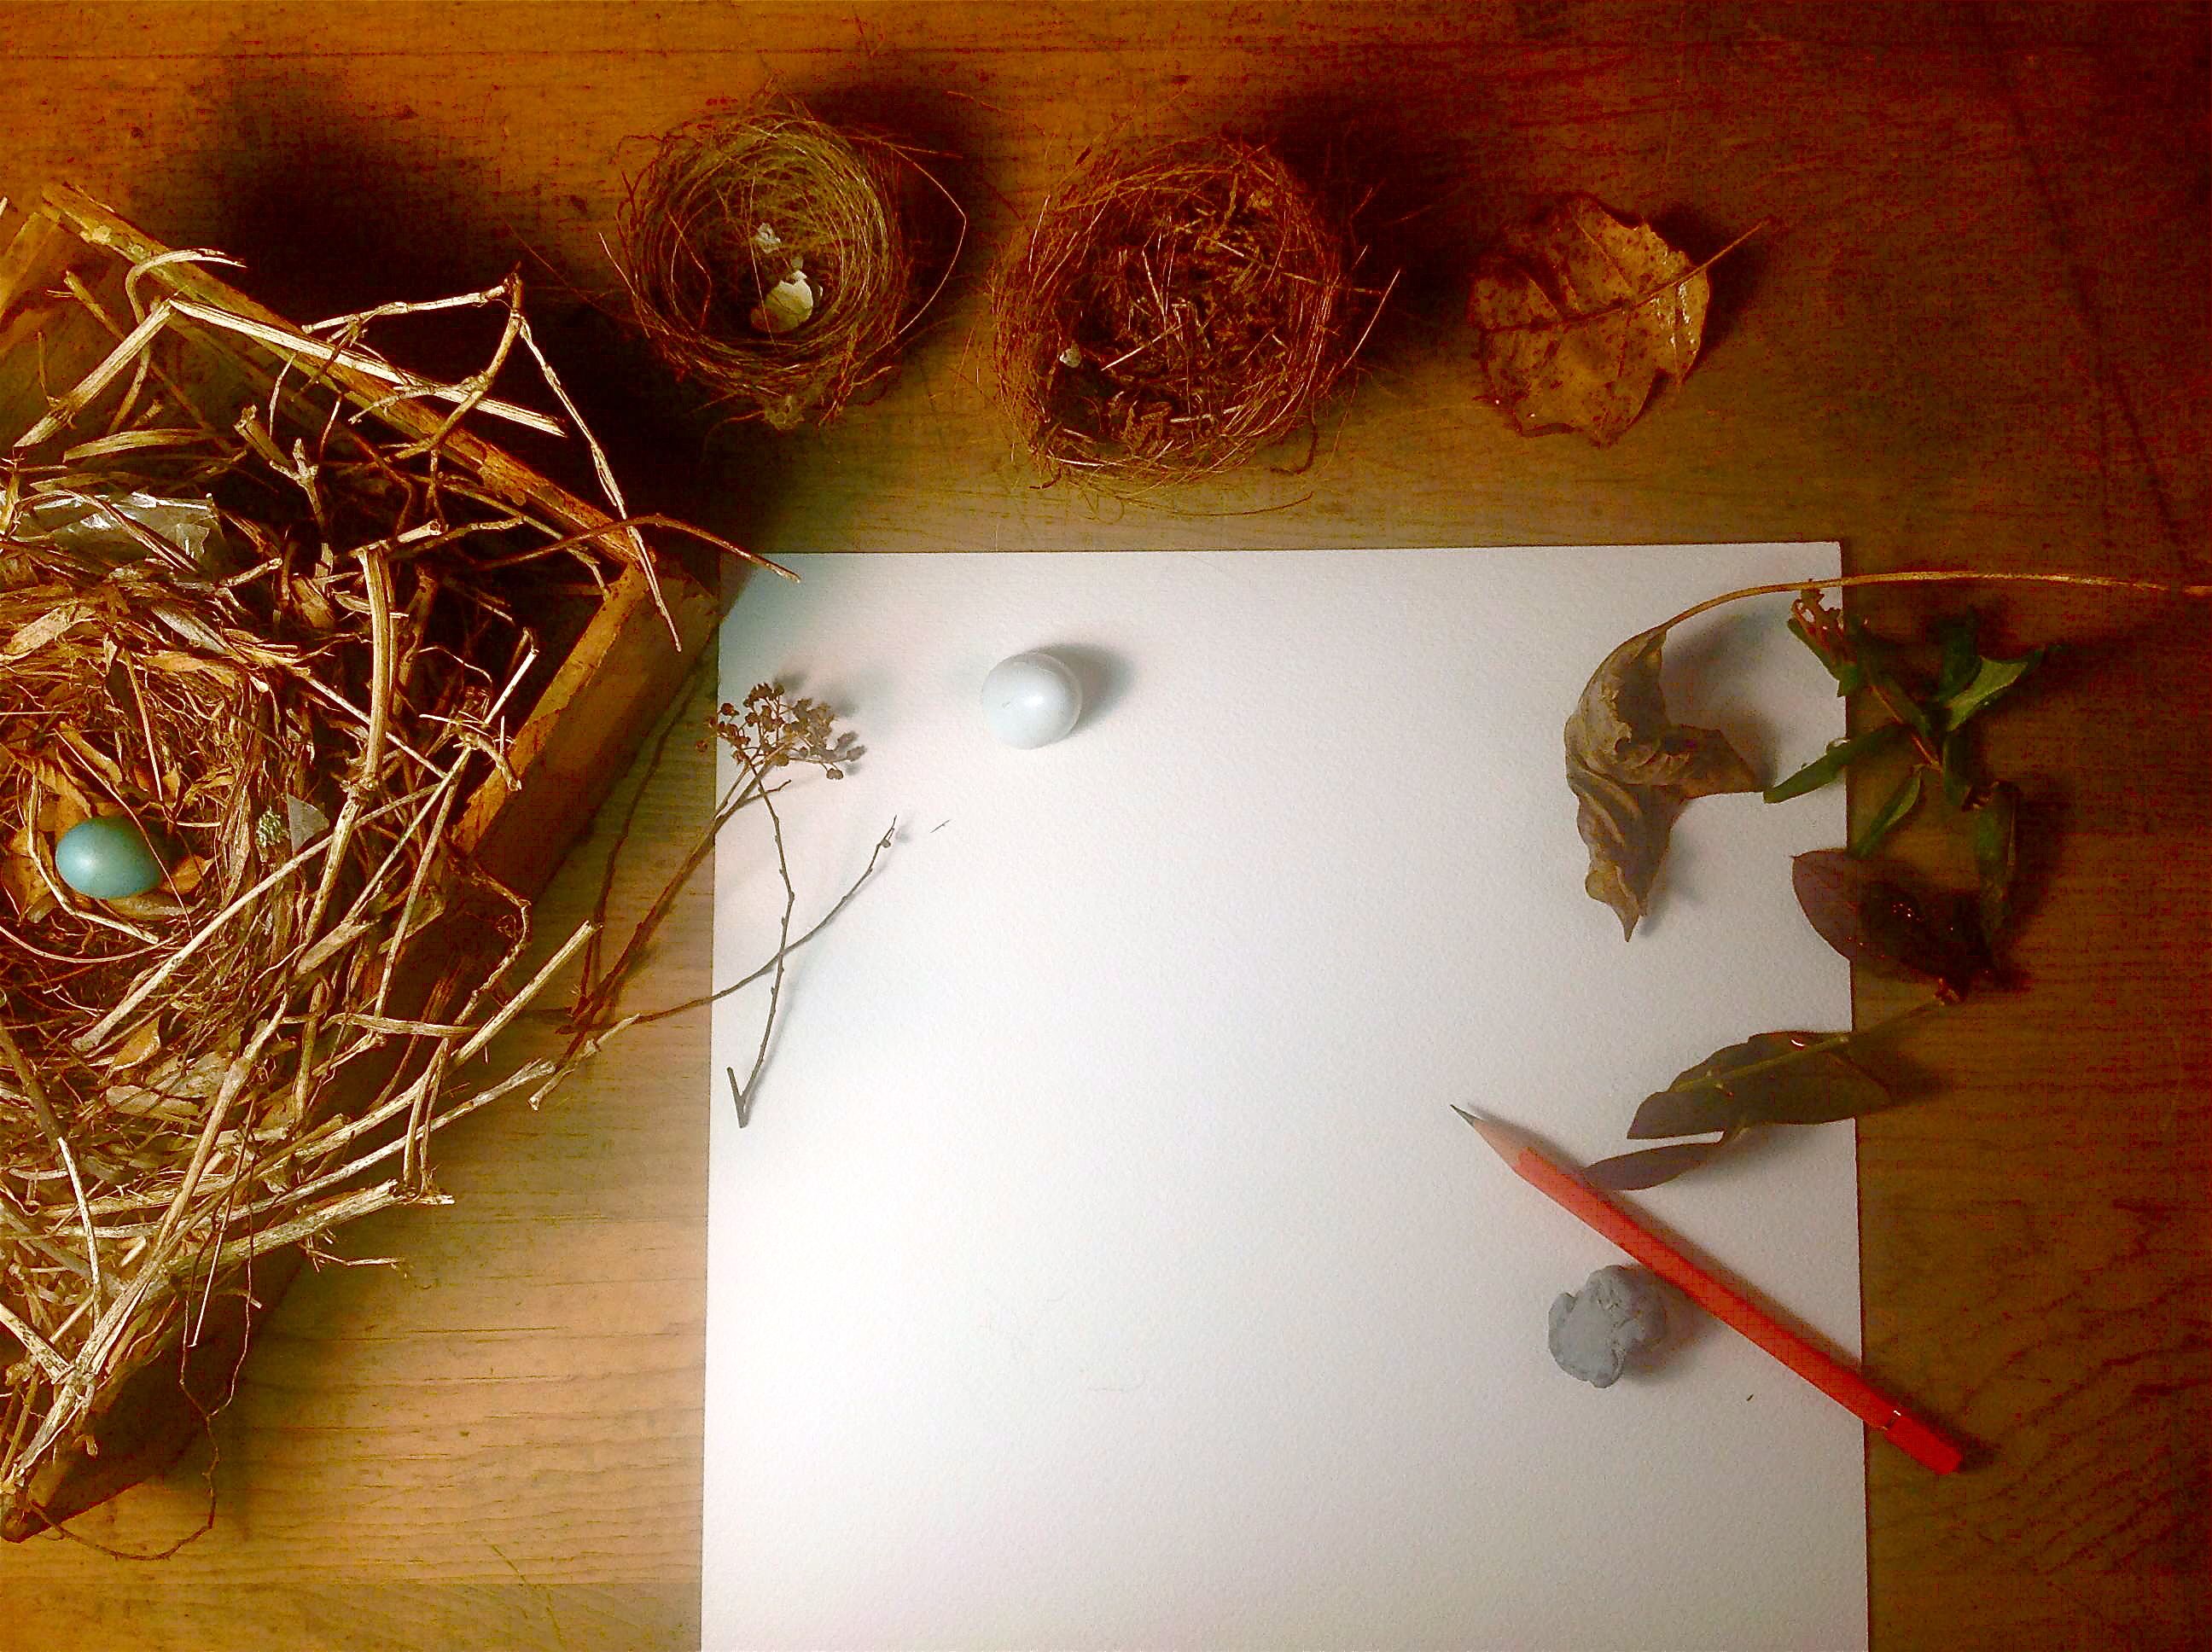 When I am sure the birds are finished with a nest I may have noticed in my yard, I try to salvage it just because I find them so endearing and interesting. Last year, after the Catbirds that visit my yard every summer migrated south, I found their nest with a little treasure left behind — an egg that never hatched. It has a special place in my house now.
Step 3.
Shape your nest by lightly penciling a loosely shaped doughnut. The “doughnut hole” is the center concave portion of the nest. You can sketch in some some lines here to represent where you want the nesting materials to stick out here and there. This is where you form your nest and lay down the plan for your detailing.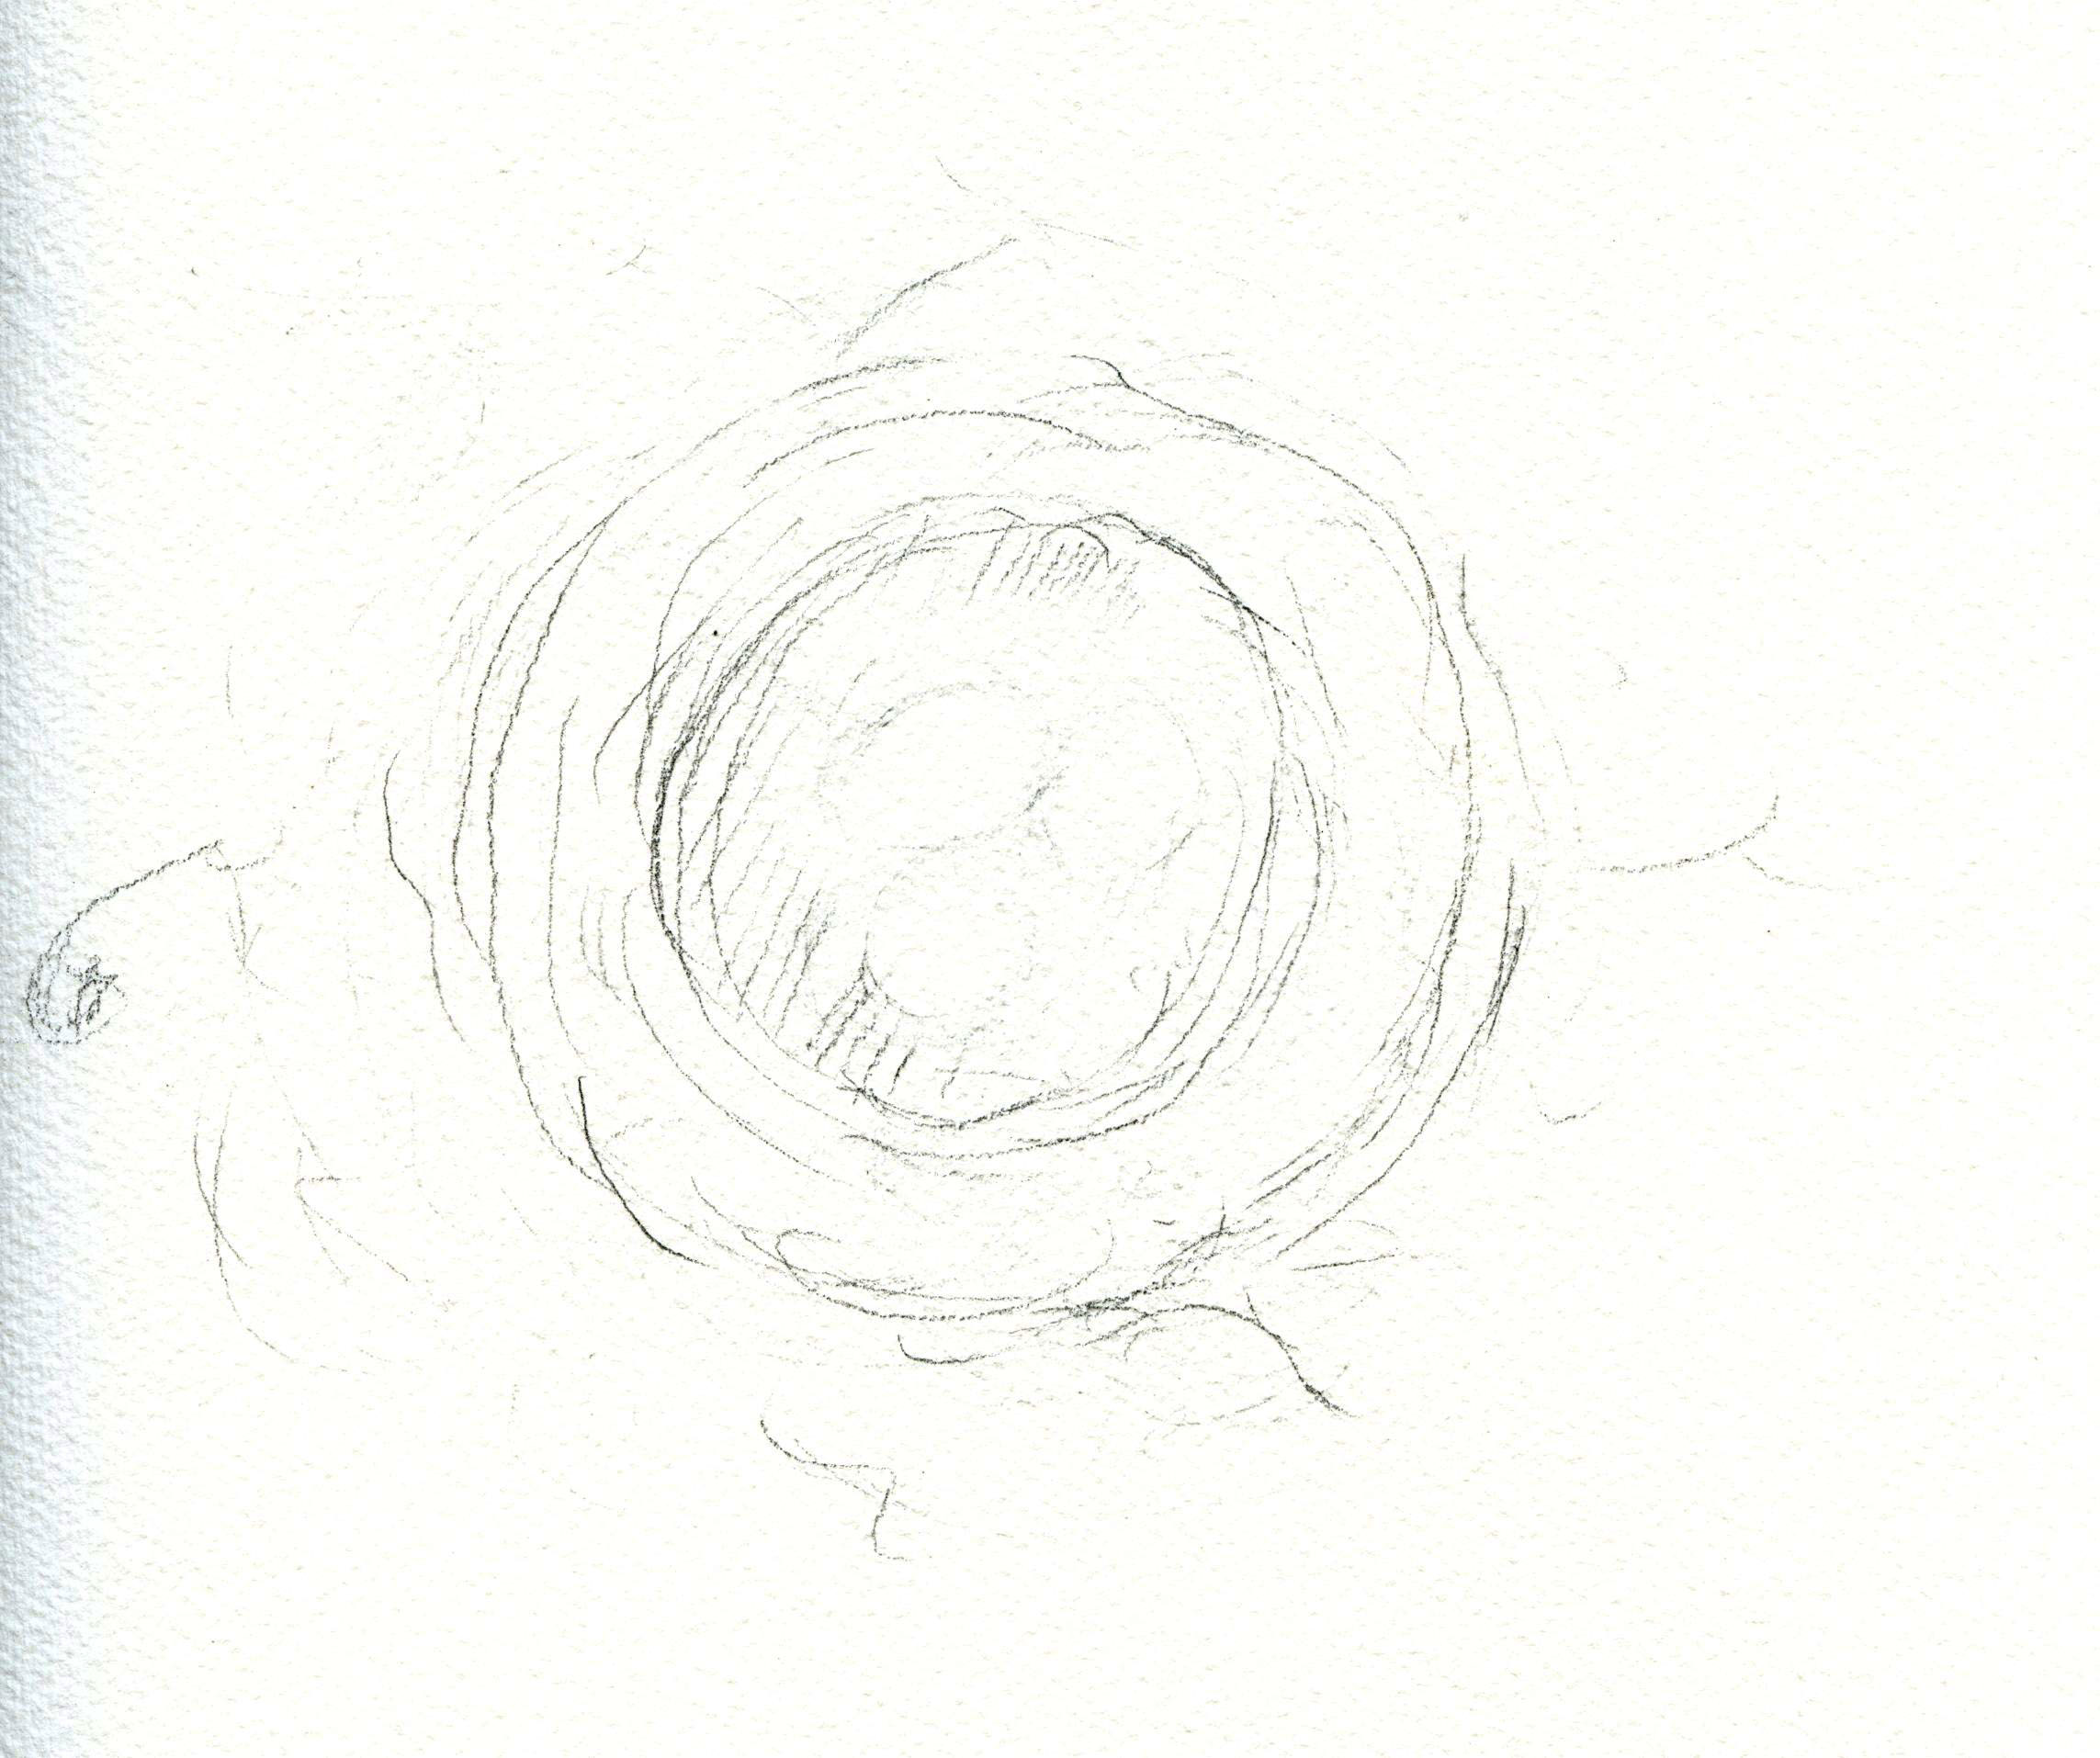
Step 4.
Now that your form is shaped, begin the detailing. Try to weave and wrap some of the nesting materials in a continuous strand to make it believable, even if you are doing it more stylized and loose (your drawing will benefit from practices like this since tedious rendering is a great time to exercise your fingers to create long curves). Keep the weaving tighter in the bottom of the nest (or doughnut hole) medium tight on the wall of the nest (the doughnut) and loose and uneven on the outer edges. As you work, look at your references for ideas how to wrap in anything you may have gathered for this purpose. These details make it interesting. I have even added a rosebud just to give it added interest when it is painted.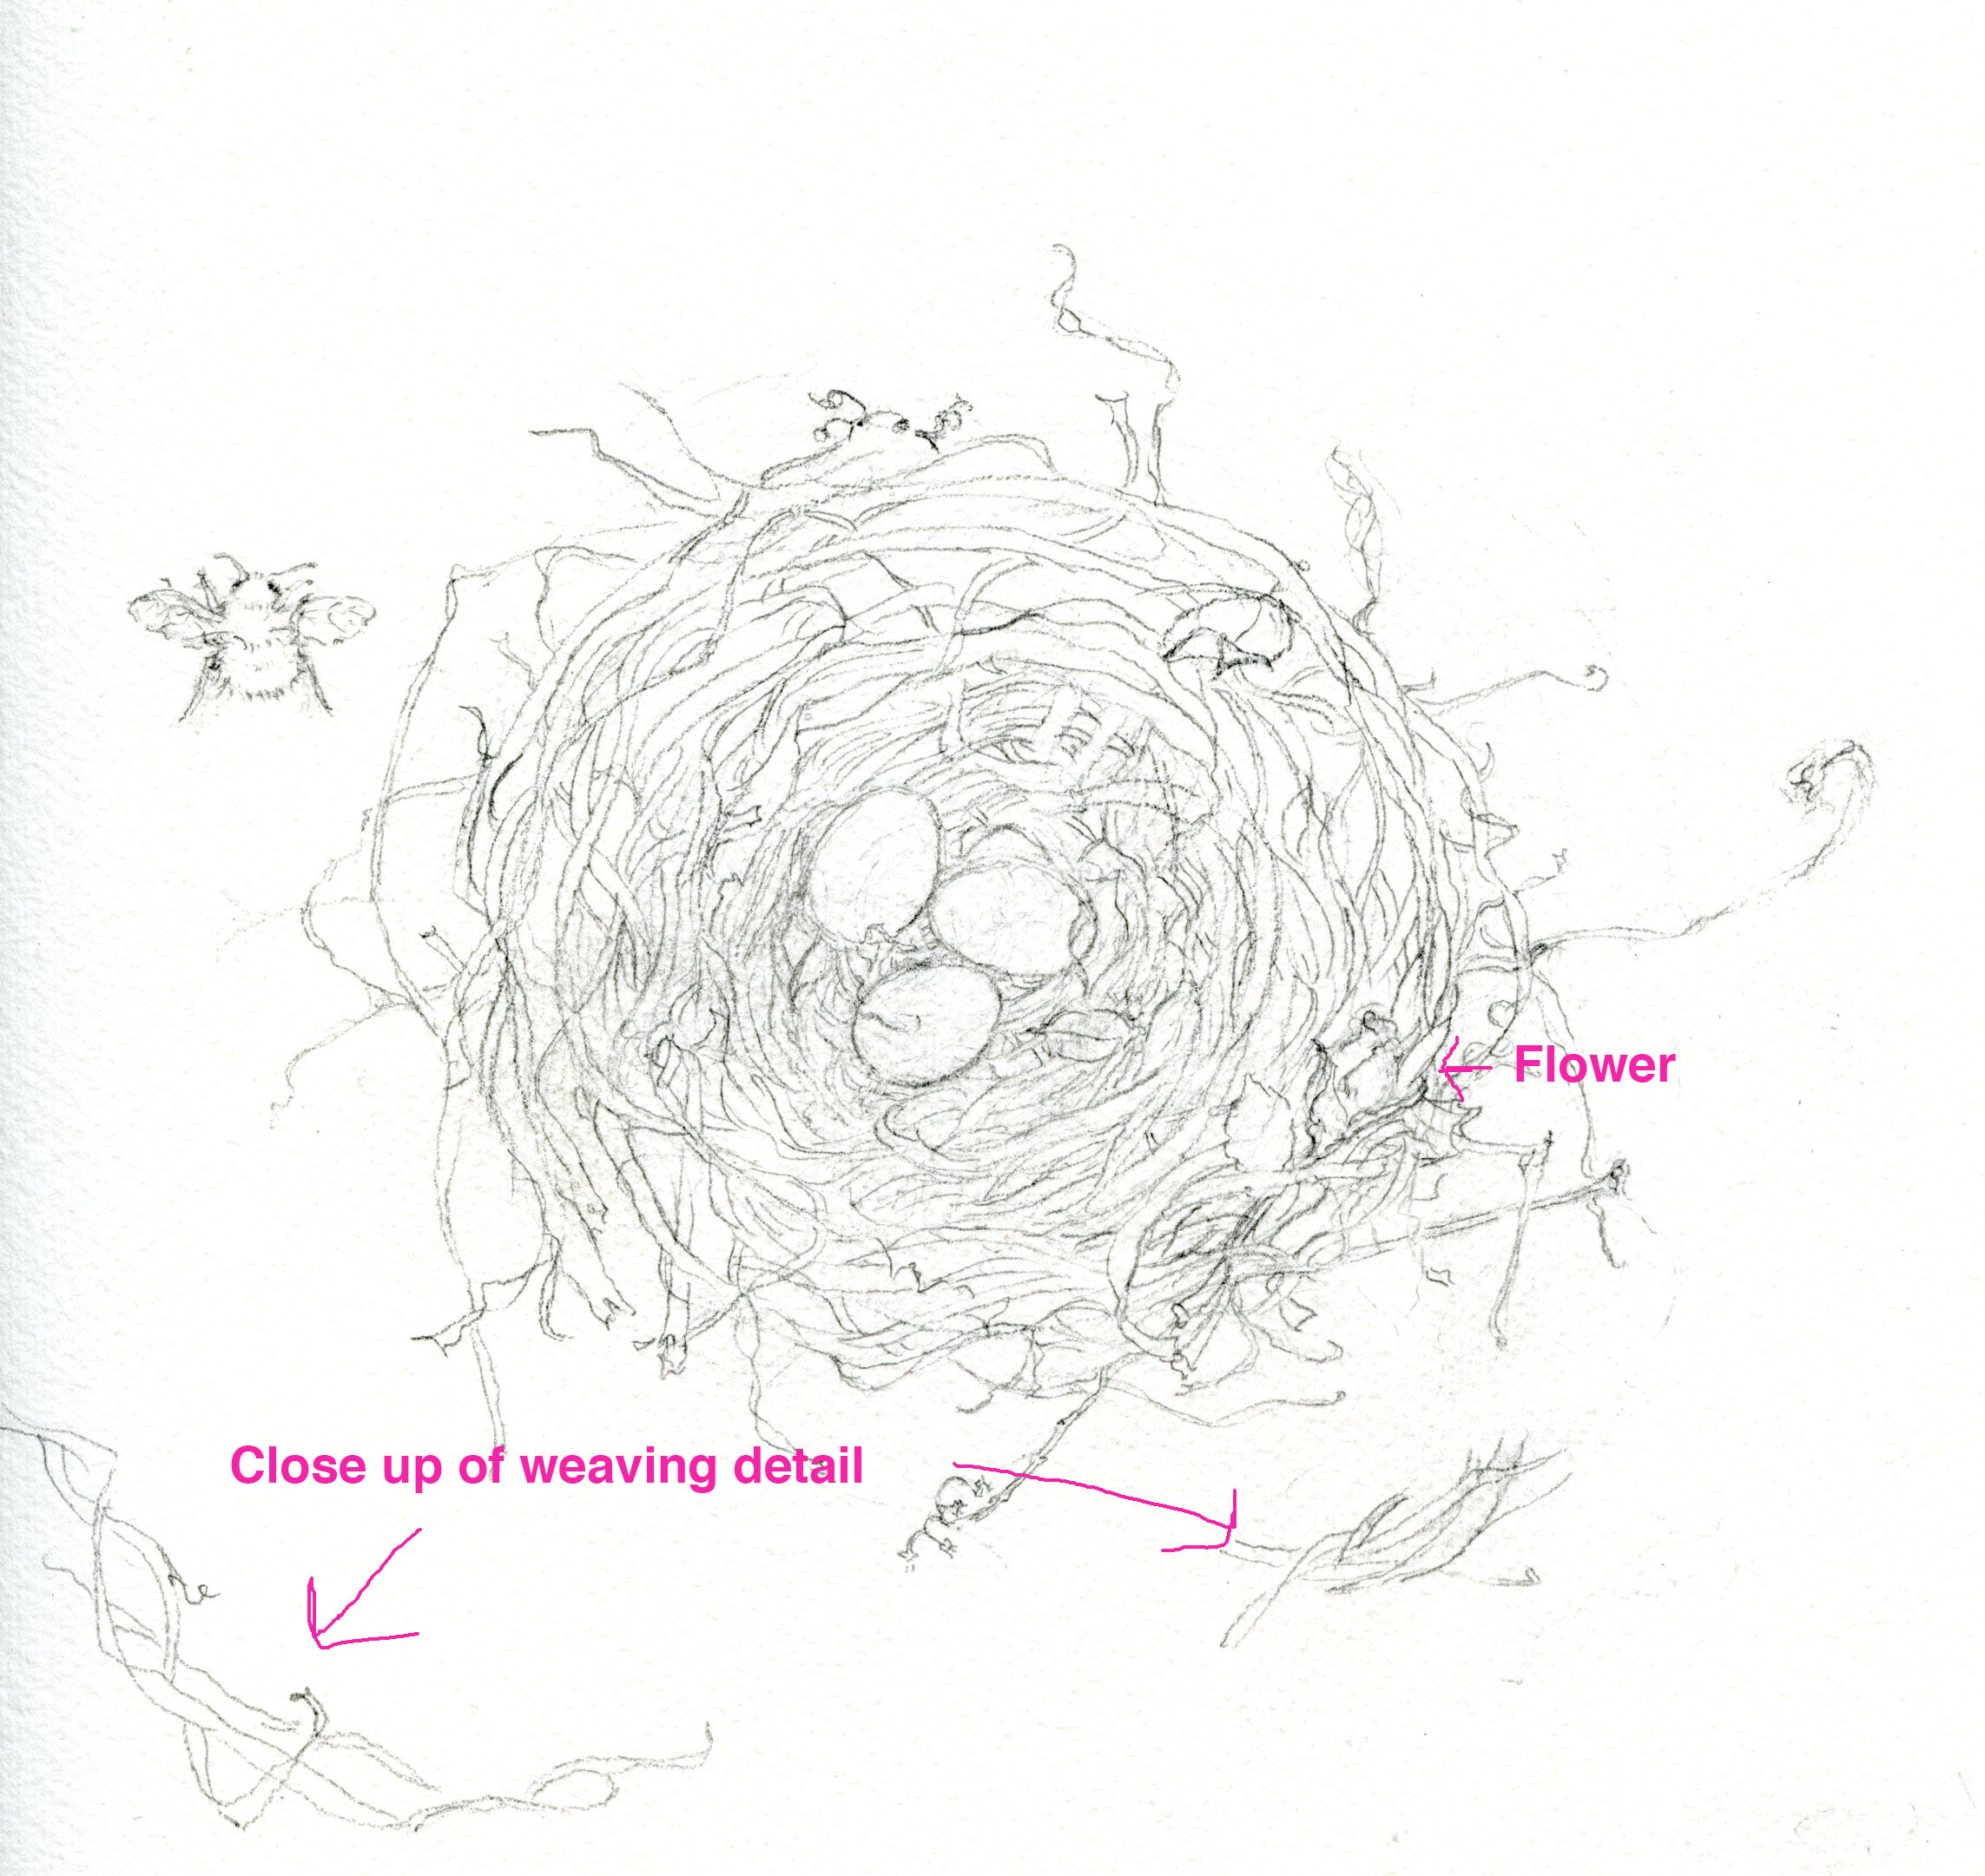
Step 5.
Now I will apply my medium, which will be watercolors. I will apply an uneven wash of brown in the bottom area of the nest. It will not be a really wet wash because I want to control the paint so it does not go onto the eggs or some of the nesting materials. Start painting the nesting materials. You will need some of the vines, leaves, etc. to be a little contrasting in hue to make them pop. Now is a good time to do that. You can paint a few more as needed as you progress.
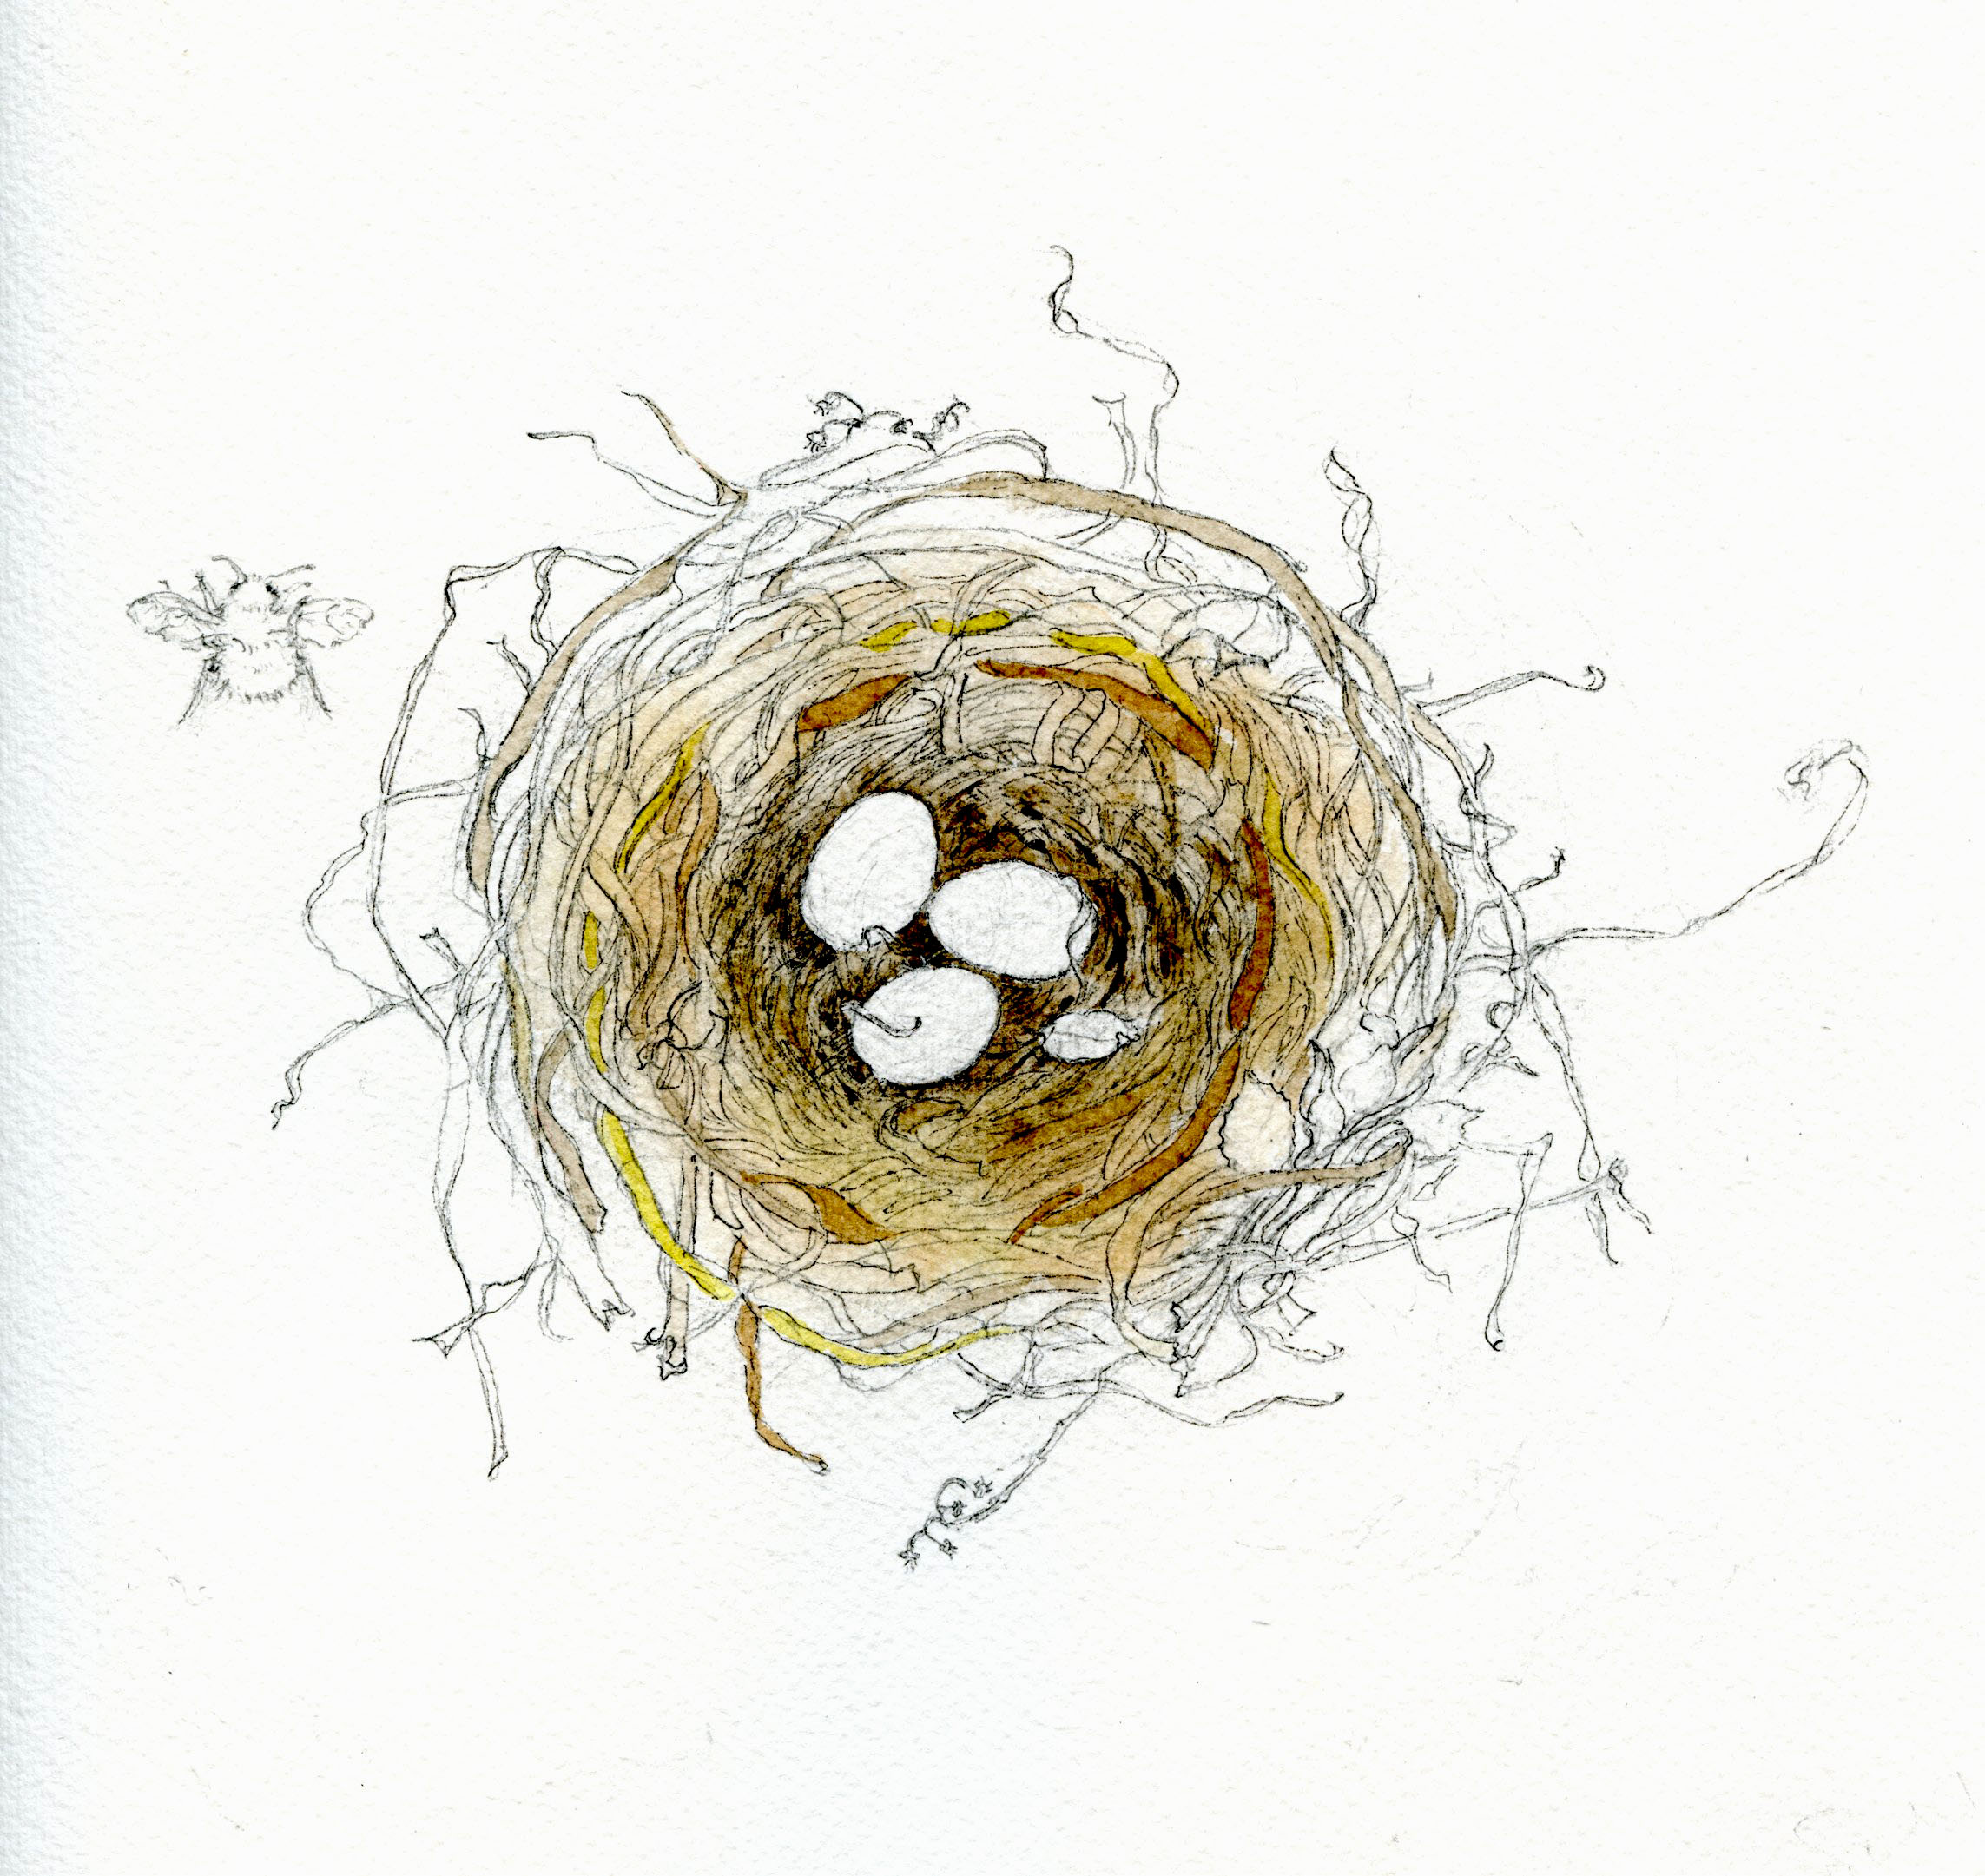 Now add a little contrast in the the spaces between the nesting materials in the deepest area of the nest to make them pop out a little.
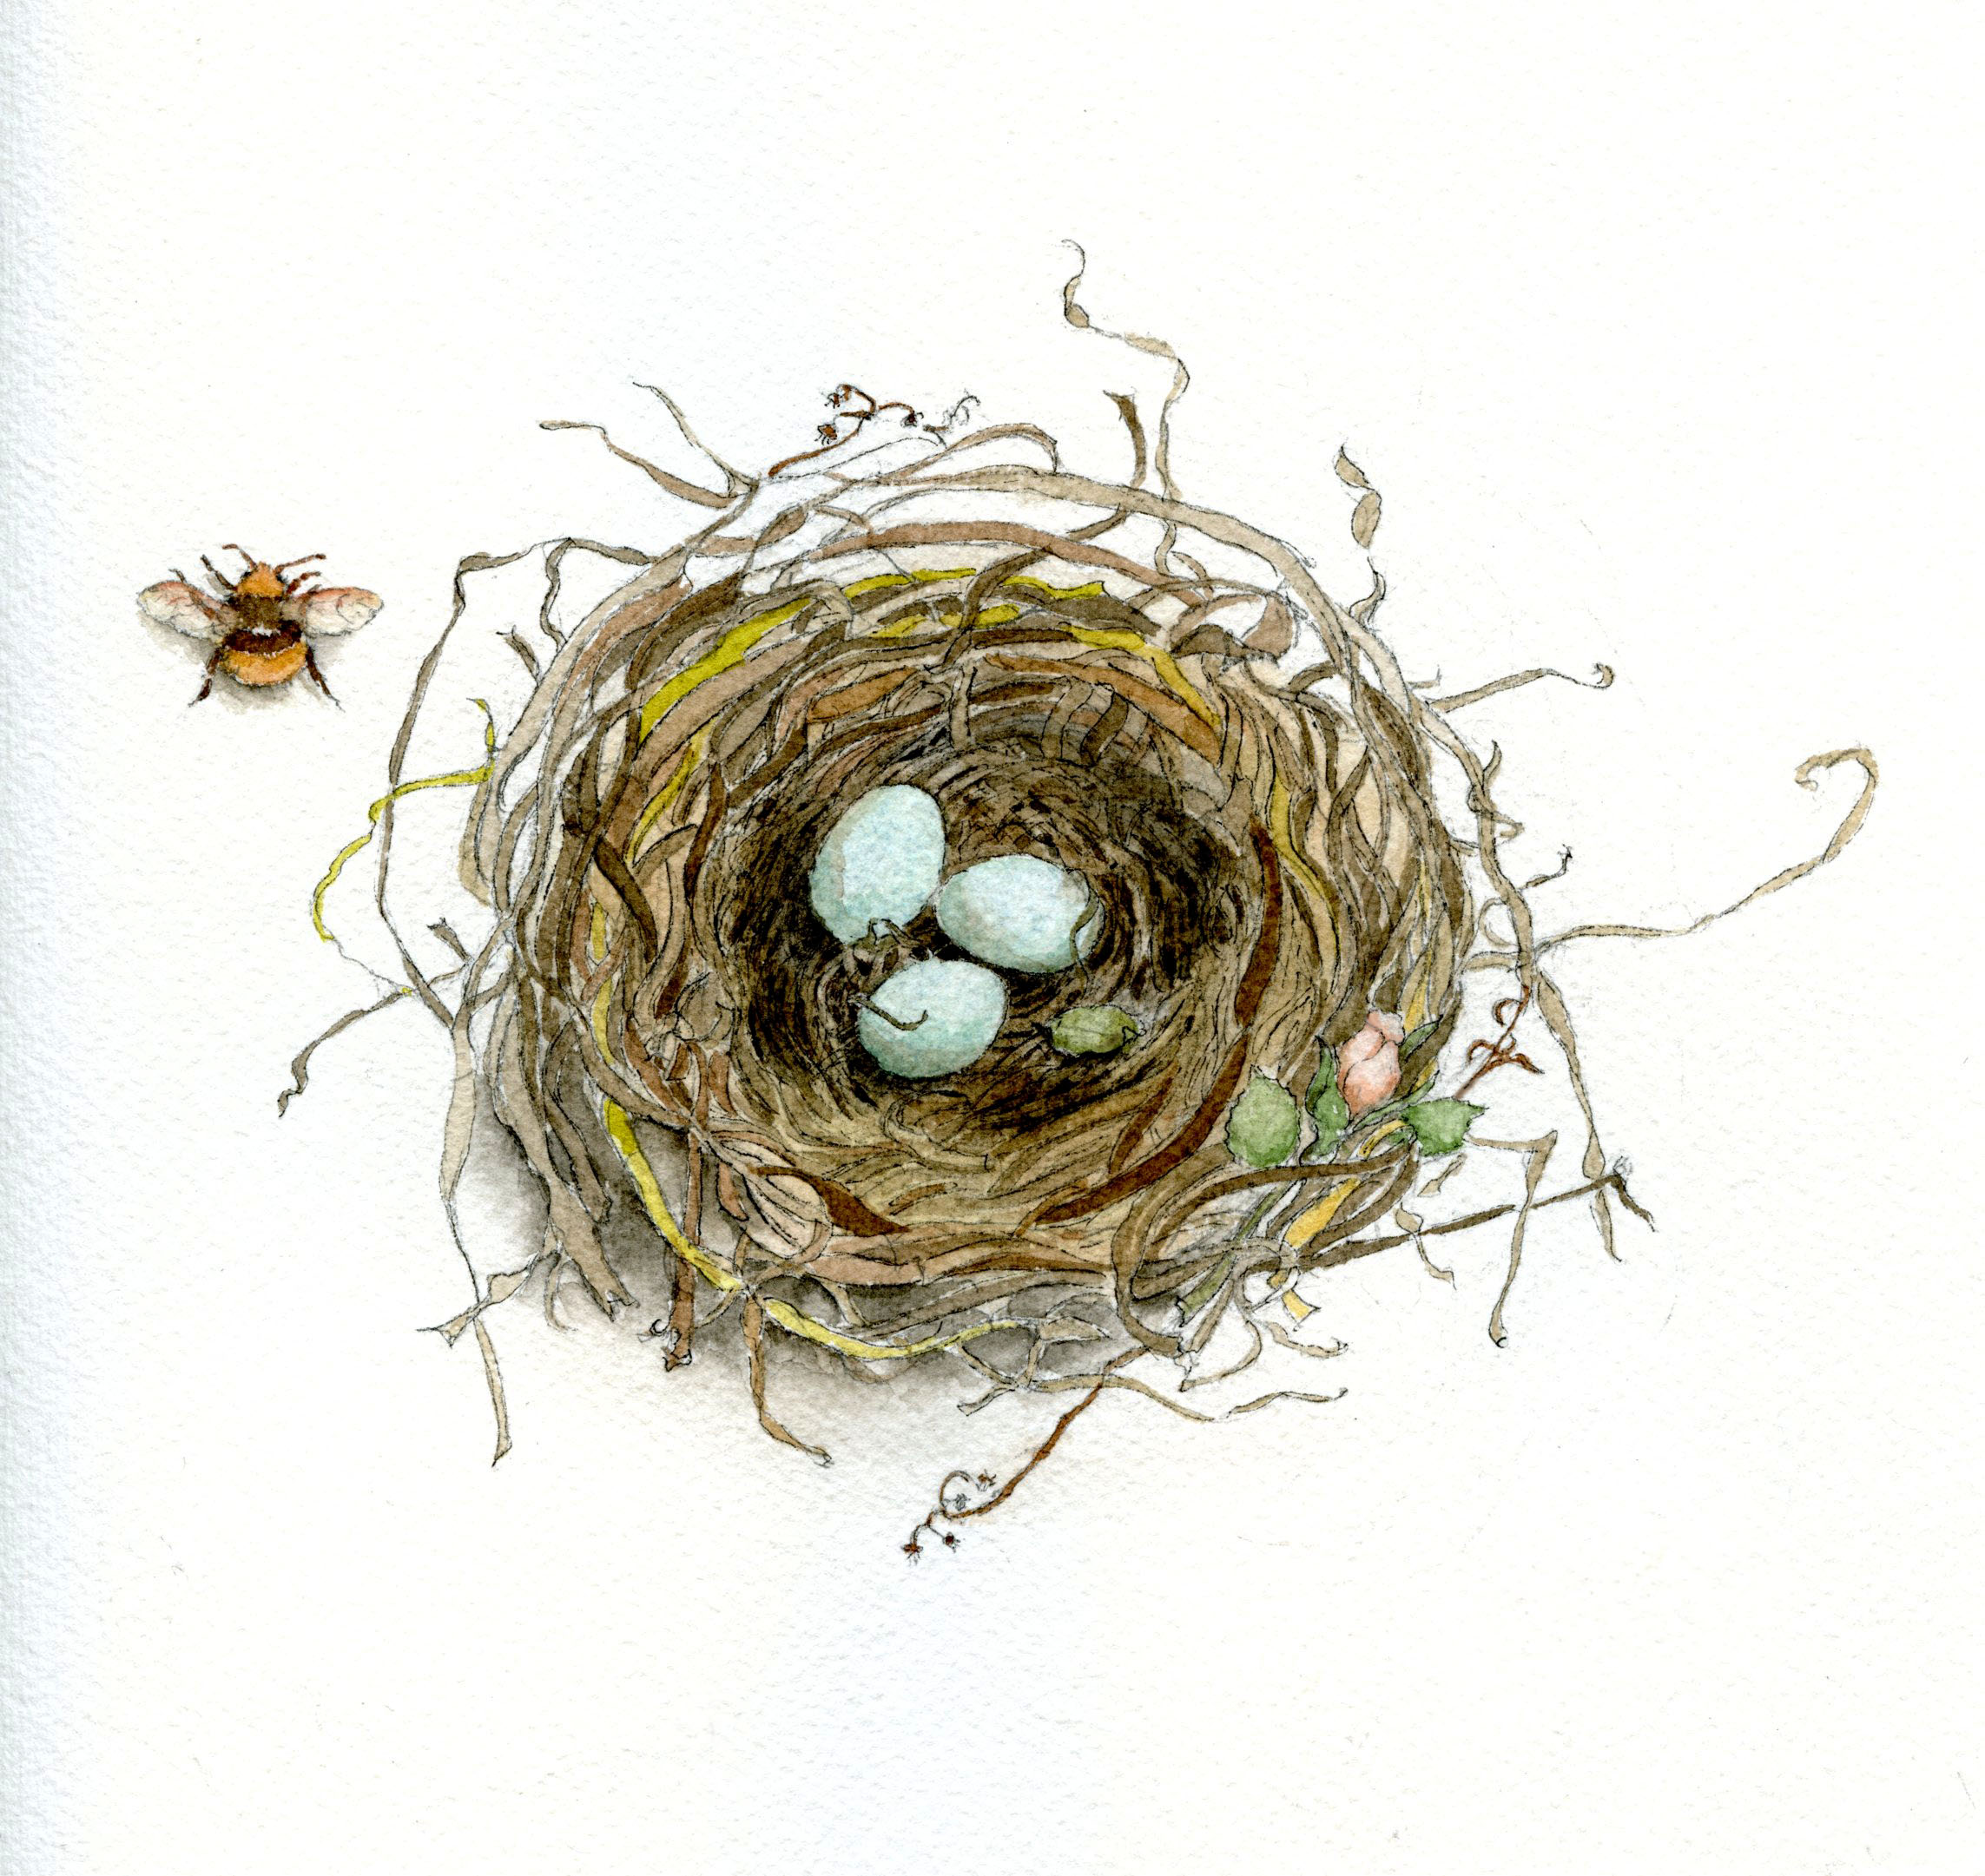
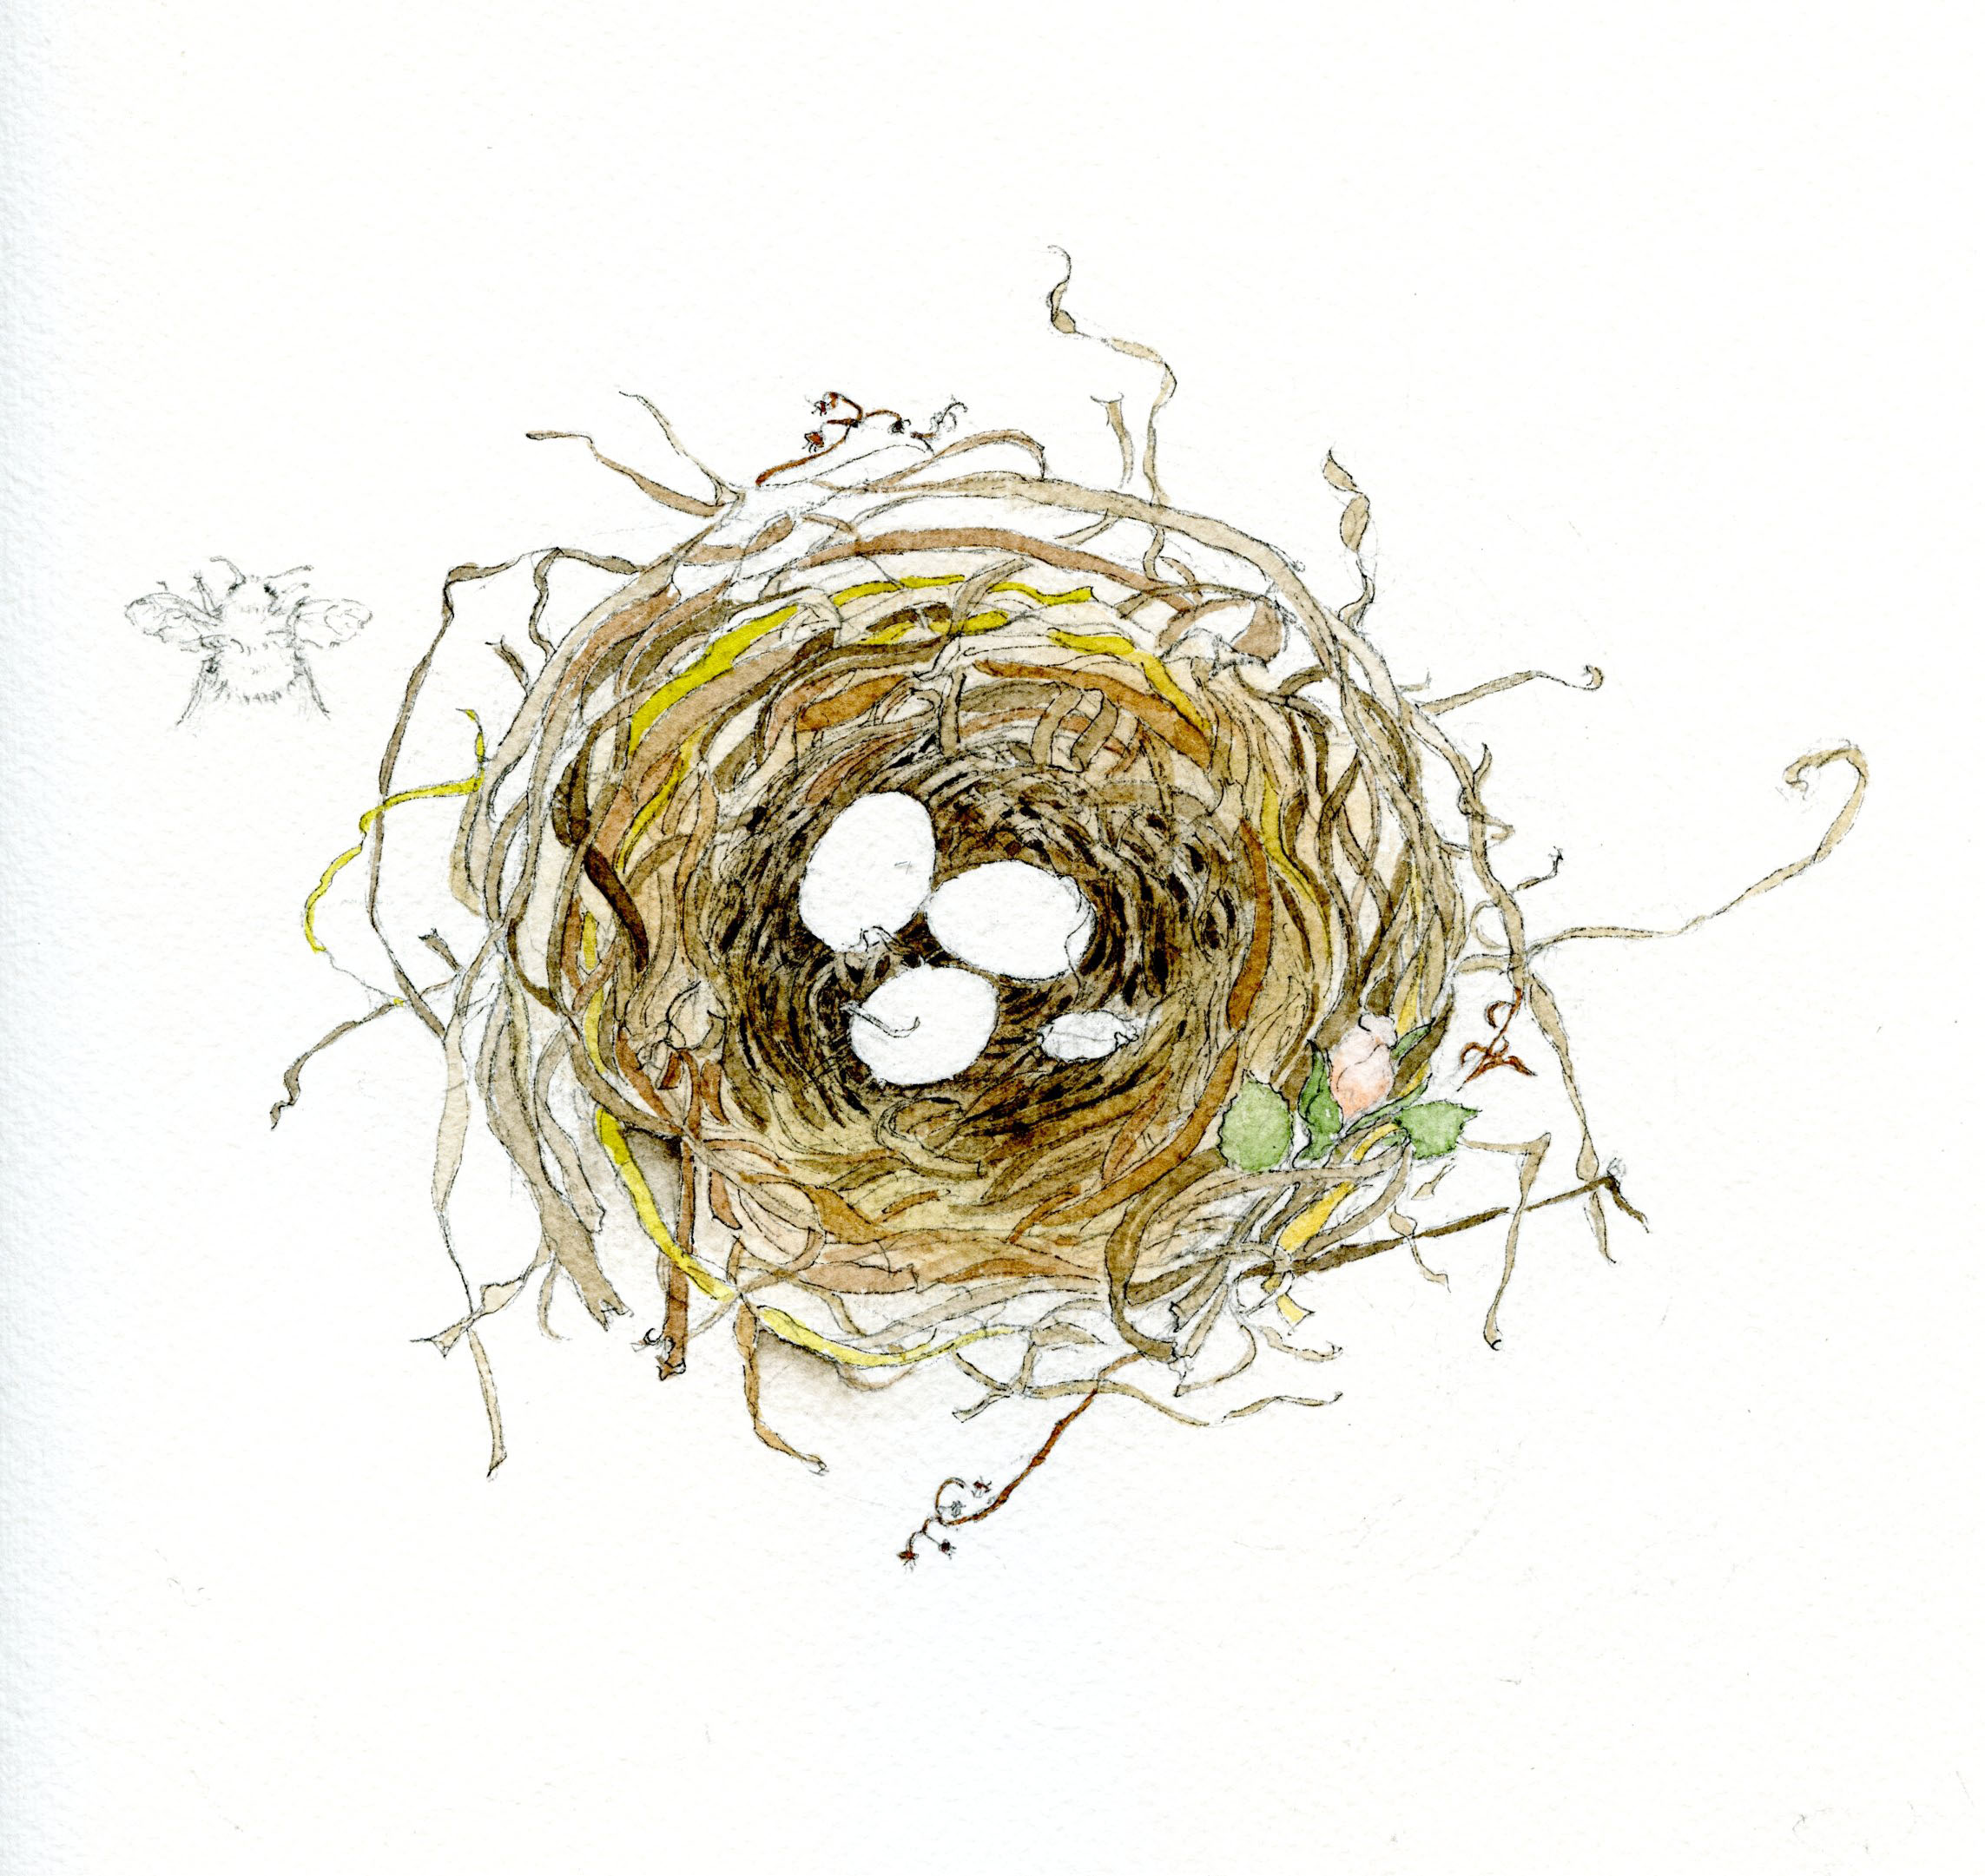 I have added a little more wash for more shading as needed, touched up a few of the nesting materials and finished my flower. A little shadow was added under the nest by wetting between the flyaway nesting materials on one side and saturating it with a mix of black and sepia.
I used a black pen for some outlining but it’s not necessary to create a nest like this.
I have added a little more wash for more shading as needed, touched up a few of the nesting materials and finished my flower. A little shadow was added under the nest by wetting between the flyaway nesting materials on one side and saturating it with a mix of black and sepia.
I used a black pen for some outlining but it’s not necessary to create a nest like this.
Share tips, start a discussion or ask one of our experts or other students a question.
No Responses to “Spring Fever: Draw and Paint a Sweet Bird Nest”