
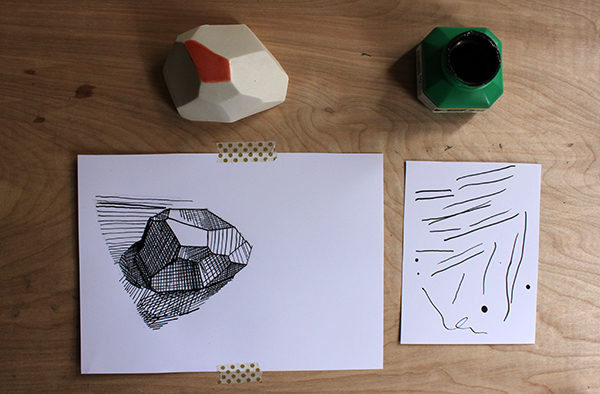
If you’ve looked at drawings completed with pen and ink, then you have probably seen cross hatching. It’s a technique that involves the criss-crossing of lines to create both texture and shadow. I’ve spoke about it in this pen and ink technique in previous posts, but I’ve never gone into it as in depth as I will today.
This cross hatching tutorial will teach you how to create volume.
Today, I’m drawing a ceramic geometric shape. (Note: If you’ve read any of my other tutorials, this object should look really familiar to you!) Its angular attributes are perfect for the straight lines we’ll make. Pick an object that you’d like to draw — it doesn’t need to be like mine, but preferably something without a lot of detail that is also fun to look at.
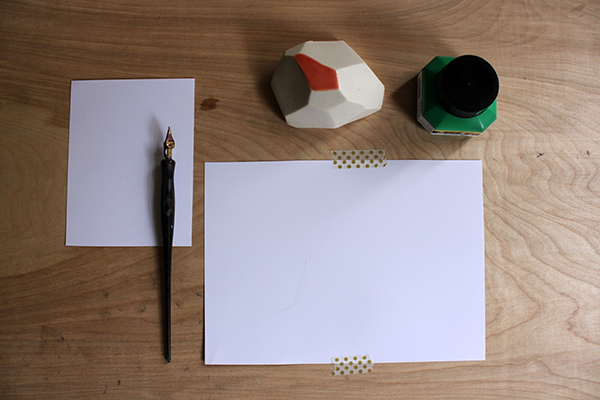
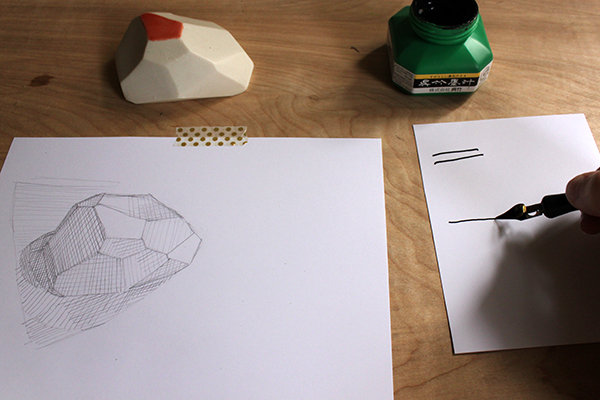
This tutorial doesn’t use a lot of materials. Here I have paper to draw on, a nibbed pen and sumi ink. Feel free to use whatever color ink that you like. A fine-tip pen will work, too. Whatever you choose, be sure to pick a tool that you’re comfortable with.
Step 1: Draw an outline using pencil.
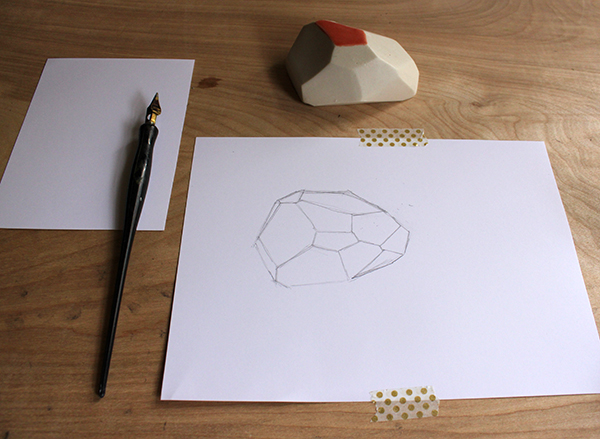
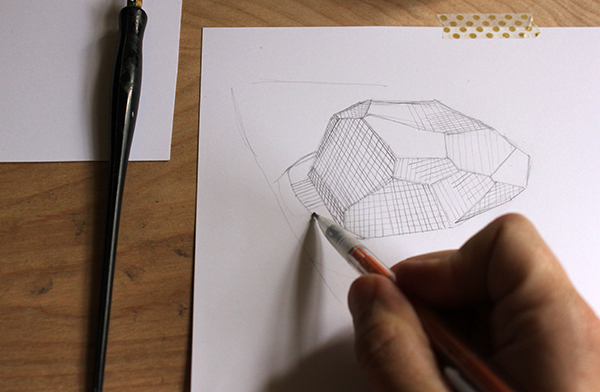
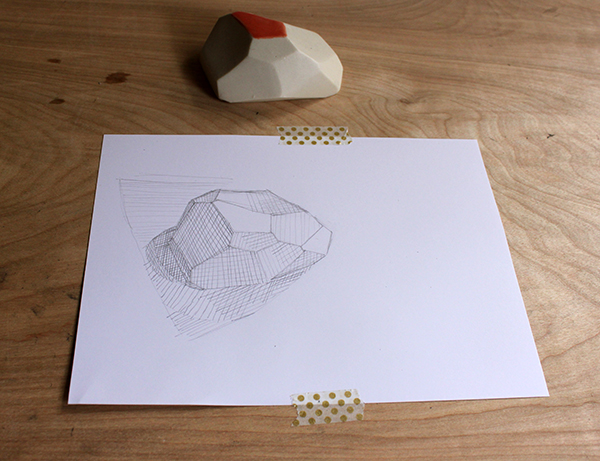
I’m a planner, and I like knowing that if I make a mistake I can fix it. Using ink is daunting for me because of its unforgiving nature. That’s why, before I begin inking, I sketch my subject first. I’m going to record the outline of the entire object and draw in the hatched and cross hatched marks, too. This will allow me to look at the drawing and add or erase lines before I begin the point of no return. Press lightly, as you don’t want to make any permanent marks in the paper.
Don’t forget the shadows! I had a lot of fun with these and experimenting with different diagonal lines to make deep, rich, darks.
Step 2: Trace the lines using pen and ink.
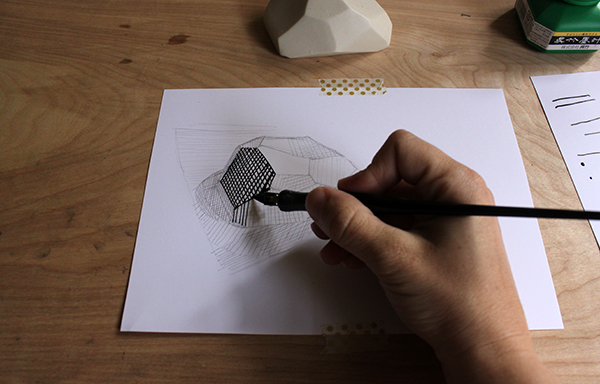
Before you begin this step, assess your drawing. How does it look? Do the lines that you drew accurately reflect where the darkest and lightest parts of your object? For the lightest areas, you don’t need to draw any lines, or spread them far apart. Darker parts require you to make your marks closer together and produce a lot of them.
Now comes the fun! Take your drawing utensil and dip it in the ink. Since I’m using a pen with a nib, I have an extra sheet of paper that I use to mark on immediately after I do this. That way, I can unload some of the excess ink on this scrap sheet instead of accidentally bleeding it on my wonderful drawing. I’d recommending having a piece of paper like this so you can more easily control the flow of ink.
Start to carefully trace over your lines. Don’t be afraid to add more hatching or not draw hatching on – use your best judgement. After all, this is the fun part!
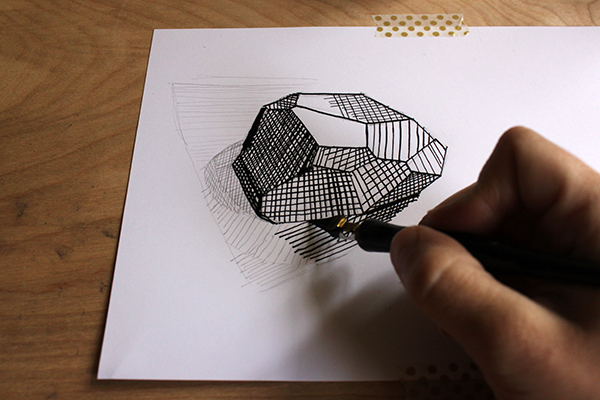
Step 3: Wait for the ink to dry.
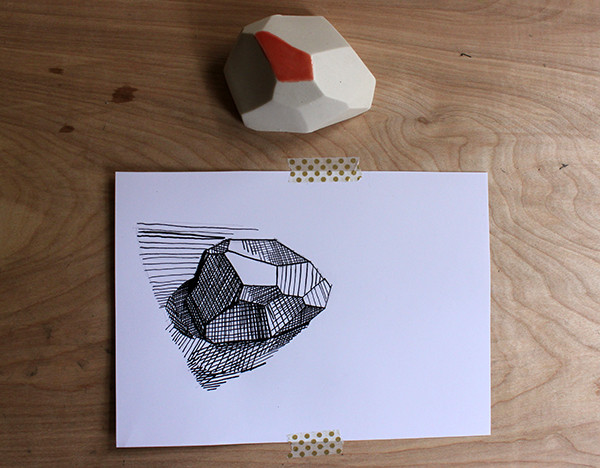
Now it’s time for the waiting game. At this point, you’re almost done, but wait until the ink is dry on the page to erase any pencil lines you see. The results should yield an angular representation of your chosen object. While it’s probably not the most realistic portrayal, it’s shows the highlights and shadows and gives us an idea of form.
Share tips, start a discussion or ask one of our experts or other students a question.
No Responses to “Using Ink: Learn How to Cross Hatch in 3 Easy Steps”