
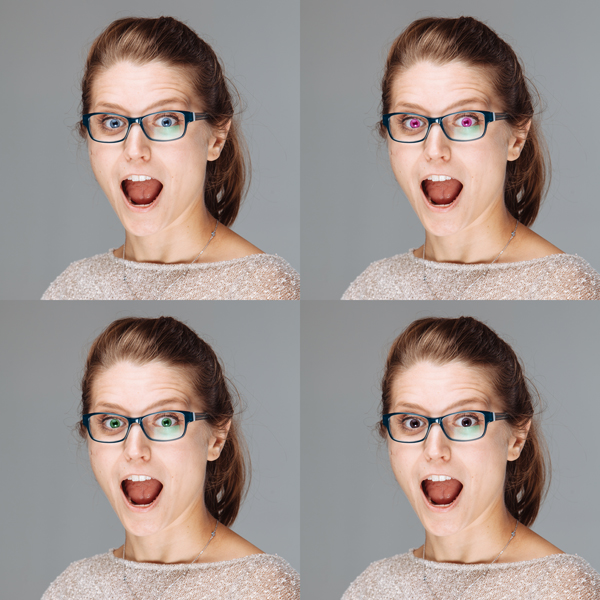
For portrait photography, the eyes are usually the focal point. So how can you draw the viewer’s attention to them? Adjusting the eye color — whether subtly or drastically — can enhance your composition. (And it’s just a fun way to see what someone looks like with a different eye color!) You’ll be surprised how easy it is.

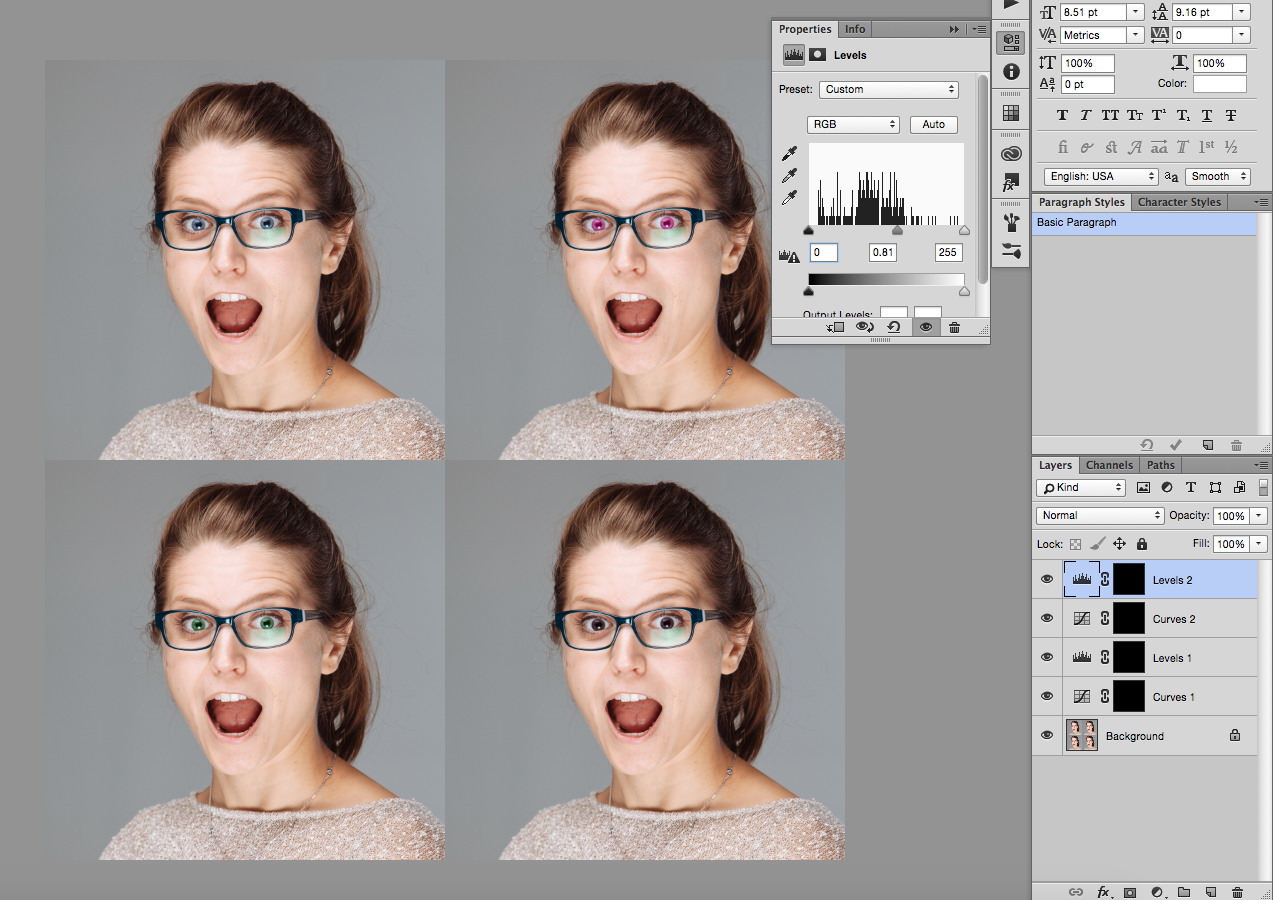
Which one is the real eye color?
While you can completely change the eye color (from blue eyes to brown eyes, for example), your adjustment doesn’t need to be that obvious. Lightening or darkening the shade can do wonders, too.
If you’re not a Photoshop expert, don’t worry. This tutorial is easy to follow and will give you an introduction to some of Photoshop’s most important tools need to learn how to change eye color in Photoshop
Step 1: Select the eye
For a beginner, the easiest way to select the eye is with the Lasso tool or the Magnetic Lasso tool. With one of these tools selected, click on the edge of the iris and sclera (between the colored part and the white part of the eye). Continue clicking around the circle until you are back to the first point. Click on the first point to close the selection.
For someone with more practice and control in Photoshop, a quicker way may be using the Elliptical Marquee tool. With this tool, you simply click and drag until you have the right shape. It may take a couple tries and some adjusting if you aren’t used to using this tool.
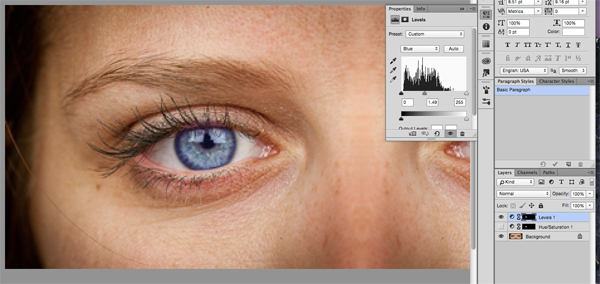
Step 2: Create a mask
With the eye selected, go to the Layers palette and, in the lower toolbar, choose Create an Adjustment Layer. There are three types of adjustment layers you can use to change eye color: Hue/Saturation, Levels and Curves. We’ll walk through all three; for now, let’s start with Hue/Saturation. A new layer should be created with a mask, so that changes only happen to the area you selected.
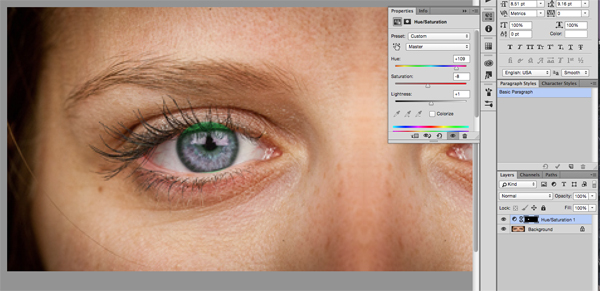
Step 3: Change the color with adjustment layers and opacity
As mentioned above, there are three adjustment layers that can change eye color. You can use just one, but using a combination of all three could result in a more realistic color. Play around with the different layer to find the look you’re after.
Hue/Saturation
Start by choosing the Hue/Saturation adjustment layer you just created. Slide the hue and saturation sliders, adjusting the color to taste. The lightness slider can be adjusted as well, but it tends to wash out the colors pretty quickly. Save the lightening for the Levels and Curves layers.
Levels
Create another mask, but select Levels instead of Hue/Saturation as the adjustment layer. Pro tip: If you hold the Option key and drag your previous layer’s mask to the Levels adjustment layer, it will duplicate the mask so you don’t have to re-select the eye.
In the Levels palette, choose either the reds, blues or greens to adjust. In my sample, I just adjusted the mid-tones of the blues to shift the color. You can shift one color or all the colors. Adjusting the shadows will darken the colors and adjusting the highlights will lighten the colors.
Curves
Lastly, try a third adjustment layer by choosing Curves. Hold the Option key and drag the mask from the previous layer again. Then, make your curves adjustment just like the Levels — one color at a time.
Again, you can make adjustments using just one of these adjustment layers or all of them, adjusting the opacity of the layer to lessen the strength of the effect.
Step 4: Refine selection edge
There’s a good chance that once you have made some changes to your adjustment layers, you will need to update your mask. Maybe part of the skin, whites of the eye, or the pupil changed color along with the iris. If you select the mask, you can go back with the brush tool and add or remove parts of the mask to refine which parts of the image change color.
Bonus tip: Whiter whites
You can make the eyes pop a little more using a Levels or Curves adjustment layer to brighten the whites of the eyes. Mask just the white part of the eye and lighten up all the RGB channels together. Make sure you don’t include the colored iris in your adjustment!
If you experiment with adjustment layers, you will find that there are many more ways to change the color of eyes — these are just the quickest, easiest ways.
Share tips, start a discussion or ask one of our experts or other students a question.
No Responses to “The Photoshop Trick That Makes Eyes Pop”