
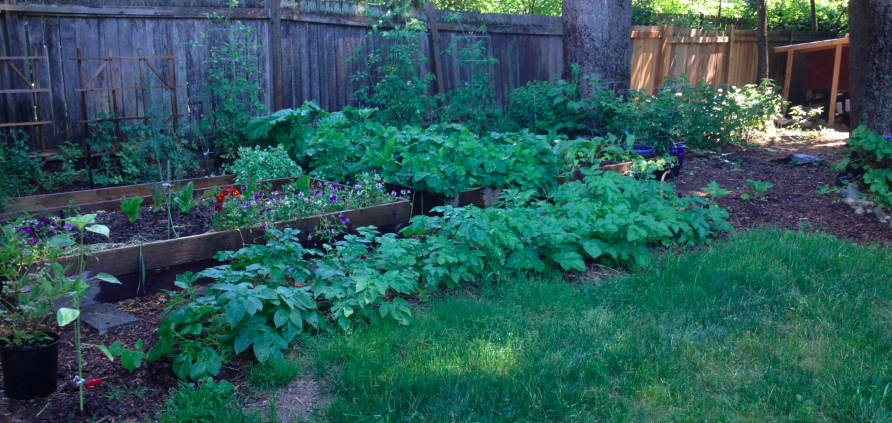
Raising your own food is one of the most rewarding projects you can take on. Whether you start small with a container or two on your porch, build a few raised beds in your yard, or plow a whole field, there is nothing quite like the first bite of something you grew yourself (and subsequent bites aren’t half bad either).
I encourage you to do your own research with regard to planting times and which plants do best in your area, but hopefully there’s enough here to get you started with your own little garden.
Follow along to learn how to build a raised garden bed.
What you need:
- Fertile soil
- A location with at least partial sun
- Viable seeds
- Building supplies
- Irrigation
Supplies:
- Wood (or whatever you want to use for your structure)
- Nails/screws (not necessary if you use rocks)
- Hammer/screwdriver (not necessary if you use rocks)
- Power or hand saw (not necessary if you use rocks)
- Hardware cloth (optional, but recommended)
- Outdoor fabric (optional, but recommended)
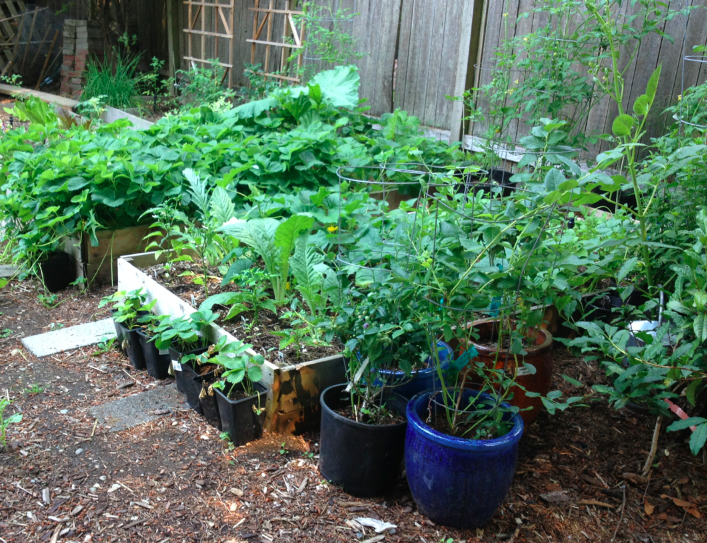
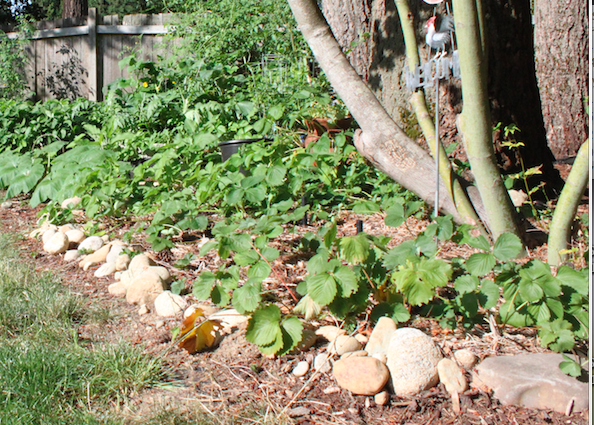
Styles of raised beds
You can be creative with the supplies you use to make your raised beds. A lot of people opt to buy metal feeding troughs, place them in an ideal spot in the yard, add dirt and seeds and call it a day. I think those look great but they are also very expensive. You can also make raised beds using river rock or large boulders. If you have to buy the rock, this is a very costly and labor-intensive method. However, last year we made an in-ground trampoline in our yard and, in the process, ended up with more large river rock than we knew what to do with, so I ended up using a lot of it to build a few raised beds.
Ground prep
You want to put your garden where it will get the most sun. If you live in a neighborhood and the most sun is in your front yard, be kind to your neighbors and put a little extra thought and effort into the design so they have something appealing to look at.
You will have a much easier time designing your raised bed if you have a nice flat place to build it. If you don’t, you can tweak this design to fit your space. If you’re on a steep hill, you might look into building a stair-stepped design.
If you’ve chosen wood as your medium (I will assume you have from here on out), flatten the ground you plan to build on. The more prep work you do here, the more success you’ll have.
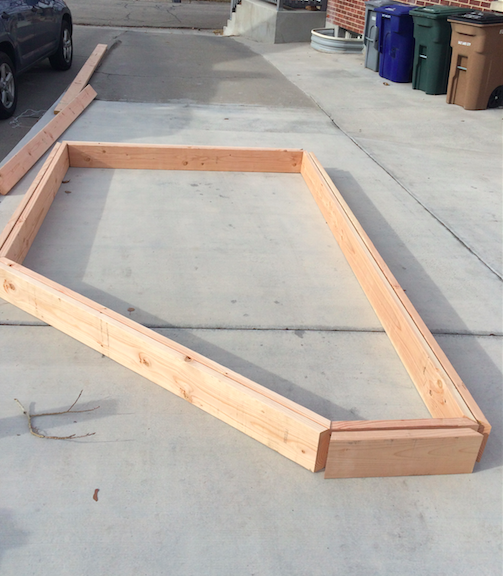
Design tips
- Think about the space you have and get creative — raised beds don’t have to be square!
- Be sure to leave yourself pathways so you don’t have to climb around inside your garden beds and compact the soil you worked so hard to till.
- If you have deer or rabbits in your area, a fence could be a major sanity saver
- Don’t go too cheap on the buildout — building raised beds is a LOT of work. It is definitely worth getting nice thick, sturdy wood and invest in quality supplies so you don’t have to rebuild your garden beds in a few years because your cheap or poorly chosen materials deteriorated quickly.

Constructing the raised garden bed
Step 1: Flatten the ground
You can easily create guides to assist in the ground-flattening process by making four wooden stakes and tying strings tightly between them to make a giant X. This will help you know where your high and low spots are. Renting a tiller for the weekend to loosen up your soil before you do this step is a huge time and back saver.
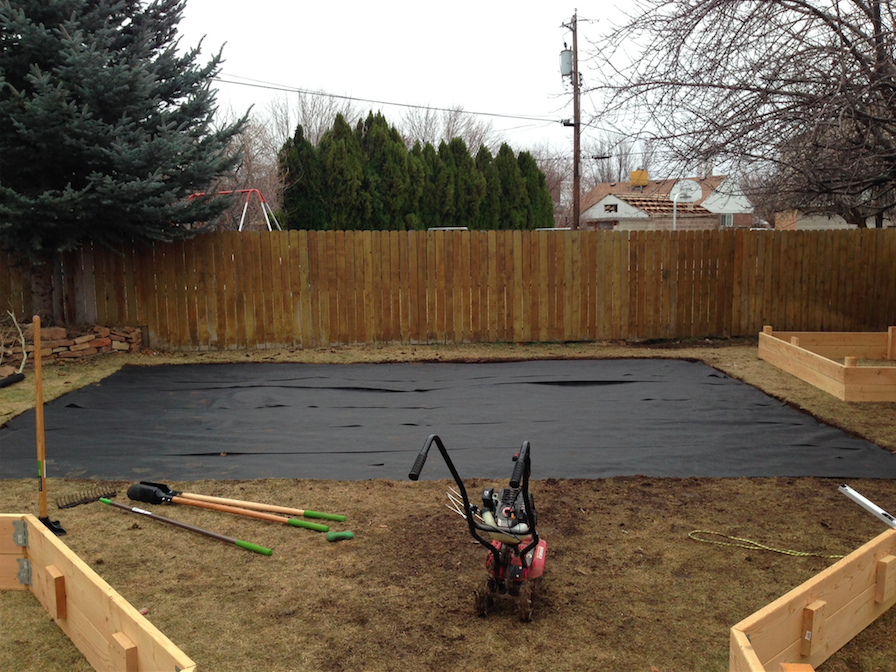
Step 2: Add fabric
Adding fabric below the entire raised bed area will be hugely helpful with weed control, especially in your pathways between raised beds. If rodents are a problem in your area, adding a layer of hardware cloth to deter them is also a great idea at this point.
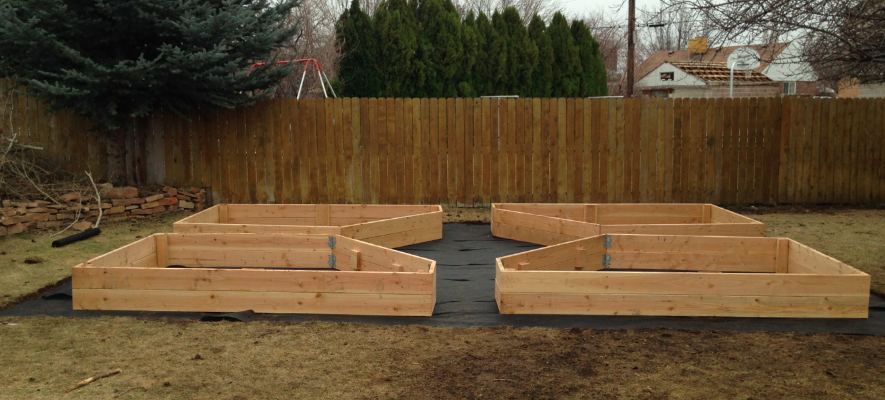
Step 3: Construct your beds
Depending on the design you chose, you have all kinds of different options here. I recommend you overbuild as much as possible. Buy framing hardware, thick wood and plan for plenty of supports. However, if you’re looking for a more budget-friendly option, you can get away with using thinner wood with lots of bracing. I’ve found that driving rebar in on either sides of the walls of the beds in a few key places allows for plenty of strength with thinner wood. Wooden stakes accomplish the same goal.
Whichever method of braces and supports you use, keep in mind the sheer weight of the dirt that will go into your raised beds. As the dirt settles and the rains come, there will be a tremendous amount of outward pressure on the walls of your raised beds and the walls of your beds will quickly become bowed out and unsightly if you don’t shore them up properly in the building process. If time is of the essence, a framing nailer will get the job done quicker, but 3-inch screws will have greater and more lasting holding power (also, using screws gives you the option of taking the beds apart if needed).
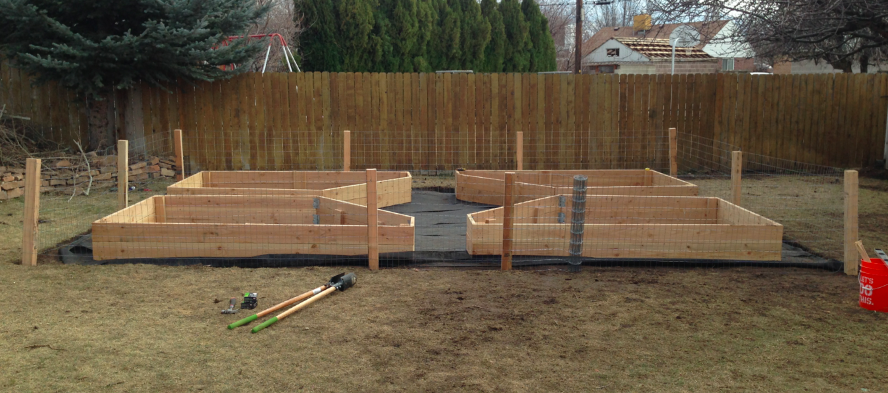
I recommend saving yourself some heartache and filling the raised beds before you install your fence (if you choose to do so). When filling your soil, rabbit and horse manure make for fantastic additions. Other manures are also great, but need a far longer composting time because they get hot as they decompose. If you have the luxury of building your raised beds in the fall and letting the soil rest all winter, you can get away with filling your whole garden beds with free horse manure.
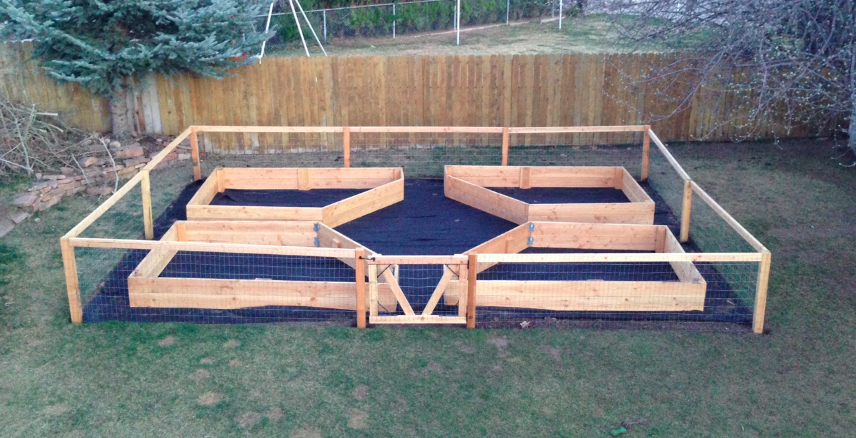 And there you go! Happy gardening!
** A very special thanks to my dear friends Annie and Loren for helping me with this project.
Share tips, start a discussion or ask one of our experts or other students a question.
No Responses to “How to Build a Raised Garden Bed in 3 Steps”