
Even the most gorgeous embroidery projects can be easily ruined by one thing: misalignment.
It would be nice if there were a GPS device for embroidery. Just plug in some coordinates and, voila, perfect alignment! It’s not quite that easy, but not nearly as difficult as you might think. Fortunately, there are plenty of tips, tools and easy fixes for this common stitching challenge.
Here are four tips for keeping things straight in the hoop!
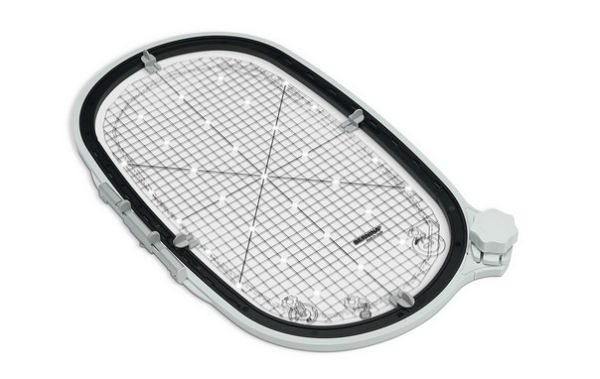
Photo via Bernina.com
Hoop guides and templates
Each hoop contains vertical and horizontal centering marks on the frames. They help with aligning both the fabric and the design.
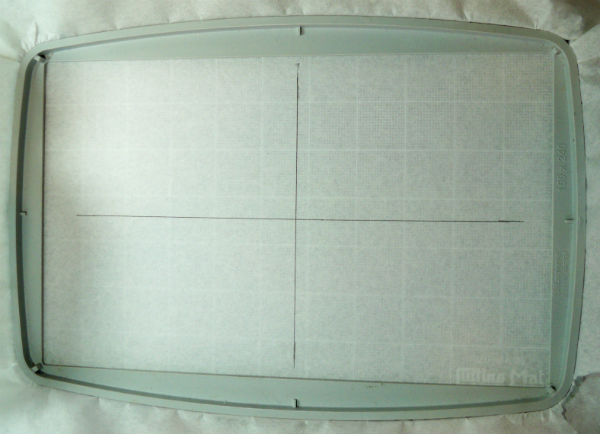
Photo via Debbie Henry
It is important to get the fabric fibers aligned squarely in your hoop. Not only is it more aesthetically pleasing (you do not want obvious fabric patterns and weaves to run at odd angles), it keeps the fabric taught. Otherwise, the fabric bias allows stretch which can distort stitches and leave puckering.
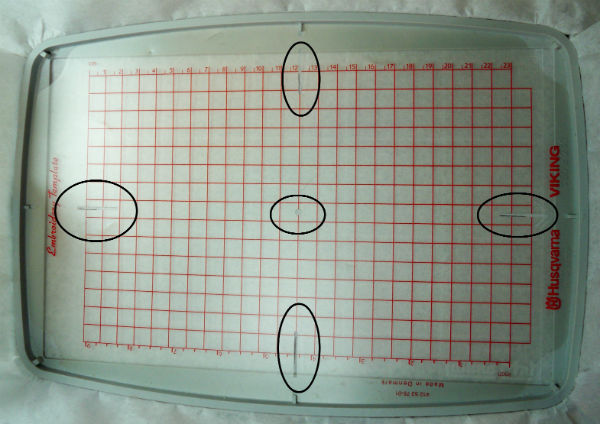
Photos via Debbie Henry
Hoops also come with a clear plastic template overlay that has an abundance of alignment lines, tiny holes to mark for positioning and a surface that can be mapped with dry erase markers if necessary.
Hoop templates are particularly helpful when marking hooped stabilizers for precise placement of pre-cut shapes like these ornaments made from AccuQuilt die cuts.
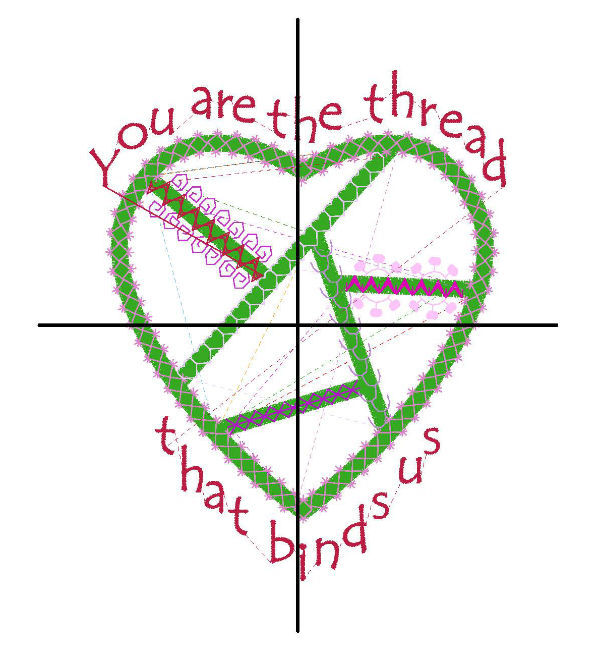
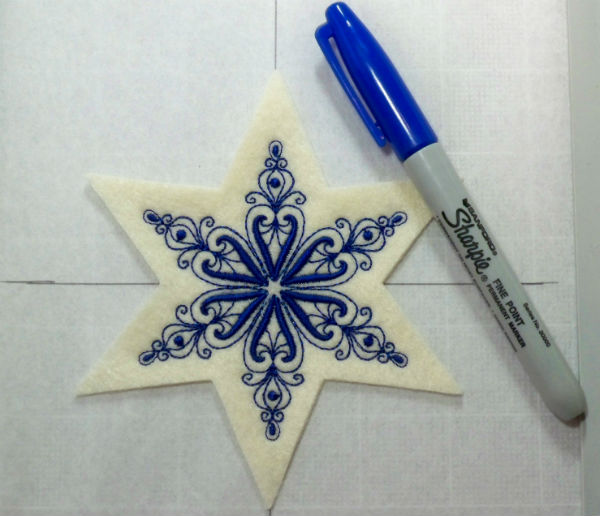
Design templates
Embroidery design templates can be printed out, trimmed and used for exact placement on fabric or clothing. Once pinned in place on the fabric, template cross hairs help align the piece during hooping. Then, lining up the embroidery machine needle with the central cross hairs of the template ensures the design stitches right on mark.
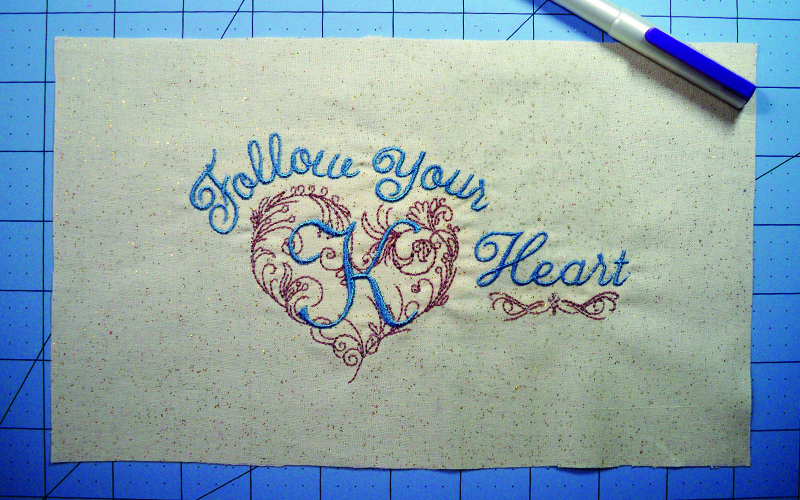
Embroidering on fabric
When I am creating an embroidery project that will be made into something else, like a pillow, quilt or framed design, I make my base fabric much larger than the finished size so I have plenty of room to center and trim the final piece. That saves a lot of aggravation and calculation.
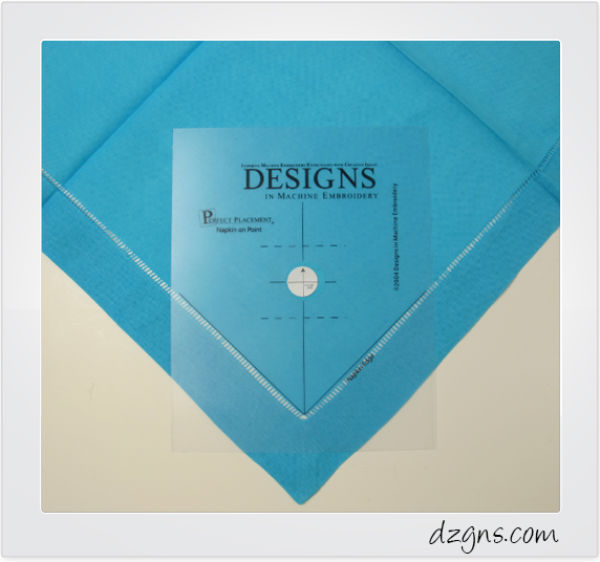
Photo via Designs in Machine Embroidery
Centering designs on blanks
There are industry-proven formulas for correct design placement when embroidering on shirts, napkins or tote bags. No need to reinvent the wheel — the experts have figured it all out for you. A number of programs and aids are available to help with correct placement on clothing and household items.
Stay tuned for a template tutorial and alignment resource guide!

sara