
Grain can be a beautiful thing. It takes us back to simpler times and gives us feelings of nostalgia. But grain is a thing of the past, right? Not so! Modern technology has taken away the grain from photographs, but technology has also (to some extent) been able to bring it back.
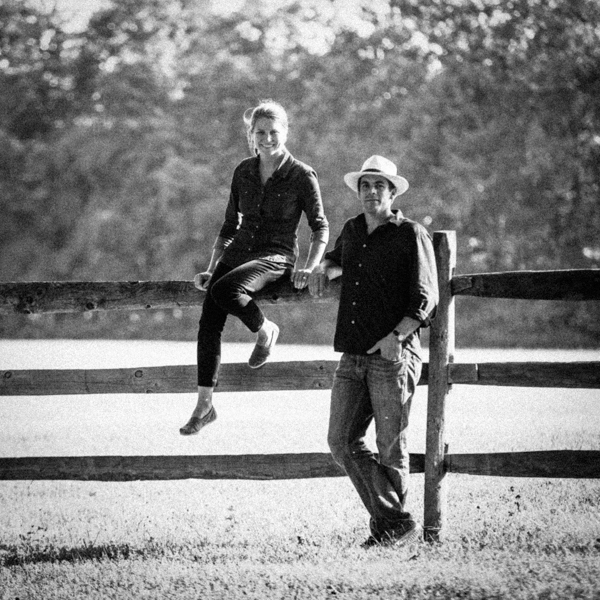
The above photo was taken in 2014 – does the grain make it look older?
What is grain?
Grain is a term used for film photography. We would say that a film with a higher ISO speed would be grainier. Sometimes this grain enhances the look of the photo and gives it more character. More grain means there is less detail when you blow up an image or view it very close. The grain is actually just the pattern of silver halide crystals that are exposed to light. The digital equivalent of grain is digital noise. Noise is generally considered less attractive than grain so while we don’t typically add noise to a photograph if we can avoid it, we will sometimes add a digital version of grain to a photograph to give it a little extra character and timeless quality.
How to add grain to photos:
The easy way
Let’s say you are into the look of grain but NOT into figuring out how to make your software work to get some natural and realistic looking grain. The easiest way of doing this is just to buy a Lightroom preset or Photoshop action that will do it for you. VSCO film, Totally Rad Replichrome, and Mastin Labs presets can all get you there for Lightroom. Install the preset, select what kind of film and graininess you want, and you’re done! Totally Rad and Kubota Market also make Photoshop actions that work in a similar way. Although if you are working in Photoshop you are likely not using RAW files, so there is less flexibility in your image edting and your ability to tweak the grain as you go.
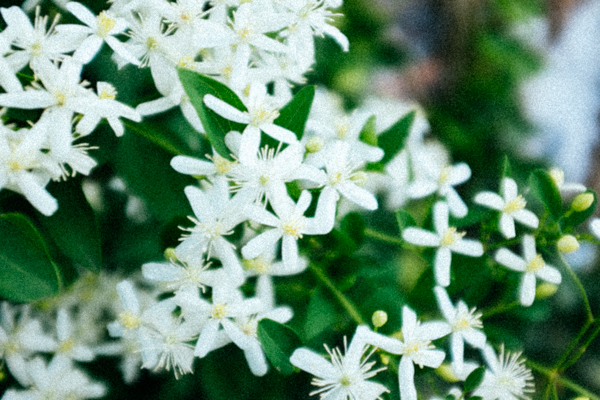
Lightroom grain is shown in the above photo.
Lightroom
In the Develop Module, under the “Effects” tab there is an option to control the grain. You can adjust the amount, the size and the roughness of the grain. Each of these values can be adjusted between 0 and 100. The default for amount is set to 0, for size is set to 25 and for roughness it is set to 50. As you move the amount slider you will see the grain start to appear. As it seems, the size slider adjusts the size of each grain and the roughness sets how smooth the grain texture looks. The rougher the grain, the more distinct each grain will look. You will have to play with the sliders to find the right balance that works for you.
Photoshop
In Photoshop there is a pretty quick and easy way to add grain while still maintaining control over the amount of grain. Take your image and add a new layer to it. Fill the layer with 50 percent gray. Then, go to Filter -> Noise -> Add Noise. You have a choice of noise percentage. I’d recommend starting somewhere in the 10 – 20 percent range, however it will depend upon the image you are using. Click OK. Change the blending mode of the gray layer to “Overlay” and adjust the opacity of the layer down until it looks how you want it. Like Lightroom, you can think of the noise filter as the grain “Size” and the layer opacity as the “Amount”. The difference is that to change the grain size in Photoshop you need to delete the gray layer and start over again.
Share tips, start a discussion or ask one of our experts or other students a question.
No Responses to “Great Grain: How to Add Grain to Photos”