
Here’s how to create a strong composition, then add your calligraphy.
Before you begin…
Choose quality materials
If you want your creation to stand the test of time, be sure to choose the right materials. Use high-quality materials from your local art store. Look for items described as “archival quality,” which means with proper usage, your artwork should last a long time. If you plan to use wet media (like watercolor), choose a paper with a weight of at least 140#. For calligraphy, a paper with a smooth surface is essential for an easy and enjoyable time. Look for watercolor paper that’s described as smooth-pressed and has a sleek surface, or go for a weightier Bristol paper, which is generally excellent for calligraphy.Protect yourself from smears
Here’s a must-know calligraphy technique! When working, always keep a scrap piece of paper under your hand. This paper is called a guard sheet, and it ensures the natural oils present in your skin do not ruin your paper.Cut your paper to the size of your frame
This next step is, in my opinion, the most important for enjoying the creative process! If you are planning on framing your piece, cut the paper to suit the frame before beginning. This way, you can easily find a frame to fit your piece. You’ll need a sharp X-Acto knife, a cutting mat and a ruler. If you have a hard time with straight lines, invest in a paper cutting machine. (I love those things!)You’ll want to cut your paper to one of a few common frame sizes:
- 8″ x 10″
- 11″ x 14″
- 16″ x 20″
- 20″ x 24″
- 24″ x 36″
- 30″ x 40″
Now, let’s get started on the fun part — writing your quote!
Step 1: Sketch
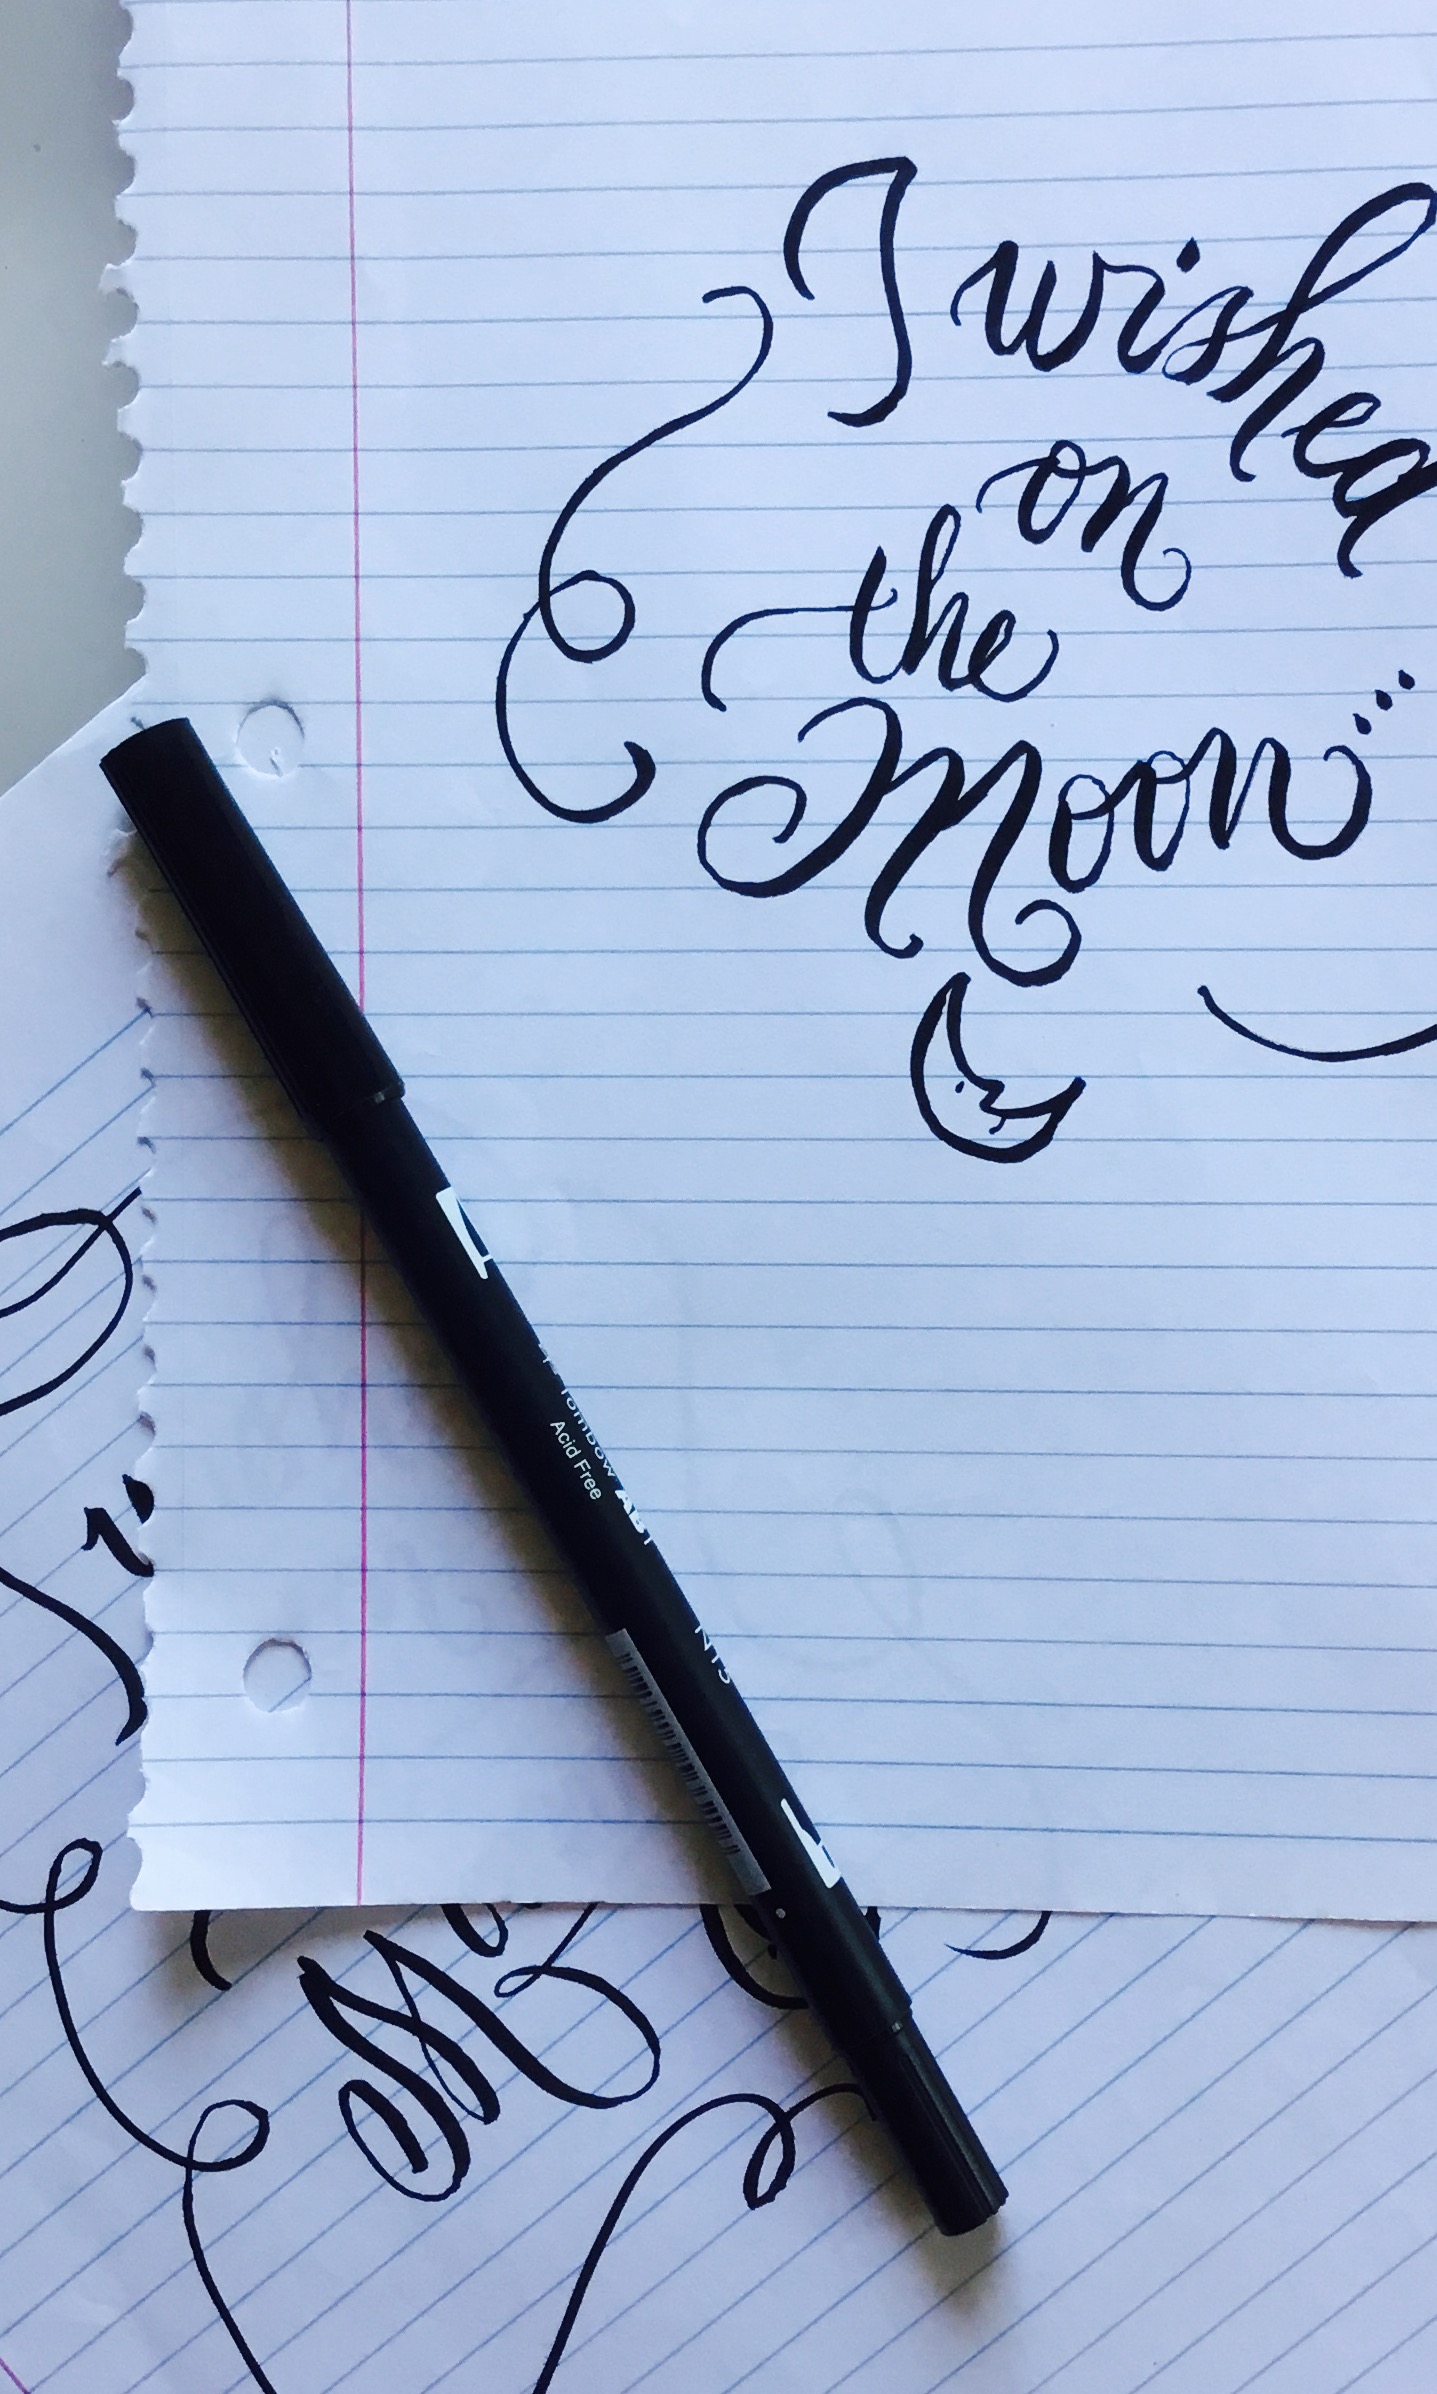 First, sketch out your composition ideas on scrap paper. I used a Tombow marker for this step.
Try a variety of letter shapes and compositions to see what is best suited to your quote. Keep in mind the size your finished piece will be, as well as the orientation (portrait or landscape?).
Ideally, your piece should be centered both horizontally and vertically. For my piece, I chose a circular composition with additional white space at the bottom of the piece. (This is what I call “breathing room.”)
First, sketch out your composition ideas on scrap paper. I used a Tombow marker for this step.
Try a variety of letter shapes and compositions to see what is best suited to your quote. Keep in mind the size your finished piece will be, as well as the orientation (portrait or landscape?).
Ideally, your piece should be centered both horizontally and vertically. For my piece, I chose a circular composition with additional white space at the bottom of the piece. (This is what I call “breathing room.”)
Step 2: Cut up your sketch
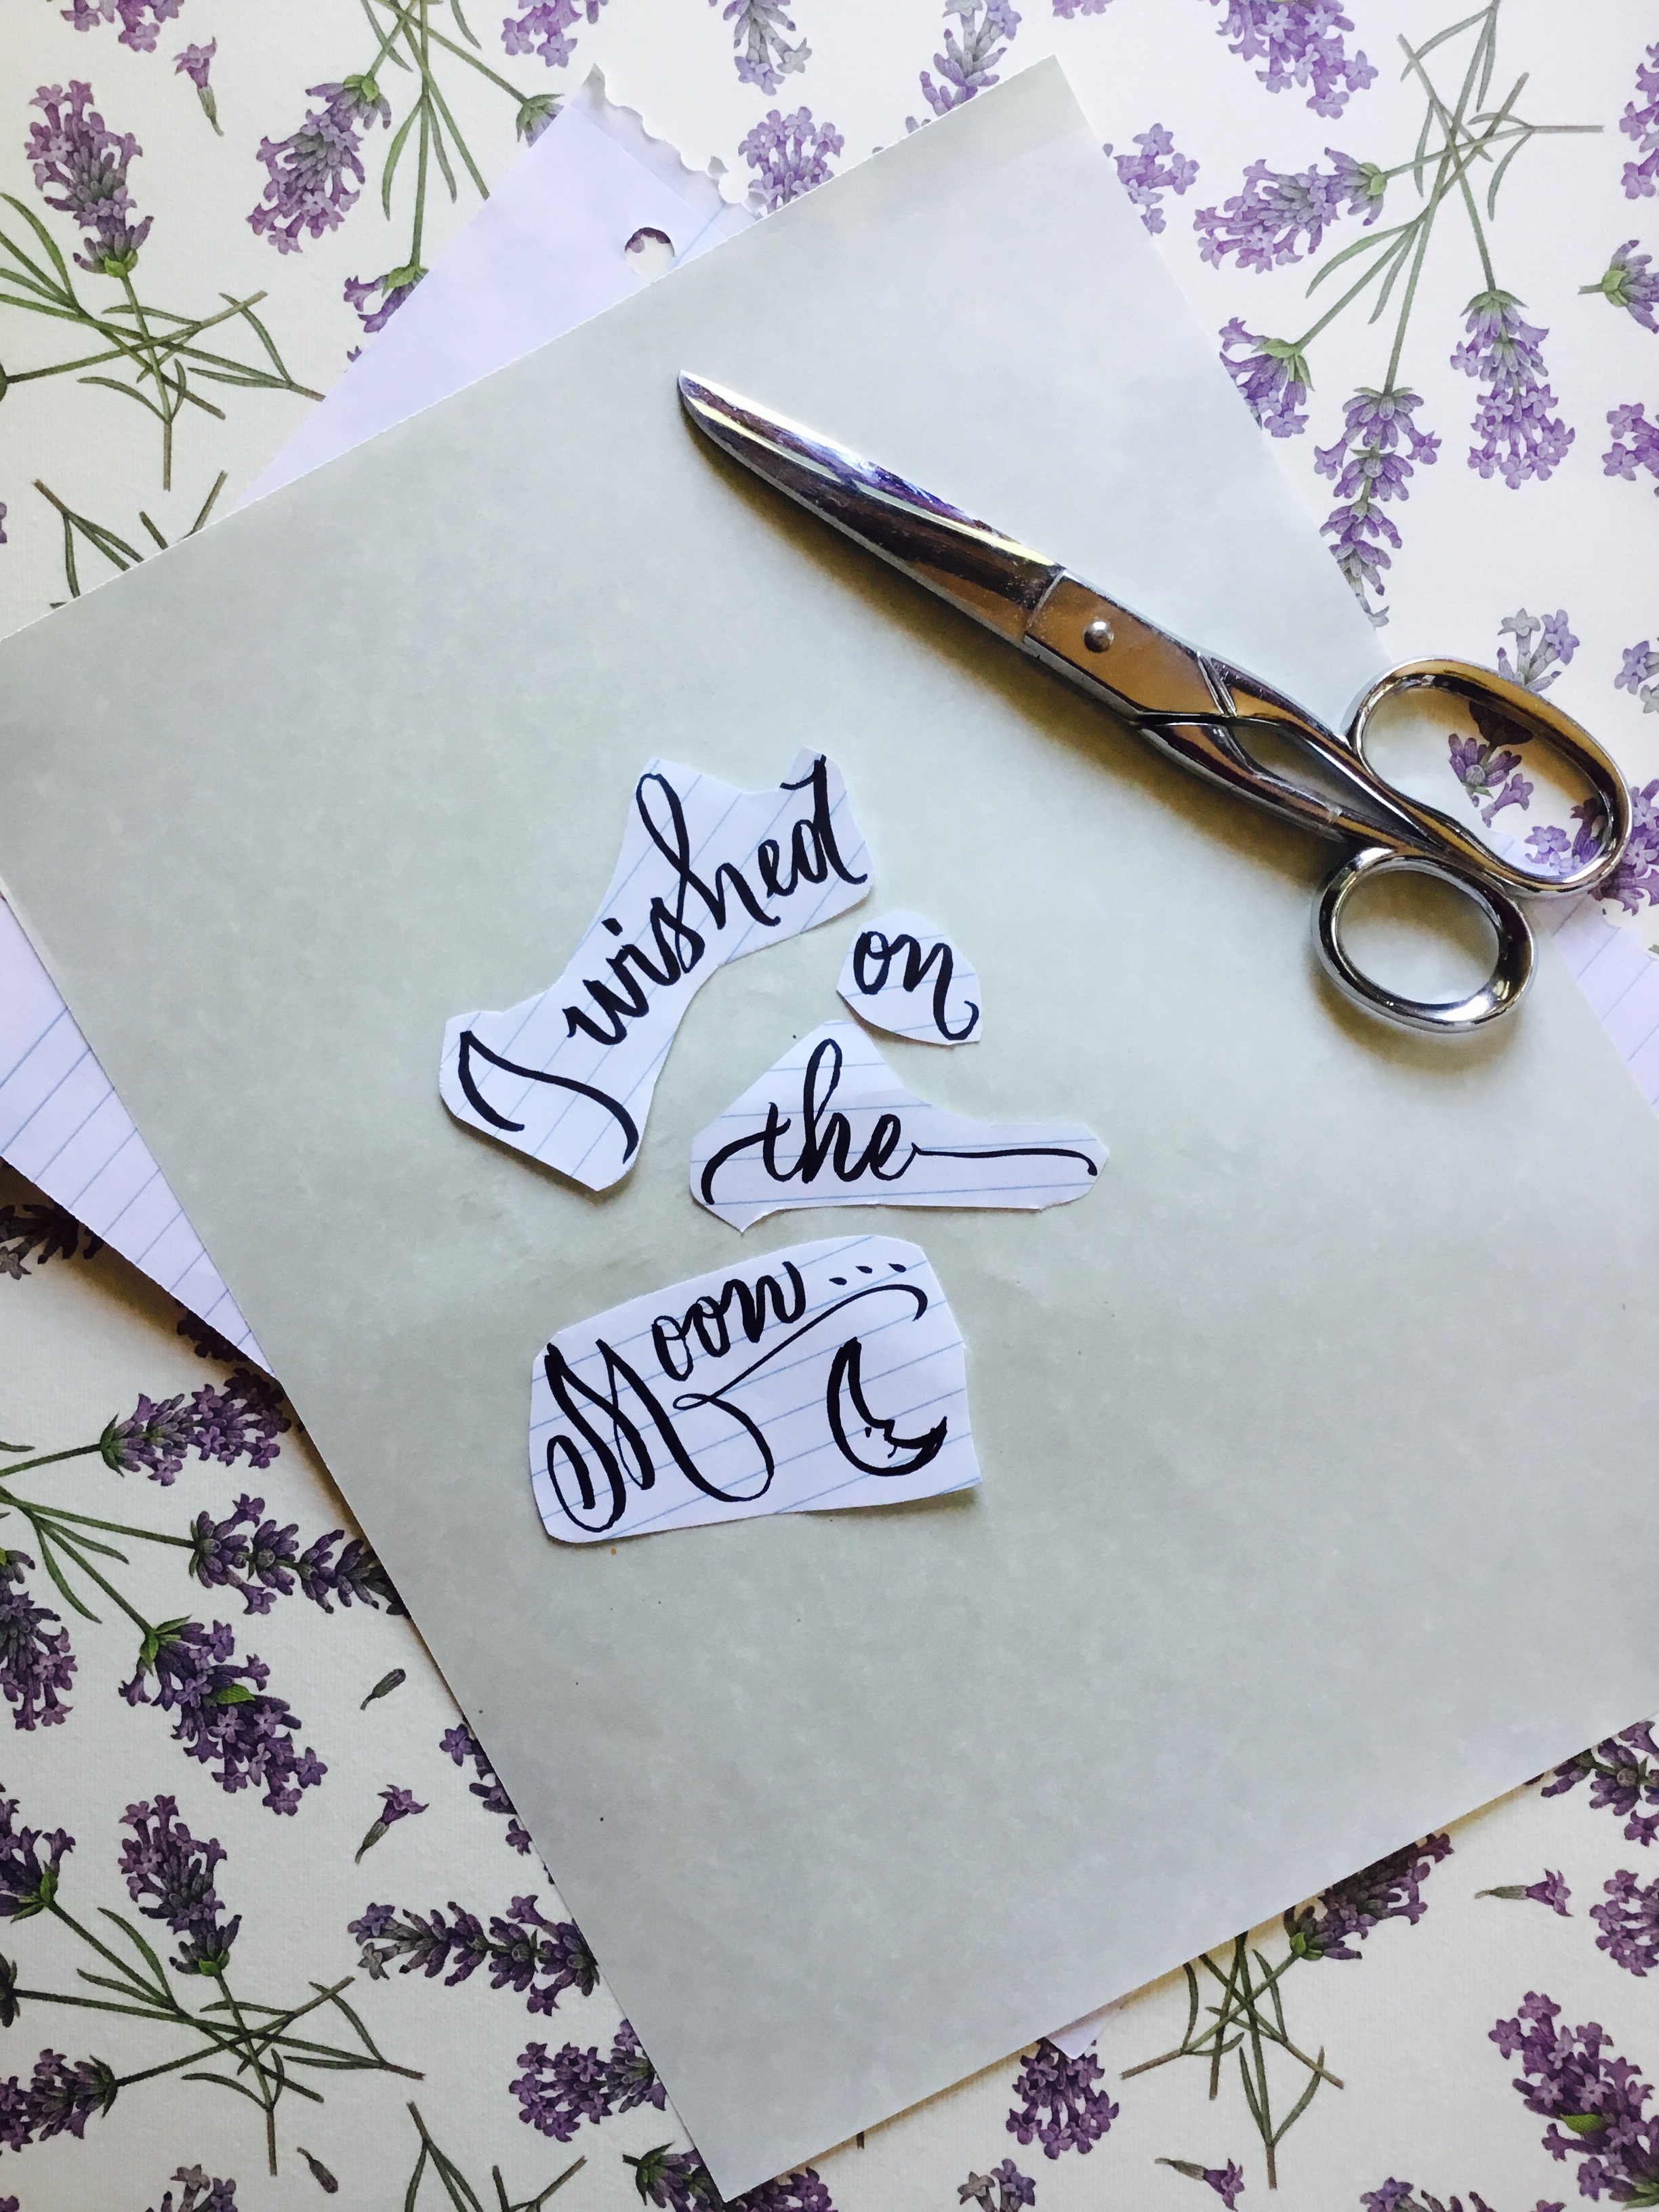 Now get out your scissors! Once you have some composition ideas and letters you like, cut up the pieces. Then, arrange the pieces to decide on your favorite composition. Make sure the arrangement will fit in your frame.
Step 3: Plan additional design elements
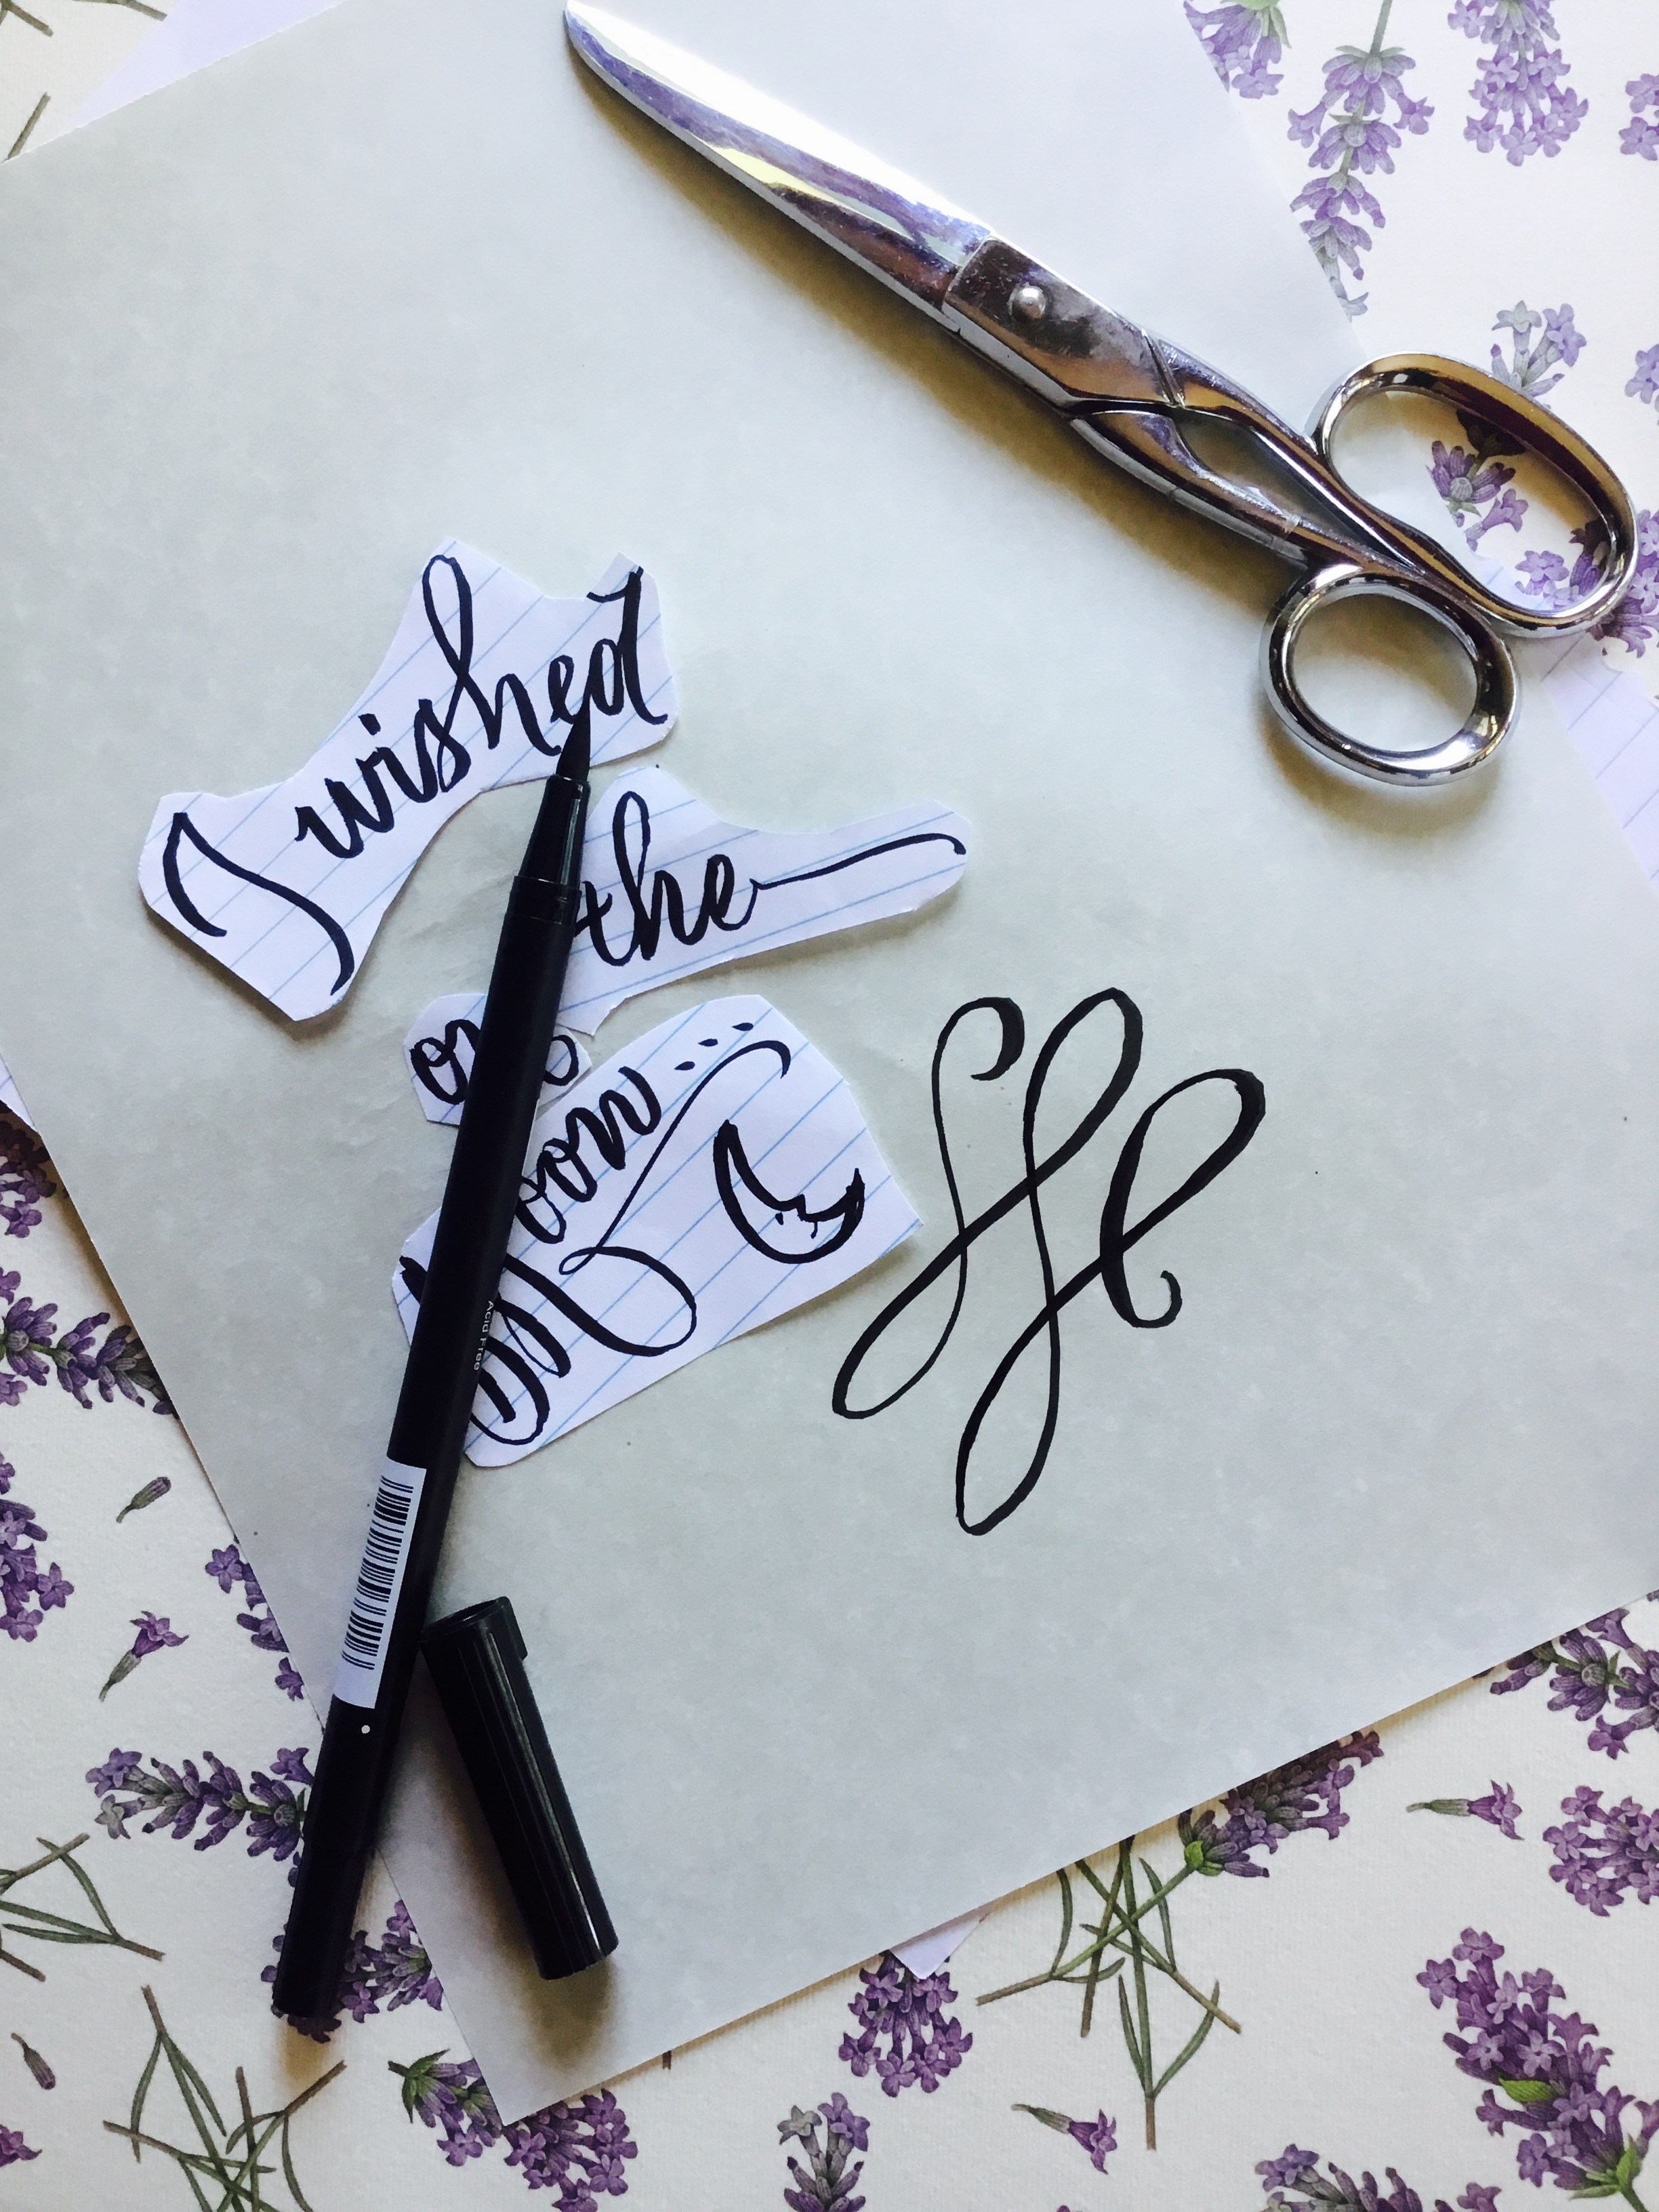 Perhaps some extra embellishments are needed? Try out a flourish or two to see if that adds balance to your design. Maybe a capital letter would add some needed oomph? Now is your chance to play around with your design so it is optimal!

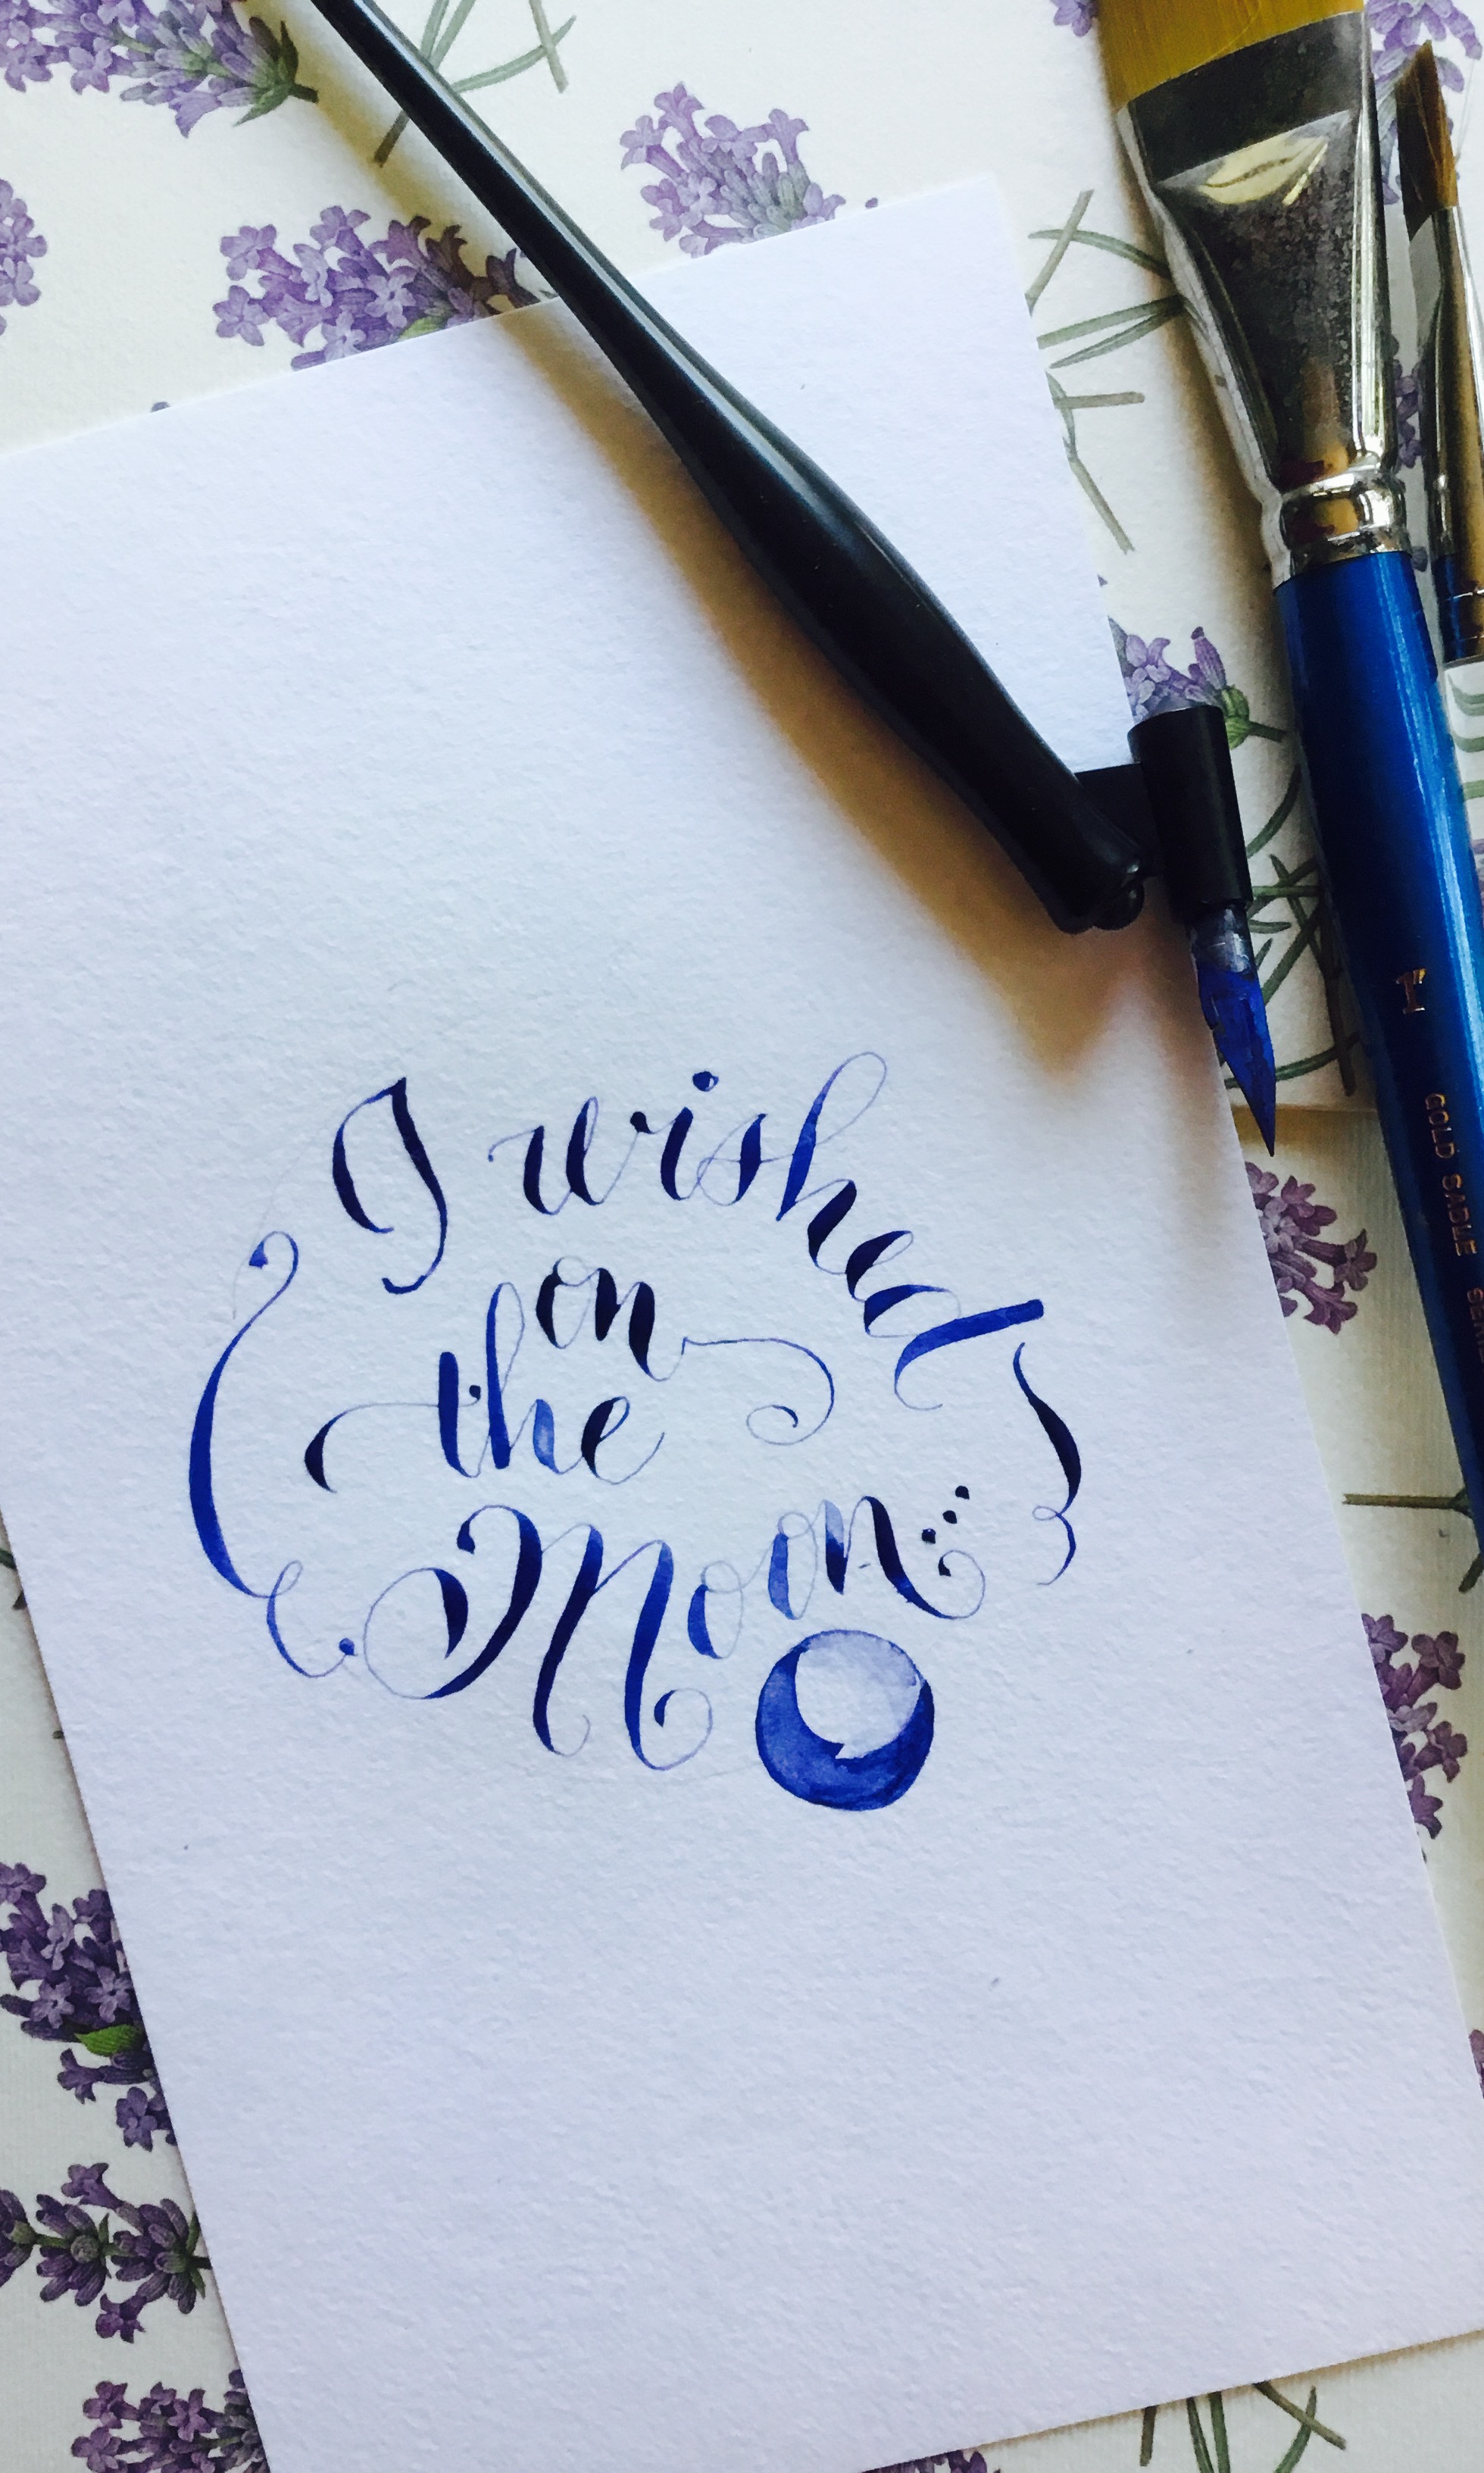
Step 5: Move to your final paper
Get out your good paper — the one you plan to frame — and use your lightest pencil to add any guidelines you might need for lettering. I added a very faint circle in pencil to my paper.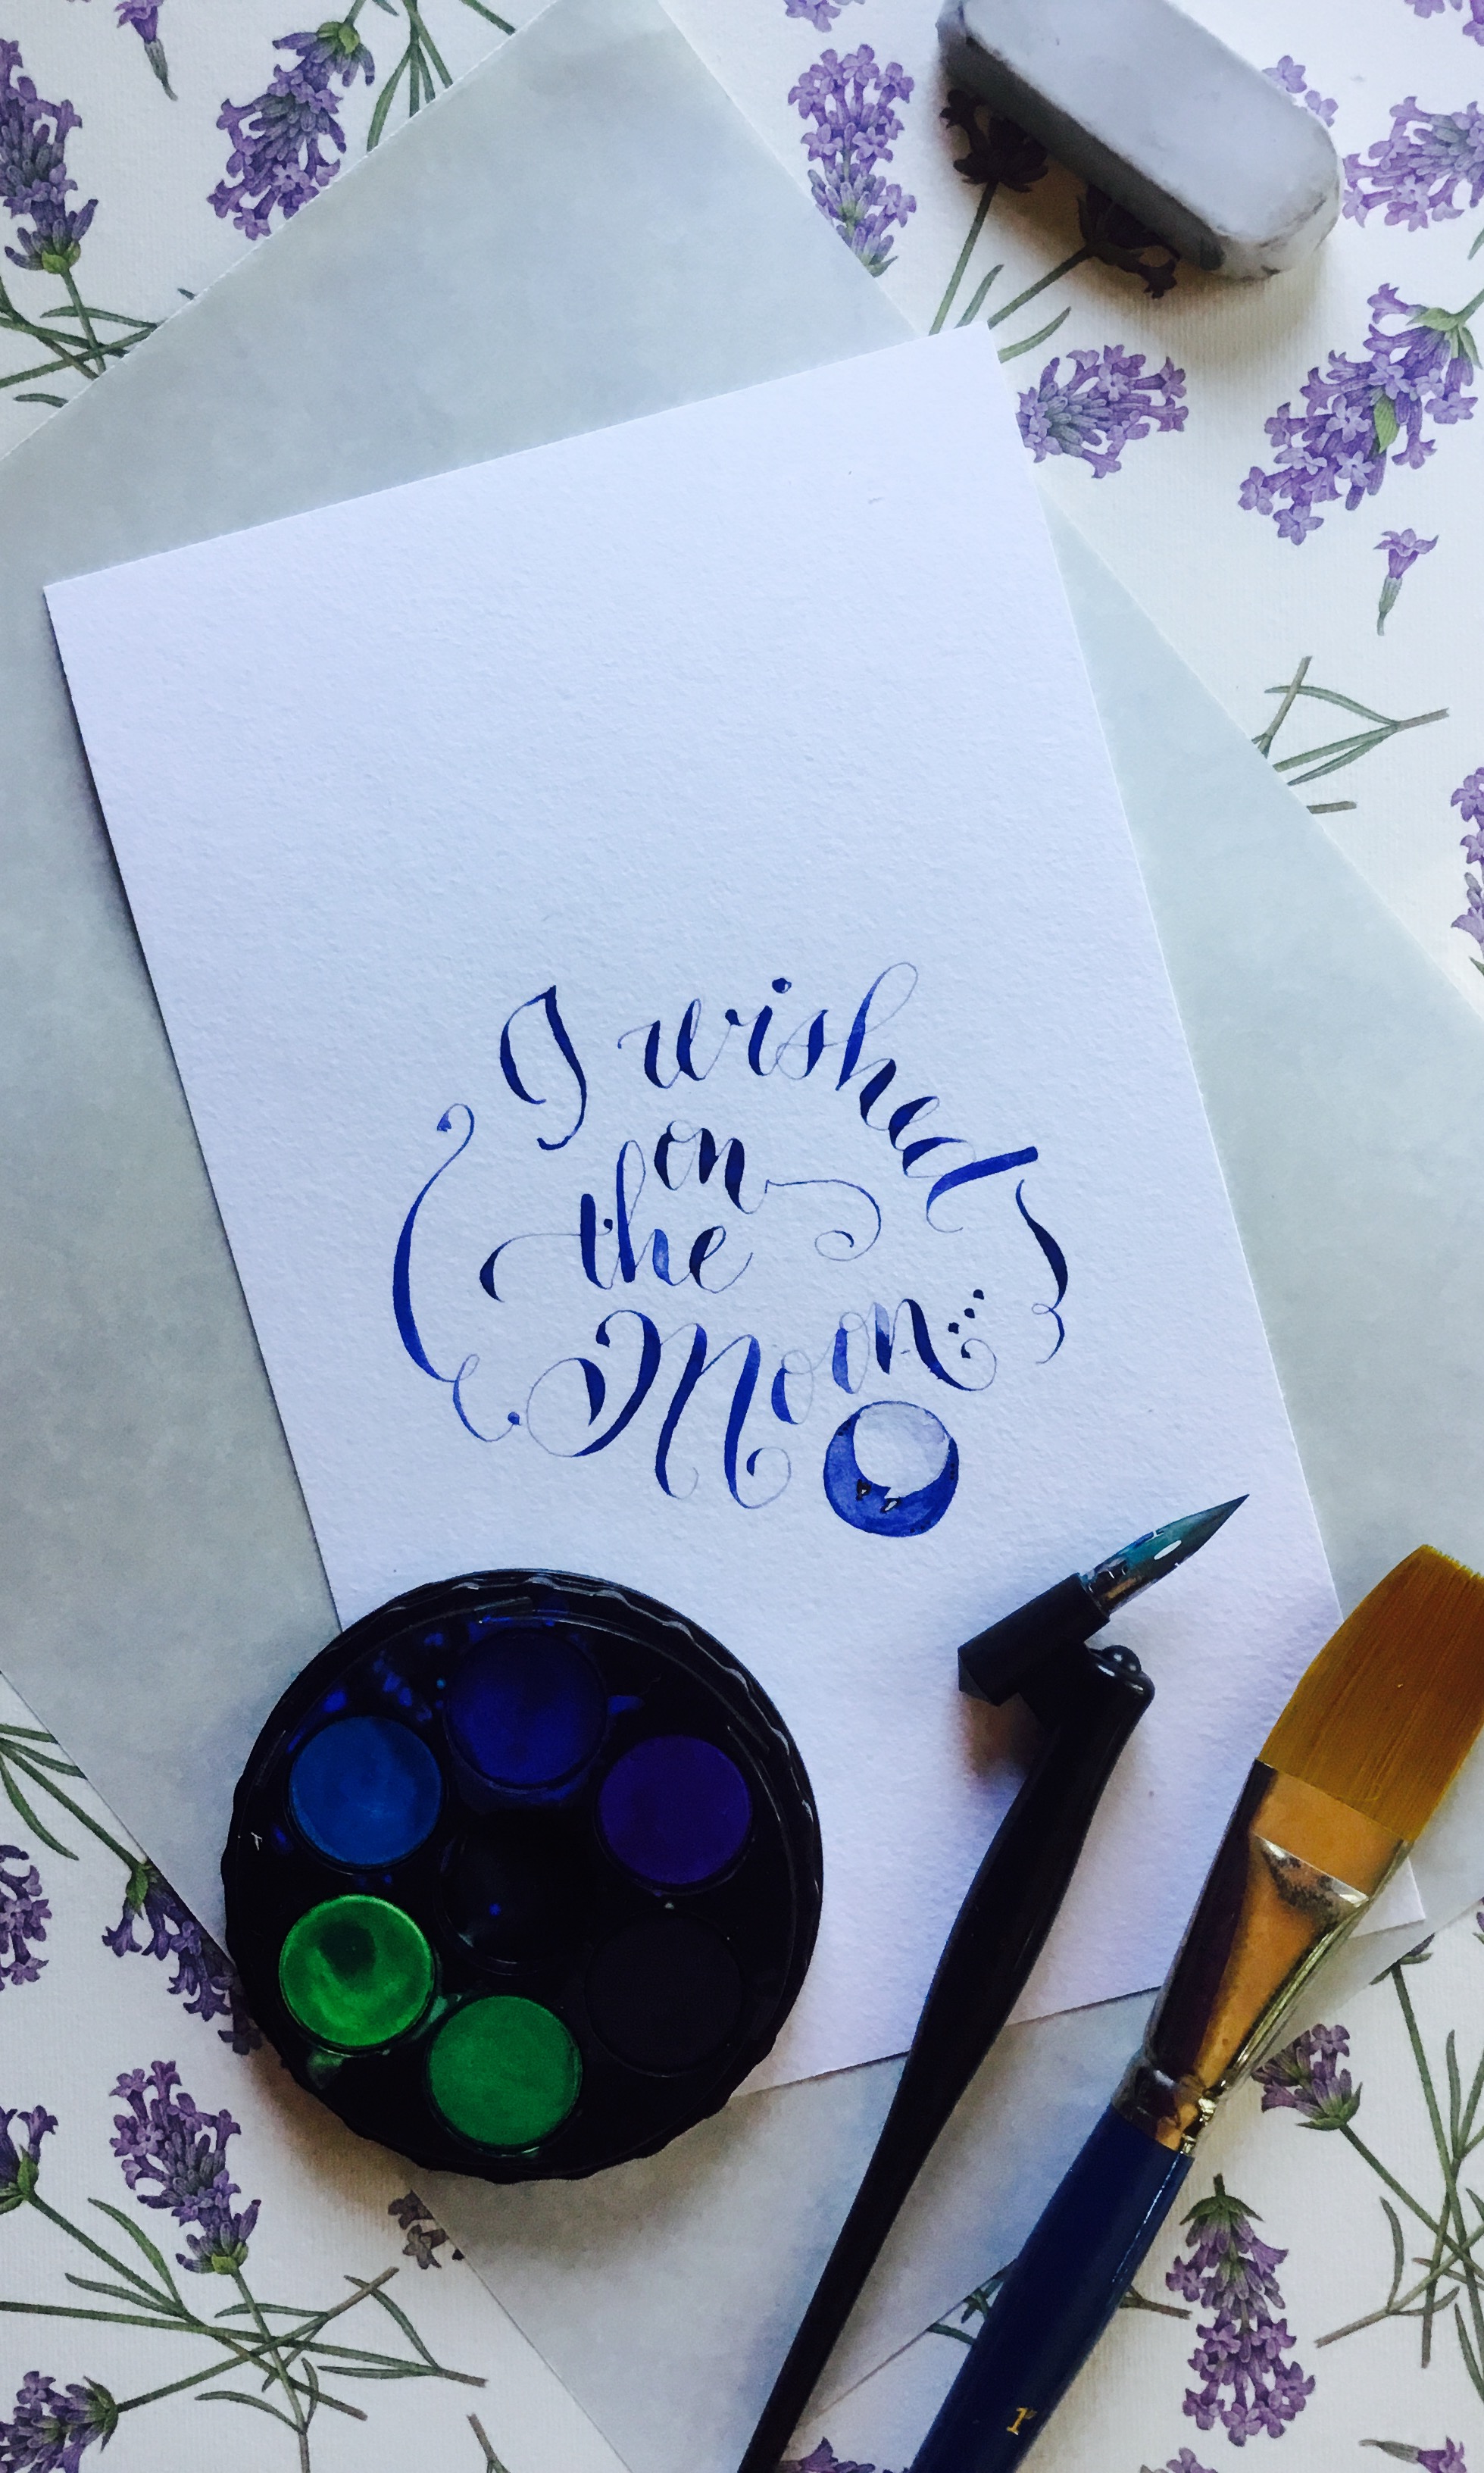 Finally, it’s time to get out your pen! For this project, I used pointed pen and watercolor to letter. Carefully write your quote, following the composition you created before. Erase any pencil marks. A large watercolor brush is great for getting any bits of eraser dust off your paper.
Because the paper is already cut to size, you can easily pop it in your frame of choice. Just make sure the ink or paint is dry first.
Pop the piece in your frame and proudly present your piece!
Finally, it’s time to get out your pen! For this project, I used pointed pen and watercolor to letter. Carefully write your quote, following the composition you created before. Erase any pencil marks. A large watercolor brush is great for getting any bits of eraser dust off your paper.
Because the paper is already cut to size, you can easily pop it in your frame of choice. Just make sure the ink or paint is dry first.
Pop the piece in your frame and proudly present your piece!
Oh, taste and see that the Lord is good! Psalm 34:8
...