
Just like any other trade, photography is best learned with practice. However, masters often discover easy methods that anyone can do to improve their trade substantially. Here are a few of my favorite simple tricks and tips that I have picked up after spending thousands of hours behind the lens.
1. Wear white or neutral colors when you shoot
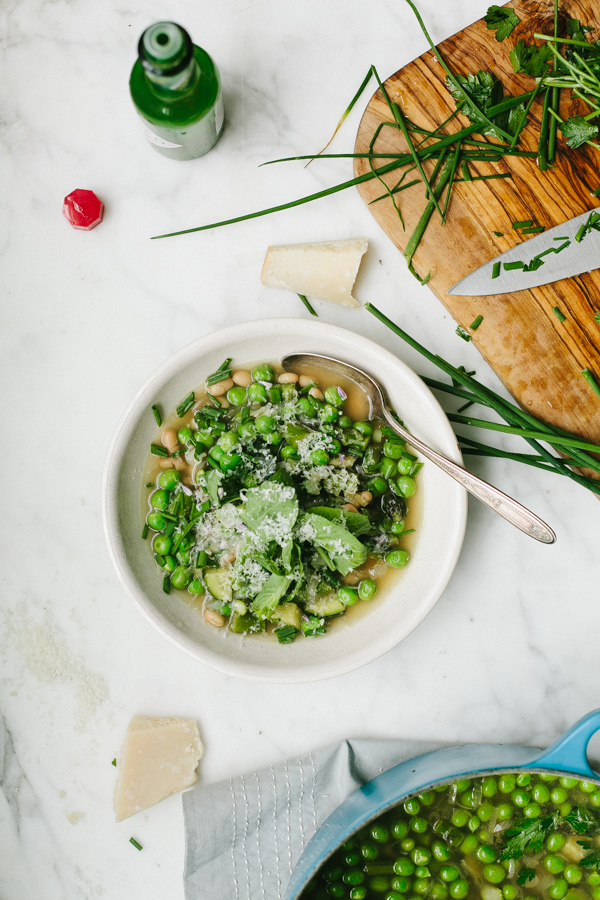
Always keep in mind that light reflects and bounces. If you’re wearing a bright orange apron or a pair of red pants (because everyone needs red pants), those colors will bounce into your food and give your photos an orange/red glow.
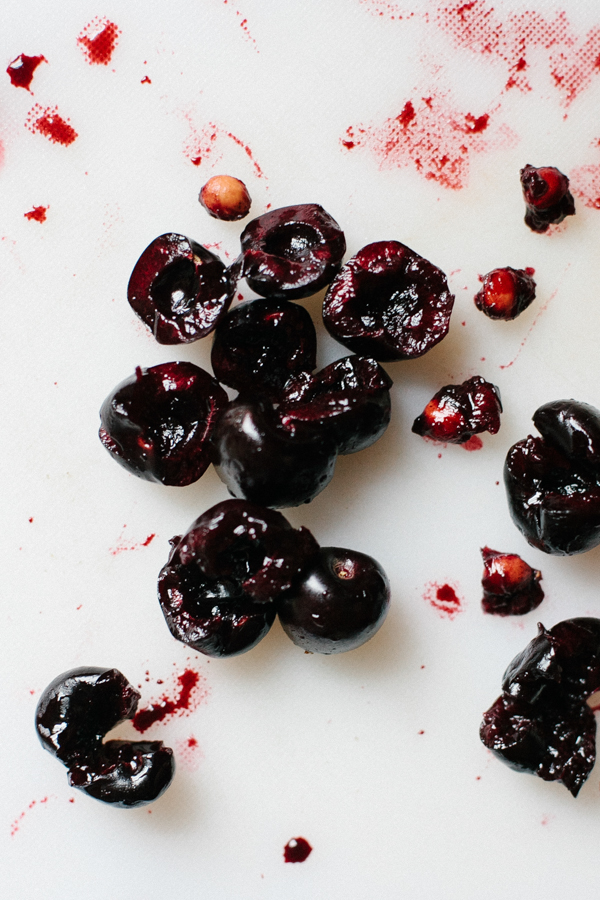
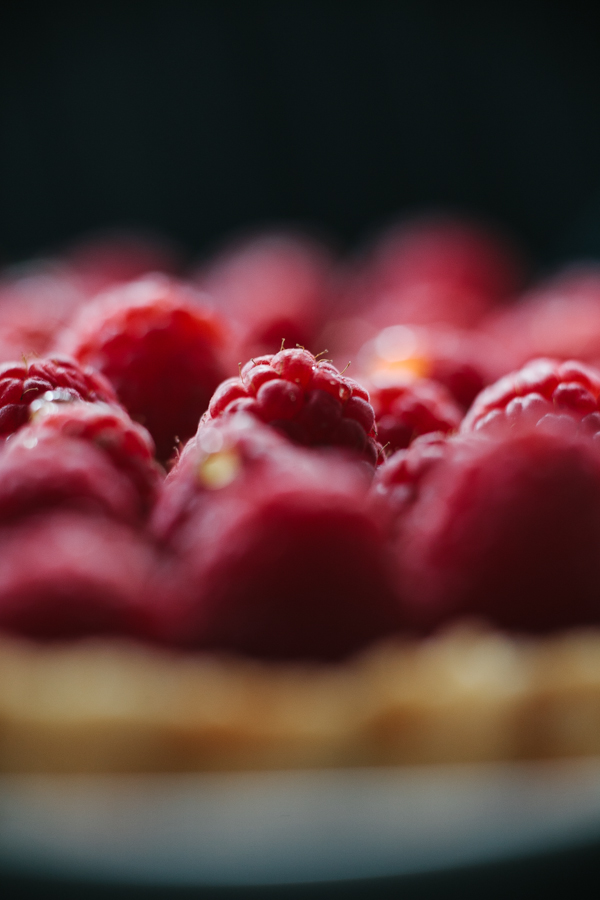
If you want a light and bright image, wear white or very light colors. On the other hand, if you are going for a dark, moody shot wear black or dark colors as they will stop the light and create richer shadows across your food.
2. Know how to set your white balance
If you’ve ever taken a photo and have had the colors look “off” – your whites too blue or even orange – and you aren’t sure why, well then this trick is going to completely change your photography.
Different light sources give off different color temperatures. Shadows cast a blue tone, while most artificial light sources give white the appearance of orange. But you can adjust those settings in your camera so that you can have your whites actually turn out white in your photo which will then give the food you are shooting the correct color.
There are multiple ways to adjust the white balance. Check out these ways to do it in post-production or on your camera.

3. Keep Q-tips nearby
Q-tips make quick clean up of drips and spills that land on the plate or on the surface you are shooting. I like a little bit of mess because it adds a realness to the photo that is inviting and true to the scene but too many dribbles and spills can detract from the food and just look messy.
Keep a simple “styling” kit on hand when you are shooting. A spray bottle to add life back to greens, Q-tips for quick clean up, tweezers for tiny adjustments or removing elements, and scraps of paper that can be folded and used to prop up plates or pieces of food to help you shoot them at the correct angle.

4. A-clips are handy when you have no more hands
I often shoot by myself and quickly run out of hands, especially when I start to bring in bounce boards. A-clips are great to have nearby and clip easily to the board to instantly have hands-free light modifiers. They can also hold up light linens and fabrics for easy backdrops.
5. Use less food
We’ve been trained to fill our plates abundantly when eating, but oftentimes when you’re shooting, less is more! A smaller portion of food central on the plate will bring more attention to the food itself. Giving the viewer’s eye a bit of space is more visually pleasing and will make the food the major focus — what we’re really after. Too much food and too many distractions can overcomplicate the image and leave your viewer confused. Keep it simple and focus on the food.
6. Change your angle
When I’m bored or I think I’ve got my perfect shot, I like to take a few more from a completely different perspective. I can easily caught in the “overhead rut,” but there is more to food photography than just overhead shots (even though I love them so). Stretch yourself — literally. Get up on a chair, stand on the table, crouch down, shoot into the light. Push yourself to reach outside of your comfort zone and you might stumble upon some great beauty.
I would love to hear some of your favorite tricks that you have figured out! And if you are just getting started, check out the resources on food photography.
Share tips, start a discussion or ask one of our experts or other students a question.
No Responses to “6 Quick and Easy Tricks to Enhance Your Food Photography”