
One of the many ways can improve your portrait photography is through the use of flash. Specifically, a hot shoe–mounted flash and not the built-in, pop-up flash found on many cameras can do wonders for your photos. Using flash gives you the ability to shape and control the light falling on your subject much more so than relying on whatever natural light there may be.
Here are a few of our best flash photography tips to get you started.
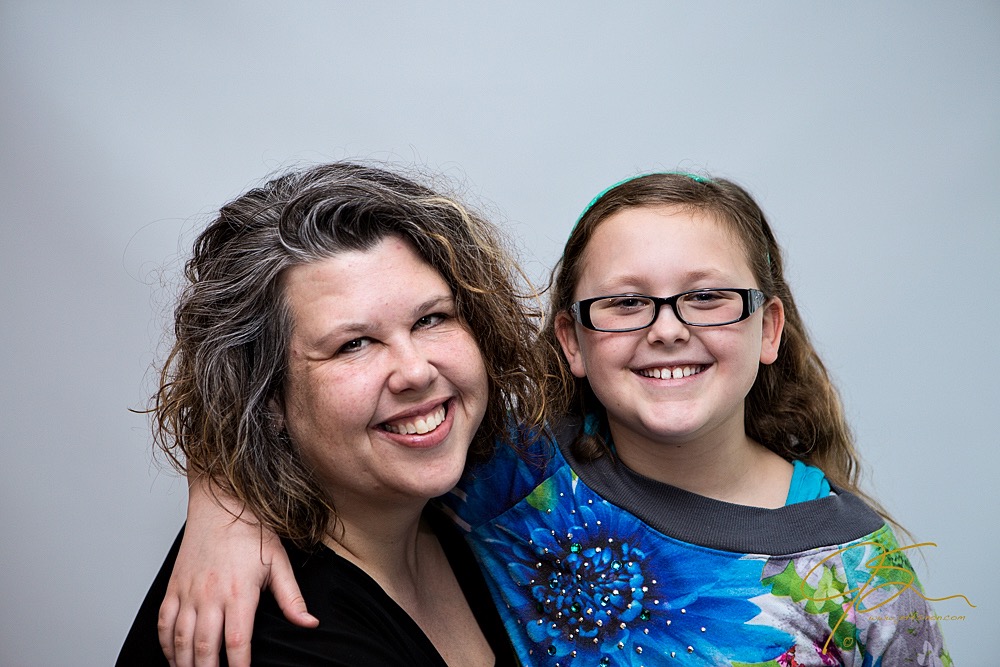
1. Straight-on light is almost never flattering.
Mounting your flash on top of your camera and having it aimed directly at the subject rarely results in the most flattering light. As an example, see the above photo of my wife and daughter. The lighting is often flat with little or no contrast on your subjects, while also creating harsh shadows on the background. Having the flash inline with the lens also causes red eye because the light from your flash reflects off of the interior of your subjects’ eyes.
Which brings me to my second tip.
2. Bounce it.
Bounce the light off the ceiling, off of the walls, even bounce it behind you.
Most any decent flash — or speedlight, as they are commonly called — can be tilted and rotated so you can fire it in almost any direction. A shoe-mounted flash really shows its advantages over the built-in flash when bouncing the light. If you only have the pop-up flash, you can rig a small piece of paper or a 3″ x 5″ card over the front of the flash to deflect the light up towards the ceiling.
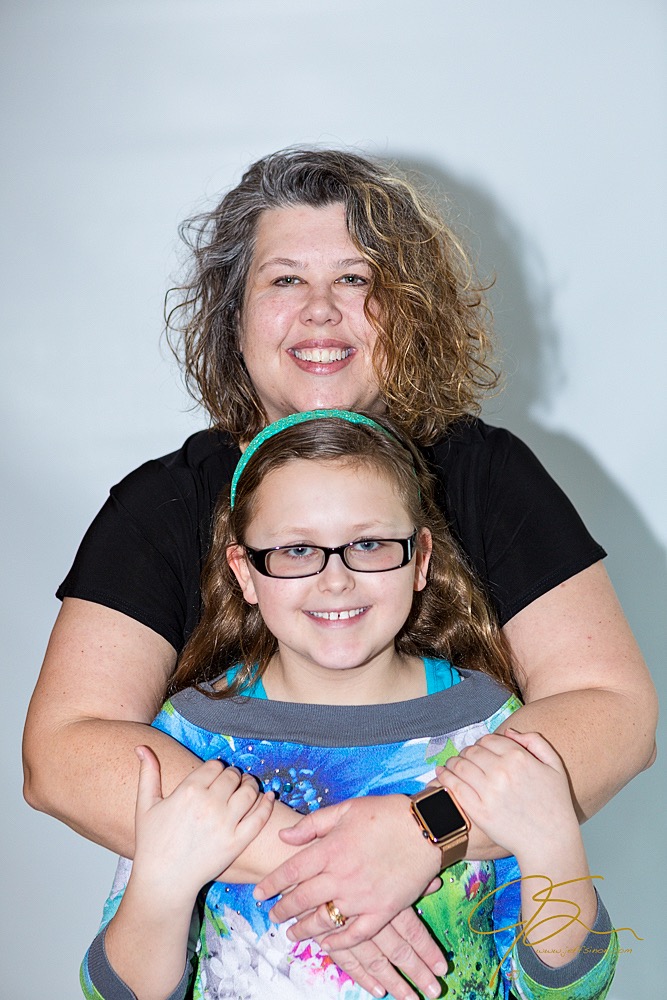
By bouncing the light from your flash off of a wall or the ceiling, you change the direction from which the light falls across your subject. Rather than having the flat and flashy-looking light as seen above, you get more diffused, directional and appealing light. In the photo below, all I did was angle the flash head up and bounce the light off of the ceiling — a much more flattering look, I think.
3. Get it off the camera
Better than bouncing the flash is getting it off of the camera altogether. An off-camera flash gives you almost limitless options for light placement and control. When bouncing your flash, you only have so much control over where the light goes. Moving your flash off of the the camera entirely means you can control the direction the light is coming from, the angle at which it lands on your subject as well as how close or far away it is.
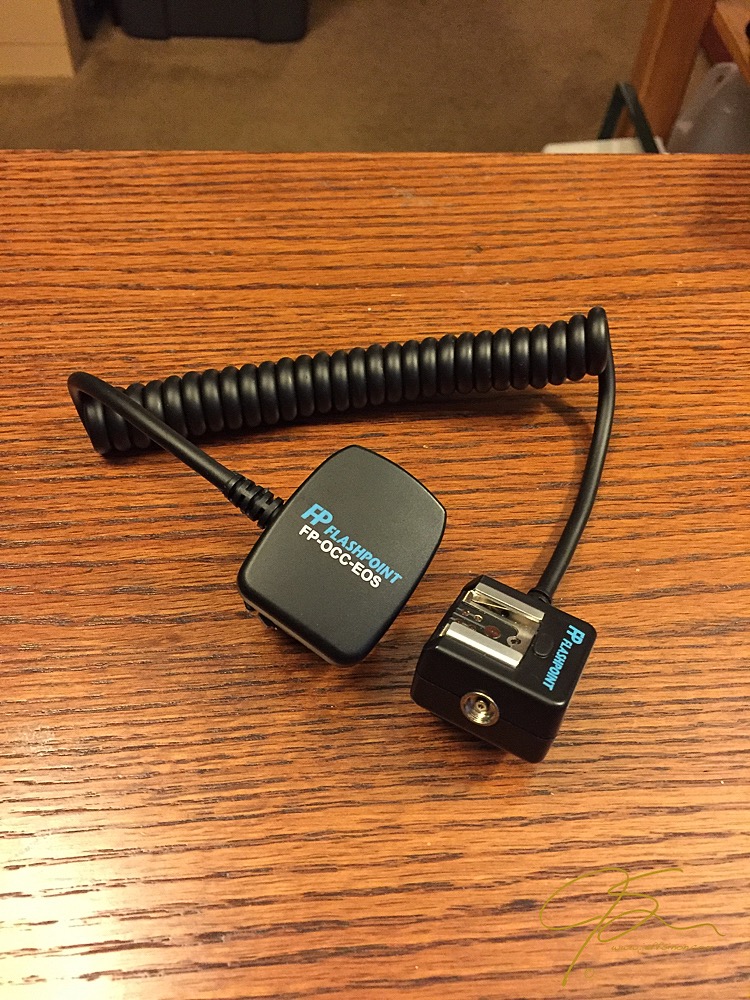
The easiest and least expensive option for moving your flash off camera is with a sync cord. These cords, which come in various lengths, allow you to move the flash off of your camera while still giving you full control. This is, in my opinion, the best option because it’s the least expensive way to try your hand at off-camera flash without making a big investment in radio triggers and receivers.
4. Make it bigger
One of the rules of lighting is: “The bigger the light the softer the light.”
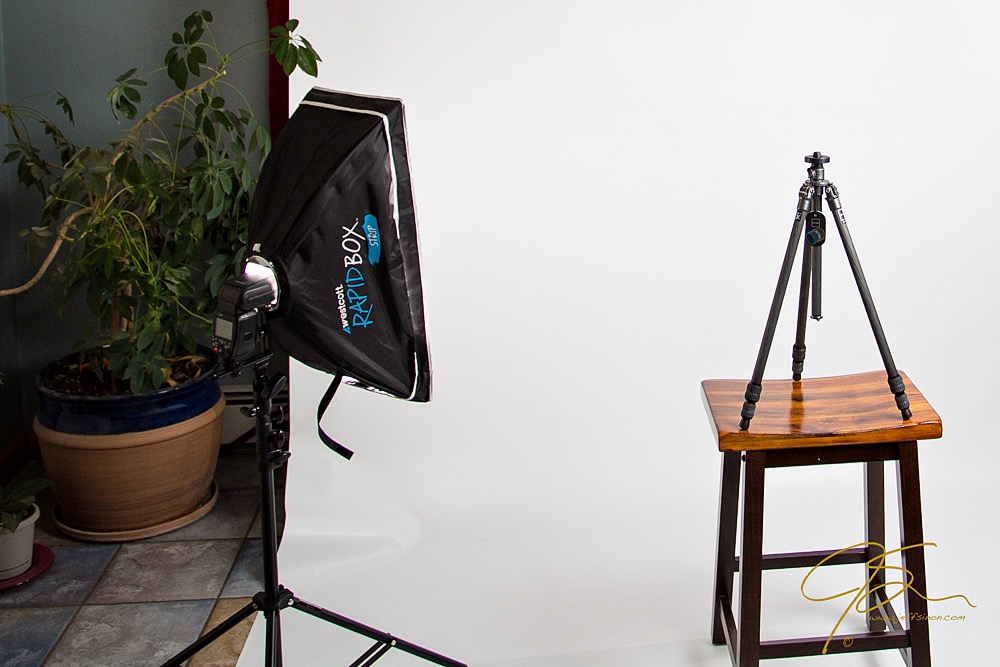
If you want to make soft, flattering light from the relatively small source that is your flash, you need to make it effectively bigger. A light modifier of some kind, like a shoot-through umbrella or a soft box (shown above) does just that. A soft box is a light modifier with a reflective internal surface and a white diffusion material that covers the large opening, opposite the side the flash is mounted on. When the flash fires, the flash illuminates the diffusion material, creating a larger light source than just the speedlight alone.
Note: This is one of the reasons bouncing your flash works so well at creating nice soft lighting. When bouncing your flash, you’re effectively turning whatever large surface you’re bouncing the light off of into one big light source.
When you put this all together, you come away with a much better portrait than you would had you left the flash on the camera aimed straight at your subject.

Share tips, start a discussion or ask one of our experts or other students a question.
No Responses to “Top 4 Flash Photography Tips for Professional Portraits”